14 DAY TRIAL //
 If you have never heard about CLI, you might get a little scared when it comes to playing around with the hidden OS X jewel represented by the Terminal.app. This jewel I?m talking about is the thing that makes the connection between your Mac?s interface (also known as GUI) and the CLI (Command Line Interface) that will allow you to access a UNIX shell which will allow you to interact with OS X?s BSD core.
Making use of the CLI with the help of Terminal will allow you to do things that you will not be able to accomplish using GUI based apps and, although it seems boring at first, most of you will learn to love it and appreciate its power like many others did before them (I am one of them).
In this article, I will try to list the command lines that I use the most on my Mac when meddling around with the Terminal and the ones that I consider that will help you get things done in a few steps.
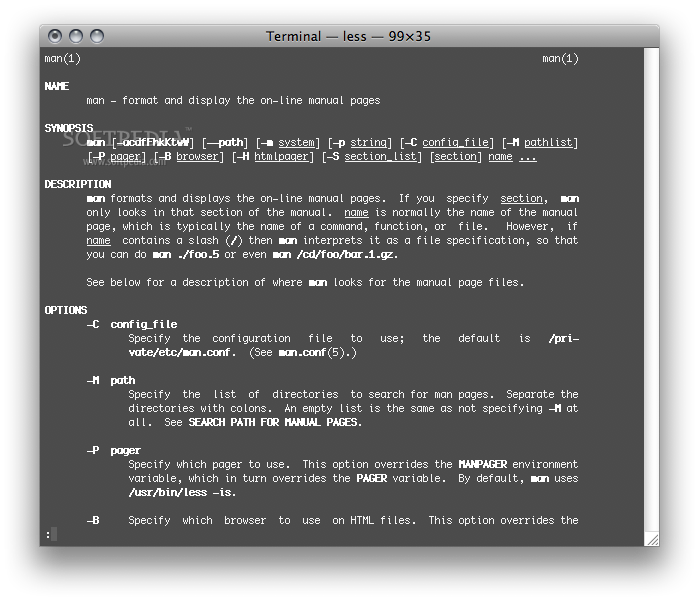
man - The most important command-line tool that everyone should be acquainted to, a utility that will allow you to easily figure out what a specific UNIX command does and the exact way you will be able to use it to do what you had in mind.
To use it, you will have to enter "man command_name" (where command_name is the name of the command you want to learn more about) and presto you will have everything you want to know in a Terminal screen at your disposal. This is the command that literally gave birth to the famous "RTFM" acronym that you surely have come across at least once in your life.
ps - Is the tool that will help you get the information that you really need about any process? status that is currently running on your Mac. The most known way of running ps is in the "ps ?ax" form but, as I have learned, the most appropriate way would be to add the "-axwww" arguments to be able to get all the available details at once in the same window, whatever the window?s size.
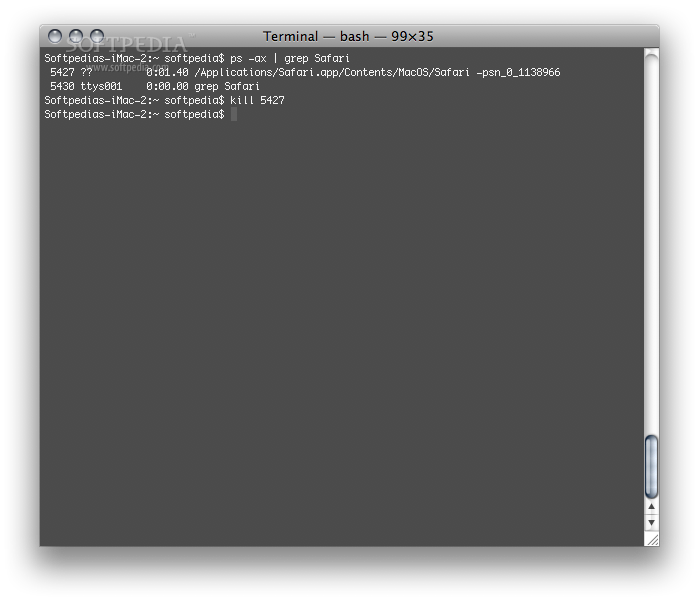
ps also proves it has Superman-like powers when you will combine it with the "grep" command to find which line(s) from its output contain a specific keyword. By running "ps ?ax | grep Safari" you will be shown only the lines containing the Safari keyword you have provided instead of all the output ps will normally display.
Another match made in heaven is the one between ps and kill, two commands that used together will allow you to tame the cat inside you Mac one-handedly (if you type with only one hand of course). As an example run "ps ?ax | grep Safari" command again and this time look on the second column, right before the username, and use the number that you see there (also known as a PID ? Process ID) as an argument for the kill command like this: "kill PID". This will mean sudden death for Safari (or any other unlucky process that might of picked on you by deciding not to respond anymore).
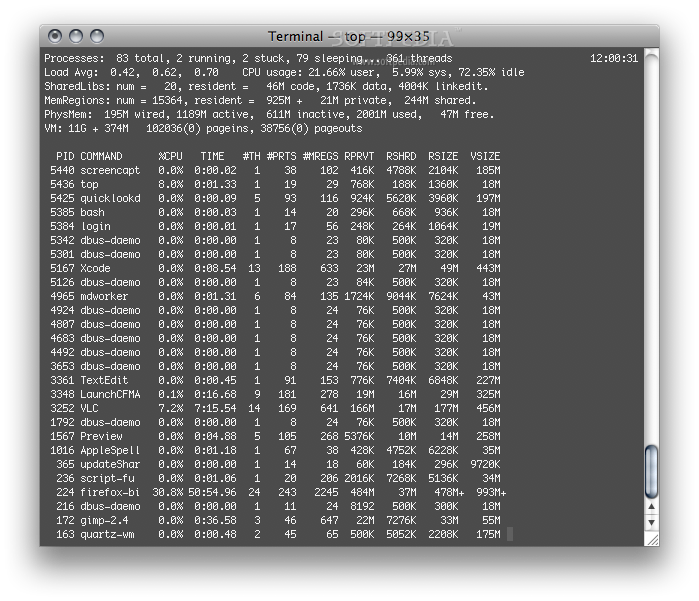
top ? This is yet another command that will allow you to view real-time statistics related to the CPU usage, resource usage, memory usage and the paging events of any process running at a certain time on your system. This way you can easily get an idea of which is the process that consumes the most resource and, in case something goes wrong with your system, who might be the culprit.
Once again, you can easily take your old friend kill for a walk and tell it to quickly terminate any process that you might find suspicious. Be careful though at what PID you enter as an argument for kill because you?re newly acquired friend doesn?t really care who will get the bucket. If you mistakenly use another PID (one linked to a system service for example) things could get very dirty, very fast ? meaning that you?ll find yourself with breathless Mac on your hands.
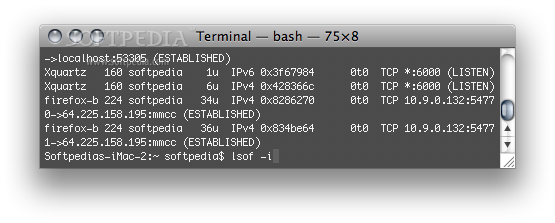
lsof ? As man says about this one it will list the files opened by each process. At first glance, this doesn?t look very interesting, right? But by adding an "-i" you will quickly get a list of the IP addresses connected to your Mac as well as the protocol they use to do it. lsof can prove quite useful if you want to see all the connections your Mac has on the Internet and I?m sure you will think of a way or two to take advantage of this information.
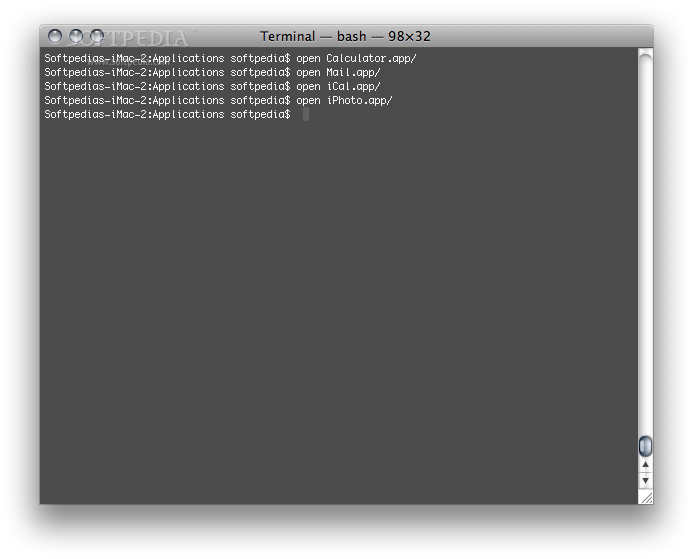
open ? This command emulates a double-click in the Finder, therefore allowing to launch any GUI (or GUI-less) application you may have installed on your computer. How can this be useful? Let?s just think about the following scenario: you are connected to your ? or a friend?s computer - using a command line tool like SSH and thus you are only able to use command-line programs.
If you had no idea a tool like open exists, then you?re pretty much stuck in case you wanted to launch an OS X app bundle because the command-line treats them like folders. The only command-line utility that won?t do that is open and using it you?ll be able to run anything you want on the computer you are connected to.
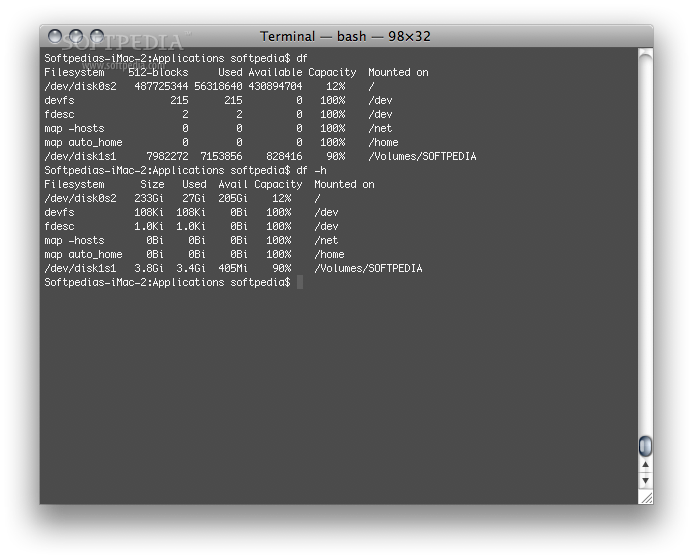
df ? Is an underestimated command, but also one that I find extremely useful because it just helps me avoid having to push CMD+I to open the "Get Info" dialog so I can get a glimpse of the used and available space on a certain disk. I find it more elegant (and faster when dealing with really large disks) to launch df from Terminal and quickly get the drive size, the used and the available space, the capacity and the mount point.
There is a catch when using df, too. If you run it with no option, you will have the surprise to see everything counted in blocks of memory - something that most people will not understand (unless they?re some kind of UNIX gurus, of course) ? therefore you will have to use it as "df ?h" to be able to get a human readable output.
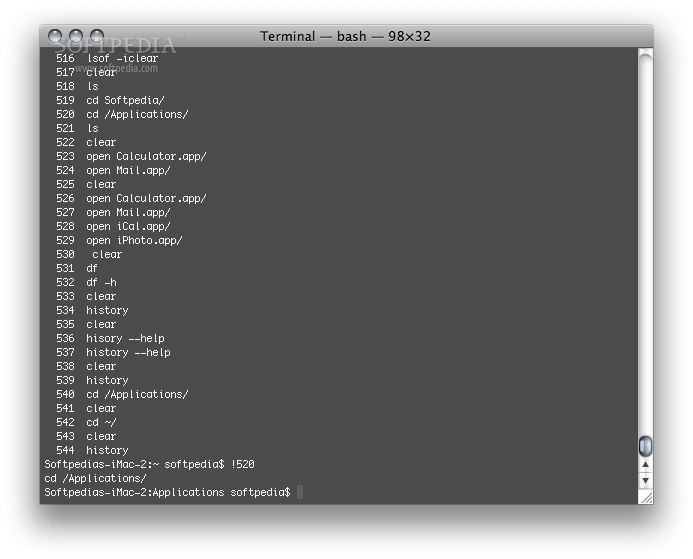
history ? A tool that will allow you to quickly overview a list of the previous command that you have used in the Terminal. Just this wouldn?t make it too useful to be a part of this article but, as usual, there is a little trick that makes it one of my top favorites.
When you type history at the command line, you will get as output two columns of text, the first one containing numbers and the second one a command. Entering a command of the type "!nr" (where nr is the number associated to a certain command in the history output will allow you to rerun that specific command without having to rewrite all the options it has. Just ! and its history number.
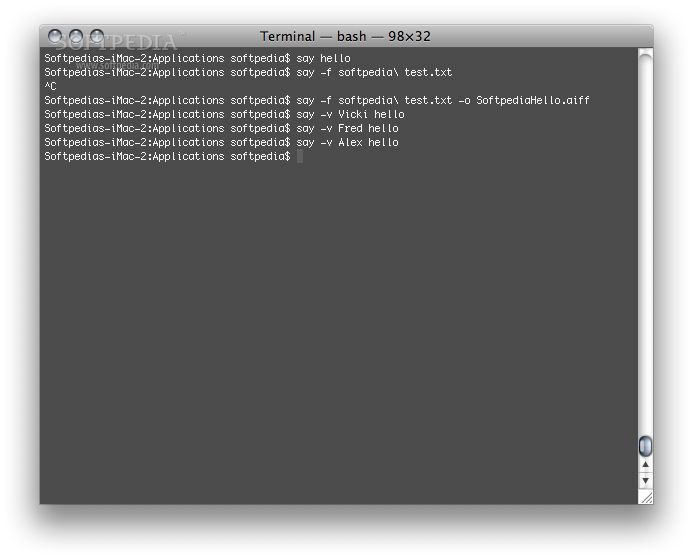
say ? This is the last, but certainly not the least, command-line tool I want to present. Using say, you will make your Mac say the text that follows the command. Writing "say hello" will obviously make your Mac say hello. But this doesn?t stop here. You will also be able to make your Mac read the text from a text file out loud using the "-f filename" option and even write the audio output to an aiff file by attaching "-o filename" to the say command.
You can also change the voice with the "-v voice" by replacing "voice" with any of the predefined system voices available on your Mac. This tool could prove quite handy when having to give remote assistance to a client or friend by allowing you to actually tell him what you want to say instead of having to write it in a text file or even get through the loops of the Voice Service on his Mac.
These are some of the tools that I use on a daily basis while working with the Terminal (the list would actually be a lot longer but to write them all down would take me more then it would take you to discover them by yourself) and if you have any other additional utilities that you use and have been left out from this list, share them with everyone else using the comment section bellow.