
 14 DAY TRIAL //
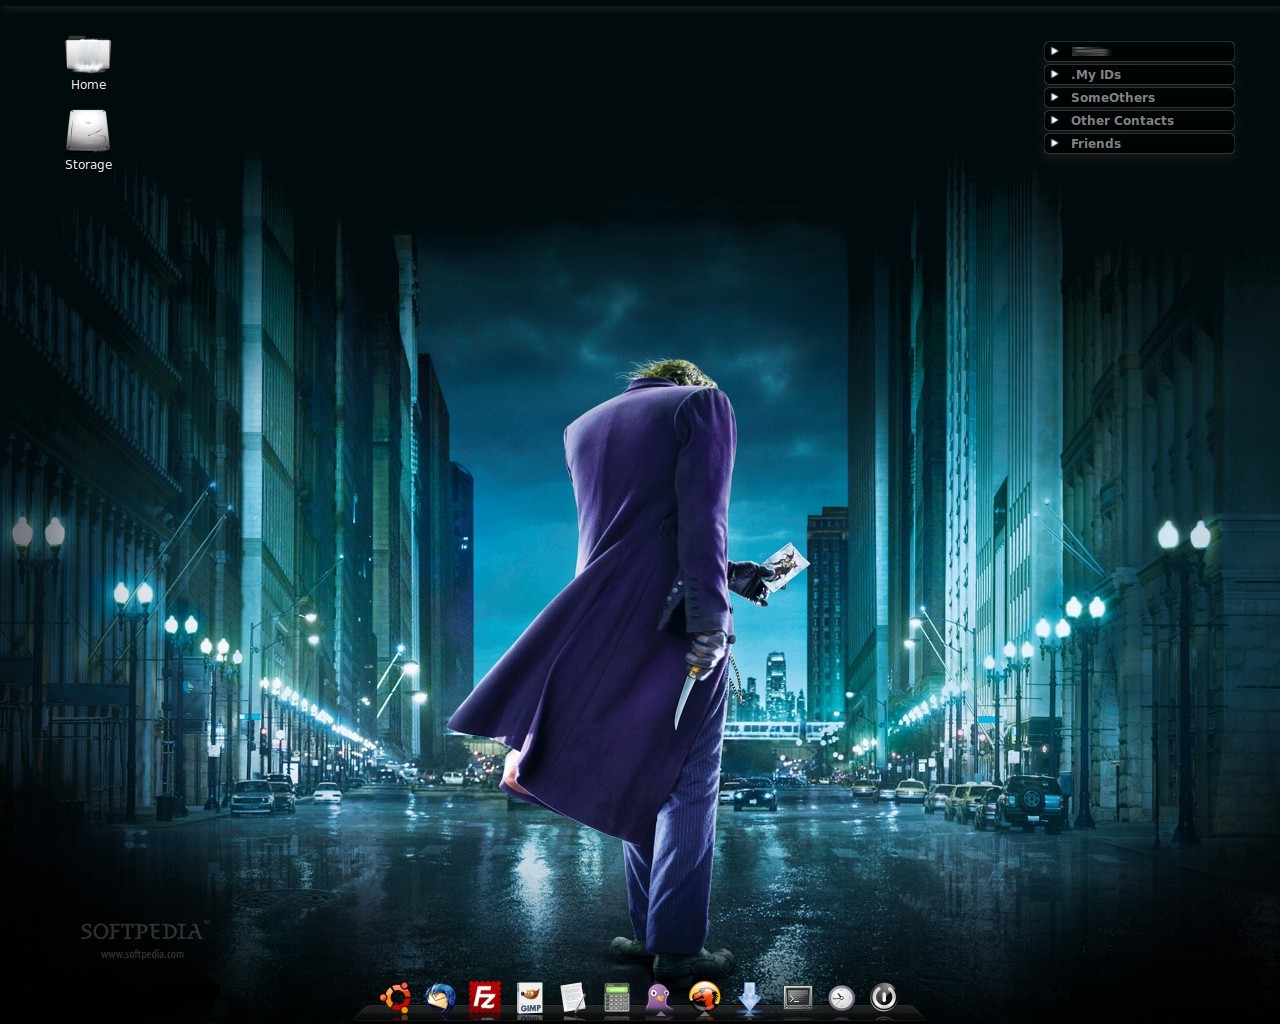
 Because many people complained a lot about the looks of the new Ubuntu OS and other major Linux distributions, and how they wanted a more eye-candy, professional desktop, we thought that the following tutorial would be a nice Christmas Gift for all of you Linux enthusiasts out there. Therefore, this step-by-step guide will teach you how to create your own "futuristic" Linux desktop! In other words, we will pimp your desktop and change its looks:
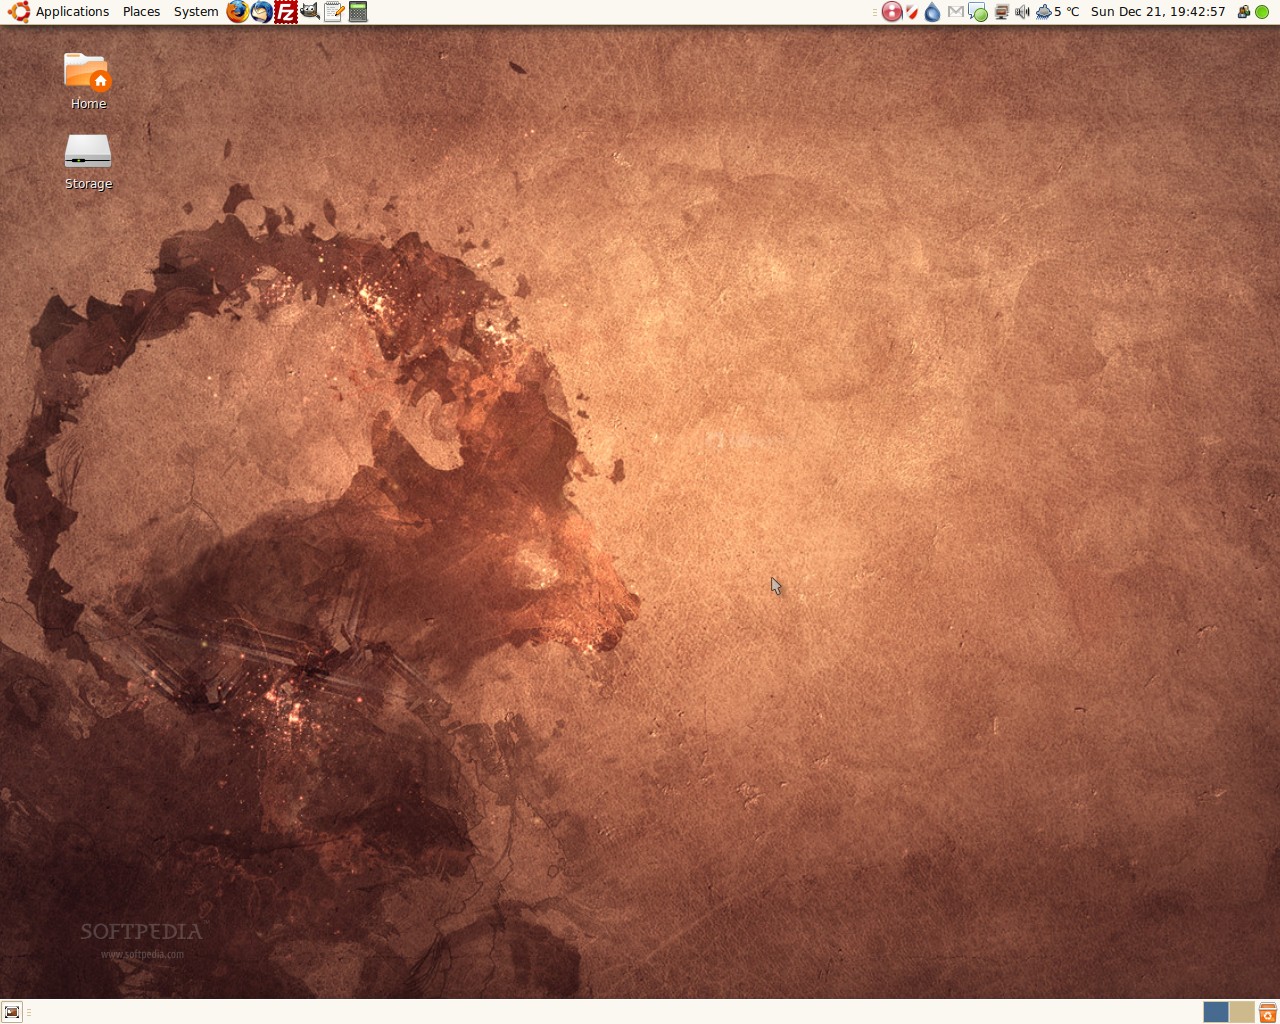

But, remember that nothing can stop you from adding other elements to your desktop, in order to make it "perfect"!
What do I need to get started?
1. A recent Linux distribution (we recommend Ubuntu 8.10) 2. Avant Window Manager 3. Screenlets 4. Pidgin Screenlet 5. Emerald Decorator 6. A nice wallpaper! 7. Mashup Icon Theme
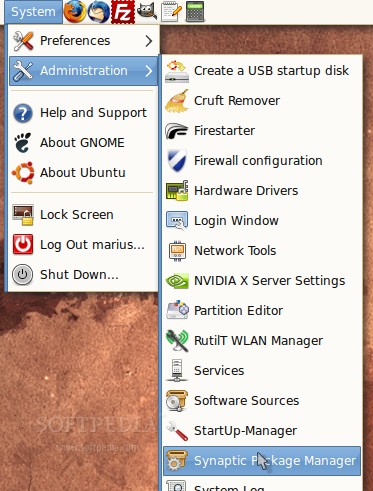
Let's get started, shall we? First of all we need to install Avant Window Navigator, therefore you should open Synaptic Package Manager (System -> Administration -> Synaptic Package Manager)...
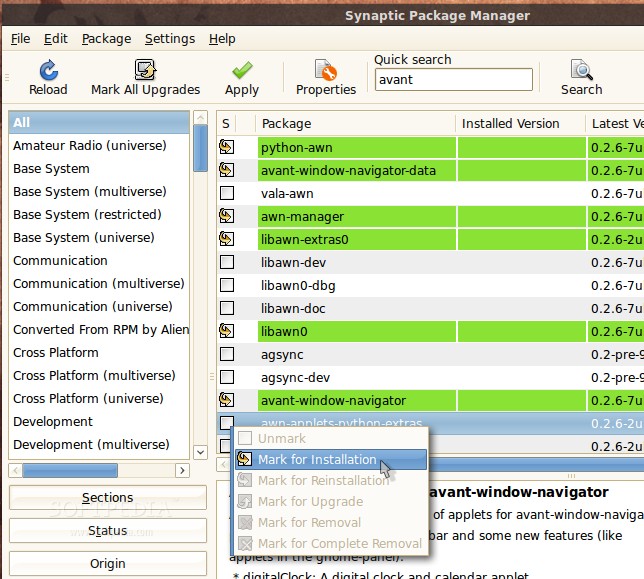
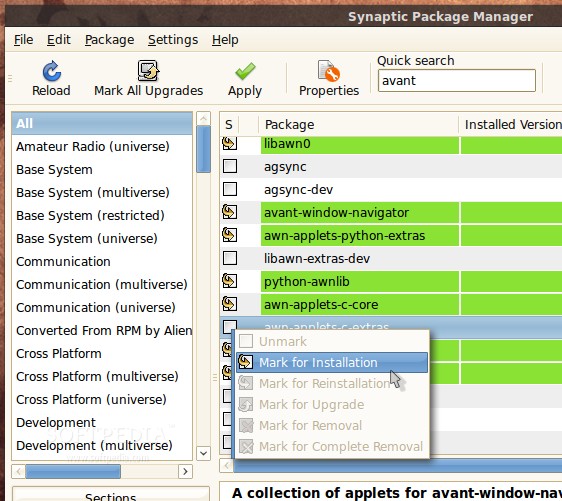
Search for "avant" (without quotes). Wait a few seconds to find the packages. Click the box in front of the "avant-window-navigator" package and select the "Mark for Installation" option...

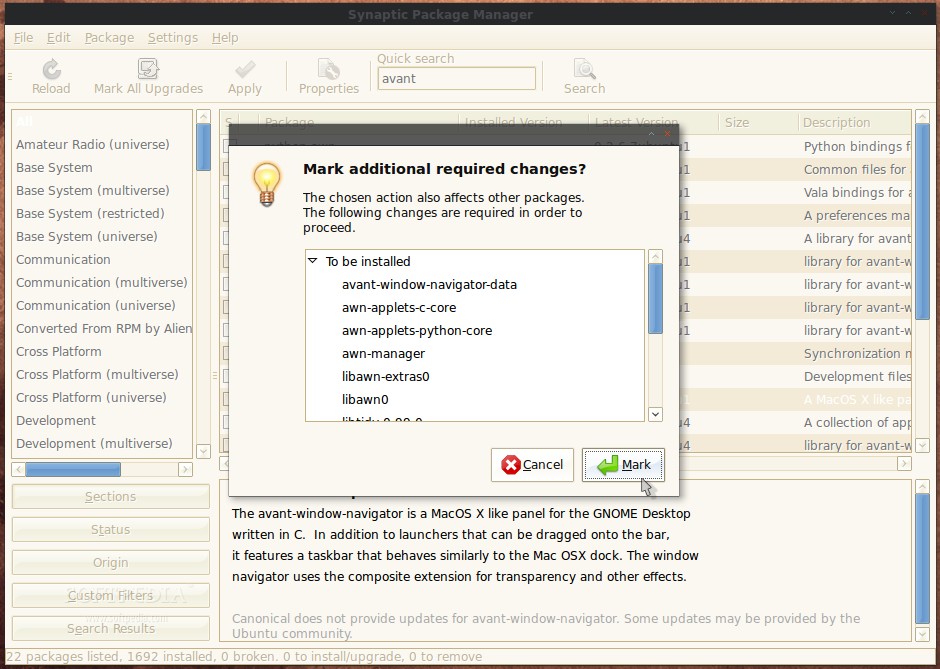
You will be asked if you want to add the additional required packages. Click on the "Mark" button to add them...
Now, we need to add two more packages: "awn-applets-python-extras" ...
...and "awn-applets-c-extras" ...
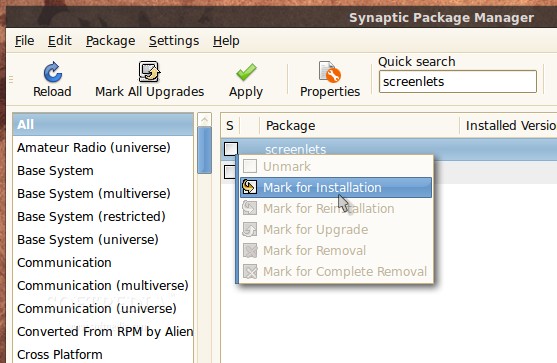
Then, search for "screenlets" (without quotes). Wait a few seconds to find the package. Click on the box in front of the "screenlets" package and select the "Mark for Installation" option:
Click the "Apply" button and wait for the packages to be downloaded and installed...
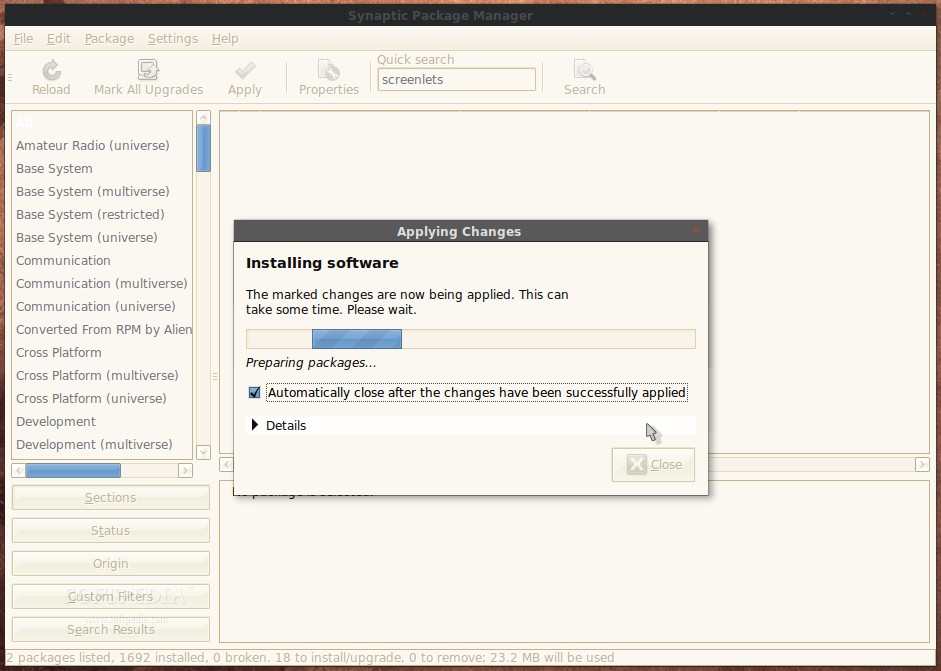
When the installation is over, close Synaptic Package Manager. Right click on the bottom panel and select the "Delete This Panel" option...

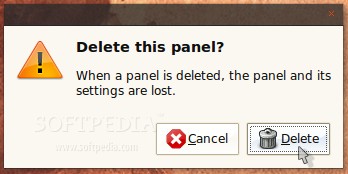
A warning window will appear. Just click on the "Delete" button...
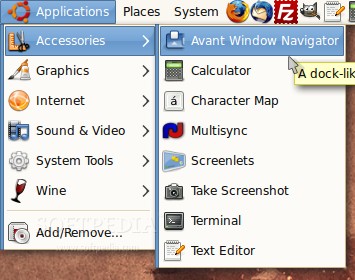
And now, let's replace it with Avant Window Navigator. Open it from Applications -> Accessories -> Avant Window Navigator...
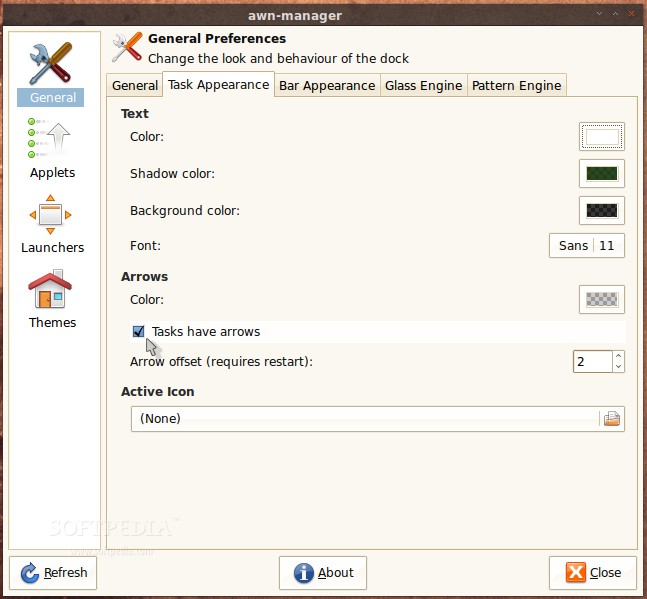
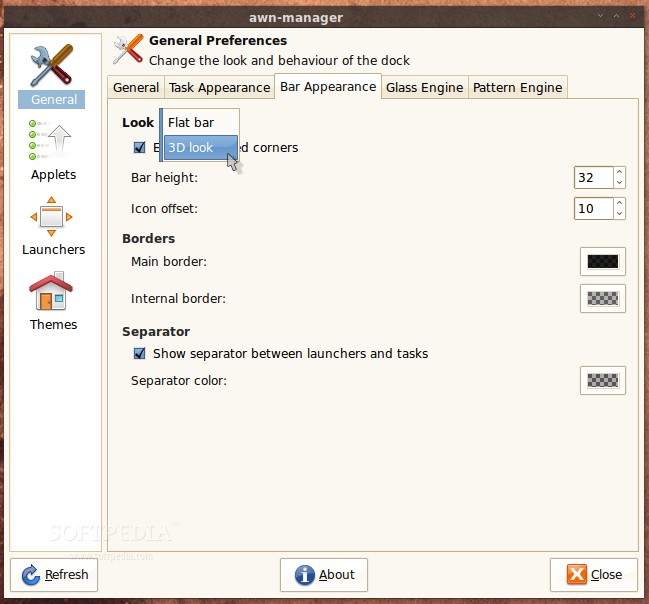
You will immediately see the dock at the bottom. Go to System -> Preferences -> Awn Manager and set its options like this...

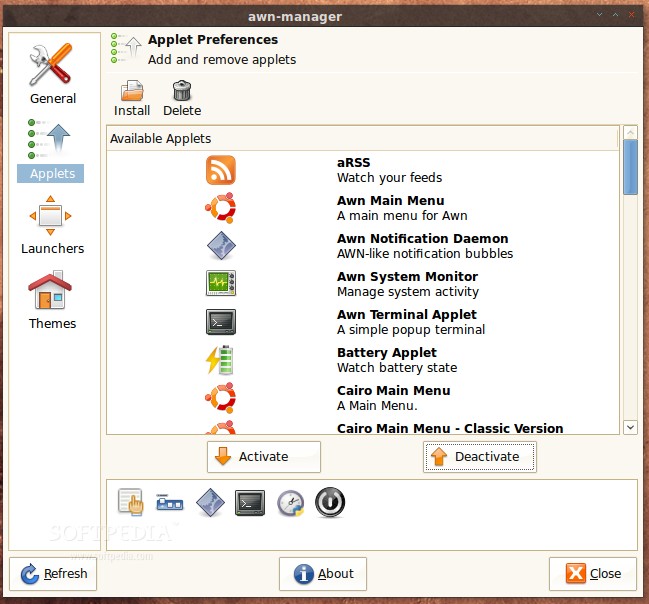
We recommend you add the following basic applets: MiMenu, Launcher/Taskmanager (installed by default), Awn Notification Daemon, Awn Terminal Applet, PyClock, Quit-Logoff Applet. Make sure they are in this exact order...
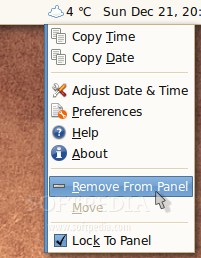
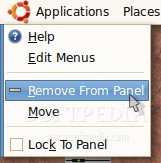
Now, remove everything from the right side of the upper panel (simply right click on them and choose the "Remove From Panel" option...
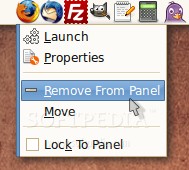
Drag and drop your favorite application shortcuts, from the panel to the Avant Window Navigator (make sure that the panel icons are not locked). After that, remove them all...
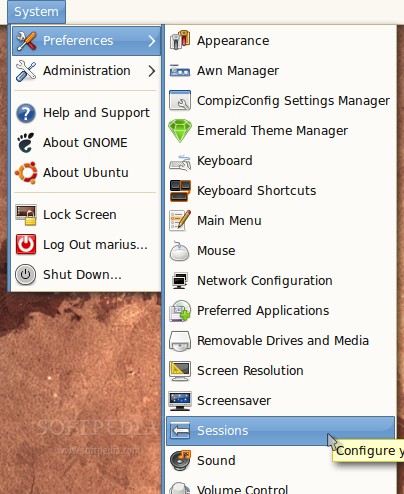
Go to System -> Preferences -> Sessions...
Add an entry for Avant Window Navigator, so it will automatically start with the session...

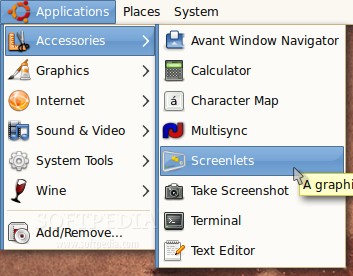
In order to add the nice Pidgin widget, download it from the beginning of the tutorial, open the Screenlets manager from Applications -> Accessories -> Screenlets...
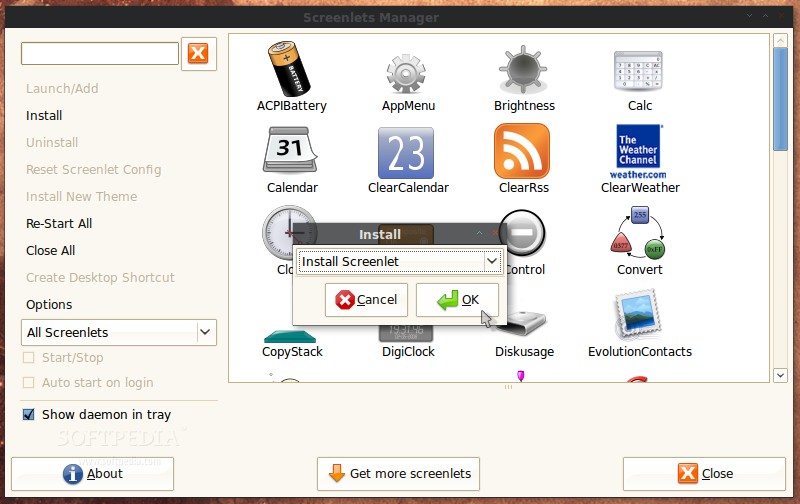
Click the "Install" option on the left side and click the "OK" button on the little install window...
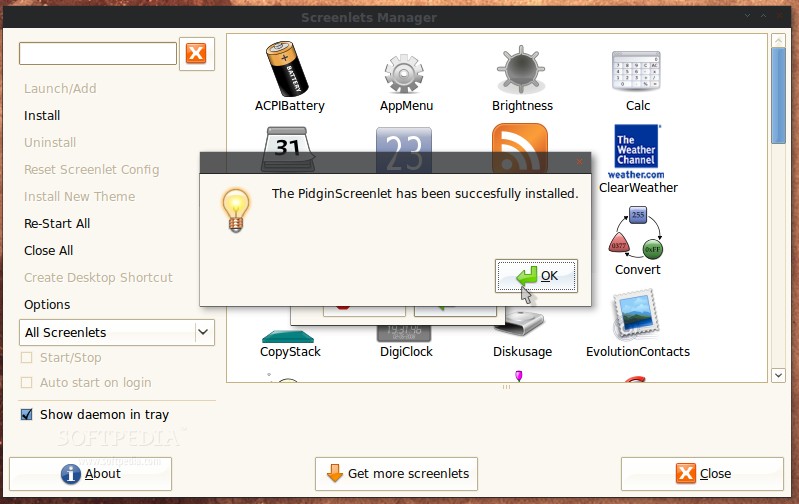
Search for the PidginScreenlet archive and double click it to install. You will receive a confirmation message if the installation is successful...
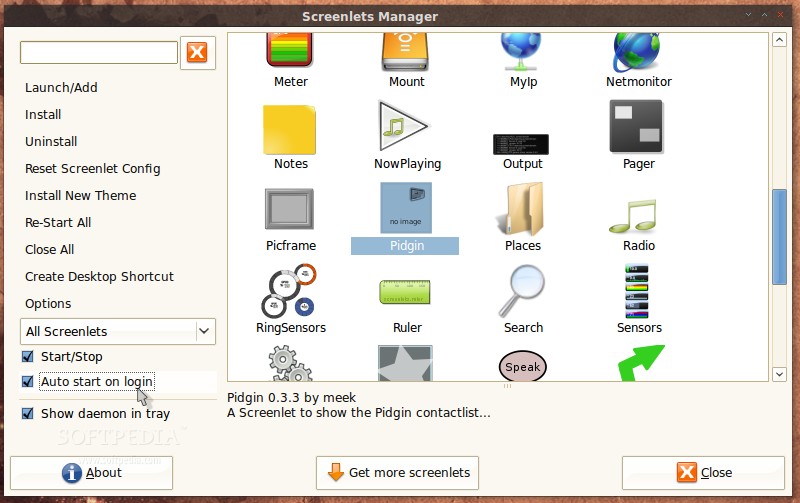
Search for Pidgin in the applets window, click on it and make sure that you check the "Start/Stop" and "Auto start on login" options in the left side...
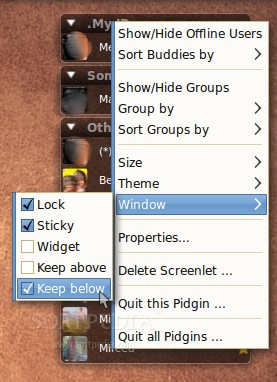
Drag the Pidgin Screenlet from the left side of the desktop to the right. Right click on it, select the "Theme -> Black 2" and make sure you have the following options active under the "Window" sub-menu: Lock, Sticky and Keep below...
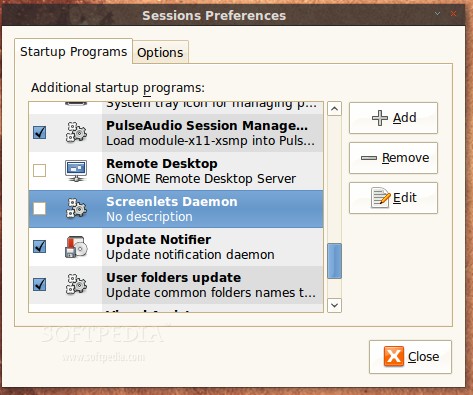
Go back to System -> Preferences -> Sessions and uncheck the "Screenlets Daemon option...
You can now remove the last remaining item from the upper panel...
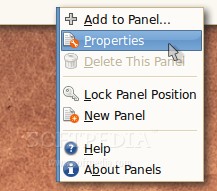
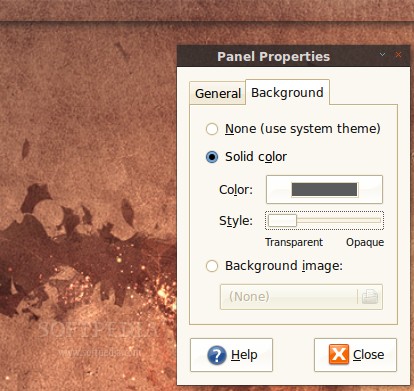
In order to make the panel disappear, right click on it and select "Properties"...
On the "General" tab, check the "Autohide" option and set the Size to 21...
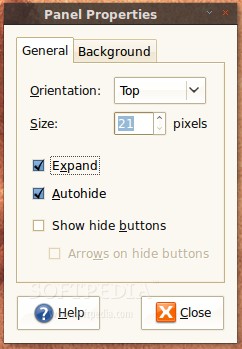
On the "Background" tab select the "Solid color" option and drag the Style slide to "Transparent"...
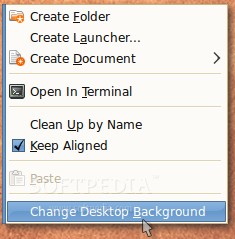
Get a nice wallpaper, right click on the desktop and choose "Change Desktop Background"...
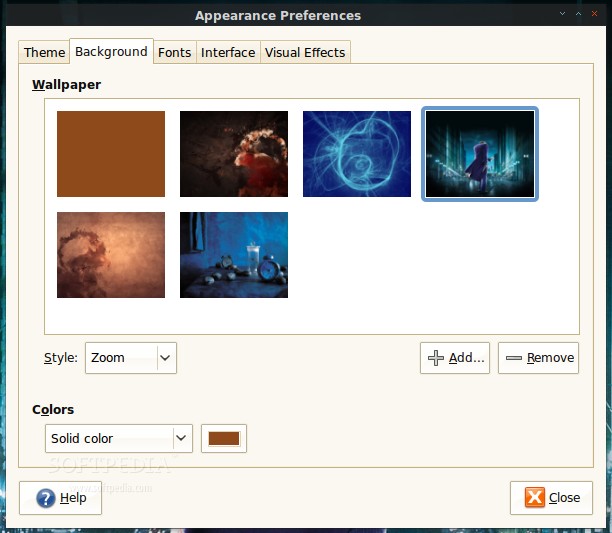
...and select your favorite wallpaper...
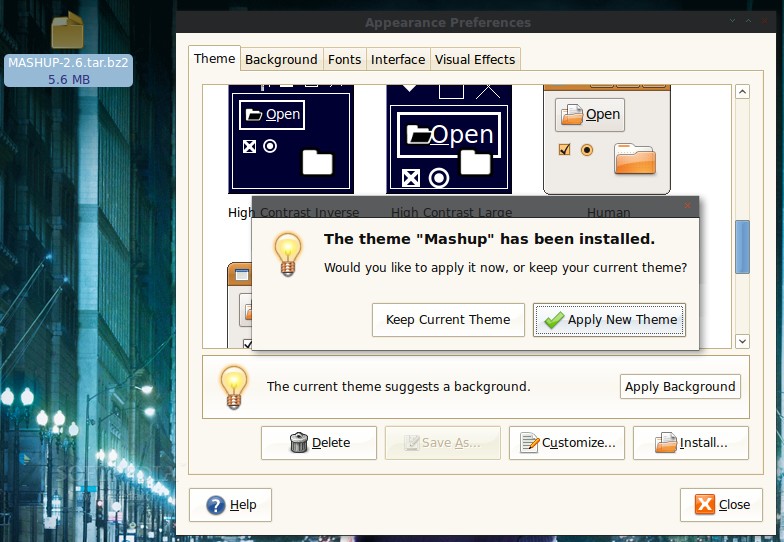
Go to the "Theme" tab and drag and drop the Mashup icon theme. You will be asked if you want to apply the theme. Click on the "Apply New Theme" button...
That's it. Optionally, you can install the Emerald Decorator and get some nice themes for it from here.
Don't forget to drop a link with your own screenshots!
Note: To revert everything back to default, please use our Ubuntu 8.10 Desktop Customization - Revert Guide