
 14 DAY TRIAL //
 At the request of our readers we have decided to revive our old desktop customization tutorial for the Ubuntu OS (and other major Linux distributions powered by the GNOME desktop environment).
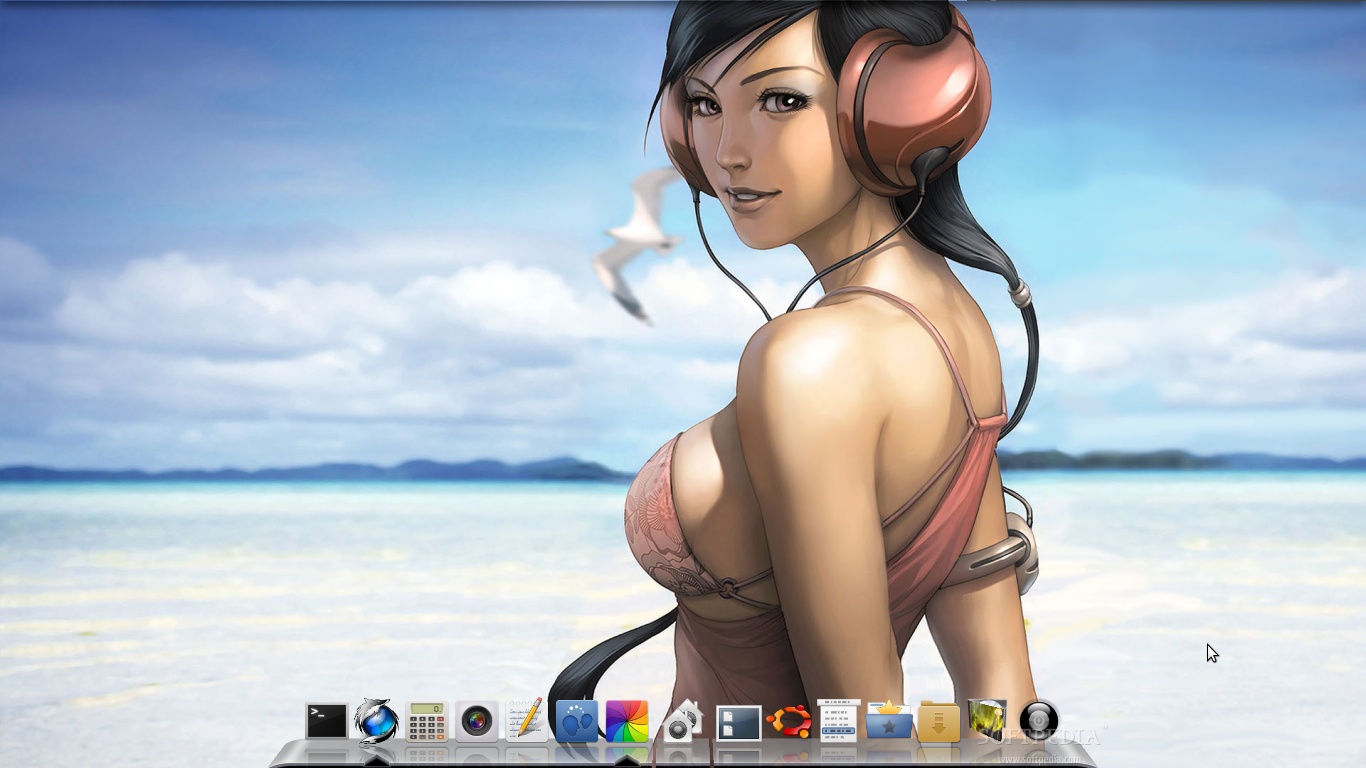
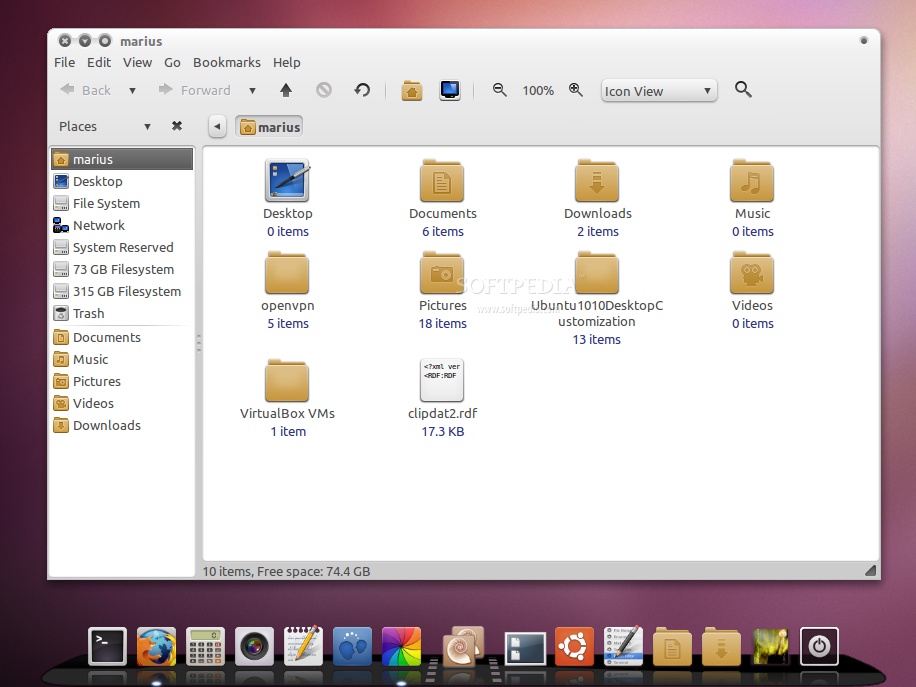
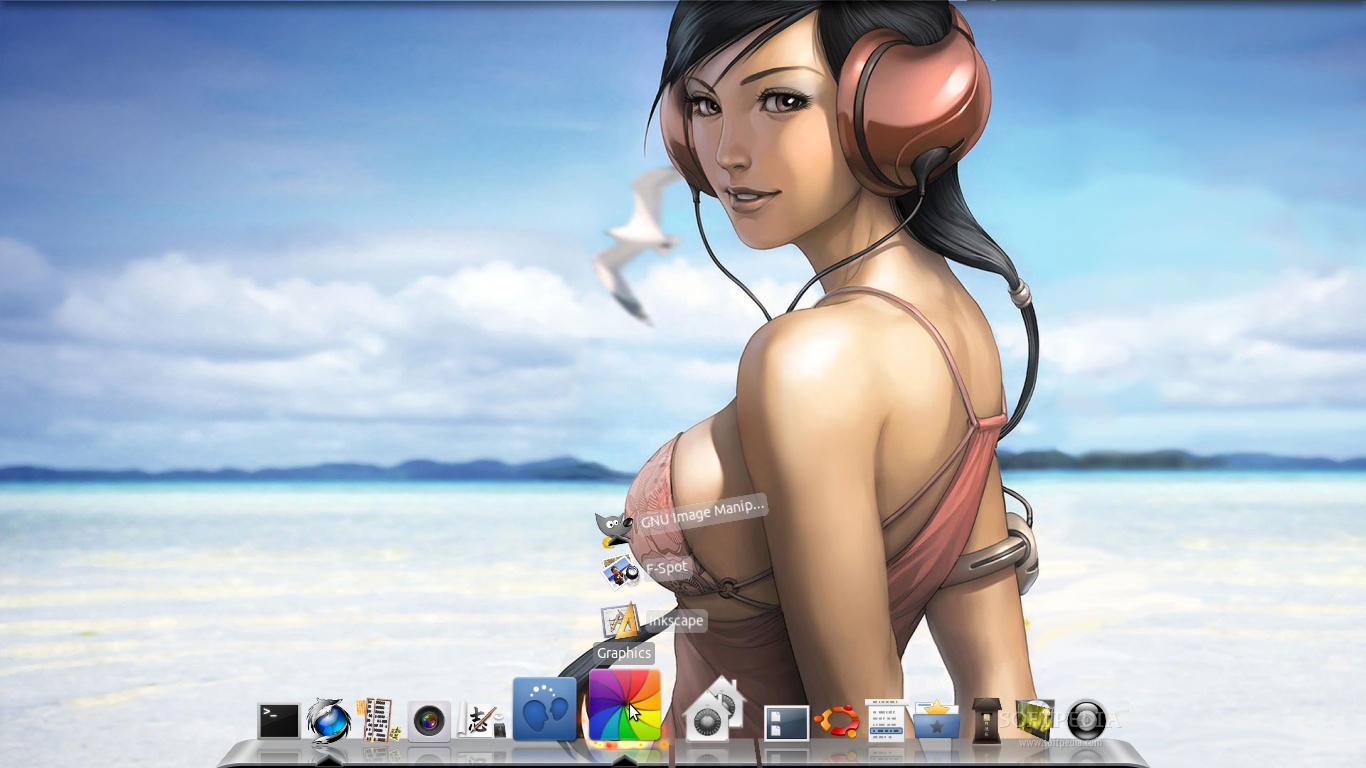
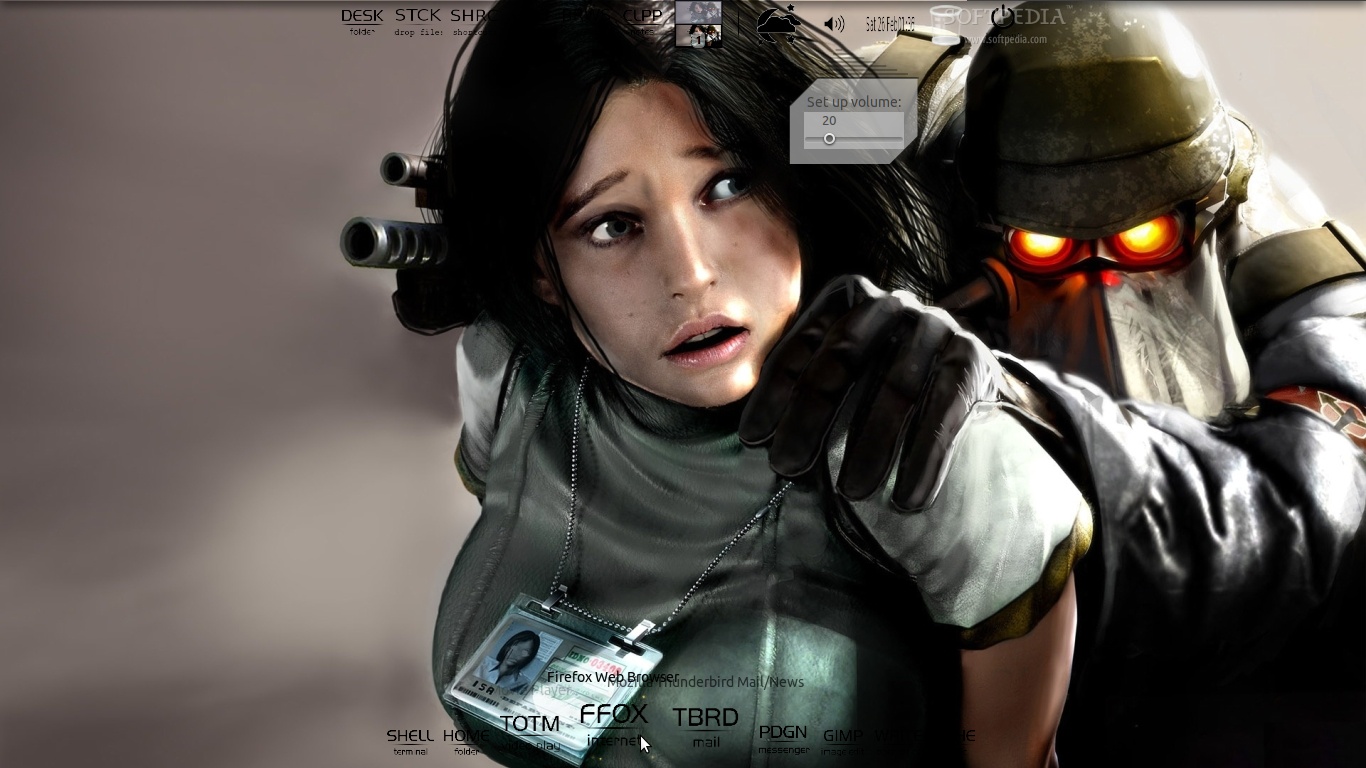
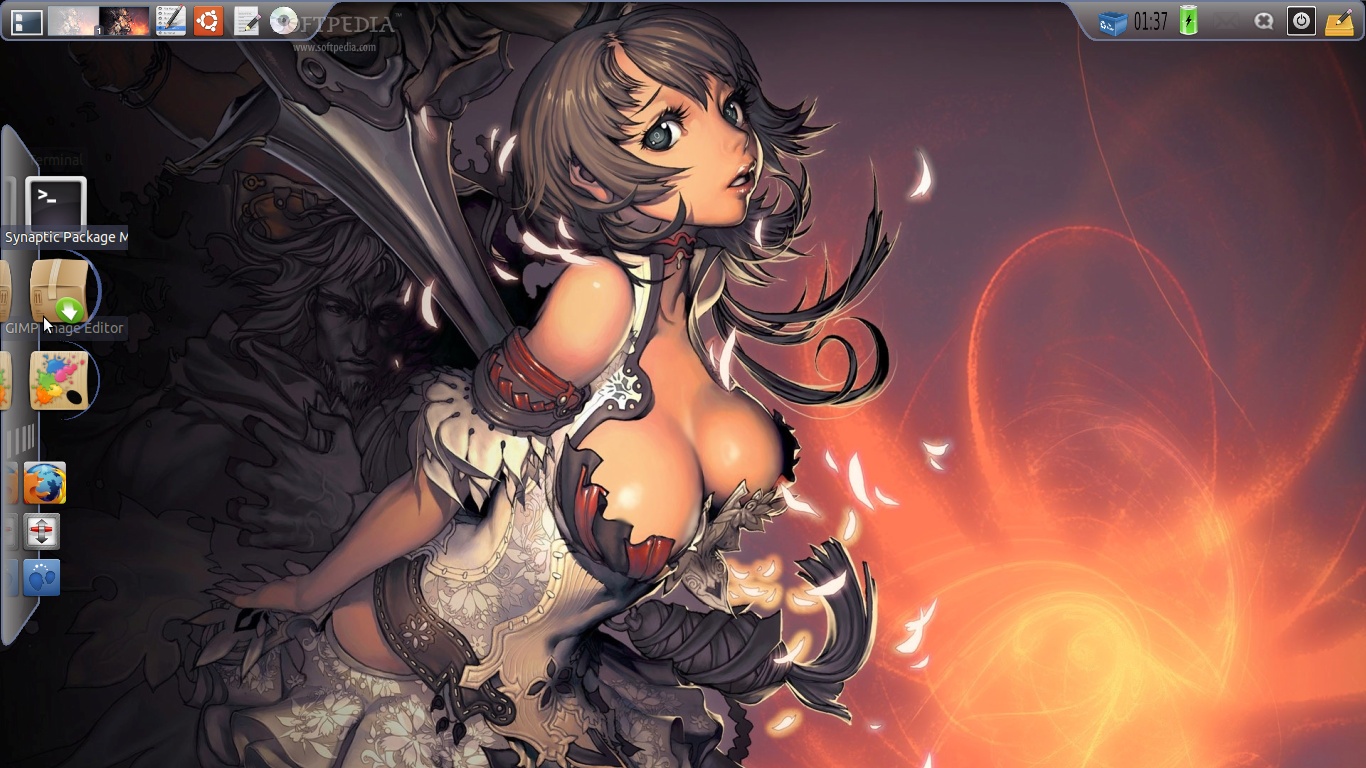
This step-by-step tutorial was created for the Ubuntu 10.10 (Maverick Meerkat) operating system and it will teach you how to change the looks of your Linux desktop into an eye-candy, practical, simple and modern one. In other words, to pimp your desktop and change its looks:
Things you need to get started:
1. Ubuntu 10.10 (Maverick Meerkat) operating system (Desktop Edition); 2. Cairo-Dock; 3. Orta GTK2 Theme; 4. Faenza Icon Theme; 5. An amazing wallpaper.
Step 1 -
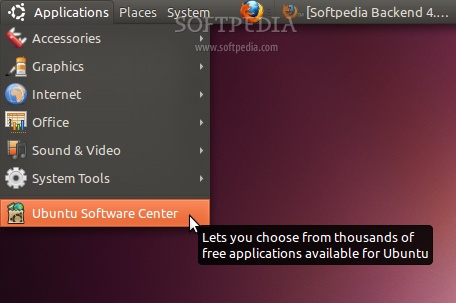
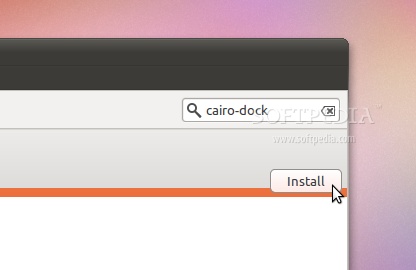
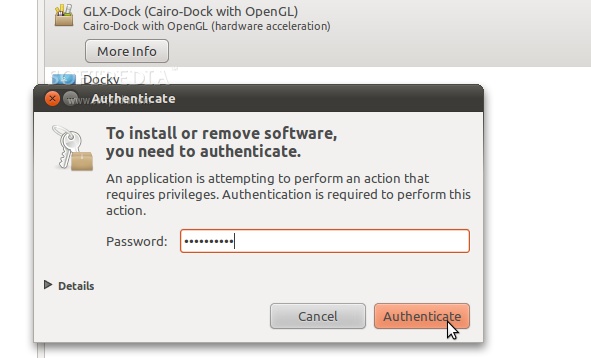
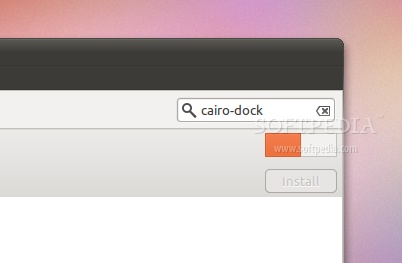
Installing Cairo-Dock
For this tutorial we have decided to use Cairo-Dock instead of AWN (Avant Window Navigator). Therefore we will install Cairo-Dock by using Ubuntu Software Center (Application -> Ubuntu Software Center)...
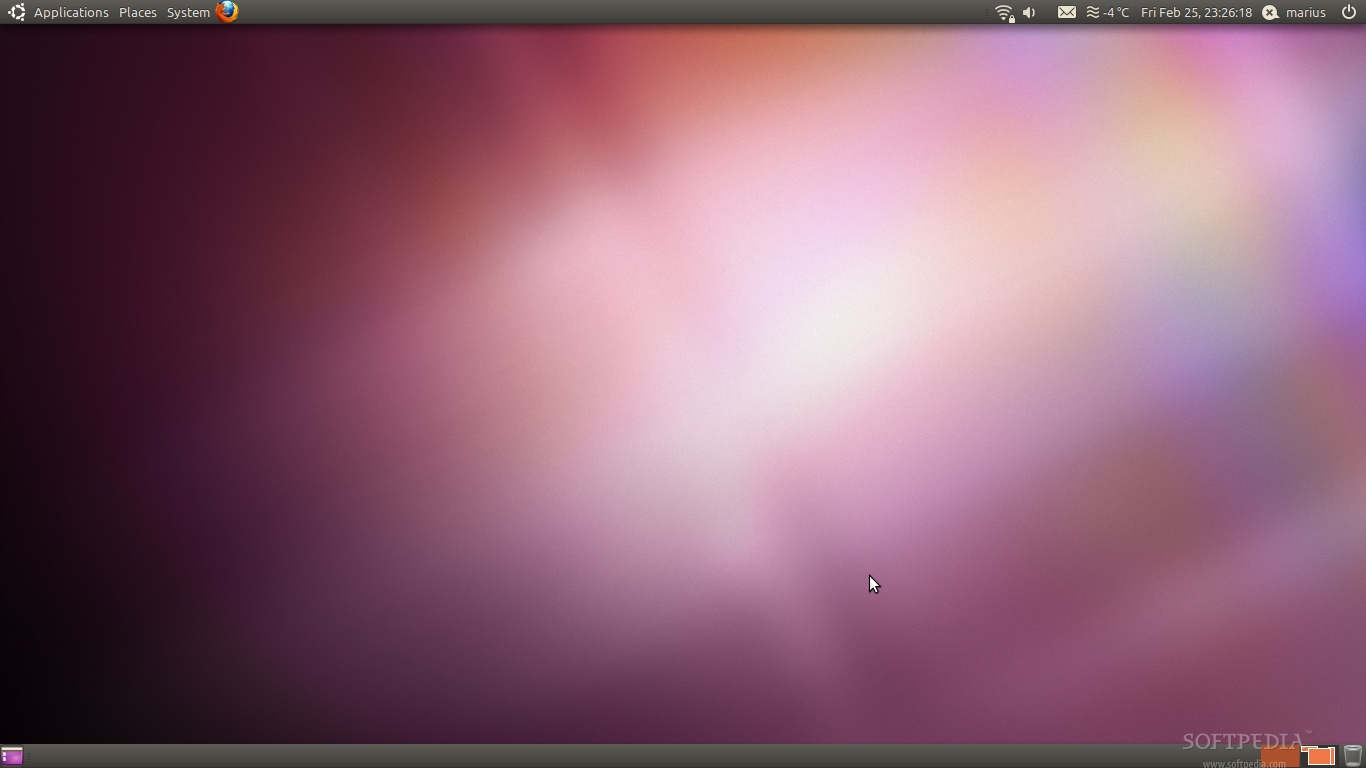
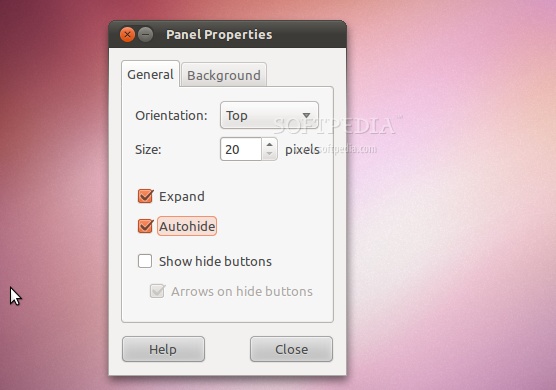
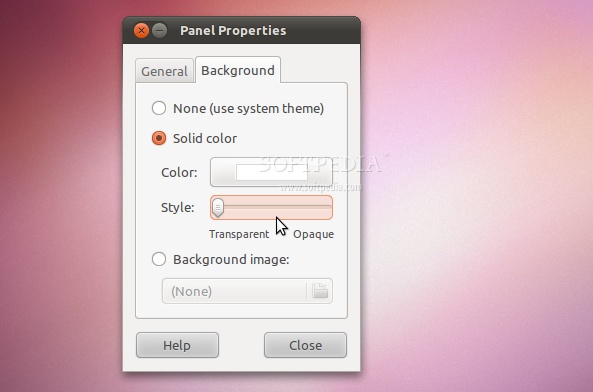
Step 2 -
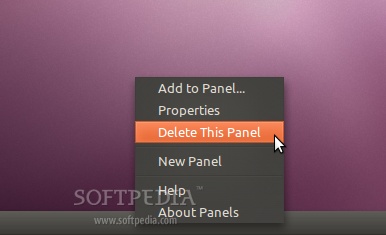
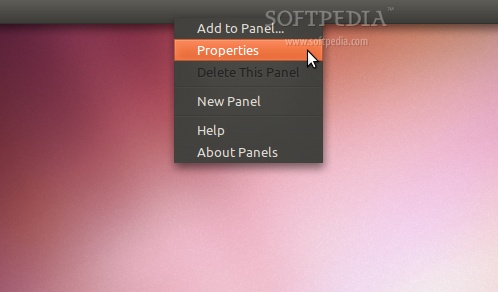
Cleaning the desktop
Right click on the bottom panel and select the "Delete This Panel" option...
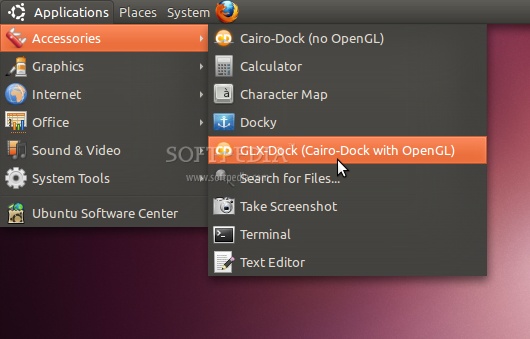
1. Applications -> Accessories -> Cairo-Dock (no OpenGL) - recommended for users without video drivers and low-end machines. 2. Applications -> Accessories -> GLX-Dock (Cairo-Dock with OpenGL) - recommended for users with proper video drivers and high-end machines.
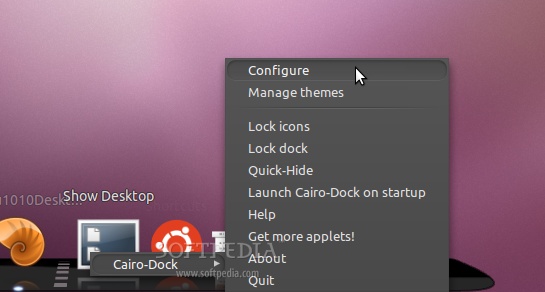
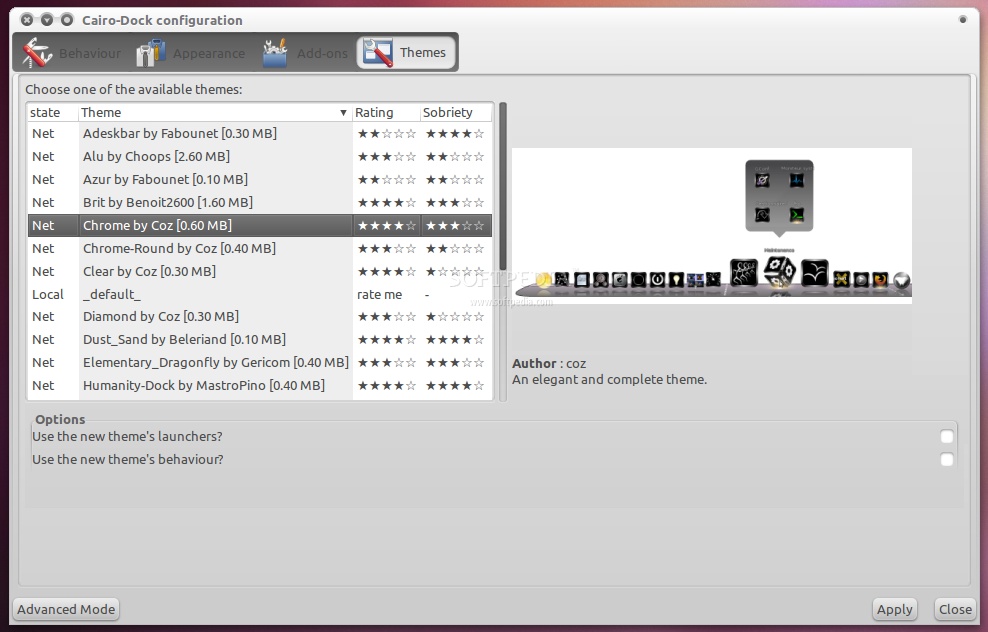
Step 3 -
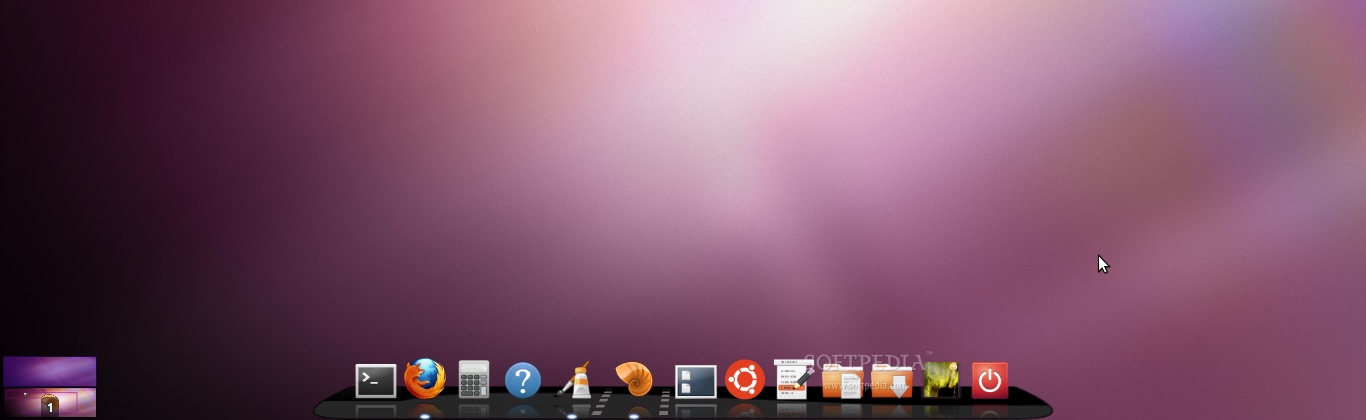
Configuring Cairo-Dock
The Cairo-Dock configuration it's matter of choice and taste. You can right click on an empty space on the dock and choose "Cairo-Dock -> Configure"...
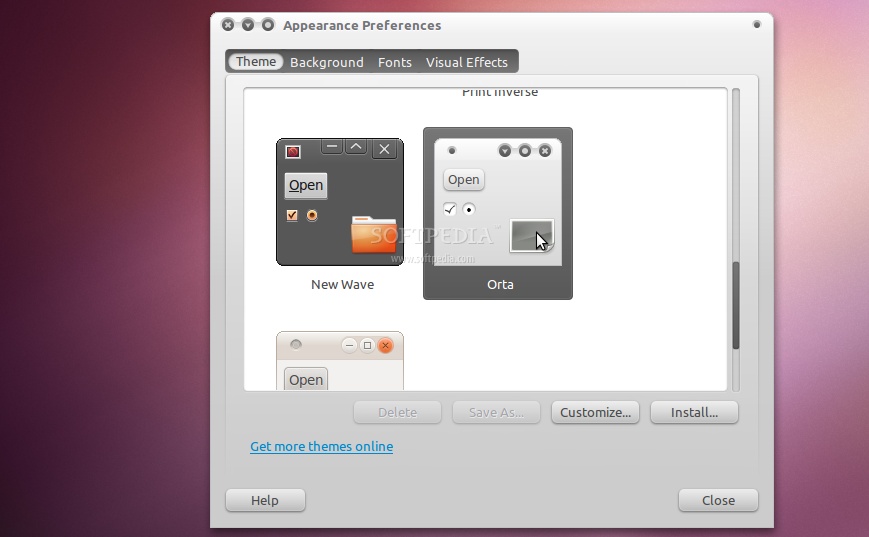
Install the Orta theme
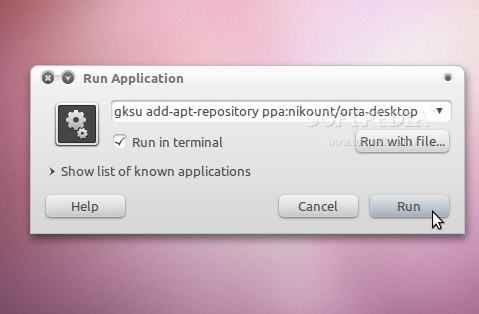
Hit the ALT+F2 key combination on your keyboard, check the "Run in terminal" option and paste the following command in the "Run Application" dialog:
gksu add-apt-repository ppa:nikount/orta-desktop
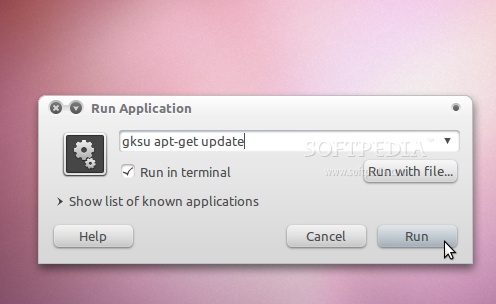
Hit the ALT+F2 key combination again, check the "Run in terminal" option and paste the following command in the "Run Application" dialog:
gksu apt-get update
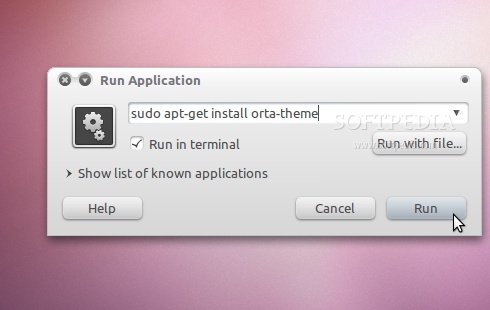
Hit the ALT+F2 key combination on your keyboard, check the "Run in terminal" option and paste the following command in the "Run Application" dialog:
sudo apt-get install orta-theme
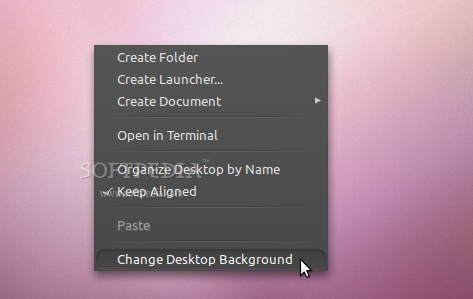
Now right click on your desktop and choose "Change Desktop Background"...
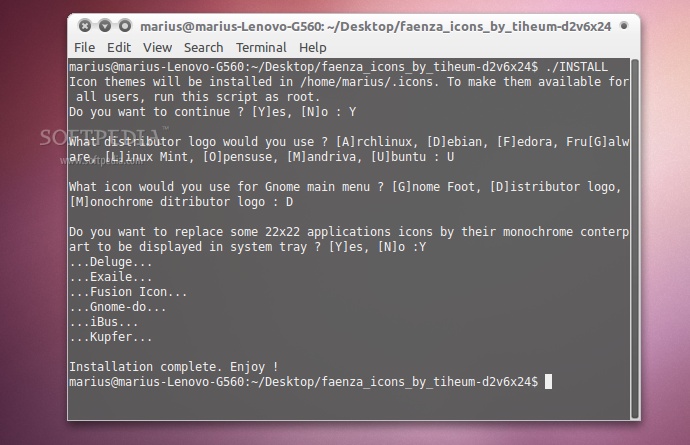
Install the Faenza icon theme
Just download the icon theme from here, and follow the author's instructions:
"Download the tar.gz file and extract it. In the new folder created, run the ./INSTALL script to choose the distribution logo (Ubuntu, by default) and the Gnome menu icon. If run as root, the script will copy the iconsets to /usr/share/icons to made them available to all users. Some default icons used by Rhythmbox and Dockmanager may be also replaced. Run ./UNINSTALL as root to restore defaults icons."
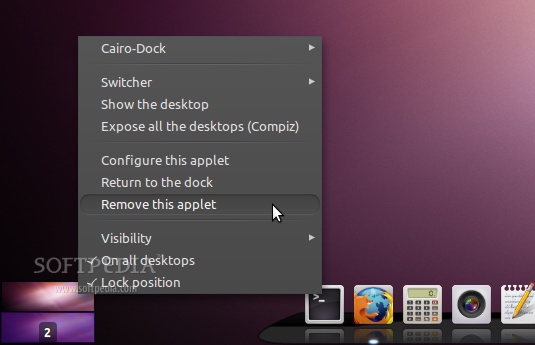
Step 6 -
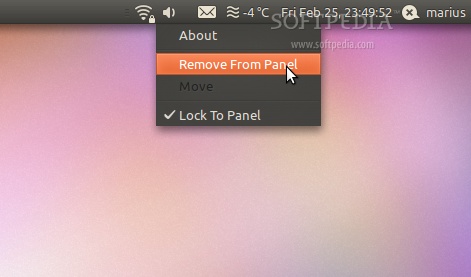
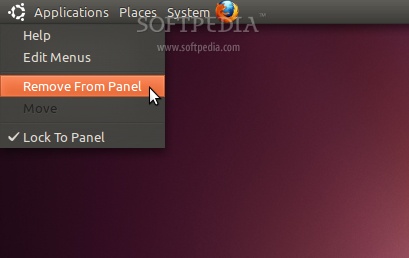
Final touches
Remove the desktop switcher applet from the default theme, if you think it's annoying...

From here on, let your imagination run wild and don't forget to drop a link with your own screenshots!