14 DAY TRIAL //
 Ever thought you can have your own Windows placed on a flash drive? Interesting and promising idea isn't it? Well, more interesting is that it can be done in a relatively easy and fast way. To do this operation you need a flash drive (minimum 256 MB size), the Windows XP installation CD and the PE Builder application that will do most of the job for you. PE Builder is a freeware application that will take the data from the Windows installation CD and compress it to fit on a flash drive, creating a portable Windows.
Requirements details
■ A flash drive (flash pen) with 256 MB of storage. Doing the operation myself, I observed that creating the portable Windows, with no additional programs added, required about 165-170 MB space on the flash pen although I was prepared with a drive of 1GB storage space. Because there is no flash drive with a capacity between 128 and 256 MB results that the minimum flash pen required is of 256 MB. ■ Your computer motherboard MUST support USB booting. It means that the flash pen should be recognized by it as a boot device similar with HDDs and CDs. Most of the latest mainboards support this function. In case you own an older mainboard, check the producer's website for BIOS upgrades. Usually, these updates solve the problem. ■ The original Windows XP installation CD - PE Builder will extract and collect data from the installation CD and then, will transfer it on the flash drive. ■ The latest mainboards are equipped with USB 2.0 ports allowing an increased file transfer. If your motherboard has USB 1.1 ports it's OK, only that the booting process will take longer. ■ The flash pen should be FAT formatted to be 100% accepted by the motherboard. ■ PE Builder - It will do the hard work.
Getting started
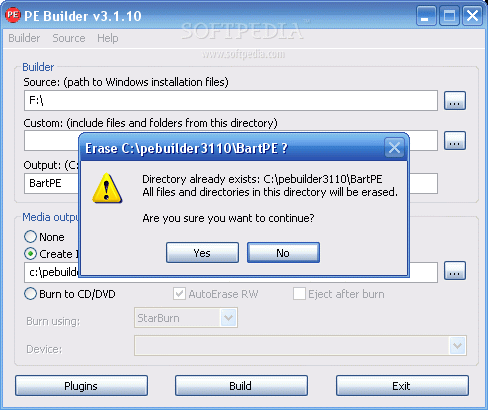
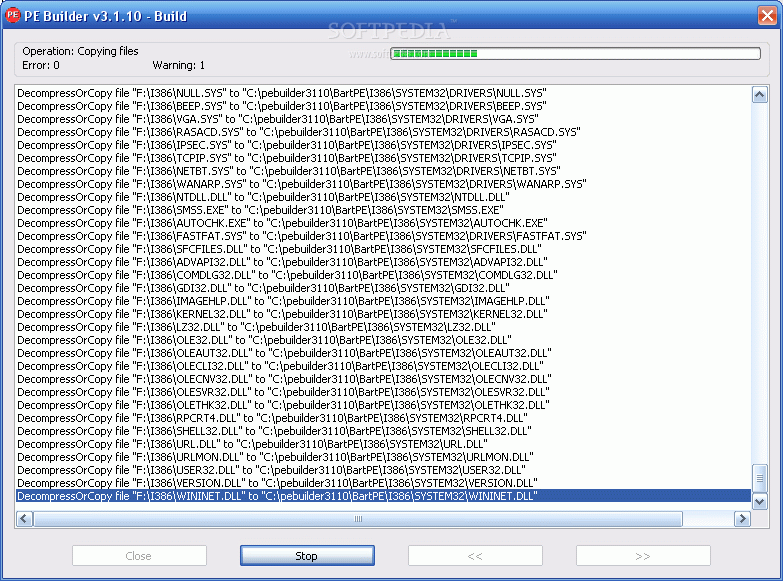
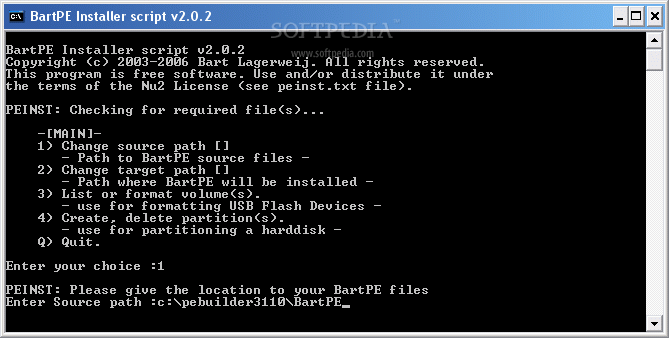
After you have successfully installed PE Builder, run the application to generate the files. You will be asked to provide a source path for the Windows installation files. Insert the Windows installation CD and add the CD-ROM drive letter as the source path. The custom and the output fields leave them as they are, BartPE folder will be created inside the PE Builder folder. There is where all the data will be placed that lately is to be transferred on your flash pen. Because the data destination is the flash pen, at the media output field, do not change anything because we are not interested to create a CD with Windows. All these being done, click Build to begin. Now, just wait for the application to finish generating files. When finished, click close. Check BartPE folder, all installation files are placed there.
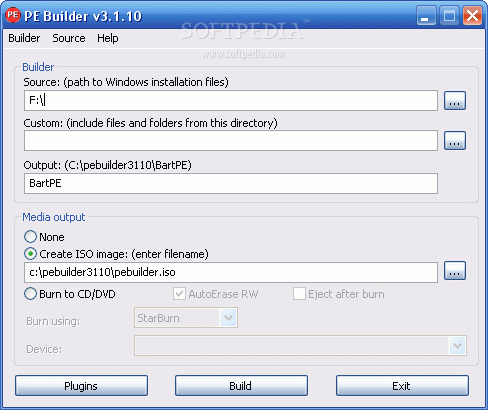
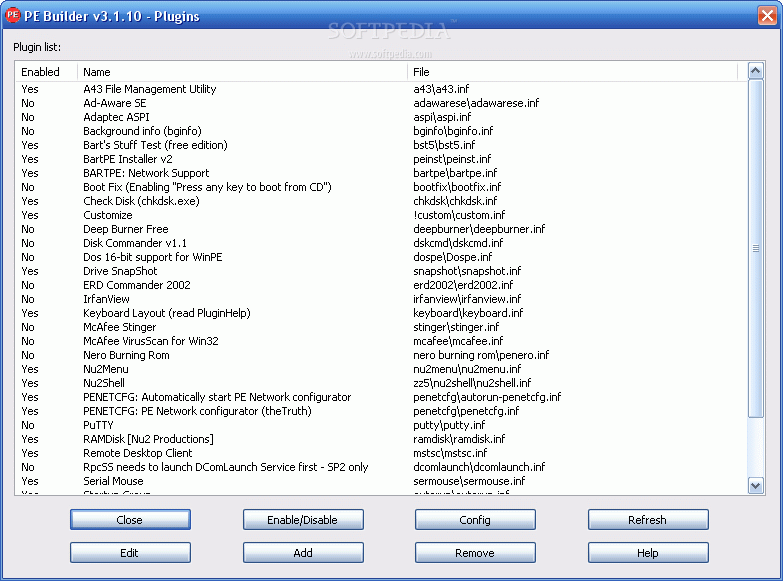
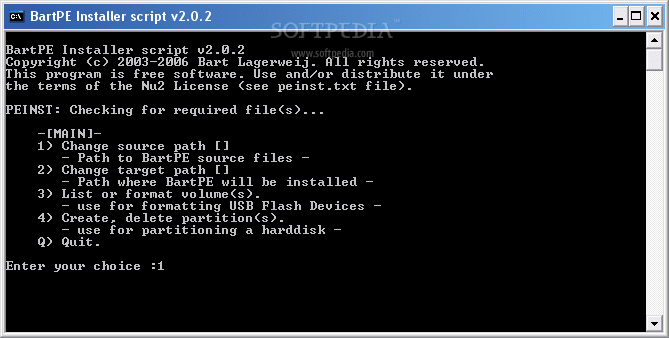
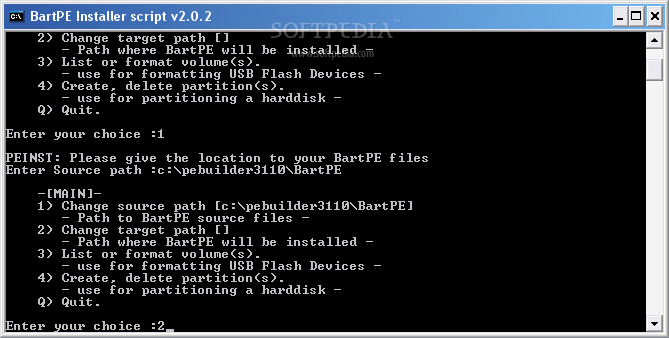
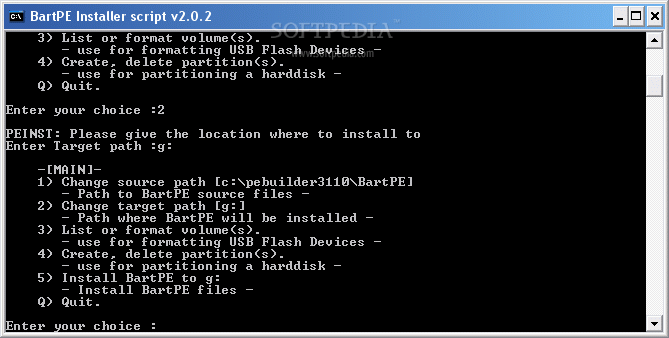
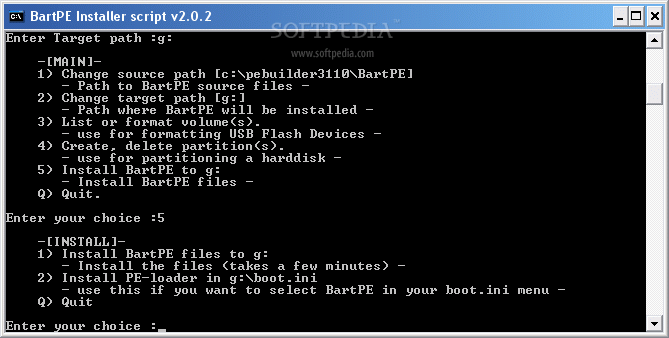
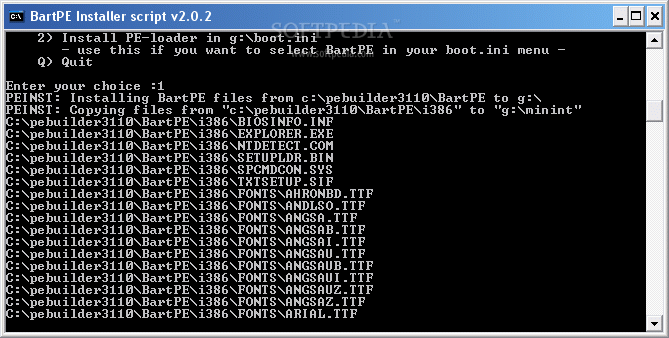
Next step is to provide the target path. Our target is the flash pen. So, insert the flash pen into the USB port, wait for Windows to recognize it and then see what drive letter is appointed to it. Enter 2, hit enter and then provide that letter as the target path and hit enter again. To start the installation, type 5 and then 1 followed by Enter. The application will start installing Windows on your pen drive. You will be notified when installation ends.


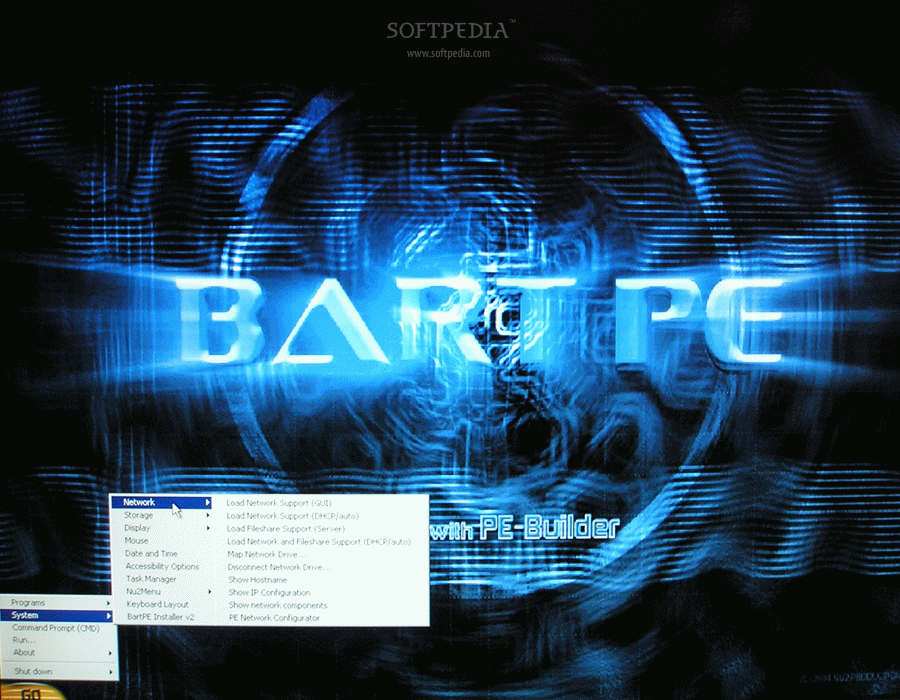
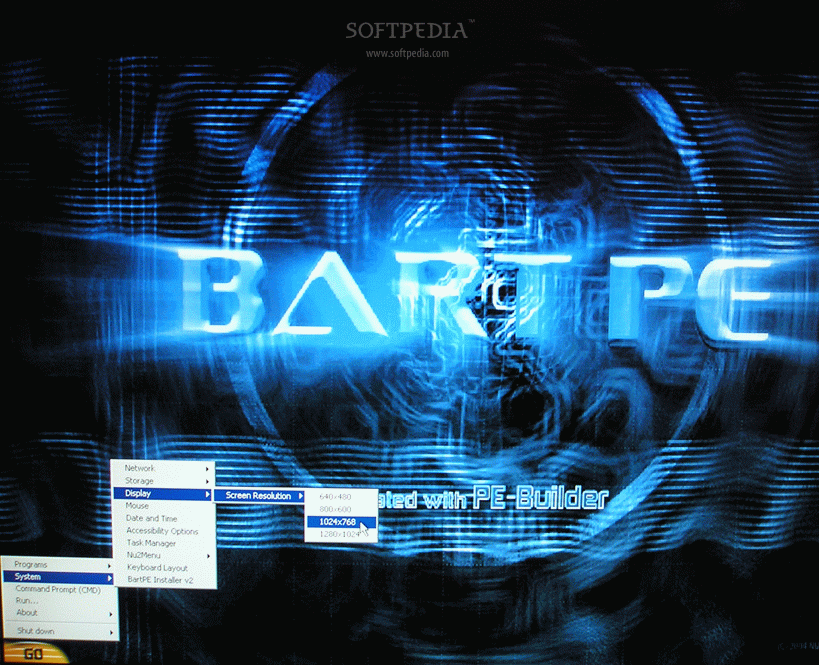
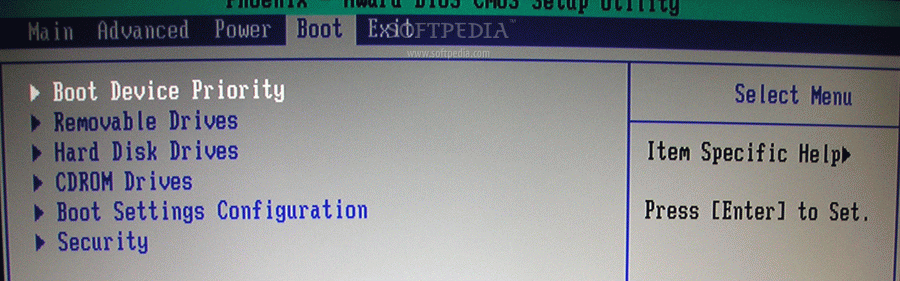
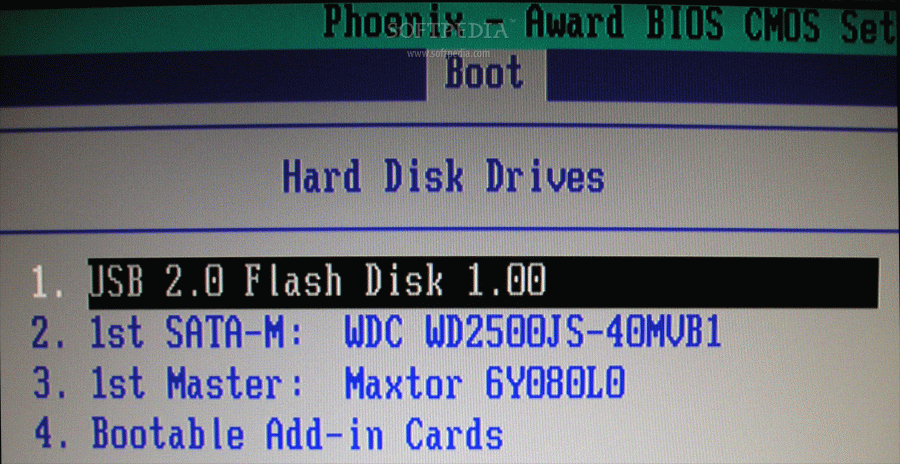
With you tiny Windows ready on the flash pen, is time to instruct your computer to boot from the flash drive. This operation is to be done from the BIOS menu. To enter BIOS, restart your computer and hit the BIOS menu key (DEL in most cases). In the BIOS menu, find the boot sequence menu and add as first boot device the USB flash drive. Save settings and exist. The computer will restart and should start booting from the connected flash drive on which you have installed the portable Windows.
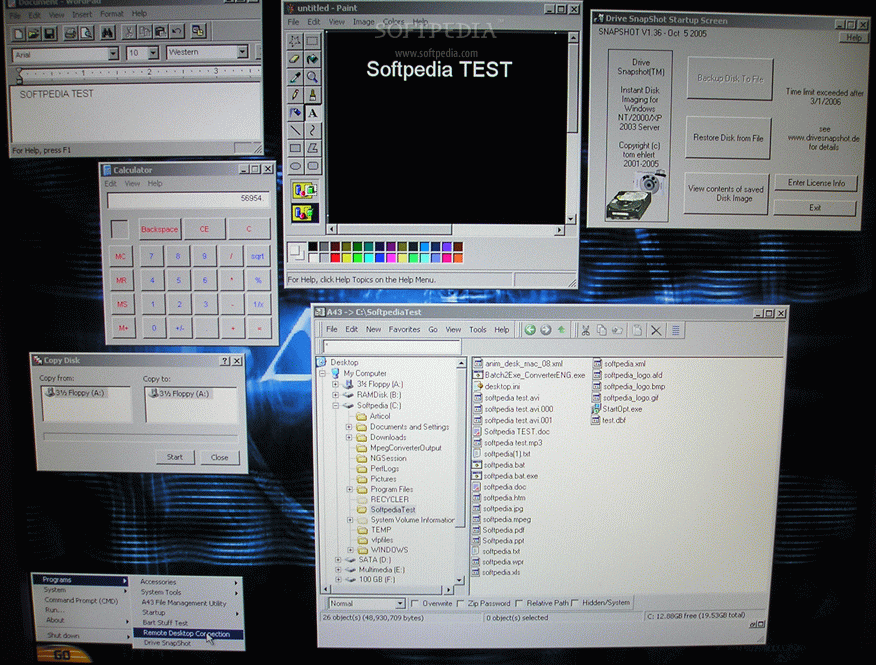
After booting, you will notice that your newly created portable Windows doesn't look as fancy as the full version. It is very simplified. This is normal because an installed Windows on a HDD eats around 1GB space while this portable version uses 160-256 MB. But the great advantage is that you can control your computer. In case something happened, it becomes a rescue tool.