
 14 DAY TRIAL //
 Have you ever needed to access some documents stored on your home desktop while at work? Do you want to use that powerful server on your LAN for running heavy applications that your low-end PC doesn't support? How about a persistent VNC connection to a Linux desktop environment; have you ever needed that? These examples can go on forever since a VNC connection may be used for a lot of purposes. Unfortunately, the basic VNC system only duplicates the current screen on a remote system and terminates the desktop session when the connection is terminated. Imagine how you would feel if you were running an important application on a remote machine through VNC and the connection failed: on the next reconnect, you'll find that application crashed.
This is when XDMCP comes into play: unlike basic VNC sessions, XDMCP allows several users to login and run persistent Gnome sessions at the same time. This means that even if you disconnect the VNC client, your Gnome session won't end unless you explicitly log out, allowing you to resume it at any time. Sounds good? It's also easy to set-up:
ENABLE XDMCP
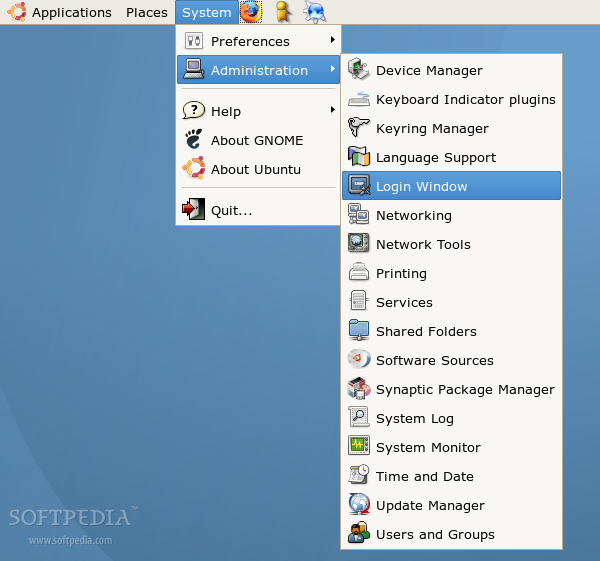
In your regular Gnome session, click on System, choose Administration and open the Login Window.
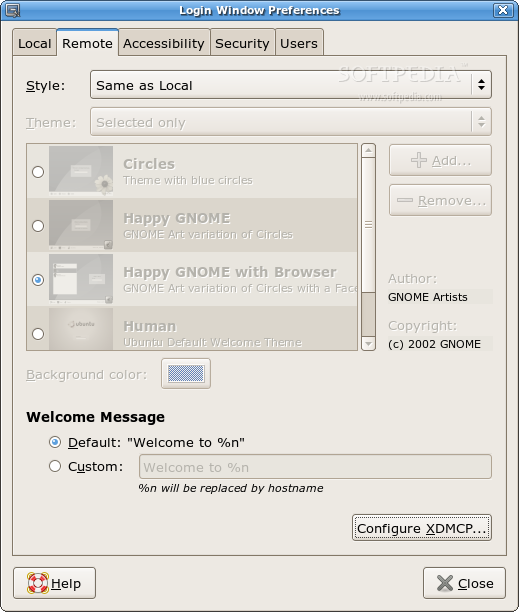
Click on the Remote tab and choose 'Same as Local' as the default Style. Then click the 'Configure XDMCP' button.
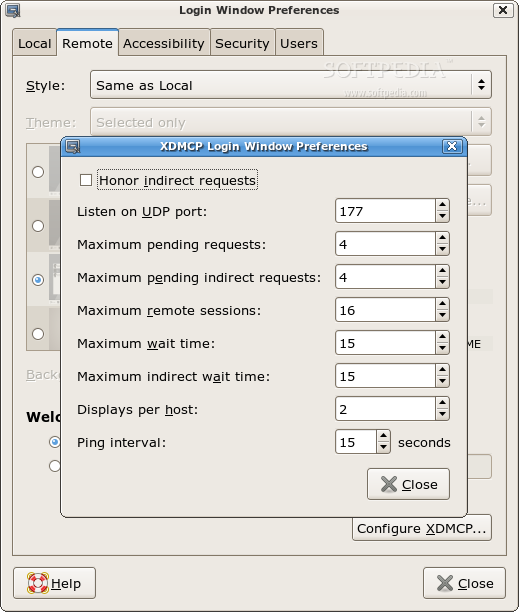
Here, uncheck the 'Honor indirect requrests' option.
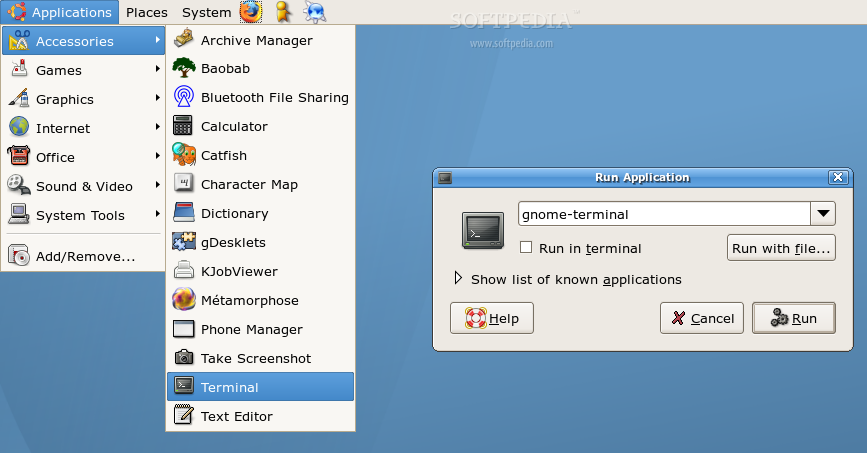
You will now need to open a terminal. Either press the 'Alt+F2' key combination and type gnome-terminal in the Run Application dialog followed by Enter, or go to Applications / Accessories and click Terminal.
In the terminal, type the following command to open the /etc/X11/gdm/gdm.conf file in a text editor:
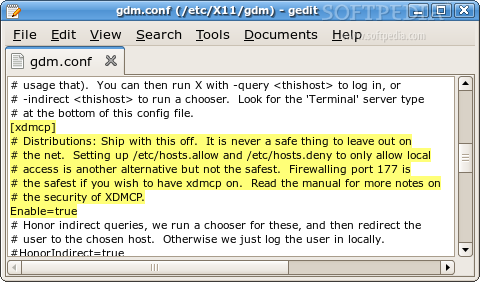
Next, find the following text and uncomment (remove the first #) the RemoteGreet line so it looks like this:
# greeter here so it's better to leave this with gdmlogin
RemoteGreeter=/usr/lib/gdm/gdmlogin
INSTALL THE PACKAGES NEEDED
Make sure your Ubuntu system has the Universe repository enabled, then type the following command in the terminal opened earlier:
Now set a password for the VNC by typing this in the terminal:
sudo wget http://download2.softpedia.com:8081/linux/Xvnc
After reboot, test the installation by running this command in a terminal:
VNC viewer version 3.3.7 - built Jul 4 2006 10:04:48
VNC server supports protocol version 3.8 (viewer 3.3)
Password: ENTER HERE THE VNC PASSWORD SET EARLIER
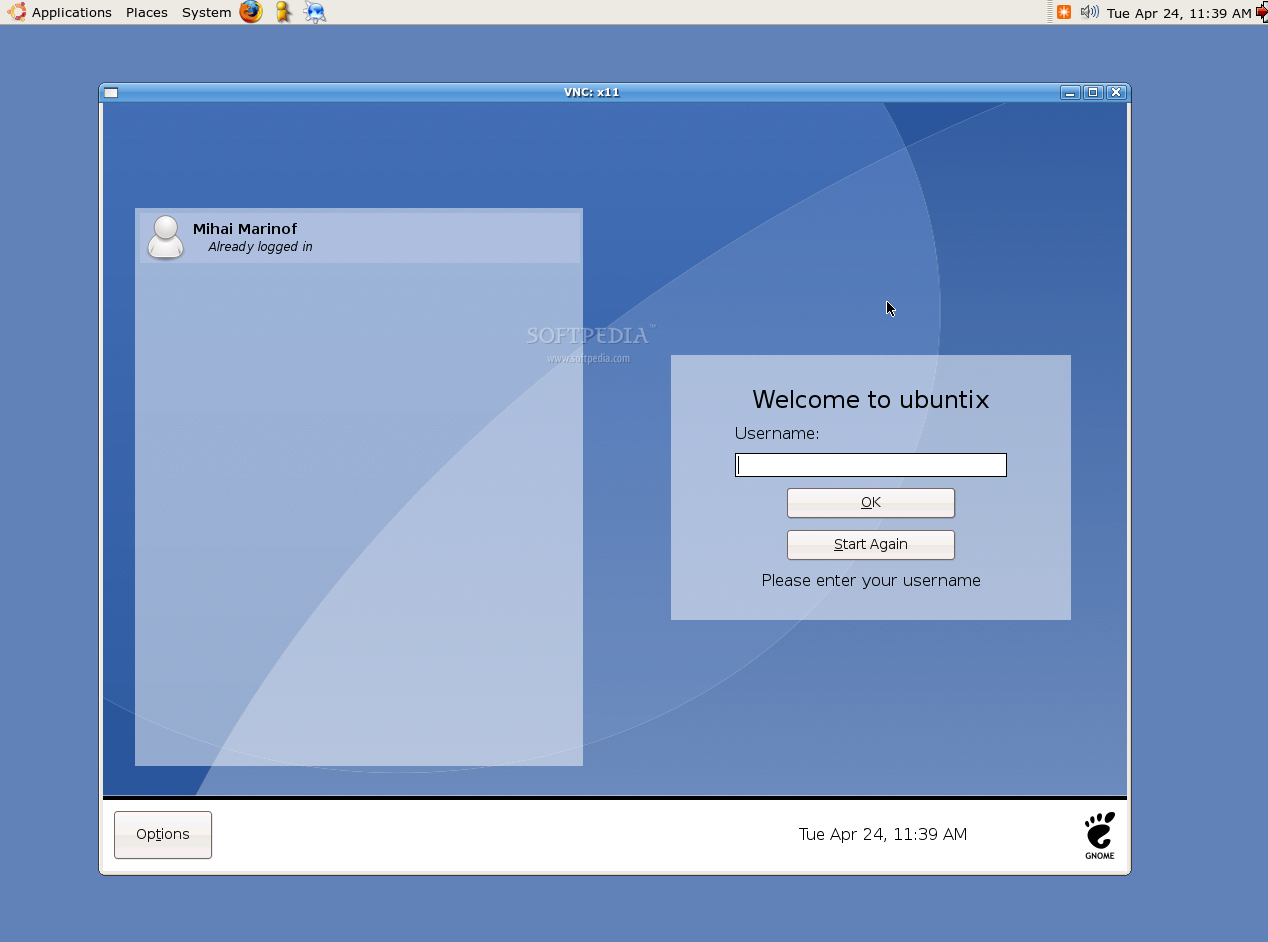
CONNECTING
There are two methods of connecting to the machine running VNC. Either go to another computer on the network and select XDMCP login from the Options button at login screen, or log in normally: open a terminal and type: