14 DAY TRIAL //
 One of the most famous lines in the computer users' vocabulary is: "I need to reinstall Windows". If you are a decent computer user, I am sure you are familiar with it along with the conjuncture that creates around it. Technically, when these words come out from the mouth of someone it means that something bad happened with the Windows and there is no other possible solution to fix it than doing a re-installation. It is true that in many of the cases, a lot of users over react to an unexpected error and rush out to grab the Windows Installation CD instead of trying to get the right solving.
Assuming that you may encounter a fatal error, something that cannot be fixed by any means, I want to teach you some tricks which can help you be prepared to surpass the critical moment with ease. What I am going to explain here targets the first Windows installation. If you do the steps that I recommend, you will be happy to understand that when the "black" moment comes, you will be out of Windows for approximately 10 minutes.
Proper Widows installation saves you from trouble
It is very important to have a plan when you install Windows. Why? Because if you want to keep it running as long as possible, there are no compromises to be accepted. The first step consists in a proper partitioning of the hard drive. One mandatory element is partitioning the HDD with more than one partition. Herby, the first partition, which must be active, is reserved for the operating system. Windows can eat up more and more space after long periods of usage and if you count the space used by the Program Files folder too, you come up with the conclusion that setting up a proper default size is very important. Please keep in mind that on this partition you won't store movies, mp3 files or other data, except the operating system and the Program Files. Therefore, you do not need to allocate neither too much space, nor too little. If you do not install too many applications, a size value between 10 and 20 GB would be more than enough.
After you have properly partitioned the HDD, install Windows normally. Make sure you have everything you need: disks, drivers and all the applications you require and the internet connection. Install the drivers, do all the updates, install anti virus software and any other security tools along with their updates, install all the applications you need for your work. Nothing that is important and you require everyday should escape from your mind. Trust me, even if you may say that applications can be installed later.
Once all the software applications have been installed, settings and configurations have been done and the system has been updated, it's time to bring in the cavalry. Now you will understand why I have insisted to properly setup the partition and correctly install all the applications.
The cavalry is represented by a backup tool which will take a snapshot of the system partition as a safety measure in case the system breaks down. There are more software of this kind: Norton Ghost, Acronis True Image or Paragon Drive Backup.
Bootable disk ready to resurrect your system
Acronis is one of these software that I have been using a lot and it always saved me. The idea is simple but very reliable: the application is able to create an image of the drive/partition which can be later restored in case some unpredicted fault happens. From within the program users can choose to create a bootable media (CD/DVD). This disk is a life saver. When the system crashes it can be used to boot the system and restore the backup image.
Install Acronis and go to the left menu looking for "Create bootable rescue media". Click on it to start the Acronis Media Builder. This tool will help you create a bootable disk. Just click proceed and it will start burning the image. It is very important to keep the disk secure. If necessary, you can duplicate it to be sure it won't get damaged or to avoid losing it.
Create an image of the system partition
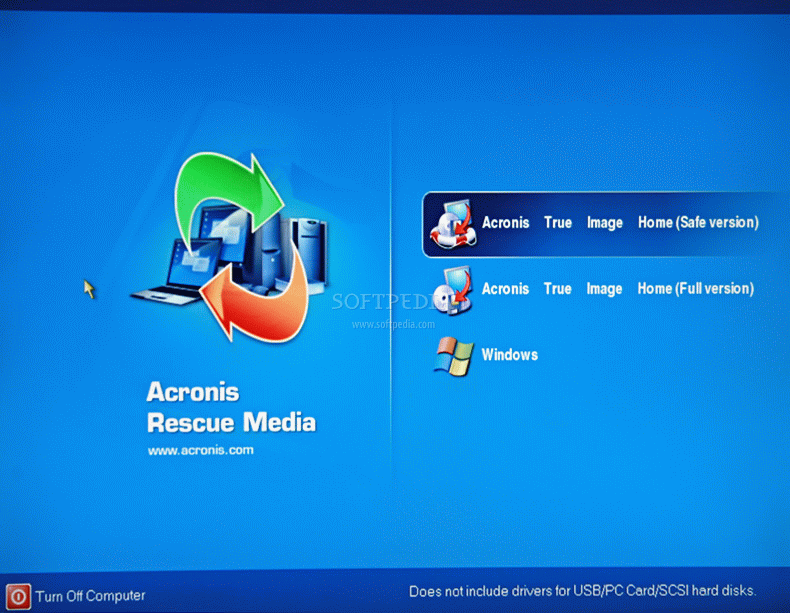
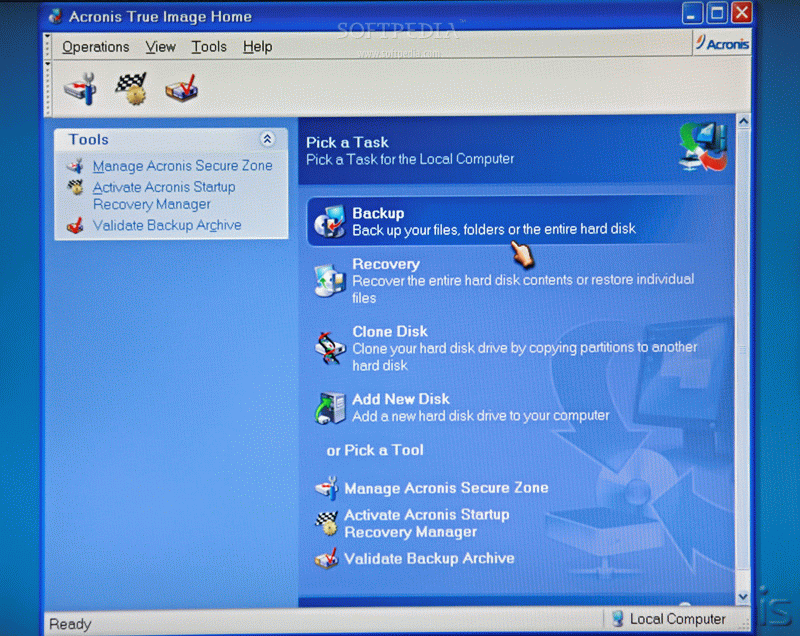
After you've created the boot disk restart the system making sure that the "boot from CD" option is enabled in BIOS. Keep the disk into the tray for the system to boot from it. You will be prompted to enter Acronis True Image or to continue to boot Windows. Choose the first option because you will be interested to do the backup. You will notice that the application provides you with multiple options like: Backup, Recovery, Clone Disk or Add New Disk.
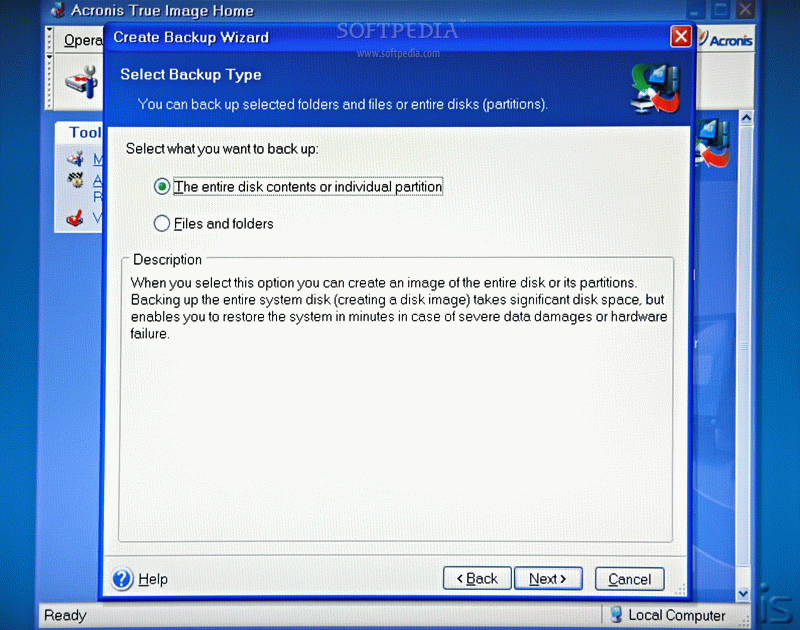
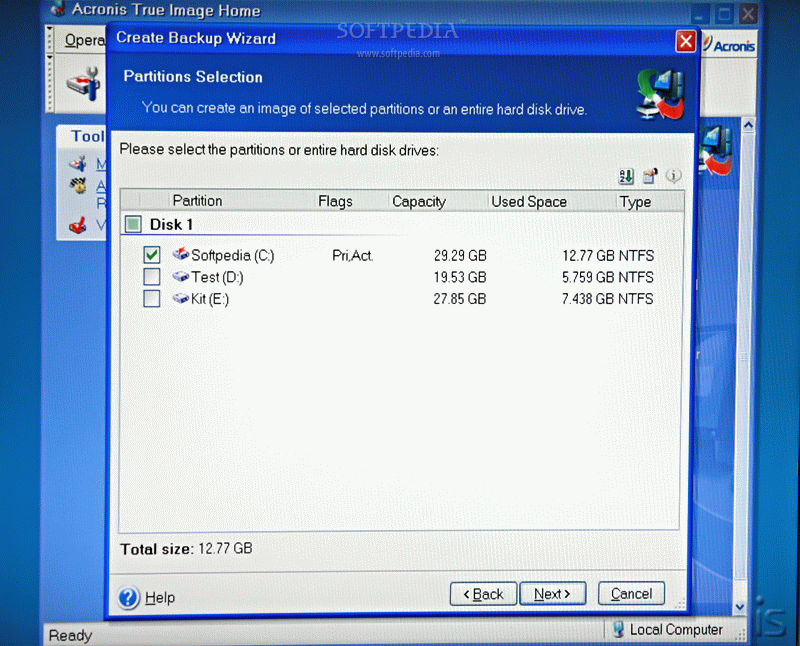
The first option is in charge with what we need at this point. Click on it and when asked what you want to backup, select: "The entire contents of the disk or individual partition". In the next window, you will get the information about the available partitions along with the option to select the desired one. As we need to backup the system partition select the first one flagged as primary active partition. Click next and provide the location where the image is to be saved. Make sure you save it in a safe location because it will be used to restore the partition's contents if something wrong happens.
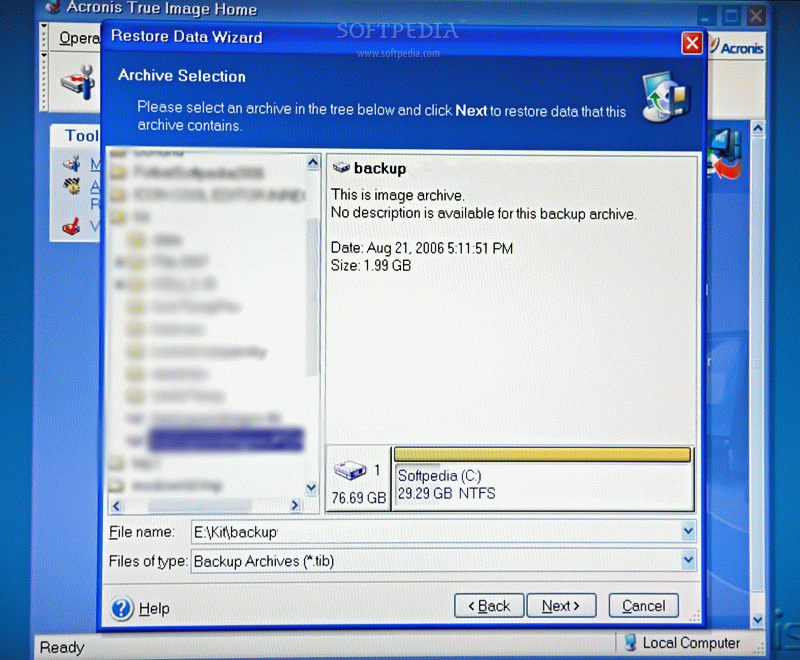
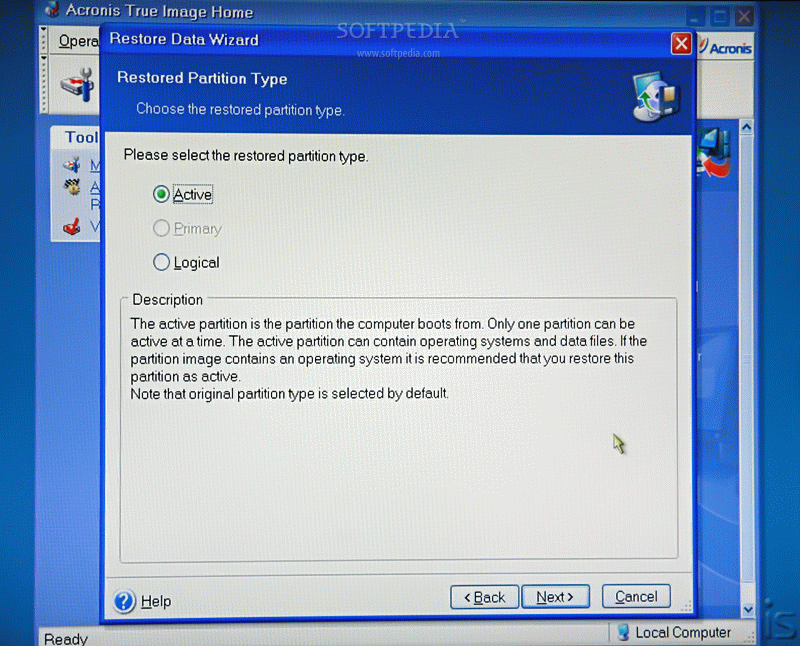
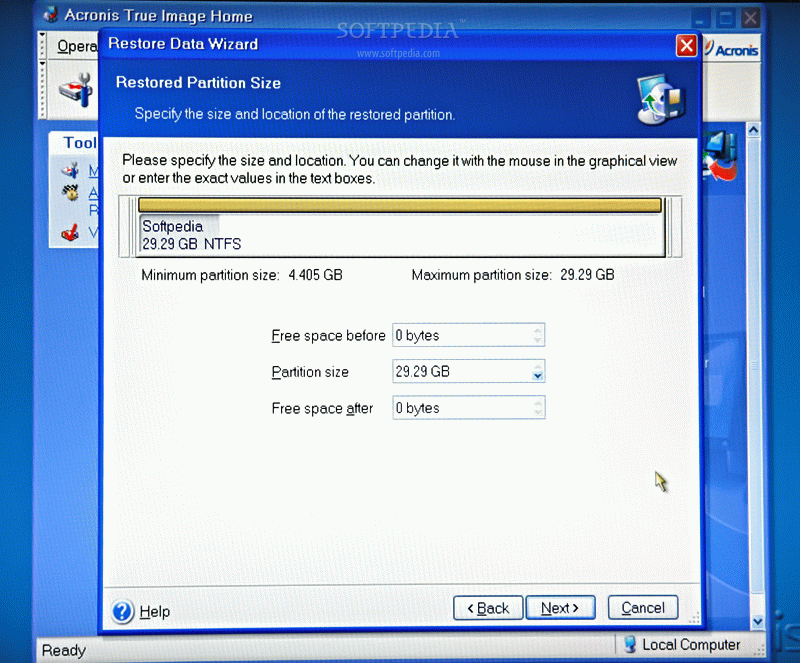
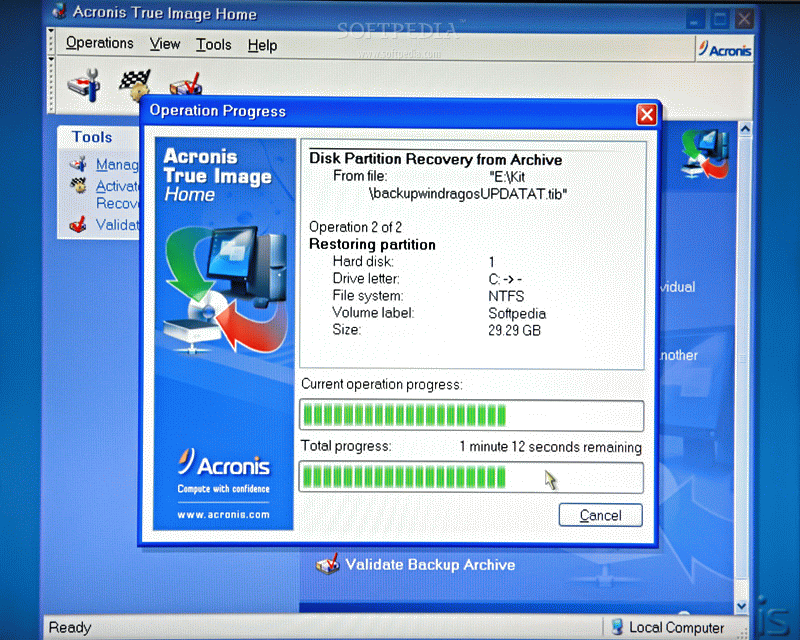
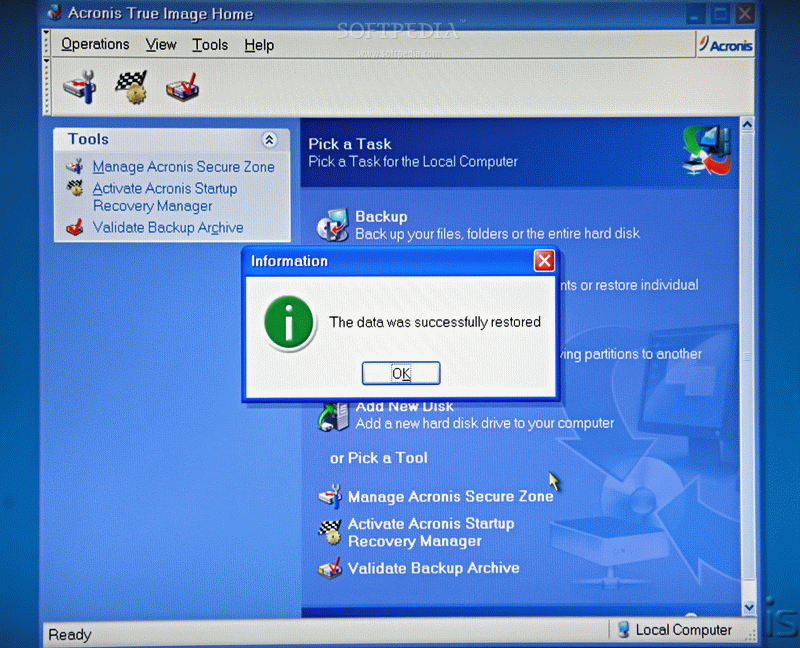
When the unpredictable happens, it's time to grab the tools out of the closet. Get the bootable CD ready and start Acronis True Image from it. Select Recovery from the list and using the guide, browse the folder trees to find the .tib image (the backup you created). Next step is to point out which partition should be replaced with the new one. Do not forget to check the option to make the partition active or Windows won't boot. With all the configurations set up, Acronis is ready to roll. Normally, it takes between 5 and 10 minutes to restore a partition but this depends on the partition's size which you previously backuped. More data on the partition means a larger image which needs more time to be restored. Don't worry; it takes way less time than a normal Windows installation, and all these without counting that you get your Windows back with all the programs and updates served.