14 DAY TRIAL //
 Video and computer games may have evolved well past the point of Tetris, but a lot of people still seek out those old classics or more visually-rich versions of them. Adafruit decided to allow people to make a full jump back to the past, however.
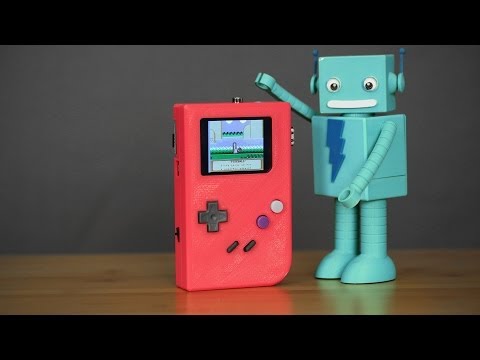
By visiting the popular DIY instructional website (DIY sands for do-it-yourself), you can find the step-by-step guide to building your very own Gameboy, a device initially released by Nintendo decades ago.
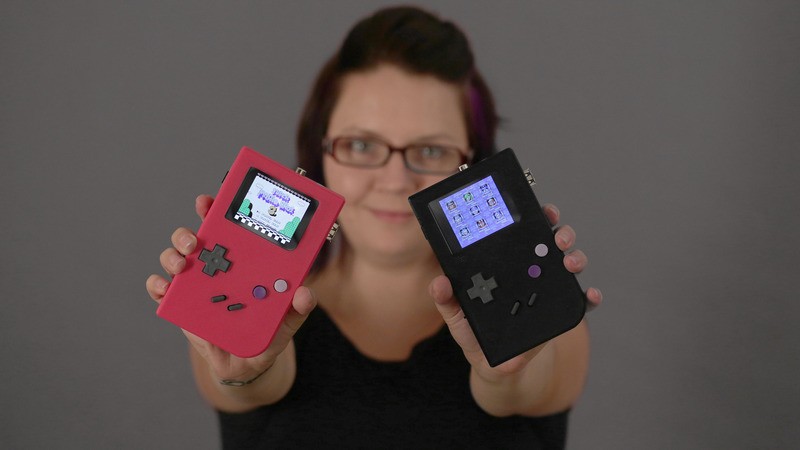
The Gameboy can play Tetris, Paperboy, Super Mario Land, Double Dragon, and many, many other games, from visually-challenged, blocky titles to newer, more aesthetically evolved games. We can definitely think of worse ways to celebrate the 25th anniversary of the device launched back in the ‘80s.
It will definitely evoke feelings of nostalgia while letting you fill your time during a long train ride or airplane flight.
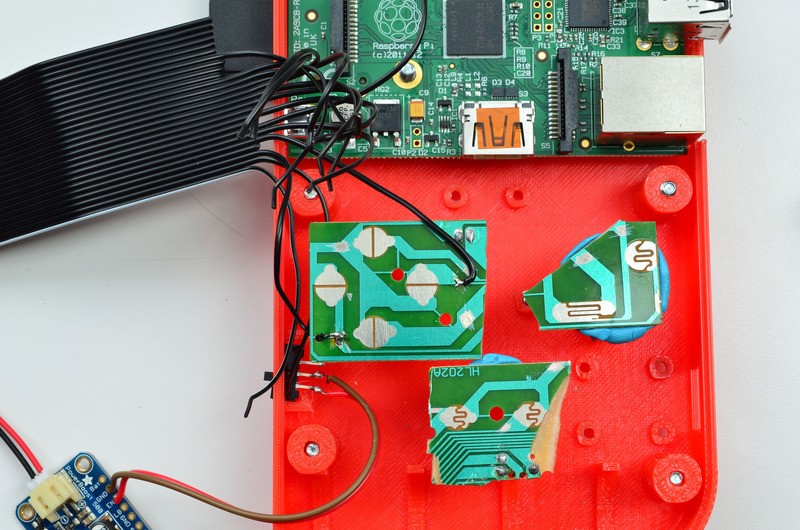
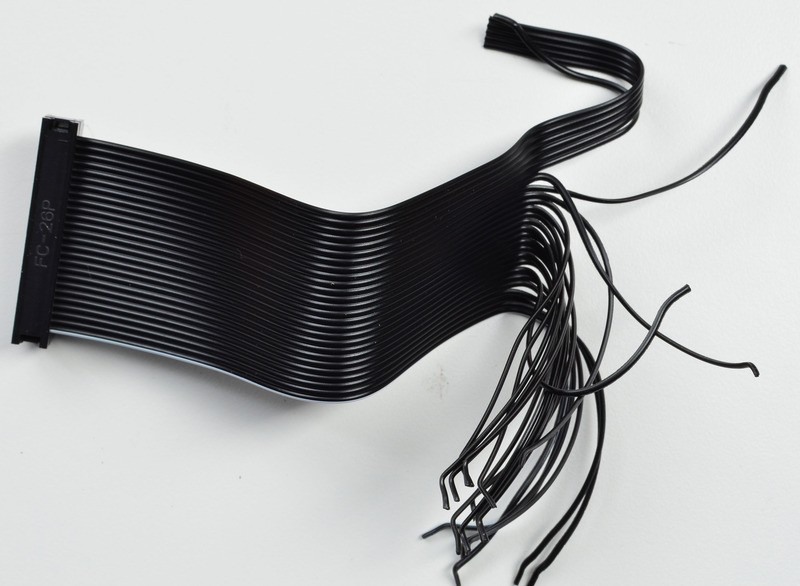
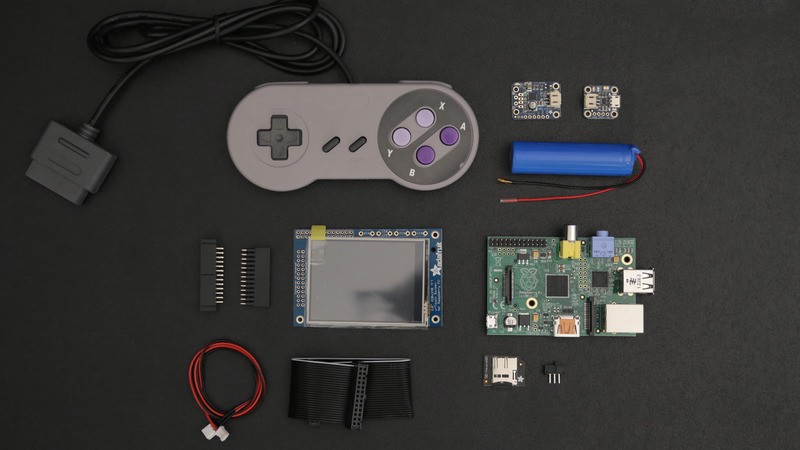
To make the Gameboy, you need the Raspberry Pi Model B mini PC (a credit card-sized Linux-run computer based on ARM processing technology), an SNES controller, a PiTFT Mini Kit, a GPIO Pi Cable, a PowerBoost 500 charger, a 2200mAh lithium cylindrical battery, and a Micro Lipo Charger.
The assembly will, sadly, require more than rudimentary knowledge of how Raspberry Pi works. Thorough experience will definitely help greatly, since it's not just a matter of printing the plastic outer shell. An ironic development now that the HummingBoard has shown potential to replace the Raspberry Pi.
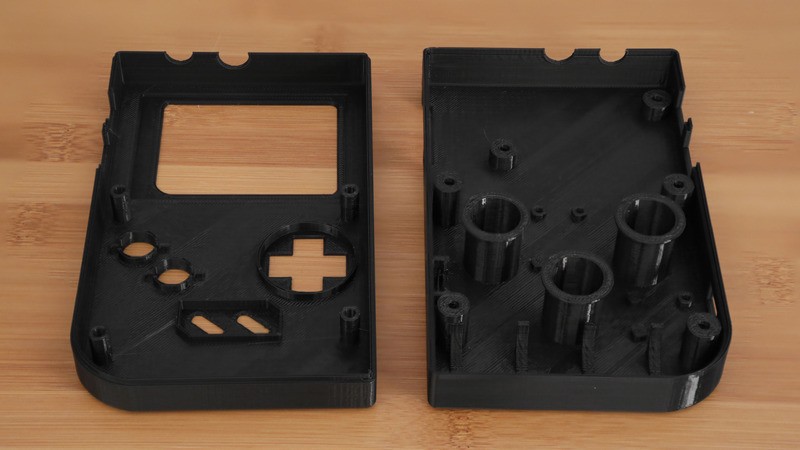
Sure, 3D printing technology is the only reason the new Gameboy can be so easily and quickly made to look exactly like the original, but the internal wiring and programming is complicated.
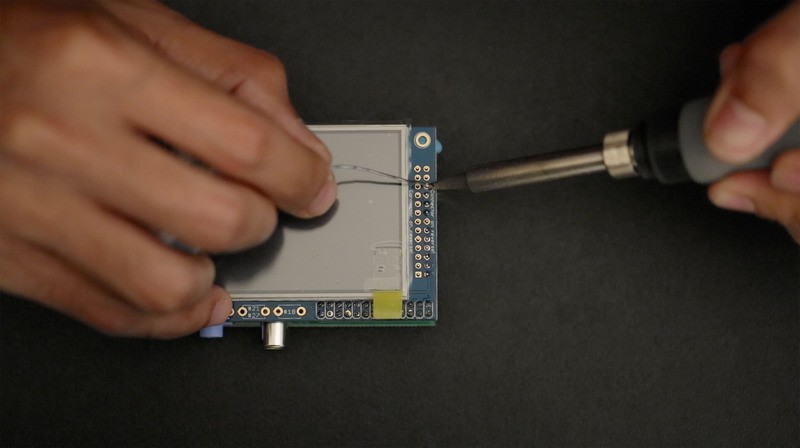
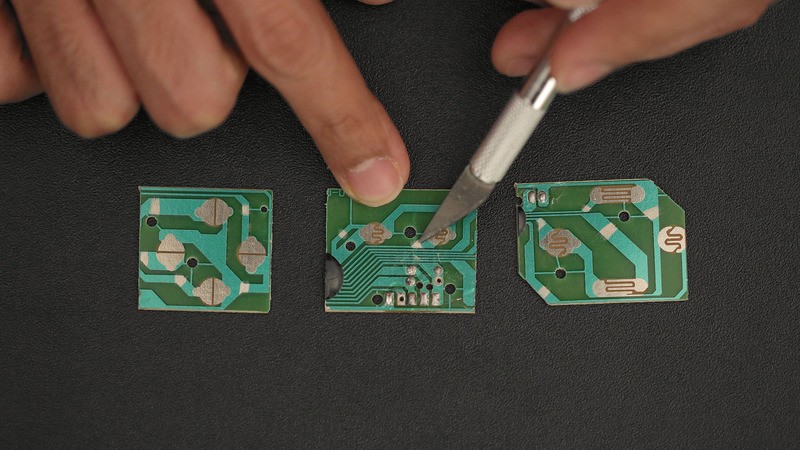
Besides the 3D printer, you will need liberal helpings of wire strippers, a soldering iron (and solder of course), fun-tac, Putty, and a heat shrink Pack, among other things. Having a second person nearby to lend a hand will help as well.
The most time-consuming part will be installing and programming the emulator to launch upon the press of the appropriate buttons (which can be 3D printed or taken from a Super Nintendo controller).
Just be sure your FDM 3D printer (fused deposition modeling, using plastic filament and an extruder) has a build volume of at least 150 x 150 x 100 mm / 5.90 x 5.90 x 3.93 inches.
All in all, even if you don't need a Gamboy or expect to use it much, Adafruit's instructions can be a great educational tool that provides its own incentive if you were to use it to teach programming and device manufacture to young students.