
 14 DAY TRIAL //
 A virtual private network (VPN) extends a private network across the web, at which point it becomes a public network.
VPN allows computers to send and receive data across shared or public networks, but also offers the functionality, security, and management benefits of a private network.
VPN establishes a virtual point-to-point connection through dedicated connections, encryption, or a combination of the two.
OpenVPN is an open source platform which implements VPN usage for creating secure point-to-point or site-to-site connections in routed or bridged configurations, or with the purpose of remotely accessing computers.
There are 3 types of encrypted VPN connections:
PPTP
supported directly by the operating system the weakest encryption type (128 bits) requires few computing resources can be easily blocked, works on fixed ports often crashes on poor connections, especially on lagging Wi-Fi networks
L2TP/IPsec supported directly by the OS 256-bit encryption requires more resources harder to configure stable even on poor Internet connections
OpenVPN
not supported on the OS by default can be used with a range of clients on the Mac, including Tunnelblick and Viscosity sports 256-bit encryption requires fewer resources than L2TP/IPsec works well on bad connections it’s a bit more difficult to set up, mainly because it requires a dedicated client
OpenVPN clients for Mac
Tunnelblick (Freeware)
You will need a bunch of files which will be provided by your server administrator (ca.crt; *.ovpn; *.crt; *.key).
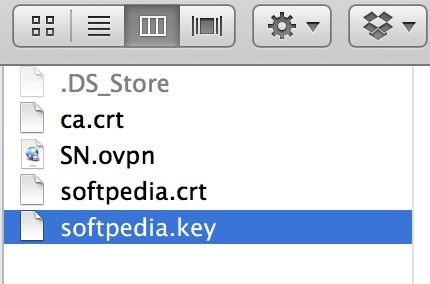
These files need to go into a directory which you’ll need to rename with your chosen nomenclature, plus the extension .tblk. For example, “OPNVPN.tblk.”
Double click the file and, if everything is going according to plan, Tunnelblick will establish the VPN connection.
If something goes wrong, check and see if the Console displays any errors (use the Mac’s built-in Spotlight search in the right-hand upper corner and type in “Console,” if you don’t know where the utility is on your hard drive).
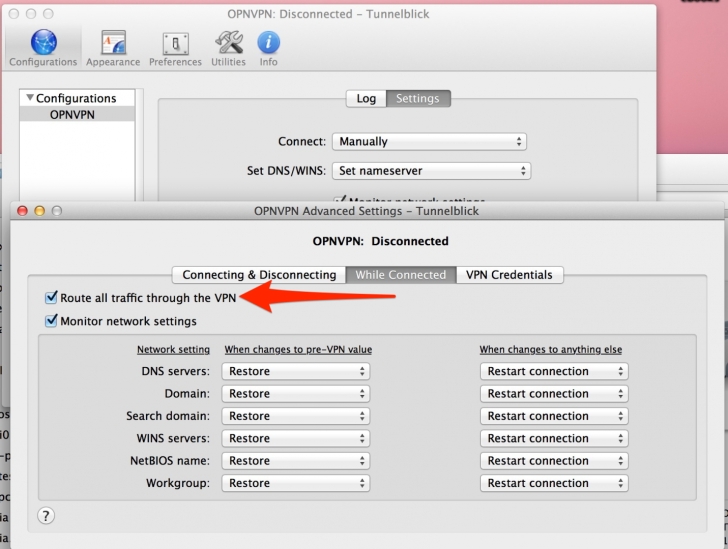
Go to the menu. VPN Details -> Advanced -> While Connected -> Route all traffic through the VPN.
Viscosity (30-day trial - $9 / €6.77 per license)
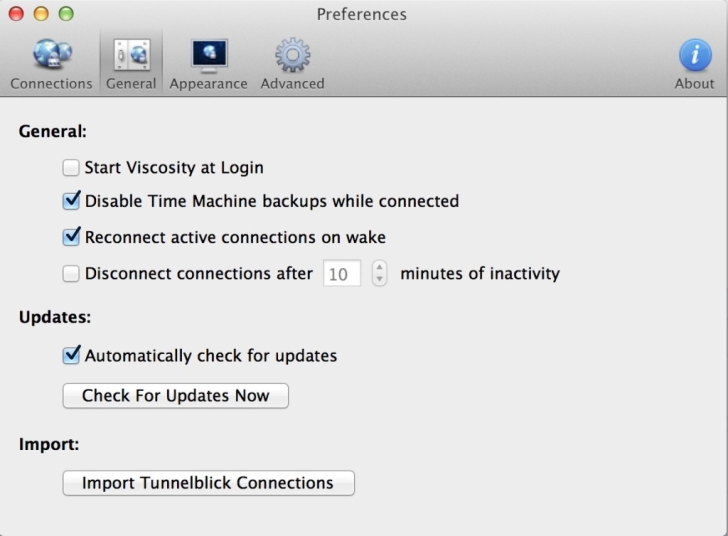
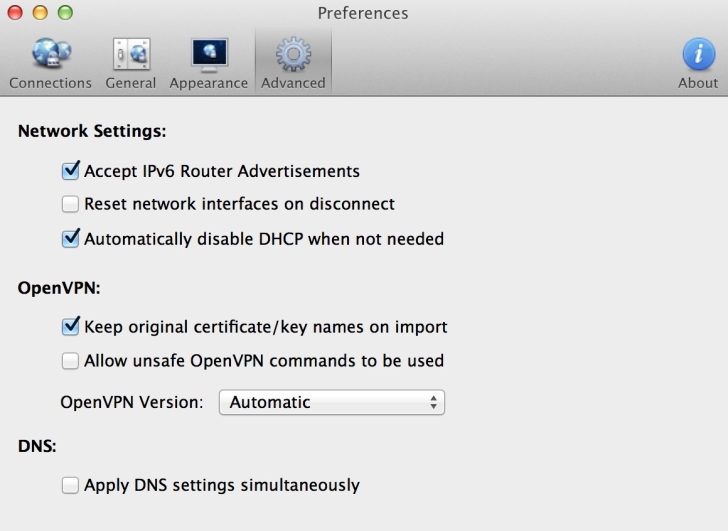
You can either import a Tunnelblick configuration or create your own. Note that this client may actually be easier to use, and it may also be more reliable (Tunnelblick tends to crash a lot).
As before, you need to enable the option to send all traffic through this VPN. To do so, navigate to Viscosity’s Preferences -> select your connection -> Edit -> Networking -> Send all traffic over VPN connection.

Note
Now there are routers which can also run OpenVPN. If you have a good connection at home, you can use a DD-WRT router to connect to a secure channel and then to the Internet.
Connecting securely is important, especially when using Wi-Fi without a password (or someone else’s router) because it’s easy for any connected client on the network to monitor your activity and even gain access to your passwords.