
 14 DAY TRIAL //
 With the release of OS X Mountain Lion last month, Apple set in place new security features for the Mac user base, enabling customers to select one of three types of permissions to have applications installed on the system.
Sensing that OS X will soon become a hot target for cybercriminals, Apple has introduced Gatekeeper, a feature that helps protect you from downloading and installing malicious software on your Mac.
An added layer of security means additional steps to take when installing software in OS X.
For the newbie, it’s really the way it has to be, considering how precious security is these days. For savvy users, however – who know the sources they can trust – it can be a tad cumbersome.
By default, Gatekeeper is set to allow downloading and installing applications from the Mac App Store and identified developers who coded their apps to be compliant with the specs imposed by Apple.
Another option, for the user who doesn’t trust anyone but Apple, is to have only Mac App Store software allowed on the computer.
A third option enables you to download software from anywhere, but Apple warns that by choosing this setting your computer might, at one point, get infected with malware.
If, by any chance, you desperately need an application that can’t be found on the Mac App Store and isn’t signed with a developer ID to lift the restrictions, Gatekeeper will show you the following message.
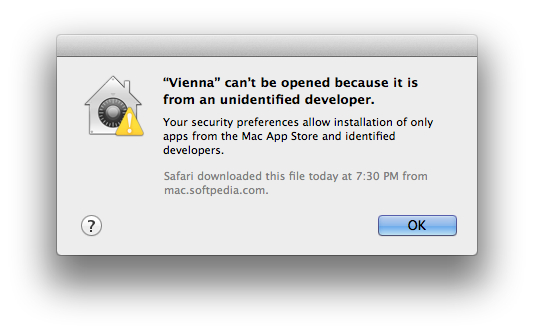
But you can use the simple steps outlined below to temporarily get the paranoid Gatekeeper out of the way so you can get to work.
Note that you shouldn’t do this unless you’re absolutely sure the developer and / or their application is completely free of malware or any other dangers. Apple set that default option in place there for a reason.
With that out of the way…
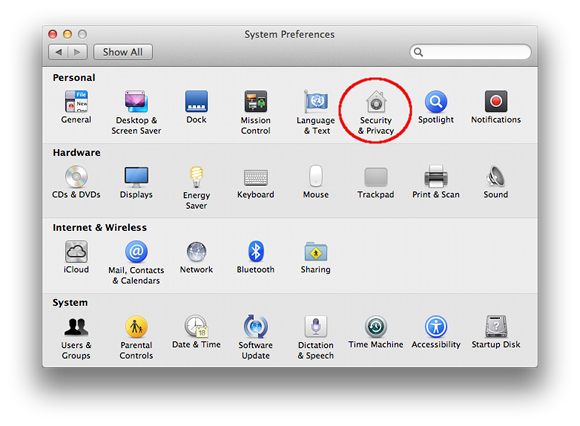
Step 1
Launch System Preferences and select Security & Privacy, as highlighted below.
Step 2
Once in Security & Privacy, make sure you have the General tab selected.
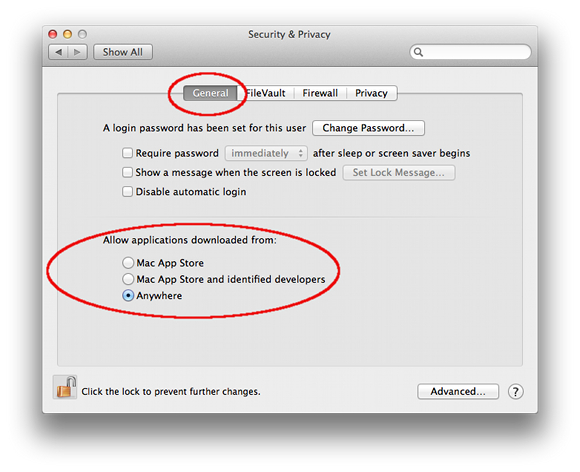
Step 3
Select the option to allow applications downloaded from “Anywhere” to be installed on your system, as shown in the highlights above
That’s it!
Happy installing, and drop us a line if you found this guide helpful.