
 14 DAY TRIAL //
 Are we learning GIMP yet? I sure hope so! I will start today's lesson about GIMP by apologizing to all of you, because I did not mention, in the first part of this guide, how to save different image file formats with GIMP. This happens to be yet another important part where the regular user gets scared, just because GIMP asks the user for a few advanced options (or offers some important information when saving from an image format to a different one) when he saves the files. And the problem here is that most of the beginners are used to saving an image file after editing, with a single click.
Save different image file formats
The examples below cover the most important formats: PNG, JPEG and GIF.
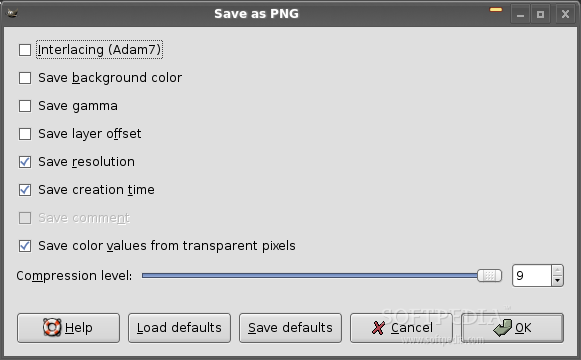
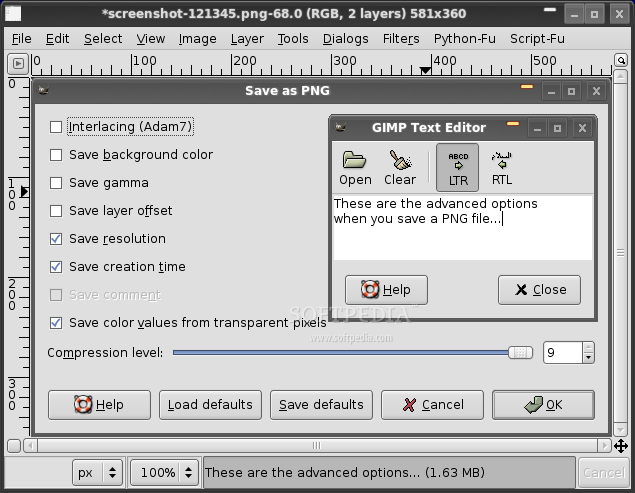
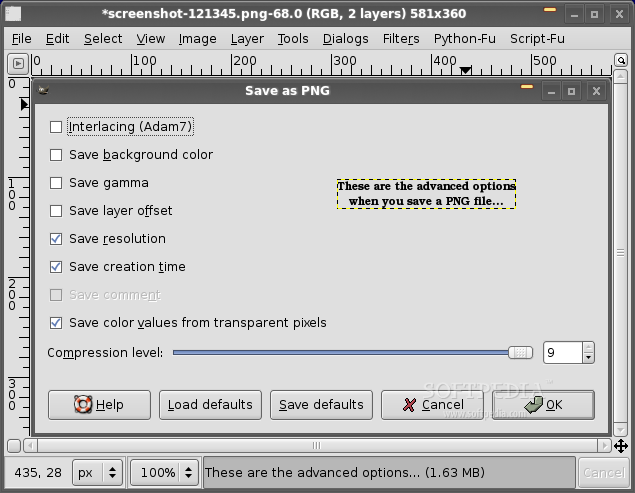
1. When you save a file in the PNG format, a single window appears asking you for a few advanced options. The normal user should leave all the options as they are and click the OK button. Now if you work with layers, things get a little complicated, because PNG format can't handle layers so you'll have to export the image first. Remember that layers cannot be edited later in this format.
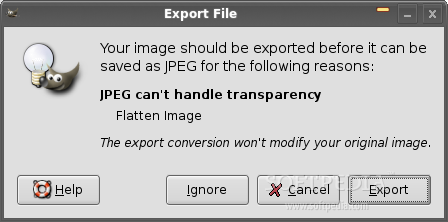
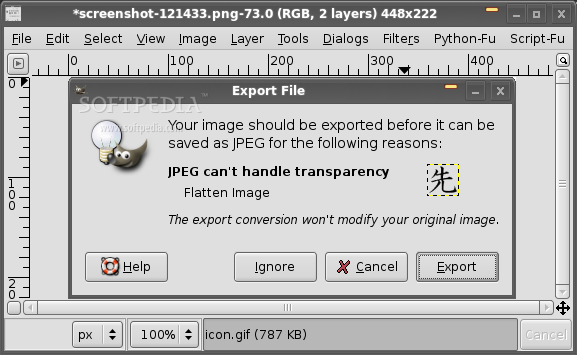
2. Saving a file in a JPG/JPEG format requires a few more mouse clicks. JPEG format doesn't support transparency, so if for example you save from a transparent format like PNG or GIF to JPEG, it will first pop-up a warning window letting you know that "JPEG can't handle transparency" and you must export the format before you save the file. After you have clicked the "Export" button, you will be prompted by another window to set the JPEG quality and some advanced options. The regular user should leave these settings as they are and click the OK button.
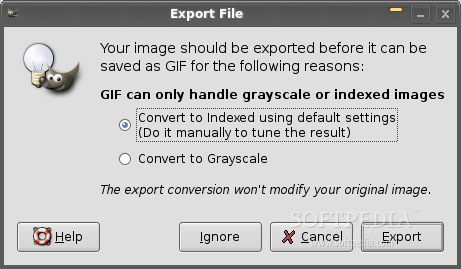
3. The GIF format also requires a few more clicks, because it first generates a message letting you know that you must export the file before it can be saved as GIF. This is because the GIF format can only handle grayscale or indexed images. You should leave the settings as they are and click the "Export" button. Now a new window appears with some more advanced options, where again you should just leave everything as it is and click the OK button.
Now, if you are an expert or a more advanced user, all this "saving" windows with advanced options is very helpful for different tasks. Like for example the GIF format, which can be converted to Grayscale or it can handle comments. To better understand the saving process, please take a look at the pictures below.


Now we can continue our regular lessons, and I am going to teach you today how to embed text in images and apply watermarks on pictures. In addition, this new lesson will introduce you to layers. Layers are used in digital image editing to separate different elements of an image. Popular formats like JPEG, PNG or GIF can't handle layers and that means you will not be able to edit the modification you have made to the images later on.
Embed text in images
Many people want to add some text to different pictures and GIMP just happens to do this very easily. Just open an image (remember the drag and drop) and if you paid attention to my previous lesson, you should know now that you can press the T key on your keyboard in order to activate the Text tool.
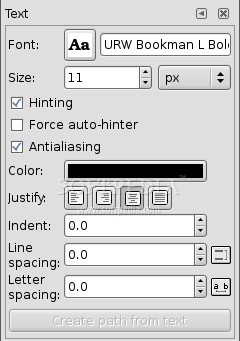
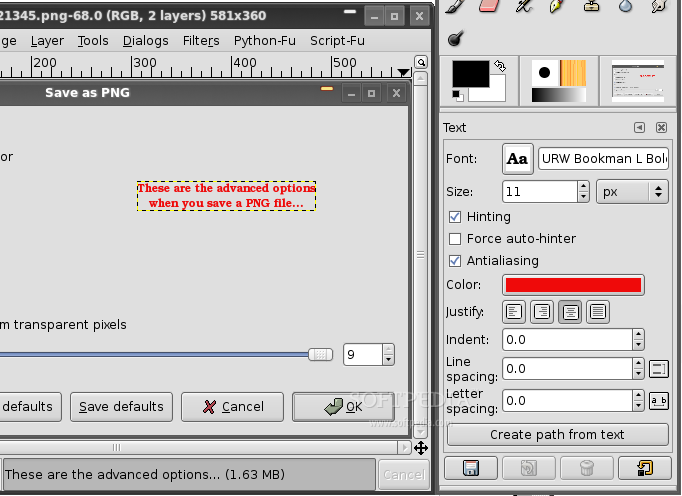
The advanced options of the Text tool (a.k.a. Add text to image) will appear as usual in the third part of the main GIMP window (please see Part 1 of this guide if you don't know where the third part is).
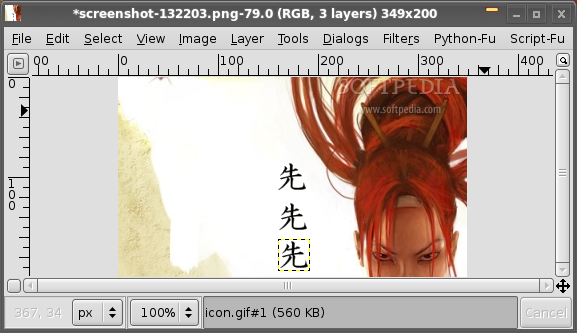
Basically, all you have to do now is to click somewhere in the image and immediately a new window will appear (GIMP Text Editor) so you can type whatever text you want to be added to the picture. Remember that you can insert text from a file if you click the "Open" button or you can paste formatted text. After you have finished writing the text, click the "Close" button and the text will appear on the picture. You can move the text wherever you want in the picture if you press the M key (Move tool) and drag the text layer where you want it to be. To get back to the Text tool press the T key and click on the text layer twice.
From the advanced options, you can set the desired font, color, size, justify, indent, line and letter spacing and even give the font hinting or antialiasing.
Important note: To add more fonts to GIMP, please save the .ttf (truetype font file format) files in the /home/yourusername/.gimp-2.2/fonts/ folder and restart GIMP. So it is very good to know the fact that before you start applying special text to images, you must first add the specific font files in that folder, because you can't modify the text later if you save in the most popular formats like GIF, JPEG or PNG. Only if you work with the Photoshop format (PSD) can you later modify the text layers. Please have a look at the pictures below for a better understanding.
How to add watermarks on pictures
Now, this is a very simple task, but I just wanted to let you know first that it does not apply only to watermarks and its also useful to embed other pictures in the current one.
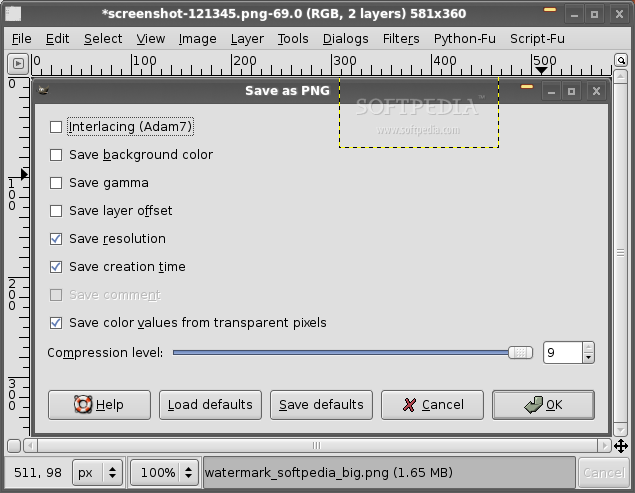
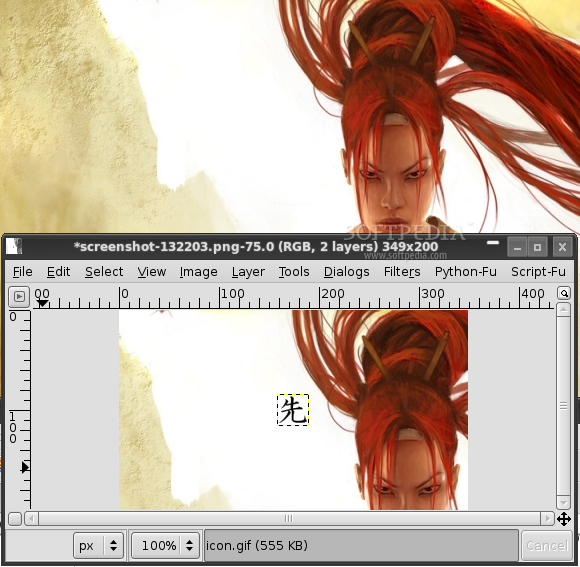
To add a watermark to an image, drag and drop the image in the first part of the GIMP's main window and after that drag and drop the watermark in the newly opened image window. Then hit the M key and move the watermark layer wherever you want then save the file (CTRL+S). Easy enough?
If you want to add an image (as layer) or more to another image, do the same thing as above. You can add as many layers as you want. When you're done, save the file to a desired format and that's all.
And always remember? practice makes perfect!
To be continued...
Download the latest stable version of GIMP for Linux now from Softpedia.
Download the latest stable version of GIMP for Windows now from Softpedia.
Download the latest stable version of GIMP for Mac OS X now from Softpedia.