14 DAY TRIAL //
 Yellow Dog Linux 6.1 operating system for SONY's PlayStation 3, Apple PowerPC G4/G5, IBM Power Systems and YDL PowerStation was officially released by Fixstars on November 19th, 2008. Yellow Dog Linux 6.1 (codename Pyxis) is an operating system for the PPC64 architecture and it is based on the CentOS Linux distribution, a RHEL (Red Hat Enterprise Linux) derivative. We decided to create the following tutorial for people who want to install a Linux distribution on their PlayStation 3 gaming consoles. But, before you jump to the installation of this Linux-based OS, please read the warning information (in red) below and all editor's notes throughout the entire tutorial. Also, take a look at the screenshots (at the end of the article) to see how it looks.
What does Yellow Dog Linux 6.1 offer?
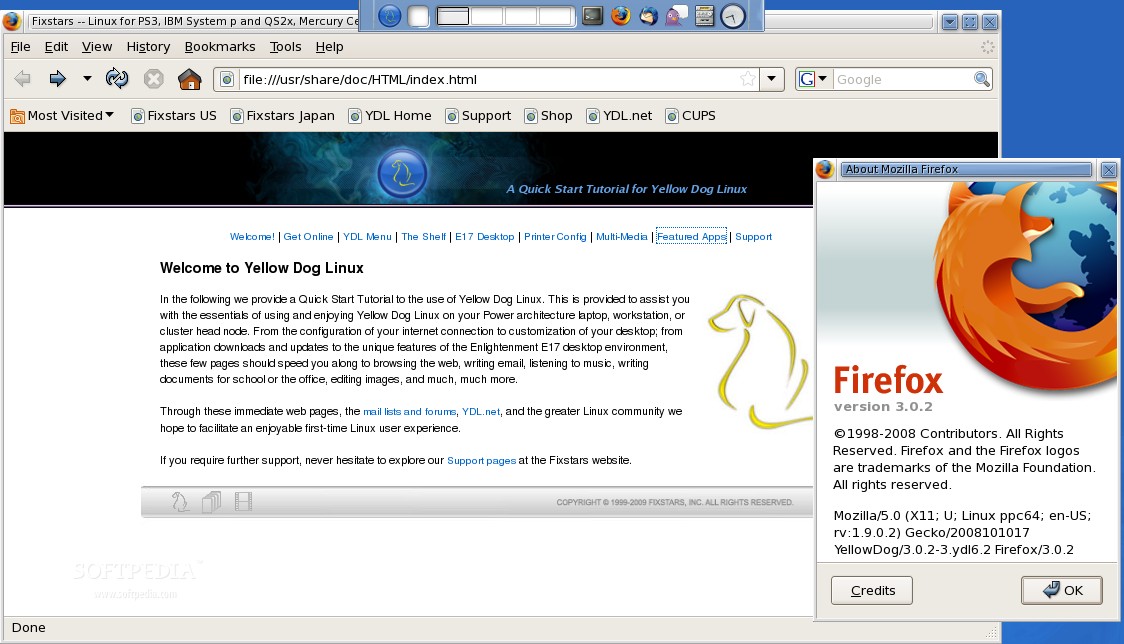
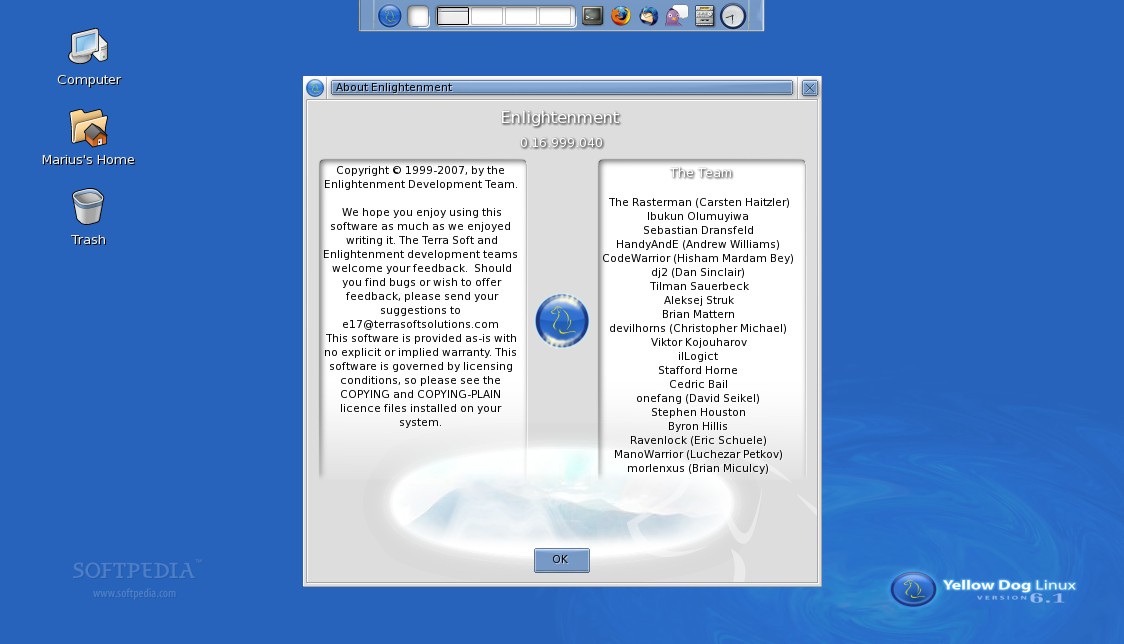
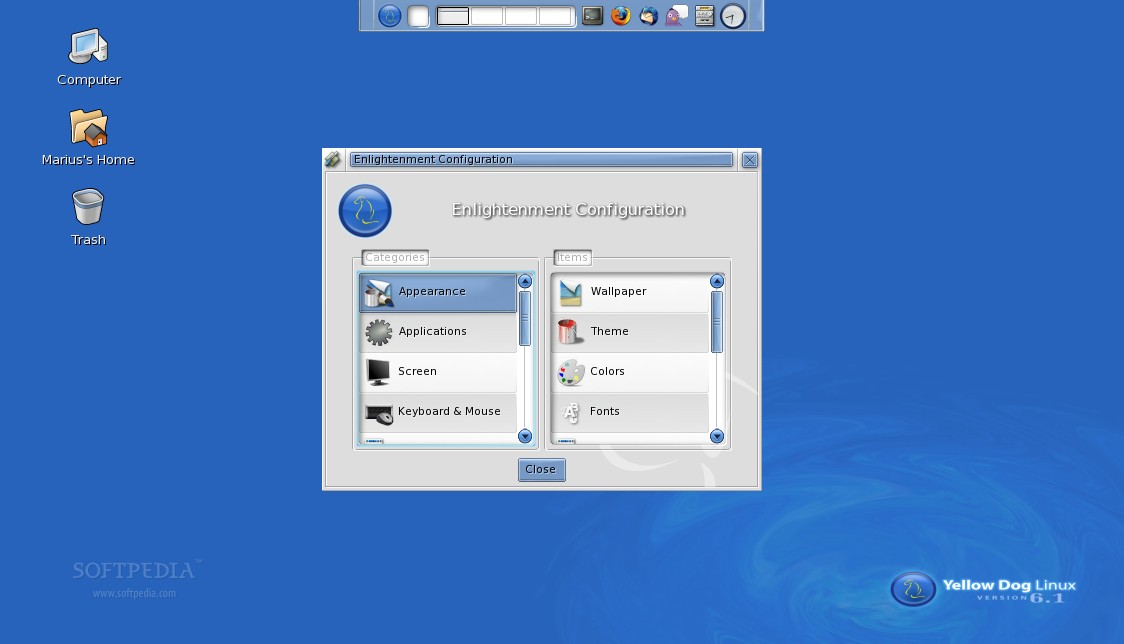
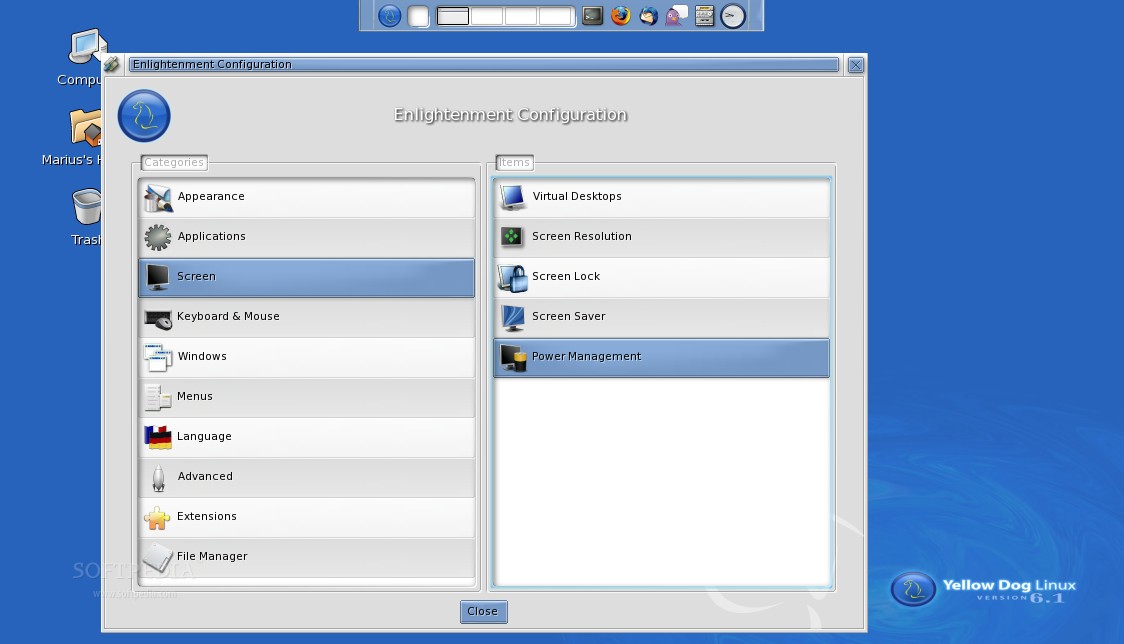
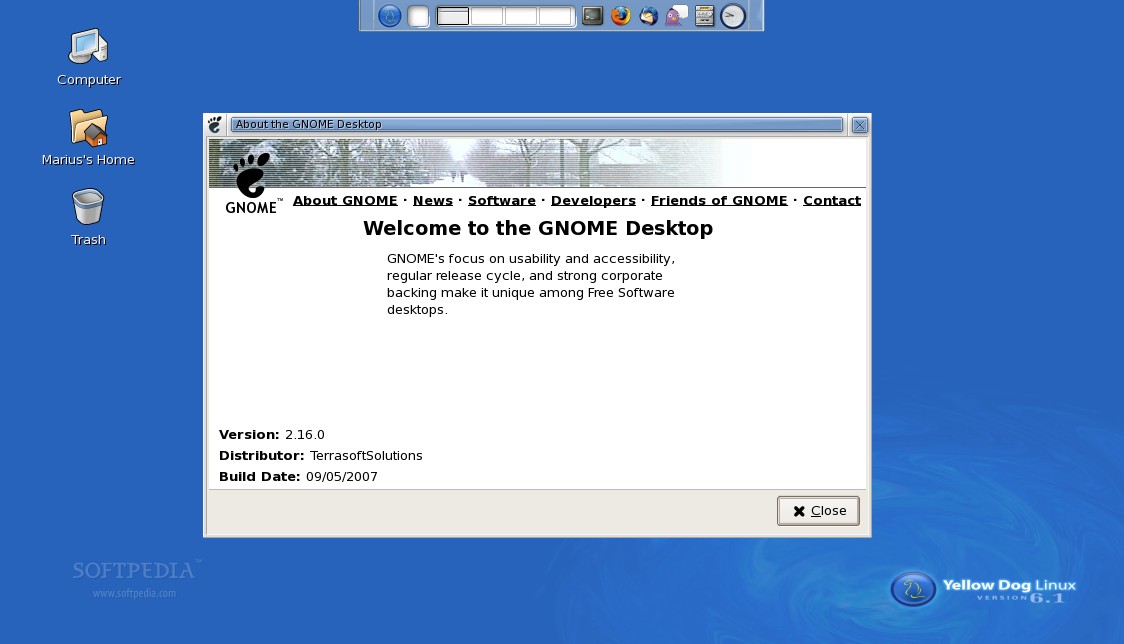
· Linux Kernel 2.6.27 · X.Org server 1.4.999 with xrandr 1.2.2 · Enlightenment E17 desktop environment · Mozilla Firefox 3.0 · GNOME 2.16.2 components · OpenOffice.org 2.3 (version 3.0 available for YDL.net users) · Improved Wireless network · YDL.net GUI (private software repository) · Bluetooth support for PS3's SIXAXIS controller · ps3vram: temporary file storage or SWAP using video RAM of Playstation 3 · GCC 4.1.2 · Cell SDK 3.1
WARNING: Be aware that if you continue, all the saved games, game data, bought games, downloaded demos, PlayStation Home settings/installation and any data (music, movies, pictures) saved on the hard drive of the PlayStation 3 will be permanently ERASED. However, the PlayStation 3 settings will NOT be lost. Therefore, we strongly suggest that you back up immediately any saves of your games, hard drive movies, pictures, music or PlayStation Home data on a removable HDD device or USB stick! The bought games or downloaded demos can not be copied, but you will be able to re-download without the need to buy them again, as they are stored on your PlayStation Network account.
Editor's note: Please read the above warning very carefully before you proceed with the installation of Yellow Dog Linux. Also, please read the following guide very, very carefully, as we don't want to damage your PS3 machine. You should also know that the GNOME desktop environment included in Yellow Dog Linux 6.1 is very old compared to the one found in Linux distributions such as Fedora 10 or Ubuntu 8.10, and if you are familiar with a new GNOME desktop, then you will definitely miss a lot of its features. It appears that Fixstars did not replace the GNOME environment components from version 6.0 of Yellow Dog Linux, created by Terra Soft back in 2007. Even so, you will still enjoy a modern and eye-candy desktop, thanks to the Enlightenment environment.
What do I need to get started?
· Yellow Dog Linux 6.1 DVD ISO images (free download, just click the link) · PlayStation 3 console (any model) with the latest firmware: 2.60 · USB Keyboard and Mouse
Update 03222009: Fixstar released a new build of the ISO image for Yellow Dog Linux 6.1 on February 16th 2009, which brings a patch for a boot issue on the newer PlayStation 3 models. This includes the 80GB PS3 (Model Number 98015 and later) and the 160GB PS3 (Model Number 900006 and later). Please download the NEW ISO if you are installing Yellow Dog Linux on a newer PS3 model and you're unable to boot into the system!
Part 1 – Prepare the PlayStation 3
Editor's note: If your hard drive was previously formatted for OtherOS, please skip step 1 and ignore the above warning, as you will not lose anything (except the existing OtherOS installation, of course).
Step 1 – Format the PlayStation 3 hard drive
In the XMB (PS3 interface) go to Settings -> System Settings -> Format Utility and select the "Format Hard Disk" option. Select YES when you will be asked if you want to format the hard disk and follow the steps below:
· Select "Custom" when you will be asked for a partition setting for the hard disk. · Select the "Allot 10GB to the OtherOS" option. · Select the "Quick Format" option. · Select YES when asked if you want to format the hard drive.
Wait a few seconds while the format operation is in process. When it finishes, you will see a confirmation message: "Format completed. Press the X button to restart the system." The PS3 will be restarted.
Editor's note: At this point, you will notice that all the data has been erased (music, videos, pictures, saved games, game demos, PlayStation Home installation and settings, bought games). Also, the Information Board will appear (if you have set it to not be displayed), giving you the impression that all the settings have been removed, but don't worry because all your settings are intact!
Step 2 – Install OtherOS boot loader
Insert the Yellow Dog Linux 6.1 DVD into the Blu-Ray player of the PlayStation 3 and go to Settings -> System Settings -> Install OtherOS. The PS3 will scan for the otheros.bld file and when it will find it you can press the "Start" button on the screen to perform the installation. Wait a few seconds. When it finishes, a confirmation message and some information about how to switch to the OtherOS (see the next step) will be displayed.
Step 3 – Switch to OtherOS
In order to start the Yellow Dog Linux 6.1 installation, you need to reboot the PlayStation 3 and boot into the OtherOS. Therefore, go to Settings -> System Settings -> Default System, press the X button and select the "OtherOS" entry. Select YES when asked if you want to leave the PS3 system and start the OtherOS.
Editor's note: At this point the PS3 will reboot, a black screen will appear for about 10 seconds, and then you will see two penguins and some text.
At the end of the boot process you will see "kboot:". For different HD TVs you can type one of the following commands:
install_ps3_1080p (Full HD) install_ps3_1080i install_ps3_720p install_ps3_480i
...and hit Enter to start the installation process.
If you know the maximum resolution of your HD TV, then we recommend to type one of the above commands, but if you are uncertain about your TV's resolution, just hit Enter at the kboot prompt and Yellow Dog Linux will automatically find and adjust the resolution for your TV.
To return to the XMB (PS3 operating system) from the kboot prompt, in case you don't want to continue with the installation process of Yellow Dog Linux 6.1 or for any other reasons, just type:
ps3-boot-game-os
...and hit Enter.
Part 2 – Installing Yellow Dog Linux 6.1
Editor's note: Once you hit Enter at the kboot prompt or typed one of the above installation commands, after a few seconds, the Anaconda (Red Hat installer) will appear. The following will be a regular Fedora/Red Hat installation process:
· Click the "Next" button on the Welcome screen and you will be asked to select your language for the installation process. · Choose your keyboard layout and hit the "Next" button. · If you formatted your hard drive, you will see a message that the partition table is unreadable and in order to create new partitions it must be initialized. Click "Yes." · Select the "Remove Linux partitions on selected drives and create default layout" option (default) and click "Next." · Click "Yes" when asked if you are sure that you want to remove all Linux partitions on the /dev/ps3da drive. · Click "Yes" when asked if it is OK to turn SWAP immediately, because the PlayStation 3 memory is low. · On the network configuration screen, you will notice two entries: eth0 (LAN ethernet connection) and wlan0 (Wireless network connection). Set up your network connections as follows:
For DHCP (dynamic IP) users without wireless:
· Leave the eth0 entry as it is. · Uncheck the wlan0 entry.
For DHCP (dynamic IP) users with wireless:
· Leave the eth0 entry as it is. · Select the wlan0 entry and click on the "Edit" button. Uncheck the "Enable IPv6 support" option and enter your ESSID and Encryption Key for the wireless network you want to connect to. Click "OK" when you are done.
For non-DHCP (static IP) users without wireless:
· Select the eth0 entry and click on the "Edit" button. Select the "Manual configuration" option under the "Enable IPv4 support" and input the IP address and netmask from your provider. Also, uncheck the "Enable IPv6 support" option. Click "OK" to return to the main window. Enter a name for the computer (it can be anything you want, e.g. softpedia-ps3), the Gateway and DNS information from your provider. · Uncheck the wlan0 entry.
For non-DHCP (static IP) users with wireless:
· Select the eth0 entry and click on the "Edit" button. Uncheck the "Enable IPv6 support" option and input the IP address and netmask from your provider. Click "OK" to return to the main window and enter the gateway and DNS information from your provider. · Select the wlan0 entry and click on the "Edit" button. Uncheck the "Enable IPv6 support" option and enter your ESSID and Encryption Key for the wireless network you want to connect to. Click "OK" when you are done.
· Click "Next" when you're done with the network configuration. · Choose your location. Click "Next." · Input a root (system administrator) password. Click "Next." · On the software configuration screen you can add or remove applications by selecting the "Customize now" option. However, this is recommended for advanced users. Regular users should just click on the "Next" button to continue with the installation process. · Click on the "Next" button to begin the installation process of Yellow Dog Linux 6.1.
Editor's note: At this point, the installer will check for dependencies of selected packages, format the hard drive, create partitions and install the selected packages. For us, this part of the installation process took exactly 25 minutes. Our installation had 774 packages!
When the installation is over, you will see the confirmation screen. Click on the "Reboot" button and, after a few seconds, the Yellow Dog Linux 6.1 will be automatically removed.
WARNING: Remove the DVD disk from the PlayStation 3 and wait for Yellow Dog Linux 6.1 to start. If you do not remove the disk, it will be pulled back in and the installation process will start again!
Part 3 – Final steps and the screenshot tour!
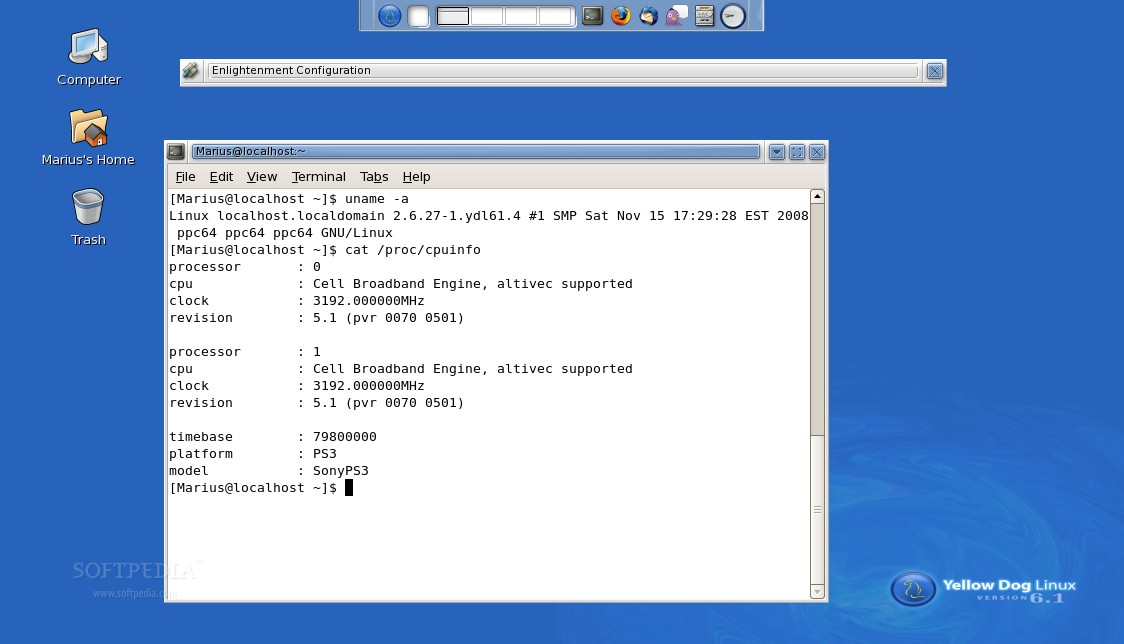
When the Yellow Dog Linux will start, you will notice two YDL icons, representing the two cores of the CELL processor, followed by six Fixstars logos, representing the 6 available SPEs (Synergistic Processing Elements) of the CELL processor.
In a few seconds you will see the customized Yellow Dog Linux 6.1 boot splash. When the boot process is over, you will be prompted by a first-boot configuration process. Please follow the instructions below:
· Click "Forward" on the Welcome screen. · Accept the license agreement and click on the "Forward" button. · Select the trusted services for the Firewall or disable it if the PS3 is connected in a network environment with a powerful firewall. Click "Yes" when asked if you want to override the firewall configuration. · Leave the Kdump option unchecked and click "Forward." · Input your YDL.net account information, if you have one, or click "Forward" to continue. · Set up the date and time. Click "Forward." · Create a regular user for the system. Click "Forward" when you're done. · Test the sound card of the PlayStation 3. · Click on the "Finish" button.
Editor's note: At this point, you will arrive at the login screen. Input the username and password that you've just created and hit Enter to log in.
Conclusions:
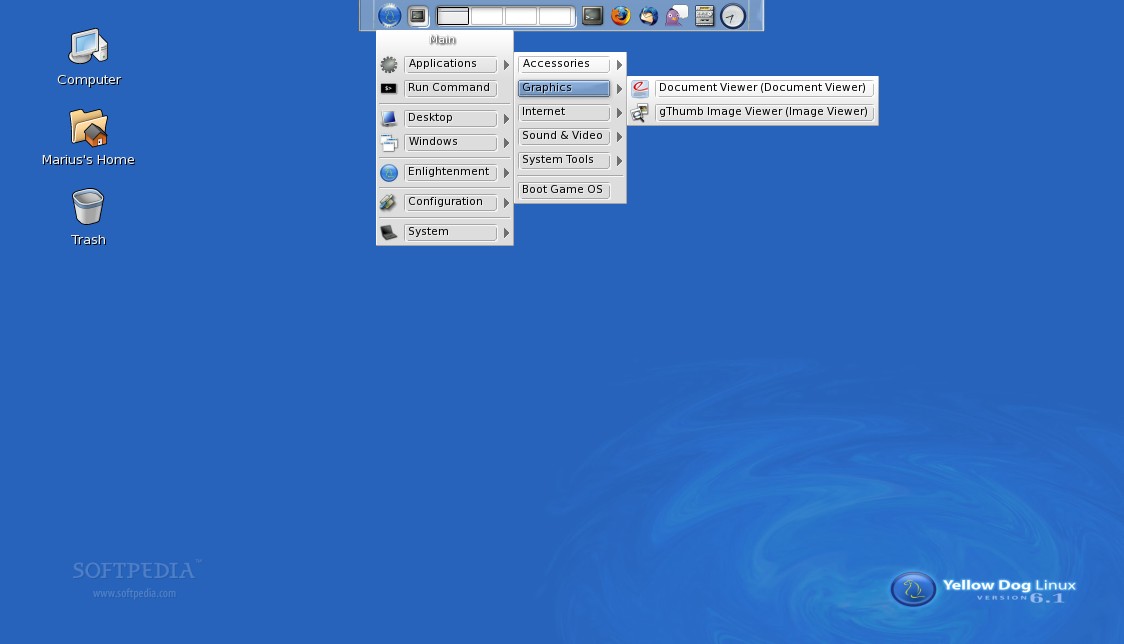
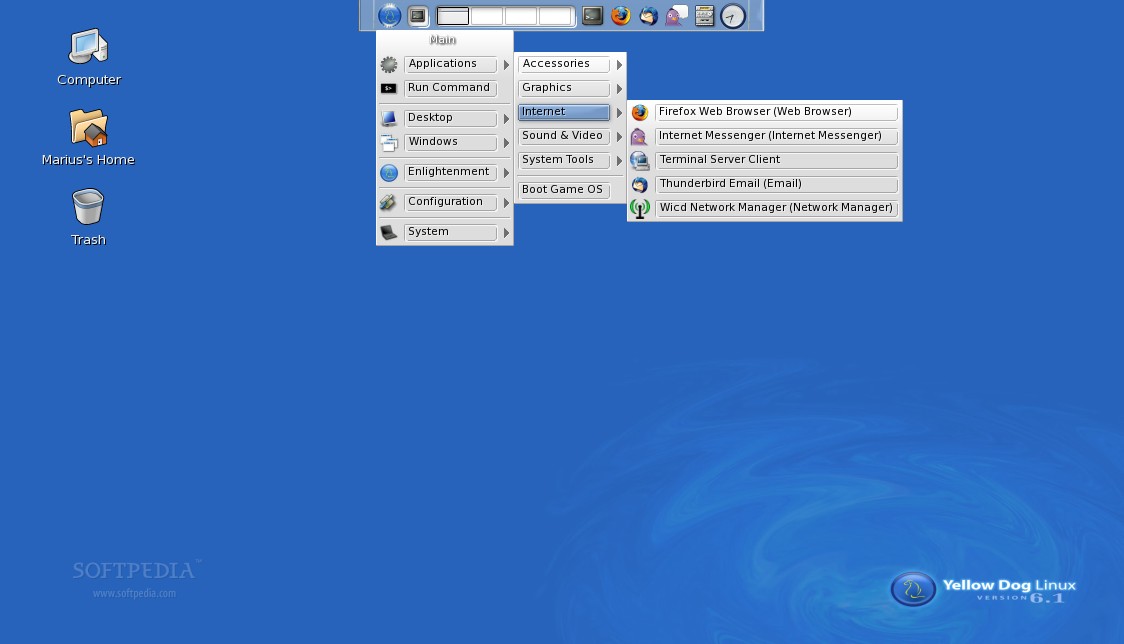
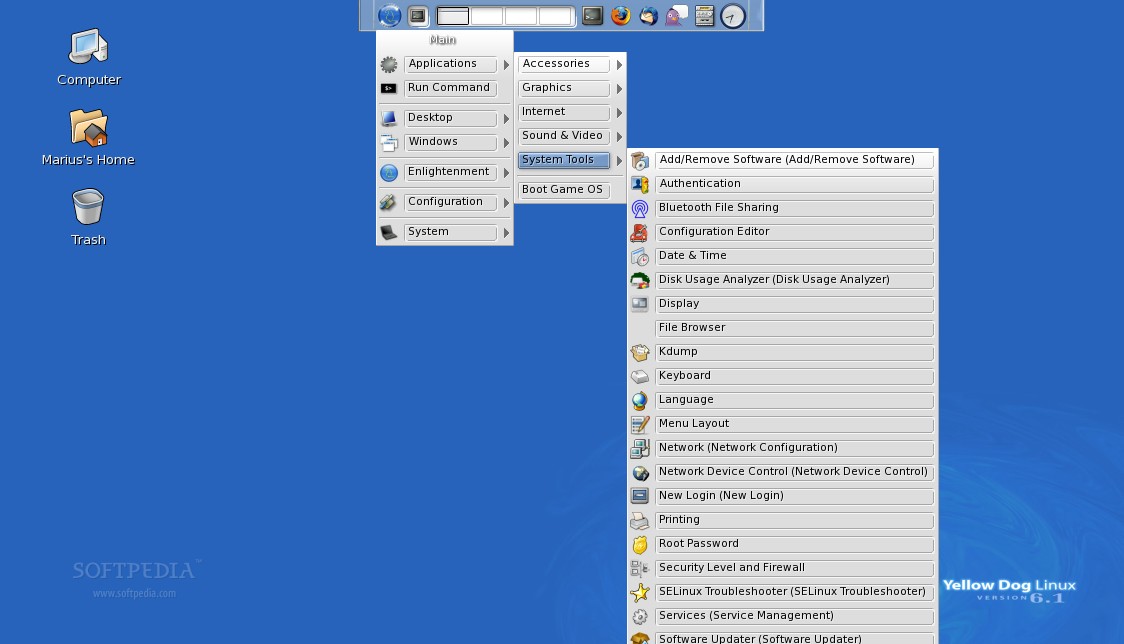
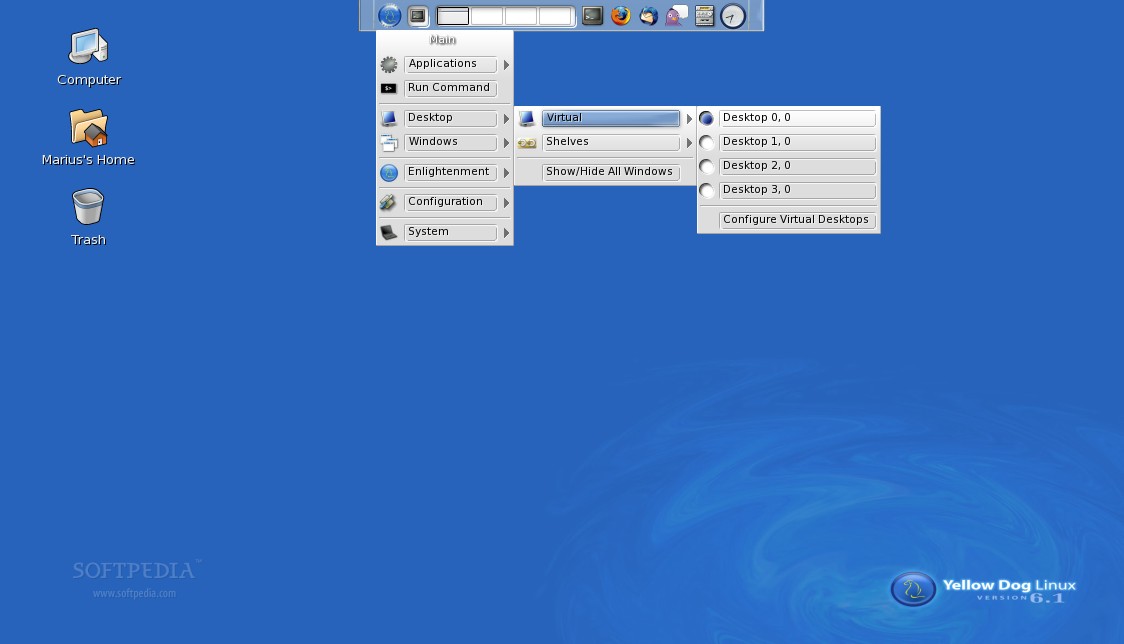
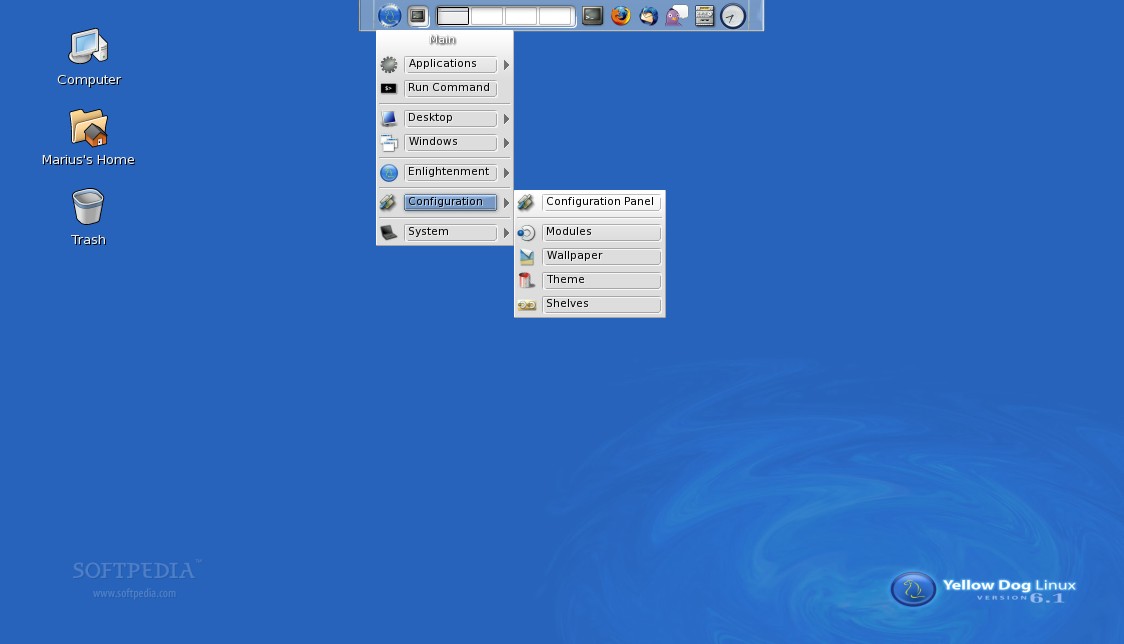
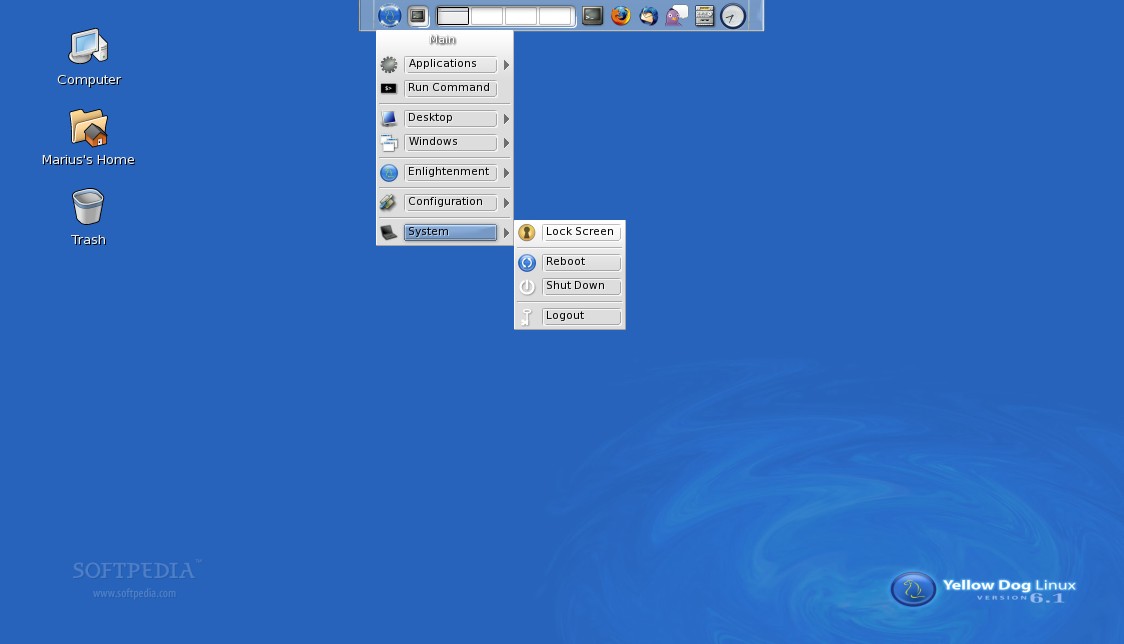
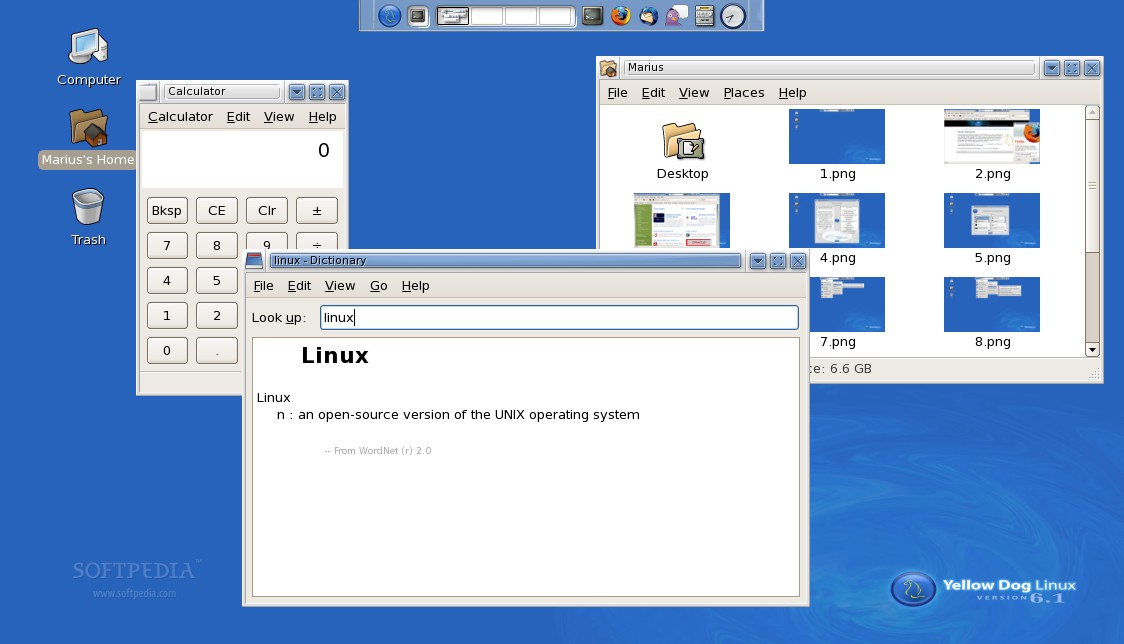
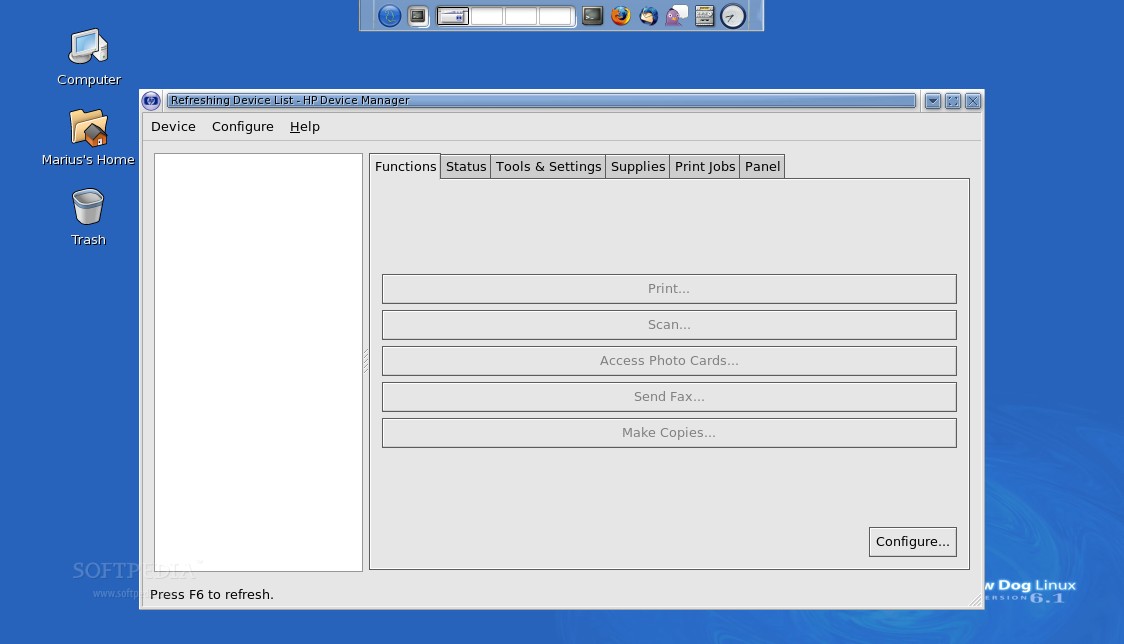
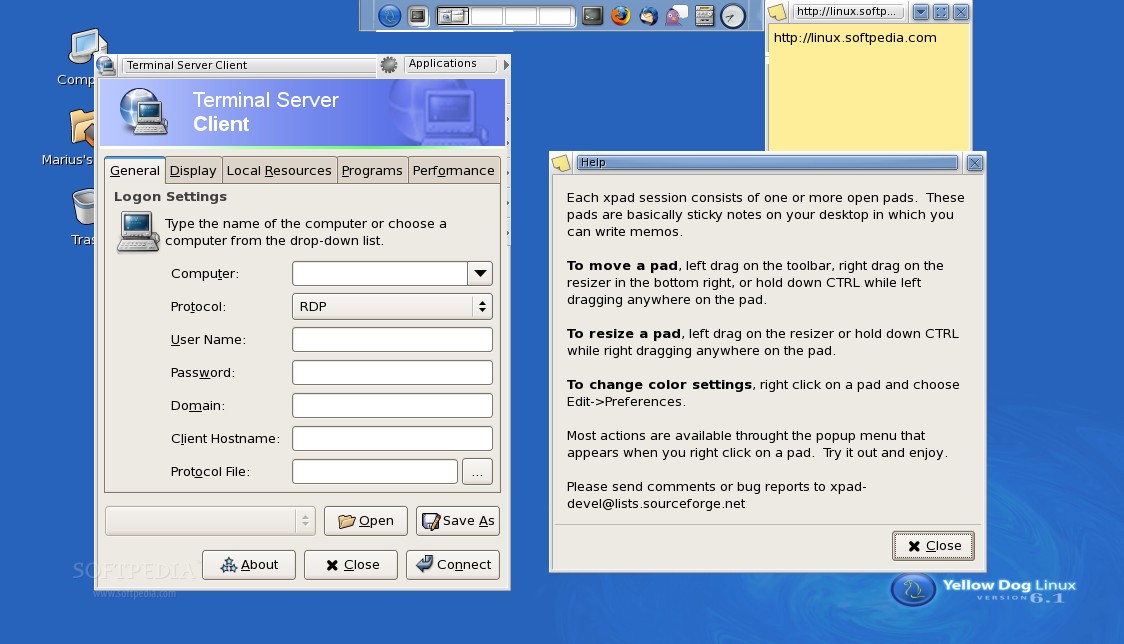
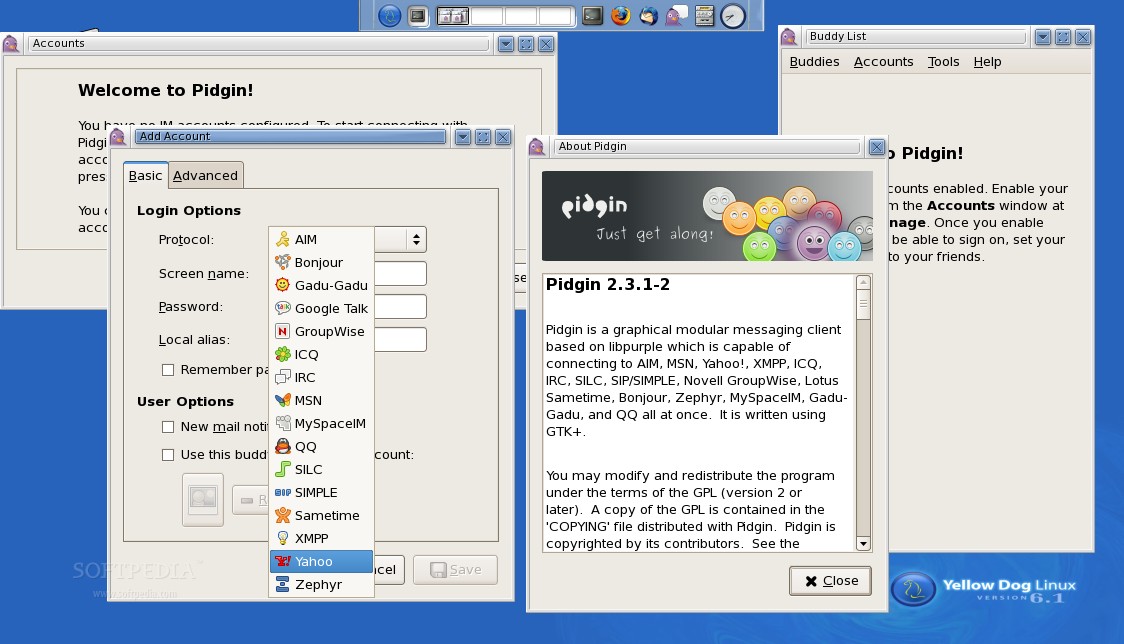
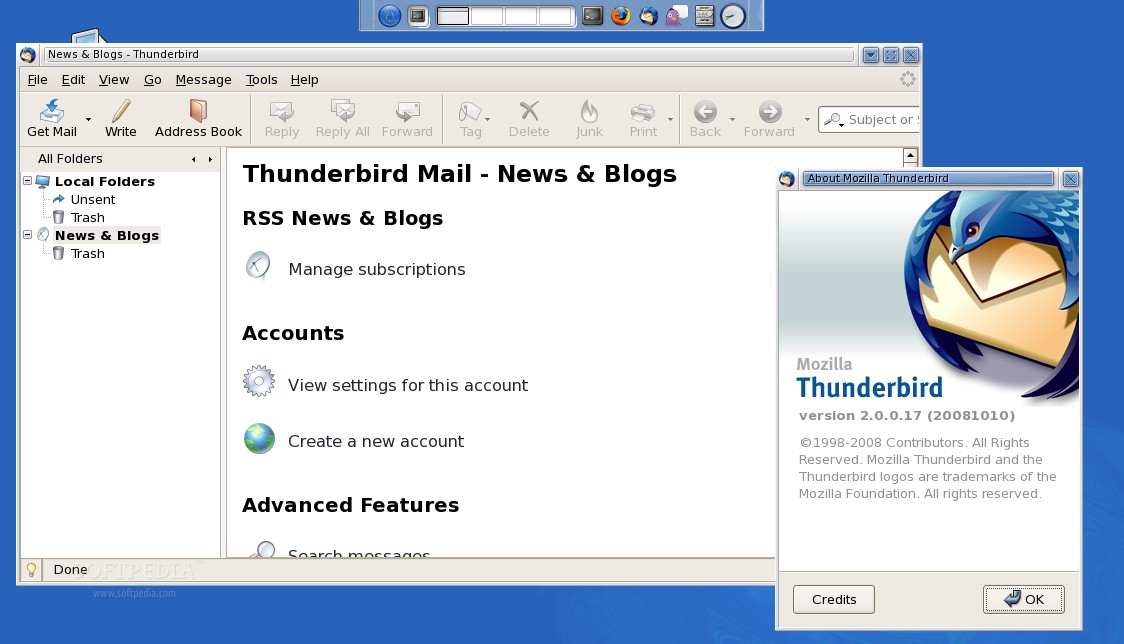
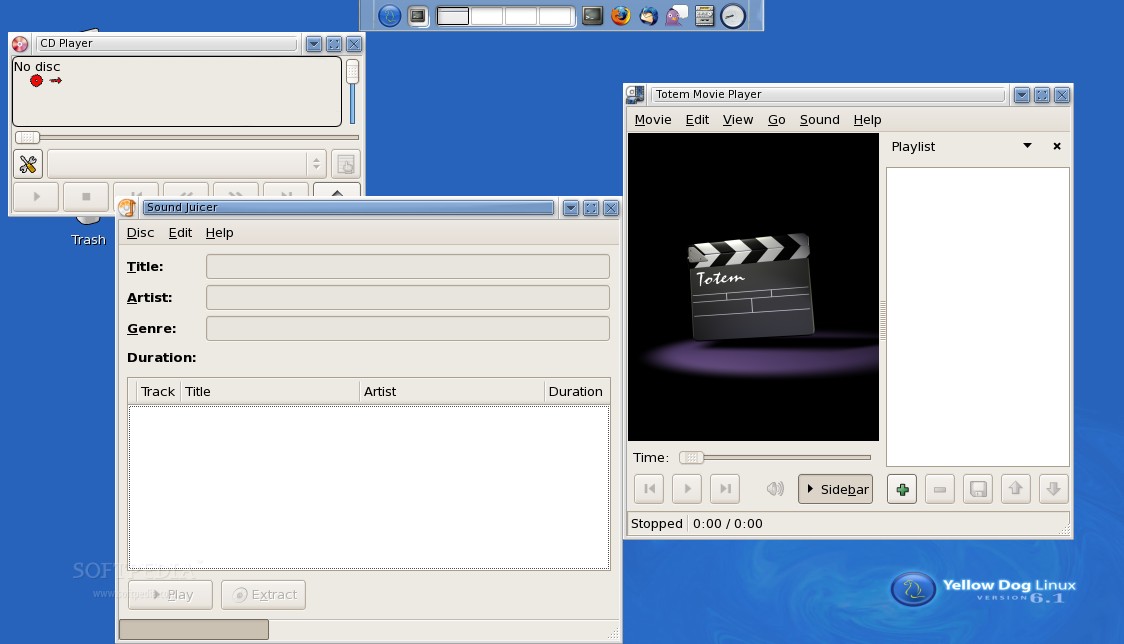
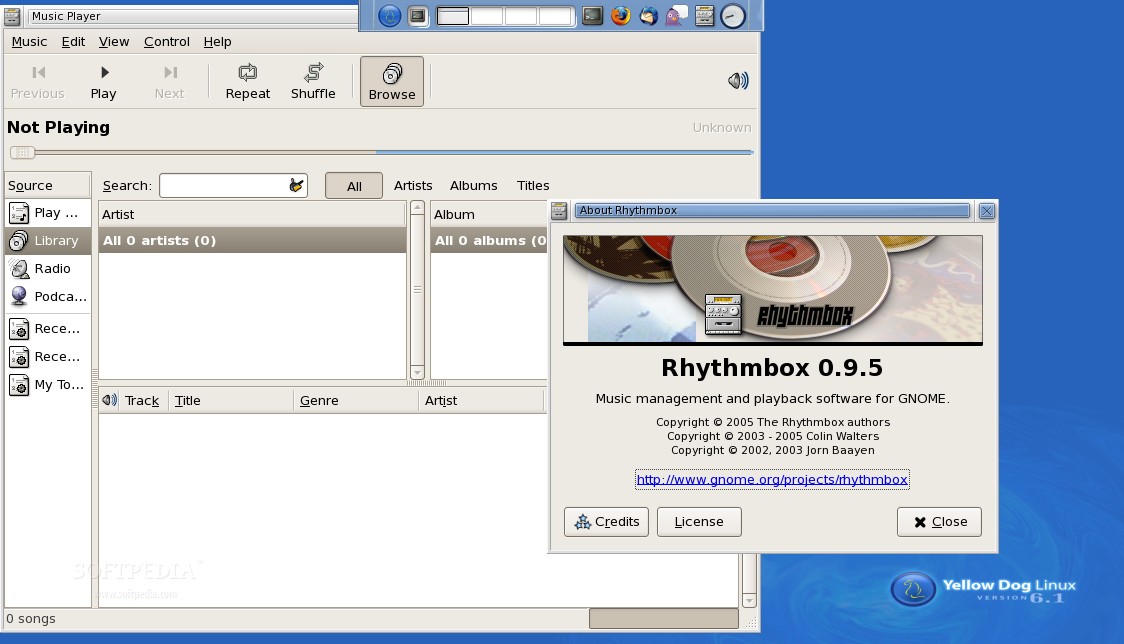
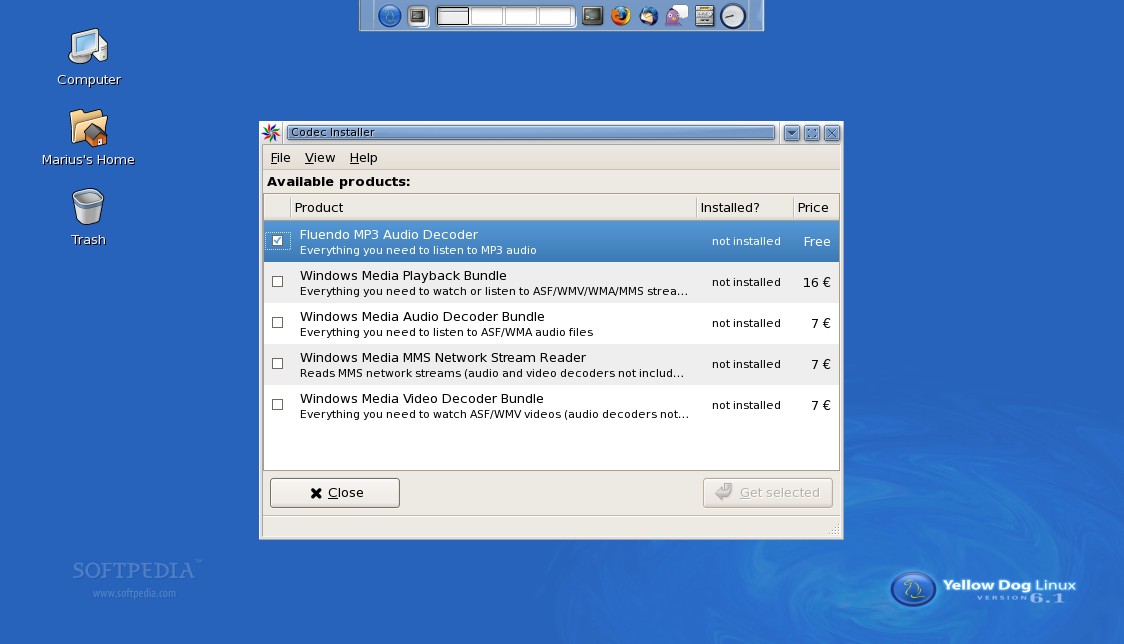
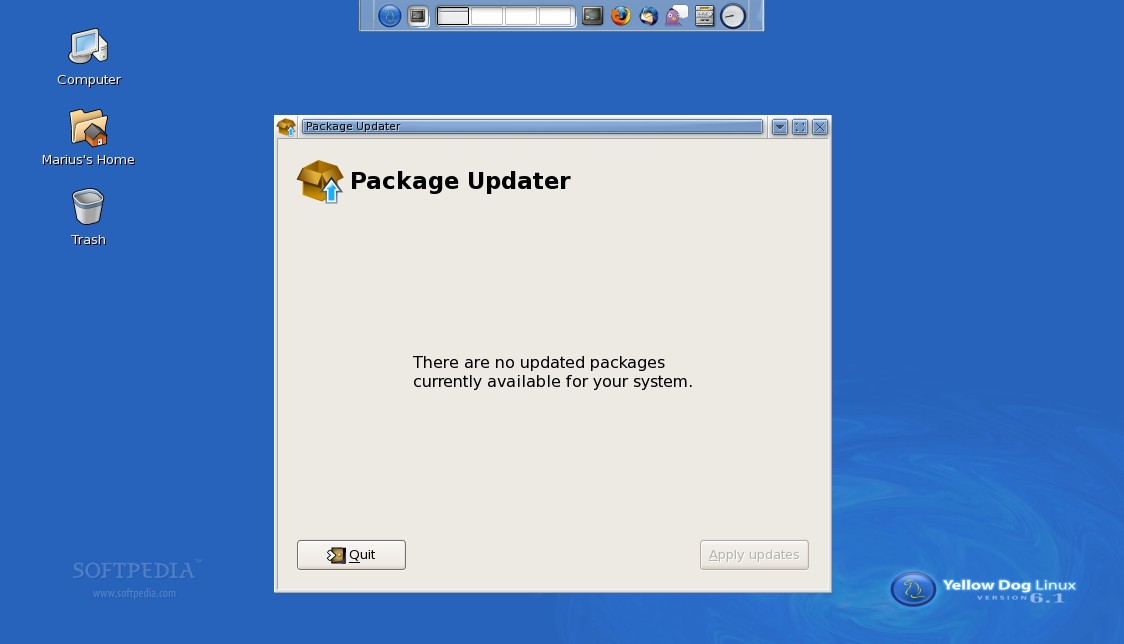
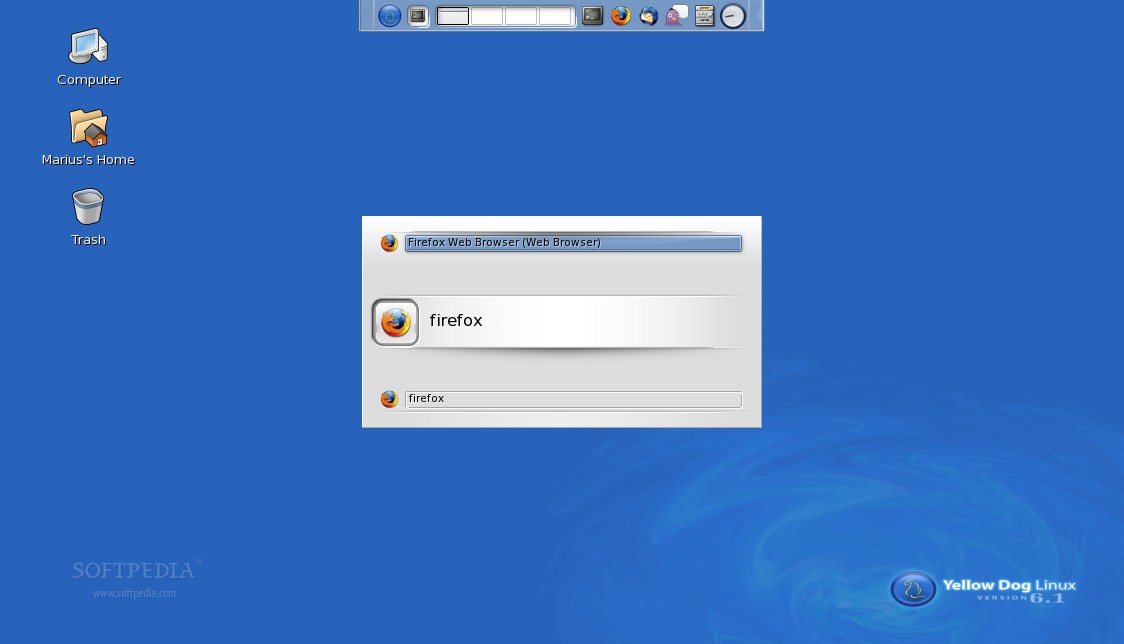
The Yellow Dog Linux 6.1 performs very well, and it is much faster than the last Linux distribution (Ubuntu 7.10) we've installed on our PlayStation 3 console, here at the Softpedia Labs. It boots in about 40-45 seconds, and the applications start much faster. For example, it takes approximatelly 3-4 seconds for Firefox to start. For your viewing pleasure, we've compiled a nice screenshot tour of Yellow Dog Linux 6.1 on the PlayStation 3 gaming console. Enjoy!
Click here now to enable video playblack in Yellow Dog Linux 6.1
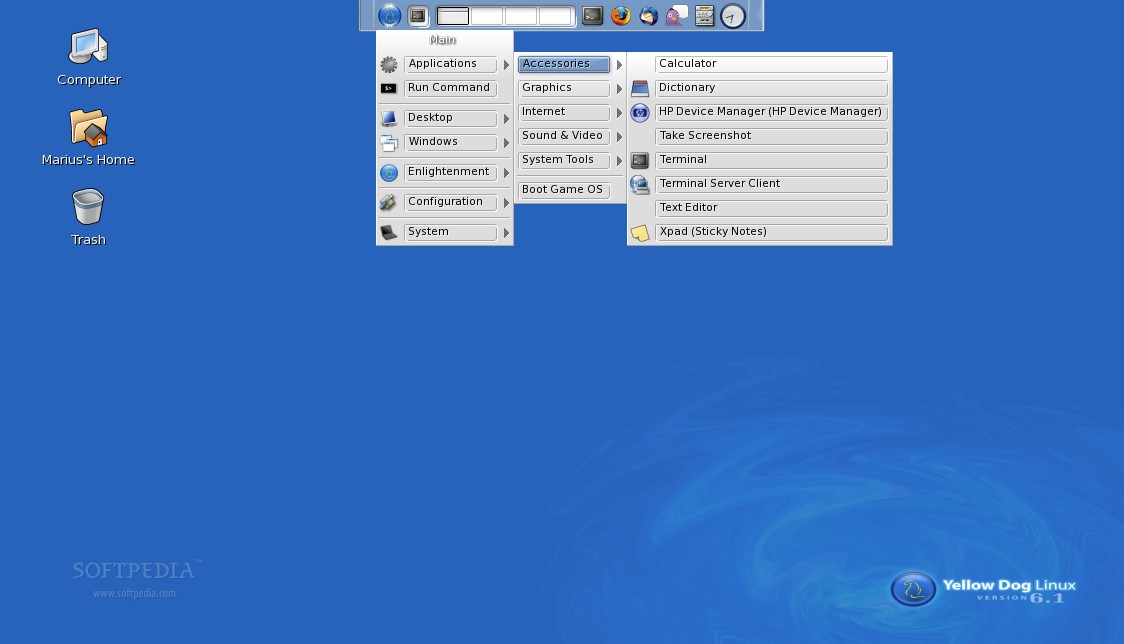
End Note: To return to the PlayStation 3 operating system, go to Start -> Applications -> Boot Game OS. The console will be rebooted and you will enter the XMB. Be aware of the fact that the PS3 controller will fail to connect after reboot. We have no idea why, but we've found a resolution to this problem: Shut down the PS3 by holding the Power button for 3 seconds. When the PS3 is completely shut down, start it by pressing the PS button on the controller. The controller will immediately connect to the PS3.