14 DAY TRIAL //
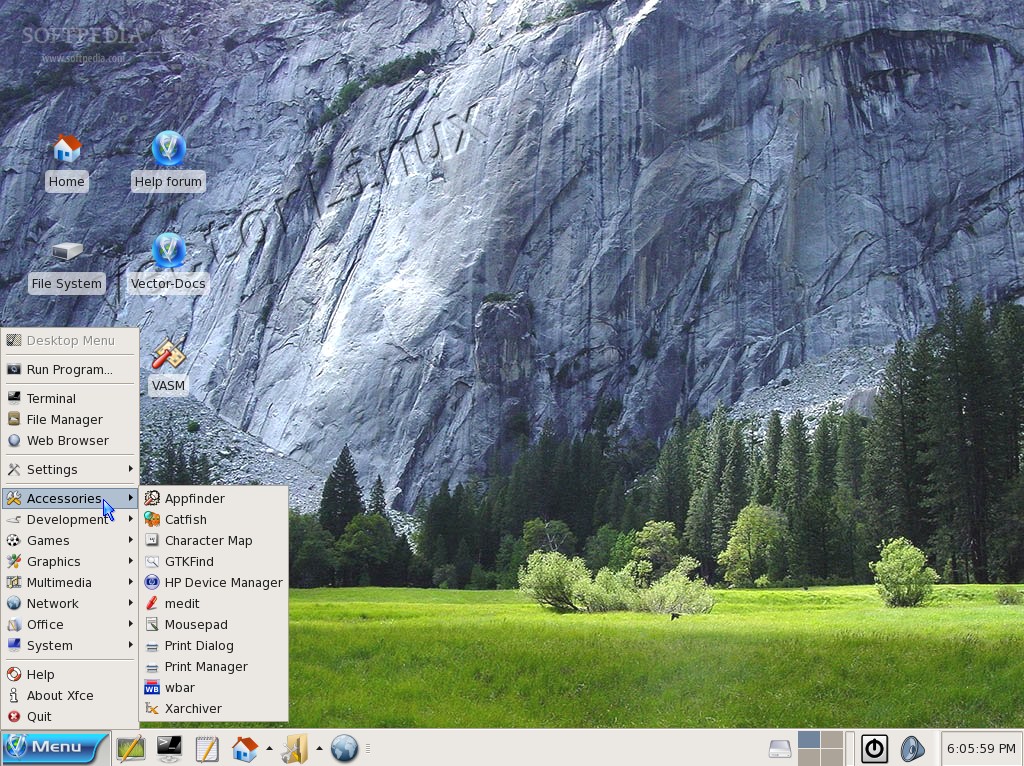
 VectorLinux is a lightweight Slackware-based Linux distribution. Among its features we can notice X.org 7.3, Linux kernel 2.6.22.14, a fully customized Xfce 4.4.2 desktop environment, Fluxbox window manager, Jwm window manager, SeaMonkey Internet Suite 1.1.7, Mozilla Firefox 2.0.0.11 and Opera 9.5.0 Beta 1 web browsers. VectorLinux has enhanced Slackware to produce a bloat free, easy to install, configure and maintain operating system that is second to none. Unique technologies include: automatic hardware configuration, unique administration tools and easy software package management via the Gslapt/slapt-get system. VectorLinux is considered to be the fastest, non-source Linux distribution on the planet!
This guide is here to teach you how to install VectorLinux on your personal computer. You will need the latest VectorLinux CD, which can be downloaded from Softpedia. When the download is finished, burn the ISO image on a blank CD and reboot your computer in order to boot from the VectorLinux CD.
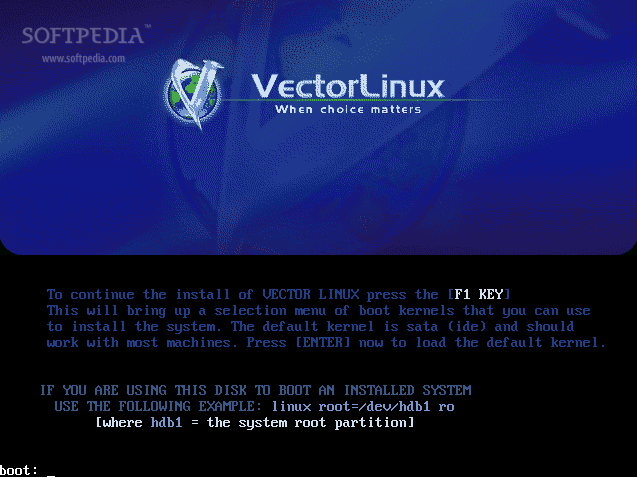
Press ENTER on the first screen:
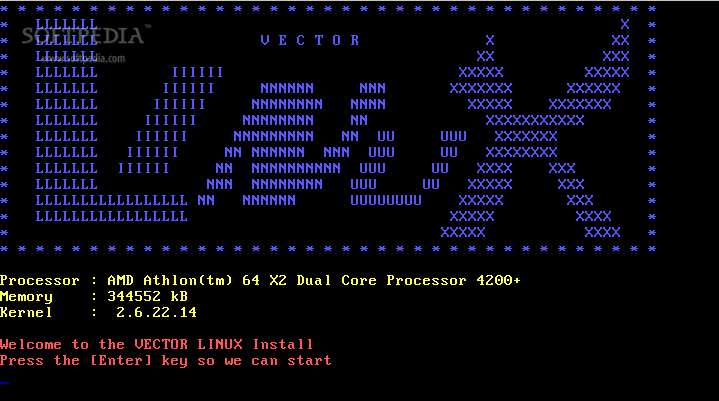
Press ENTER again on the second screen:
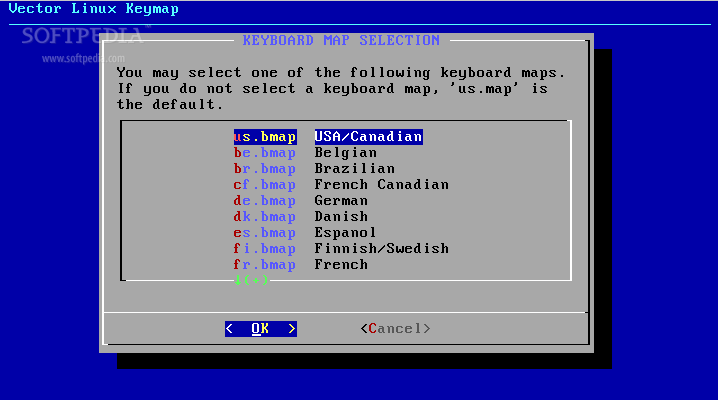
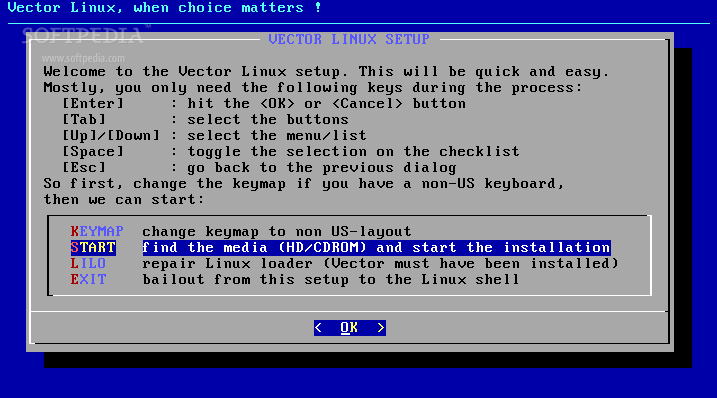
You will see the VectorLinux setup screen. If you don't use an US keyboard you can select a different keyboard layout from the first option, KEYMAP:
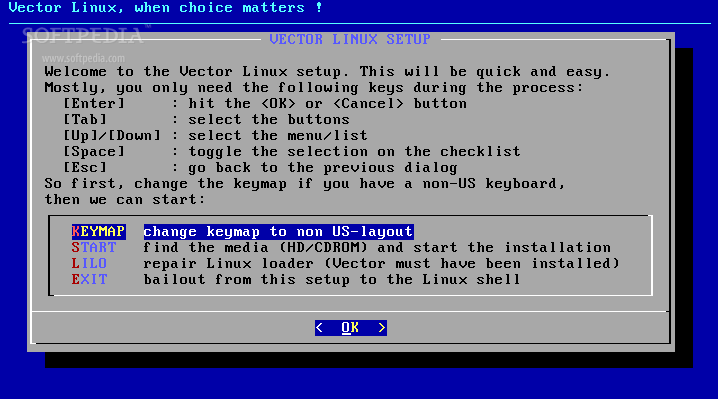
When you're done with the keyboard mapping, you'll be returned to the initial setup screen, from where you can start the installation by selecting the START option:
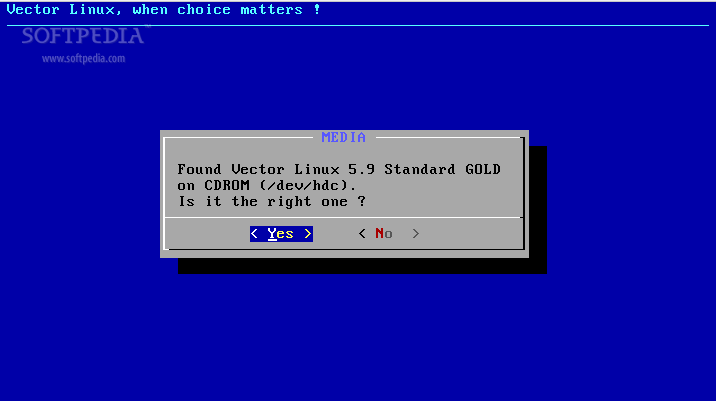
The VectorLinux CD will be found, press 'Yes':
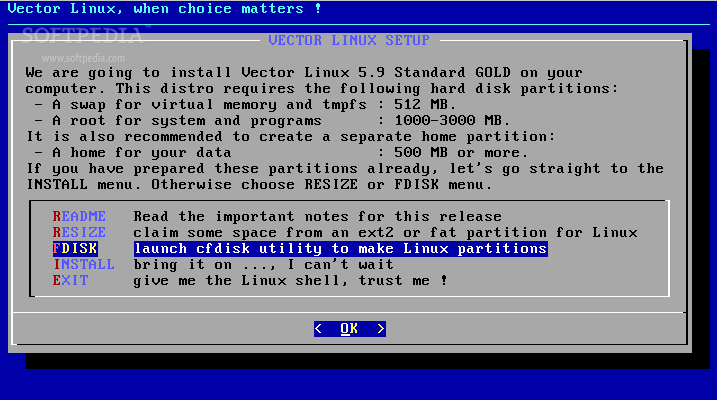
VectorLinux will now require at least a swap and a root partition. Select the FDISK option:
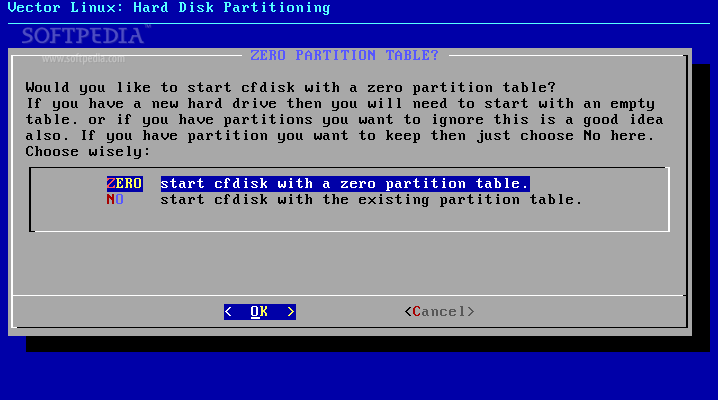
Then select the ZERO option:
Select the hard drive where you want to install VectorLinux and prepare to partition it :
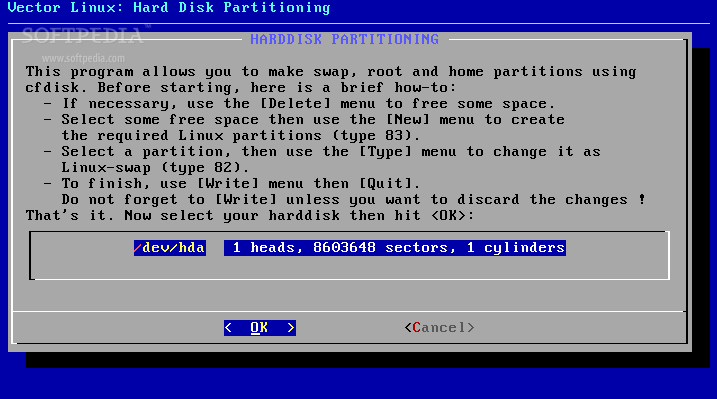
This operation assumes that you don't have any important data or any other operating system on this hard disk.
WARNING: All the data on the selected hard drive will be erased.
cfdisk will be used to make a root Linux bootable partition and a SWAP one. First of all, you should know how to use cfdisk:
- up/down arrows lets you navigate through partitions/free space - left/right arrows lets you navigate through the existing functions - enter key executes a function when selected
Now, if you already had some partitions on the hard drive, please select them (one by one) and with the left arrow select the "delete" function. Your hard drive is now empty (no partitions), so you can start the partitioning process:
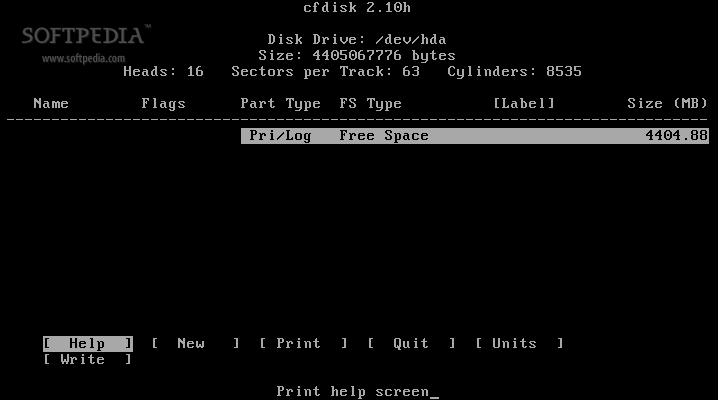
This is how your hard drive should look like:
Create swap partition
1. Select "New" 2. Select "Primary" 3. Type the new size (should be double the RAM of your machine and at least 512 MB) 4. Navigate to "Type", hit ENTER twice and set the value at 82 (which is default, so all you have to do is to hit the ENTER key again).
Create root partition
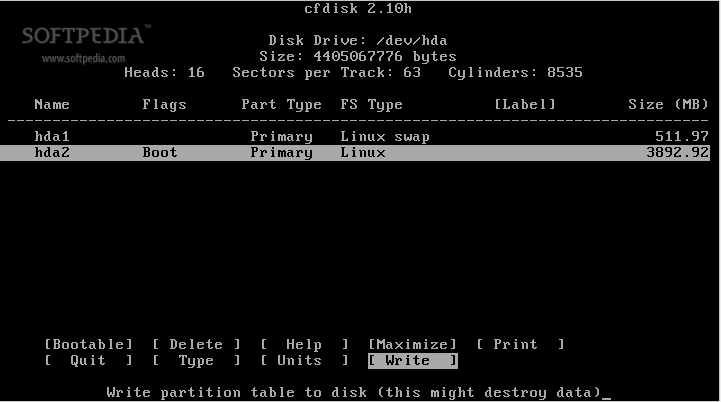
1. Select the 'Free space' line with the down arrow key 2. Select "New" 3. Select "Primary" 4. Leave the size as it is if you want to use the whole disk space, or if you don't want to distribute all the remaining space for the root partition, you can type a new size (minimum 3 GB). 5. Select "Bootable"
Now, the swap and root partitions will be created if you navigate with the left arrow until you reach the "Write" function. Hit the ENTER key, type yes to write all the changes to disk.
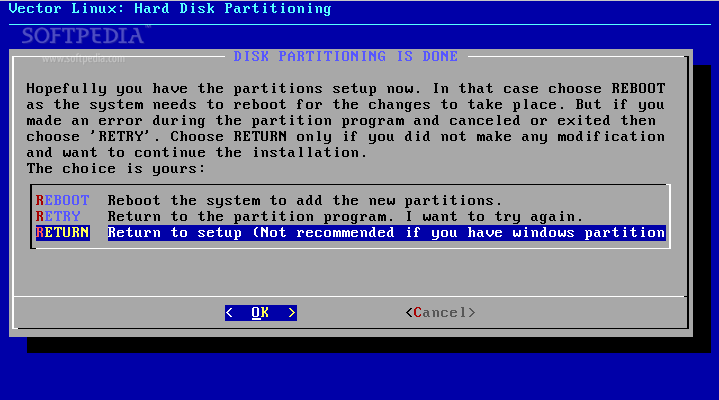
When the operation is over, select the "Quit" option and then choose RETURN (you'll be returned to the initial setup screen):
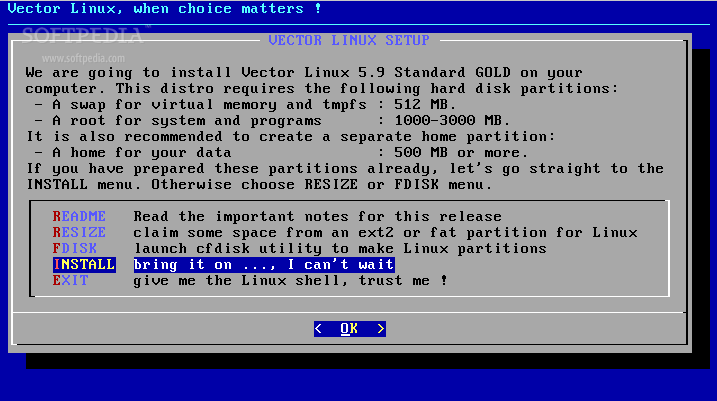
Select the INSTALL option:
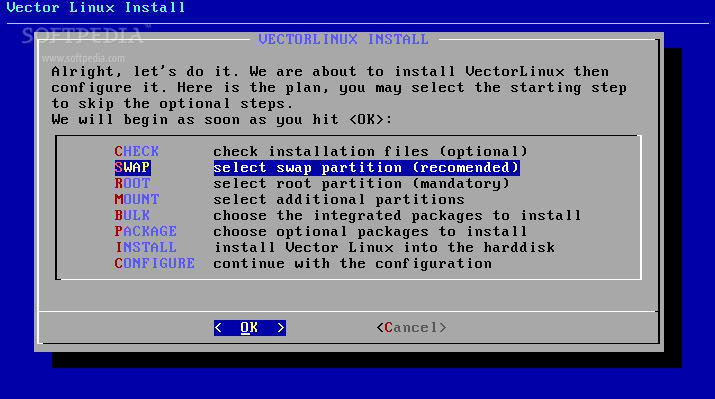
Mount the swap partition by selecting the SWAP option:
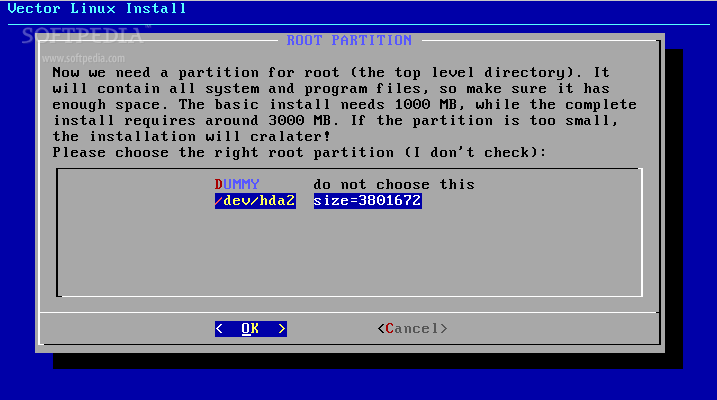
The select the root partition:
Select a filesystem to use for the specified device (ext3 is recommended):

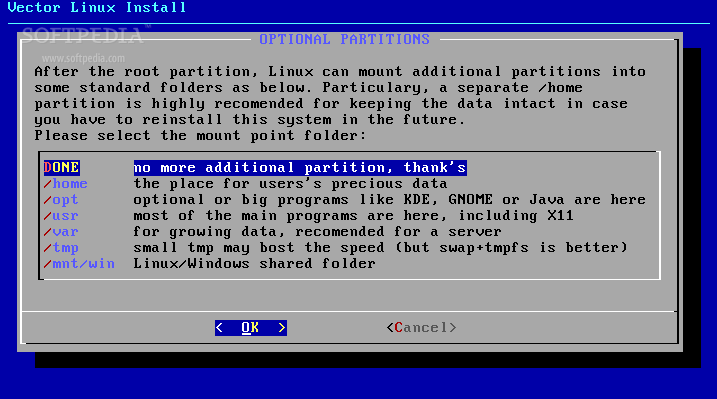
Choose the DONE option:
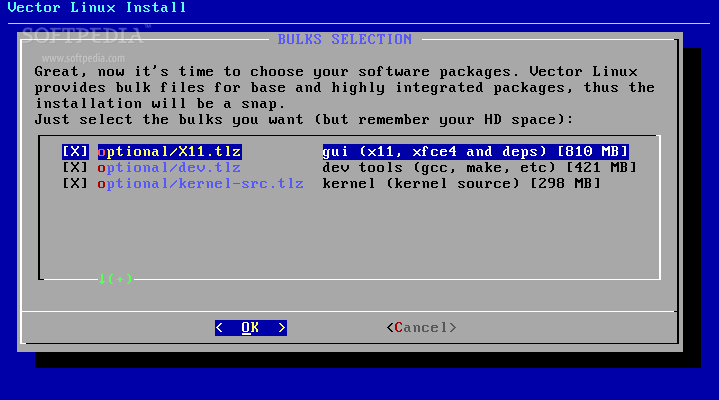
Select the software packages you want to install (leave everything as it is if you want to install all the packages):
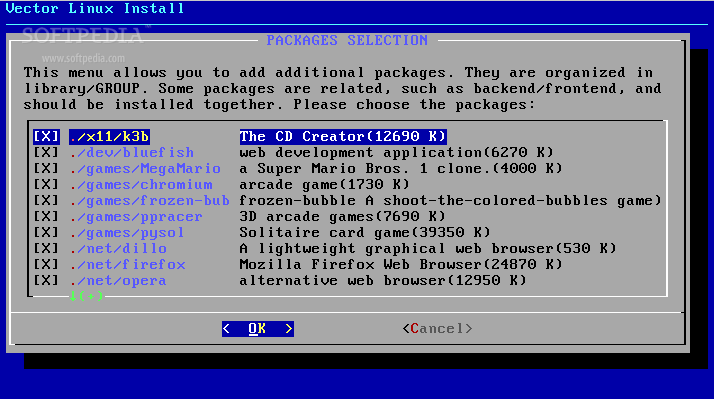
On the next screen you also have the possibility to add additional packages:
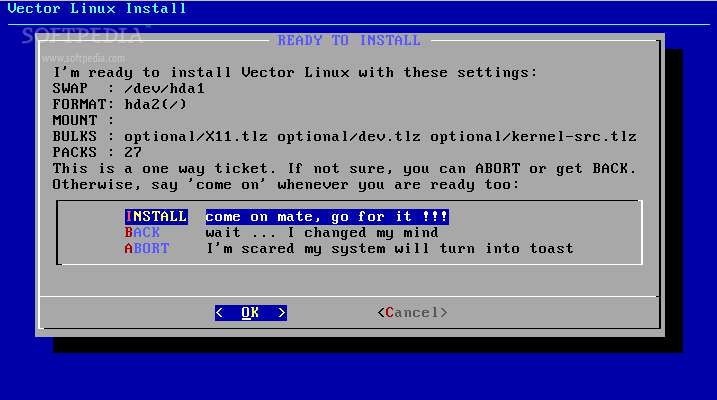
Come on mate, go for it !!! Hit the INSTALL option:
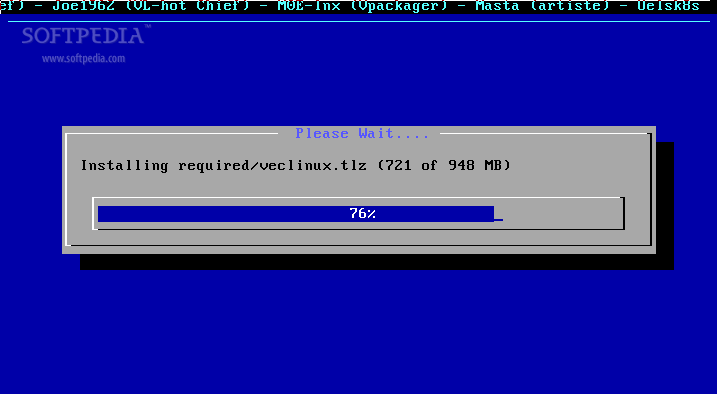
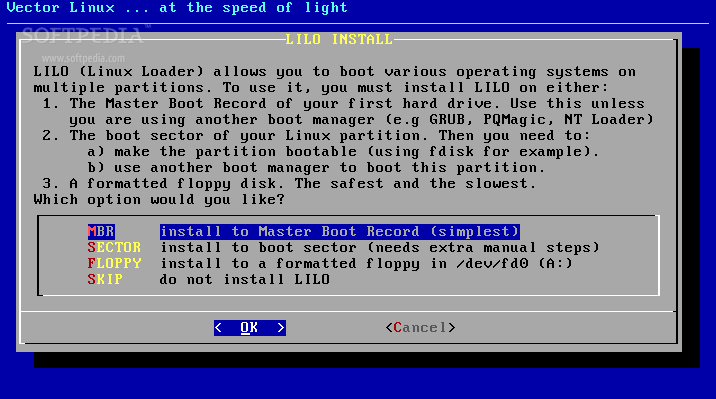
Sit back, relax for 10 minutes and watch how VectorLinux is installed on your computer. When the packages installation is over, you will be asked to select where to install LILO (the VectorLinux boot loader). Choose MBR:
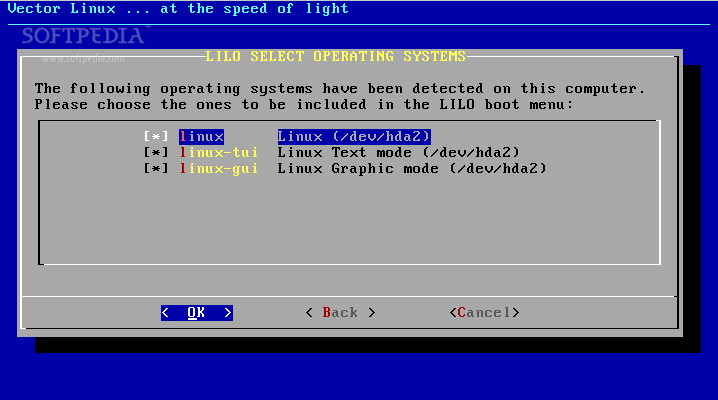
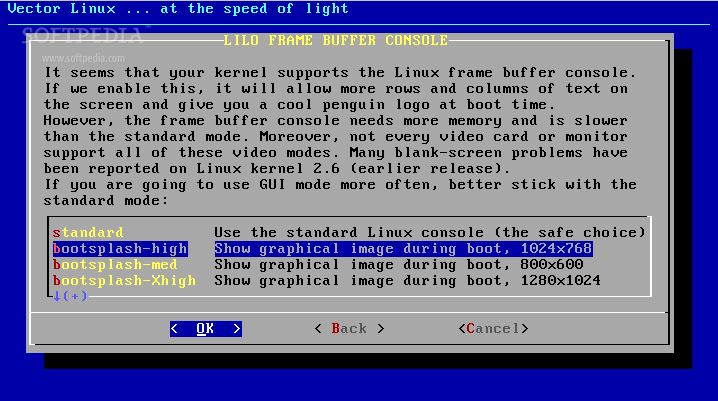
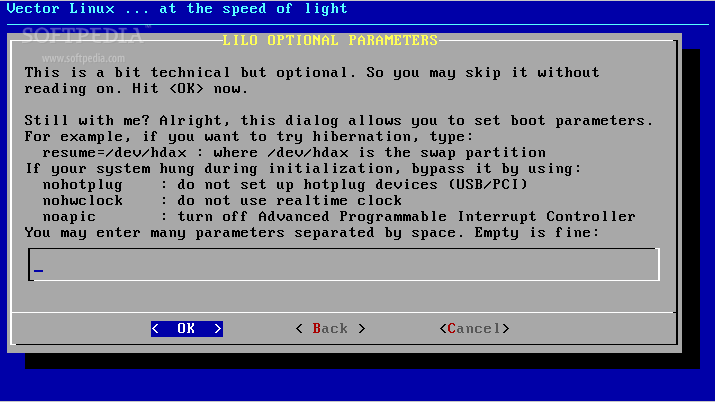
Then just hit OK on the next three screens:
Select VL-HAL to manage your removable devices:
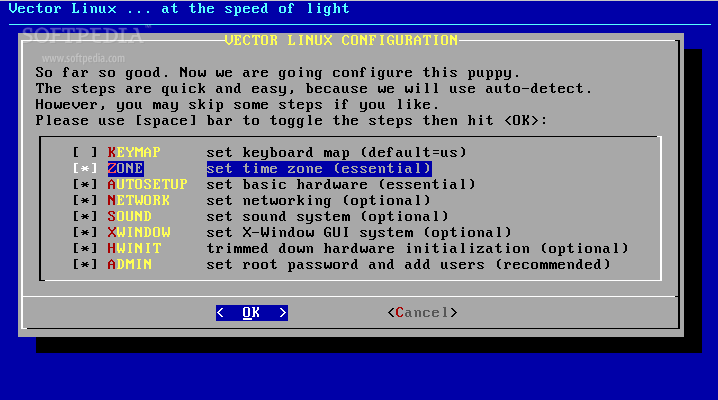
And you will arrive to the VectorLinux Configuration screen:
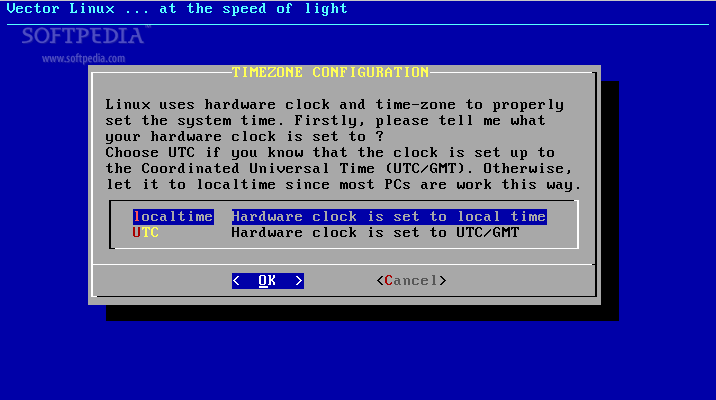
Set the time zone:
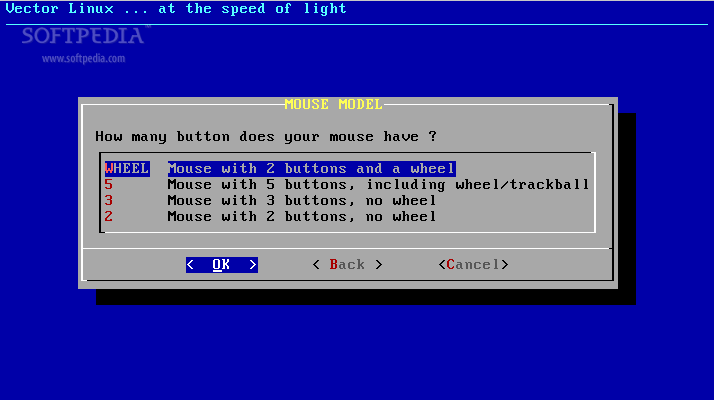
Configure your mouse:
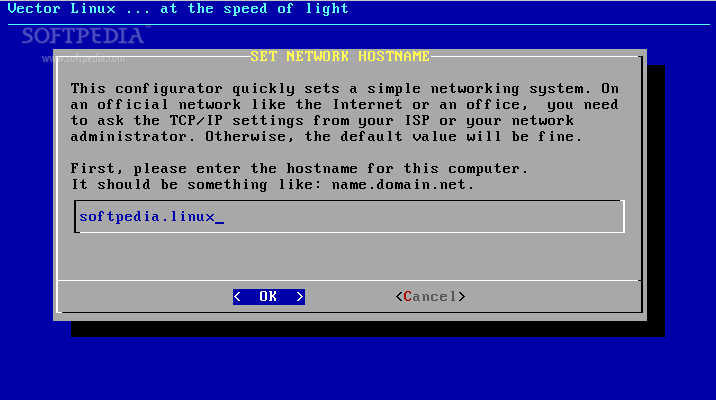
Setup network hostname:
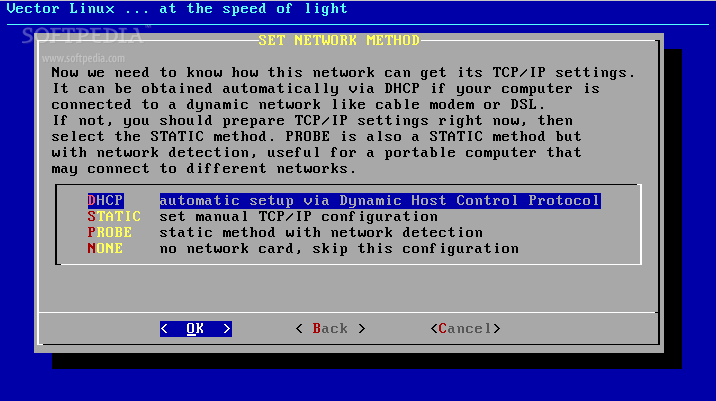
Configure your network settings (choose DHCP for dynamic IP address):
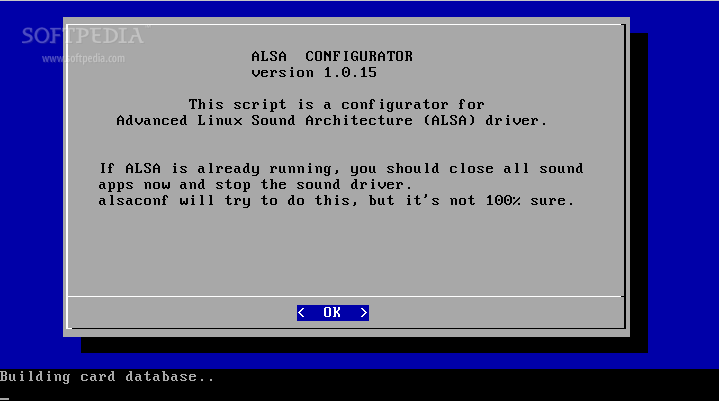
Configure the sound card:
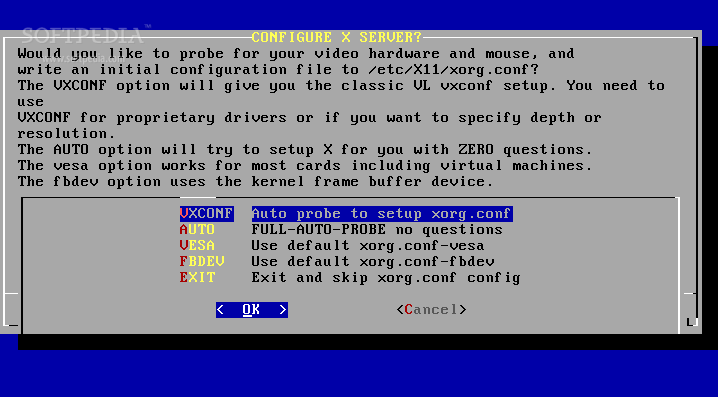
Configure X11 (AUTO is the recommended option):
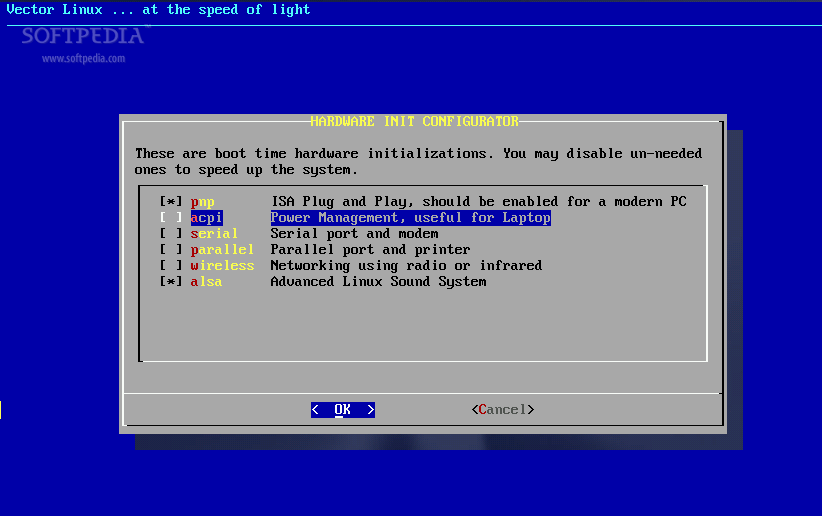
Select what services you want to start at boot time:
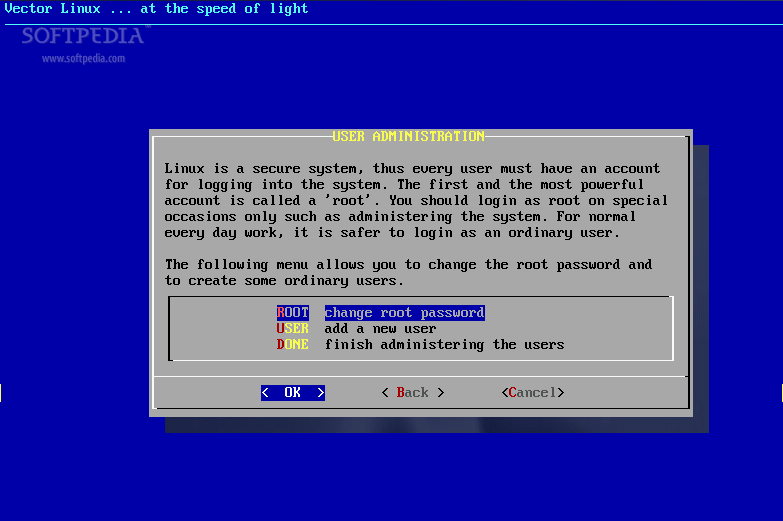
Setup a root (system administrator) password and the default user for the system:
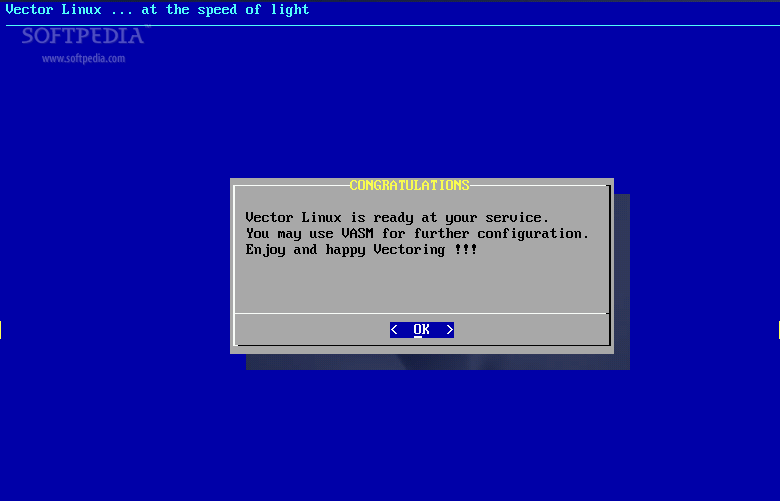
Congratulations, VectorLinux is now installed:
The system will reboot, don't forget to remove the CD and let VectorLinux boot from your hard drive:
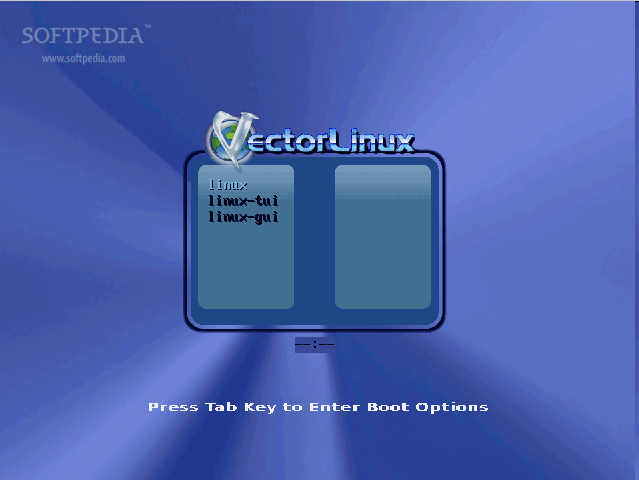
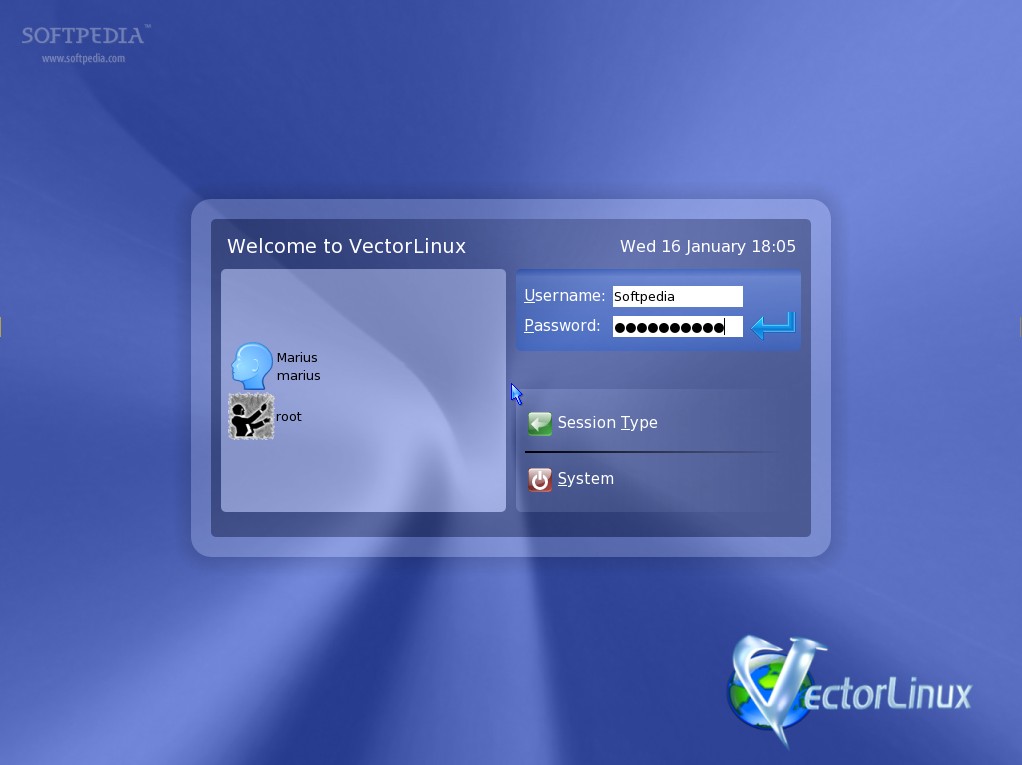
Login with the user you've created earlier:
Enjoy and happy Vectoring!