 14 DAY TRIAL //
 TorrentFlux is a PHP based torrent client that runs on a web server, allowing you to manage your downloads through a web interface from anywhere. It's based on BitTornado and requires a functional LAMP server in order to run properly. Once having it installed, you'll be able to add, remove and/or manage torrents and their settings through a web browser. NOTE! If your Linux system already has a functional Apache + MySQL suite already installed, you can skip this step. Otherwise, this guide will allow you to have TorrentFlux installed with XAMPP.
Install XAMPP
XAMPP is a very easy to install Apache distribution containing MySQL, PHP, Perl and ProFTPD. To install it, you have to:
- Download the latest version of XAMPP from Softpedia - click HERE.
- Extract the packages and move them to the appropriate directories:
XAMPP: Do you want to set a password? NO
XAMPP: MySQL is accessible via network.
XAMPP: Normally, that's not recommended.
Do you want me to turn it off? YES.
XAMPP: The MySQL/phpMyAdmin user pma has no password set!!!
XAMPP: Do you want to set a password? YES
Enter your password?
XAMPP: MySQL has no root password set!!!
XAMPP: Do you want to set a password? YES
Enter your password?
XAMPP: The FTP password is still set to 'lampp'.
XAMPP: Do you want to change the password? NO
# /opt/lampp/lampp startmysql
NOTE1: If you already have Apache, PHP and MySQL installed and skipped the "Install XAMPP" step, you should remove the /opt/lampp/bin/ target from ALL the commands. For instance: # /opt/lampp/bin/mysqladmin -uroot -p create torrentflux becomes: # mysqladmin -uroot -p create torrentflux
NOTE2: If you already have Apache, PHP and MySQL installed, the PHP configuration file could be unsuitable for TorrentFlux. Check the /etc/php.ini file if the following directives are correctly set:
allow_url_fopen = On
SELINUX=enforcing with SELINUX=disabled
and reboot your computer.
- Download the latest version of TorrentFlux from Softpedia - click HERE.
- Extract and move it to the appropriate directory:
# mv /opt/torrentflux_2.2/html /opt/lampp/htdocs/tf
(If you already have Apache installed, you should use the proper document root, usually /var/www/html so the command will be:
# mv /opt/torrentflux_2.2/html /var/www/html/tf )
(Enter the MySQL root password you've set using XAMPP security script)
# cd /opt/torrentflux_2.2/sql
# /opt/lampp/bin/mysql -uroot -p torrentflux < mysql_torrentflux.sql
(Enter the same MySQL root password)
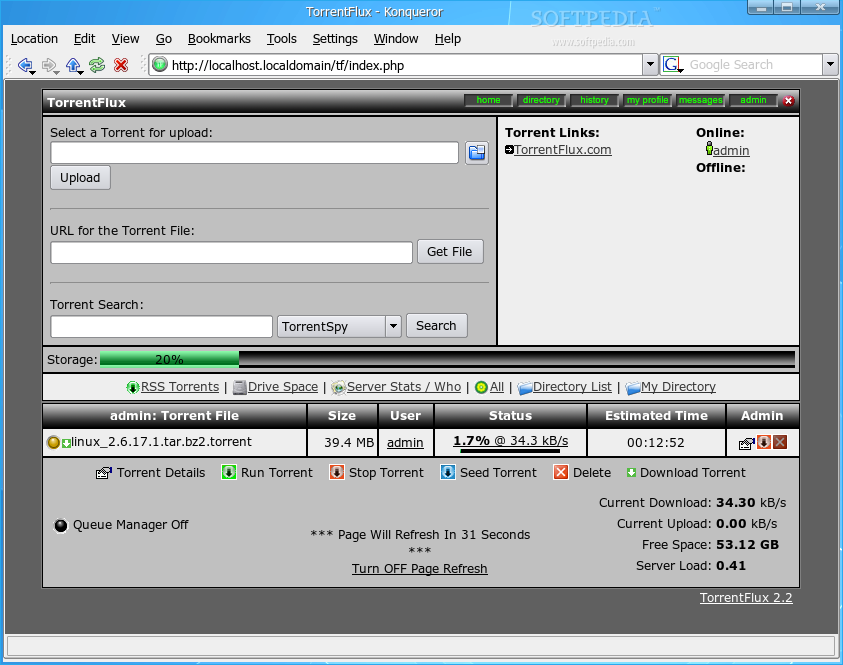
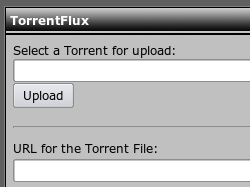
- Open a browser and go to http://your.linux.ip.address/tf. The first time you access TorrentFlux, you will be prompted for a user and password, this will be used to set the SUPERADMIN user and password by what you enter. If you enter username "admin" and password "nimda", you will be able to access the application later by using this login information. Enjoy!