14 DAY TRIAL //
 Gobuntu is a just like Kubuntu or Xubuntu, a flavor of the Ubuntu distribution that has a very strict set of restrictions on the licenses of code and content. The Ubuntu team stripped off any redistributable and modifiable content in order to apply the Free Software Foundation "rights" definition to everything in the platform. Unfortunately, Gobuntu will not correctly enable hardware components that you can find these days, being created as a "banner" for the cause of software freedom.
The installation process of Gobuntu is text mode-based, and it is quite painful for most users, because it will not detect modern hardware, such as SCSI hard drives. So unless you have an IDE hard drive, don't even bother to follow the next steps.
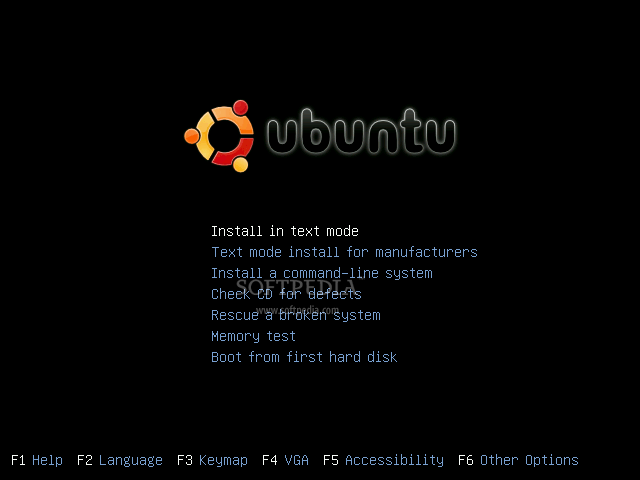
If you didn't get a copy of Gobuntu yet, download it from Softpedia, burn it onto a blank CD, and boot your computer from it. Press the "Install in text mode" option at boot prompt:
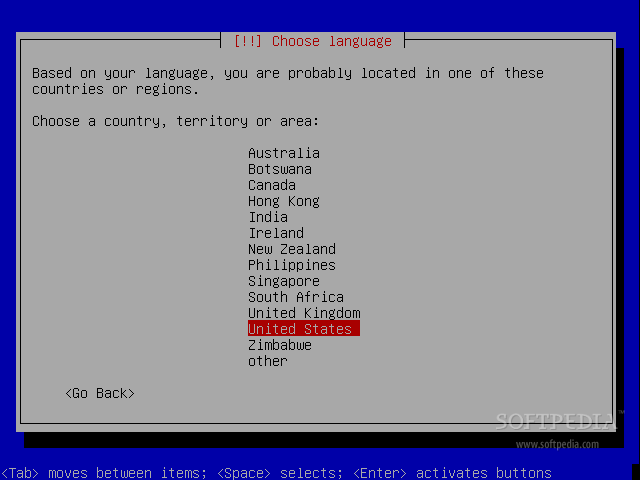
Then you must choose your language:

Select your location:
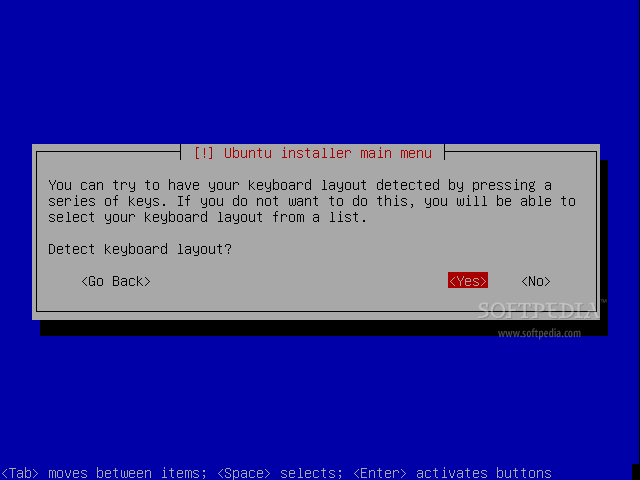
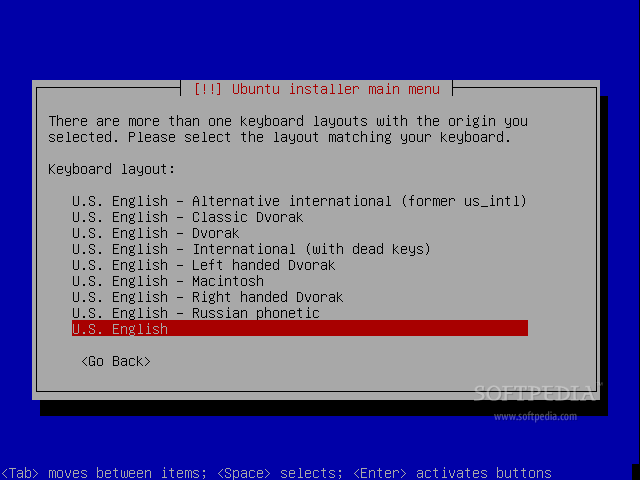
The installer will now detect your keyboard layout. You must press some keys, in order for the installer to detect the correct layout:

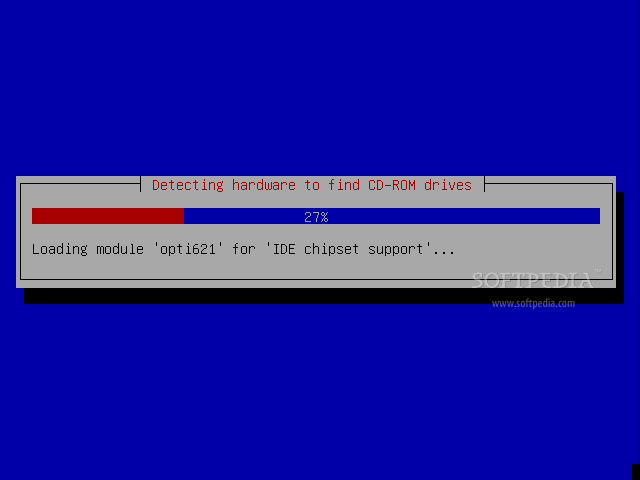
The installer will search and detect the installation CD, some hardware and it will also try to configure your network card. Beware that not all the network cards will be detected by Gobuntu so you might get some warning screens that no network card was detected. However, you can select to continue the installation without a network card, but you will not have an Internet connection in the final system:
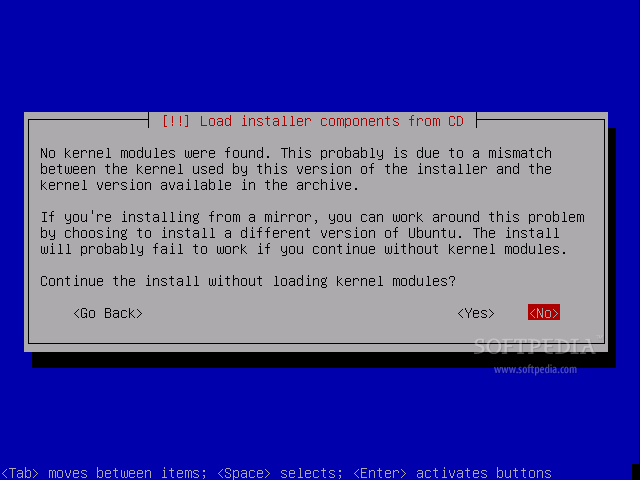
It looks like no kernel modules were found, so choose 'No' to continue without loading the kernel modules:
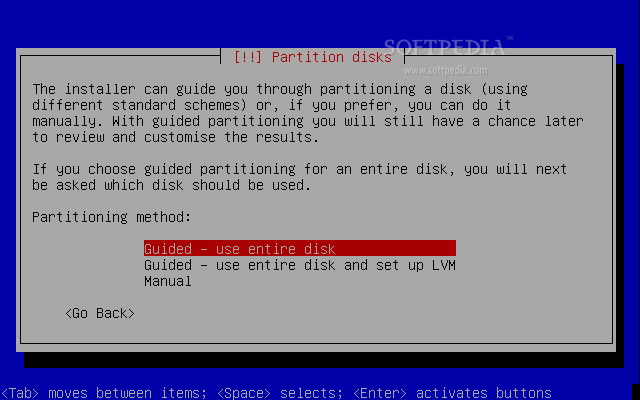
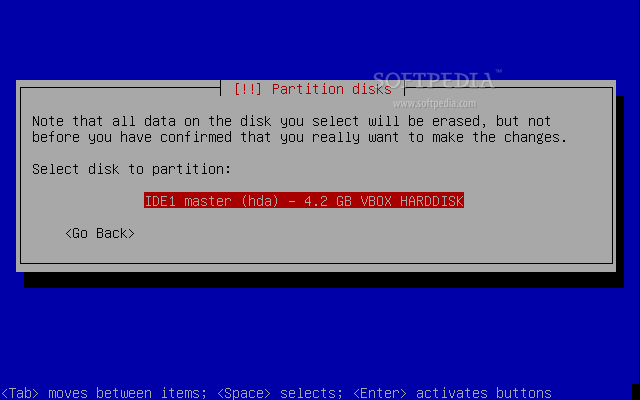
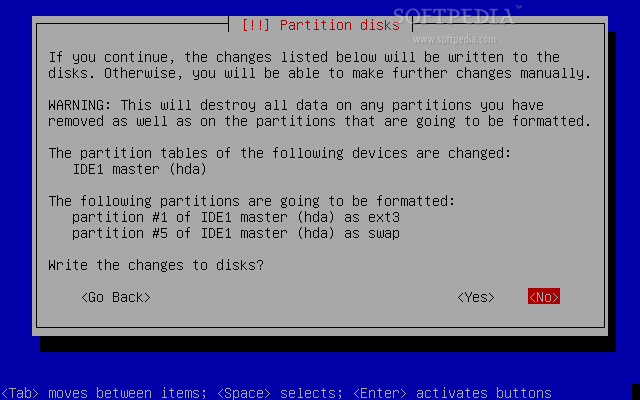
Then you must partition your hard disk. I strongly recommend you to select the first option here (Guided - use entire disk). Remember that all the existing partitions will be erased and you will lose any data you may have on that hard disk, so please use a formatted drive:
Select the target hard drive and then choose 'Yes' when you'll be asked if you want to write changes to disk:
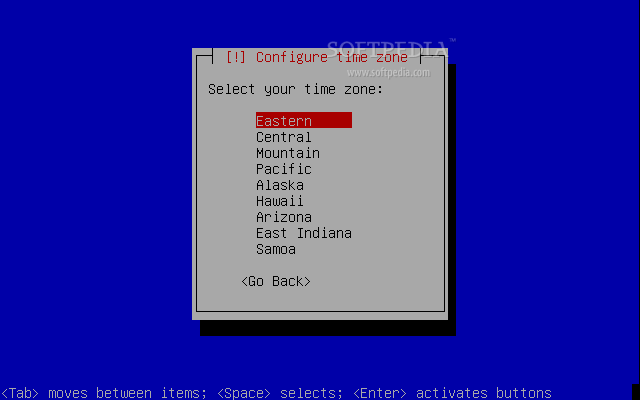
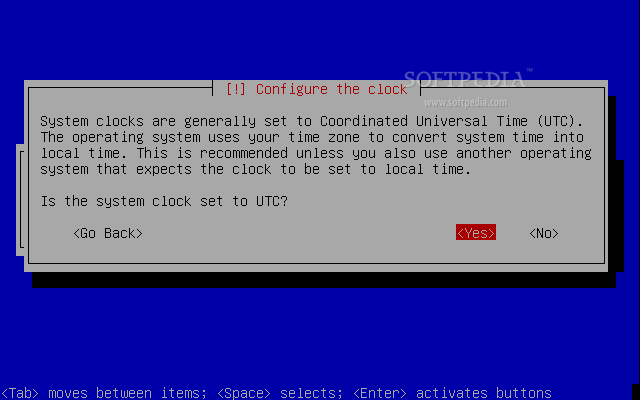
When the partitioning process is over, configure your time zone and the clock:
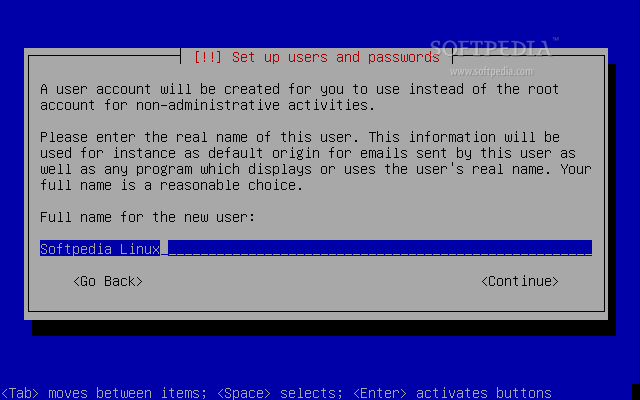
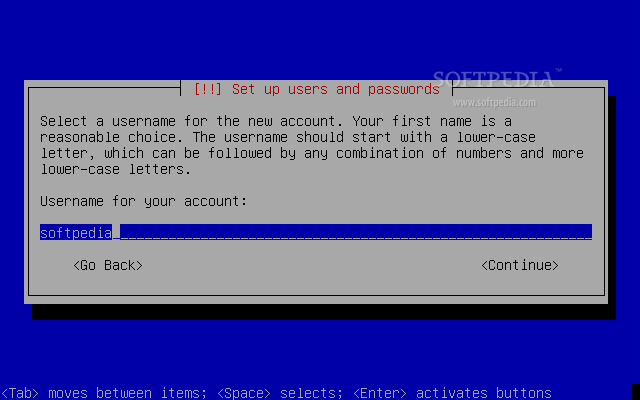
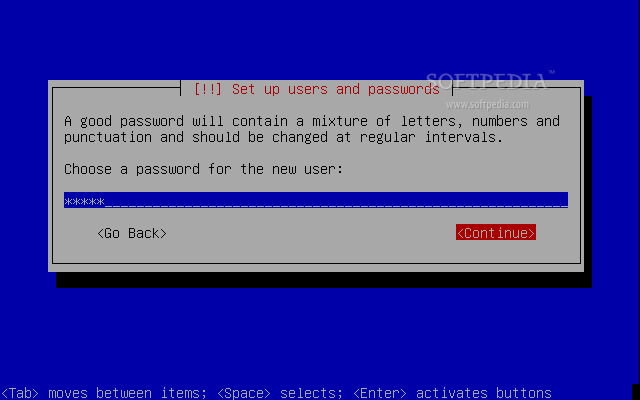
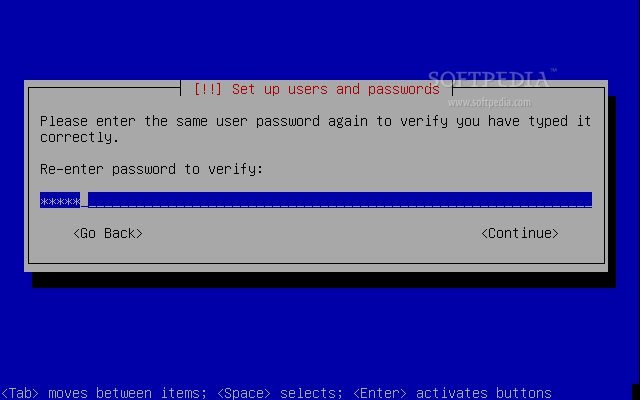
Then create a normal user (non-root) for the system:
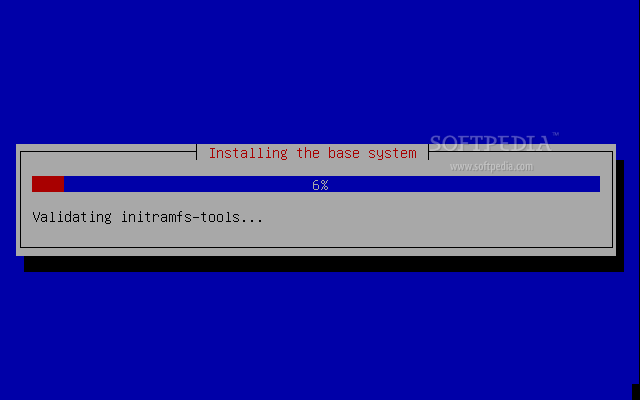
And the base system will be installed:
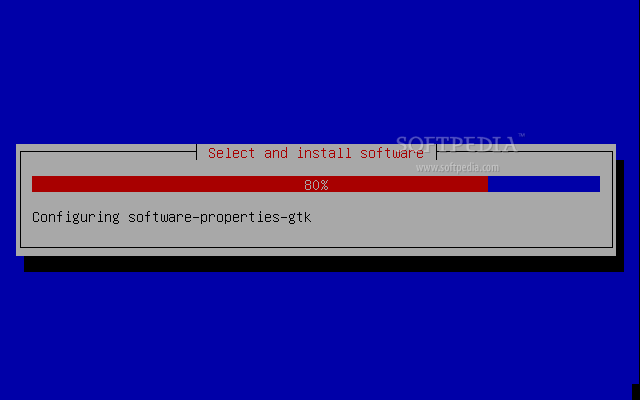
You must configure the package manager and install the software, which will take some time:
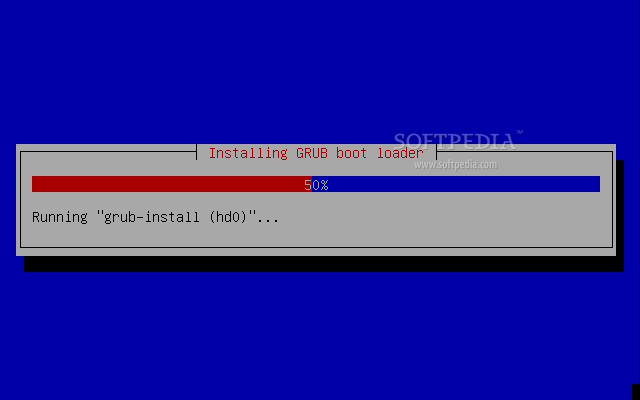
When the software installation is over, the GRUB boot loader will be installed:
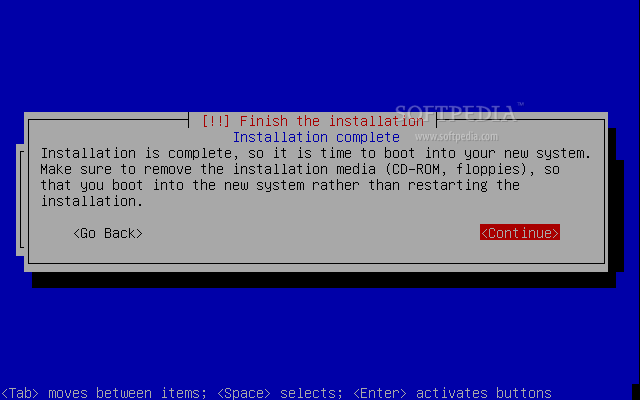
And the installation is now finished. Remove the CD from the optical drive and hit continue to reboot the computer: