
 14 DAY TRIAL //
 Well, now that you have successfully installed the brand new version of Ubuntu (version 7.04 codename Feisty Fawn) on your personal computer, it's time to learn how to use it. Today I will try to teach you guys (Ubuntu beginners) some little secrets about Ubuntu, how to use it, how to administer it etc.
First time for everything
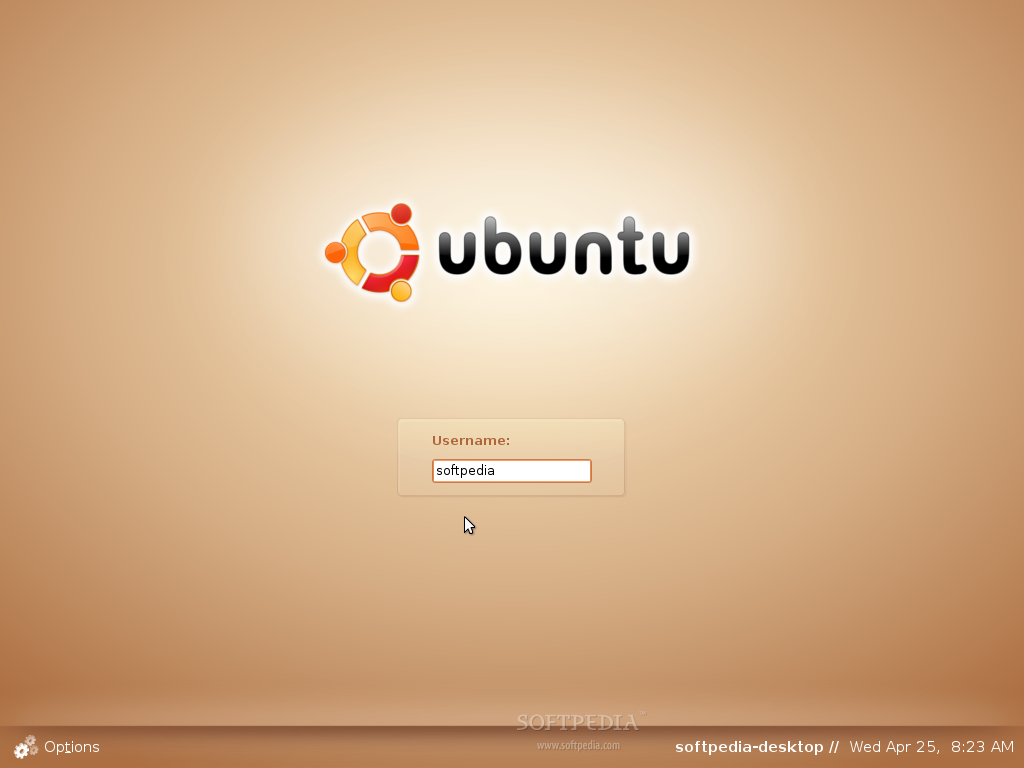
First time you boot Ubuntu Linux on your machine, you will see a boot splash with a progress bar and the Ubuntu logo. This boot splash is called USplash and it's a method to cover what's going on in the background when Linux boots, as the desktop user is not very interested in what processes are starting and other stuff like that. When the boot splash disappears, you will see a login screen, called GDM.
The first login
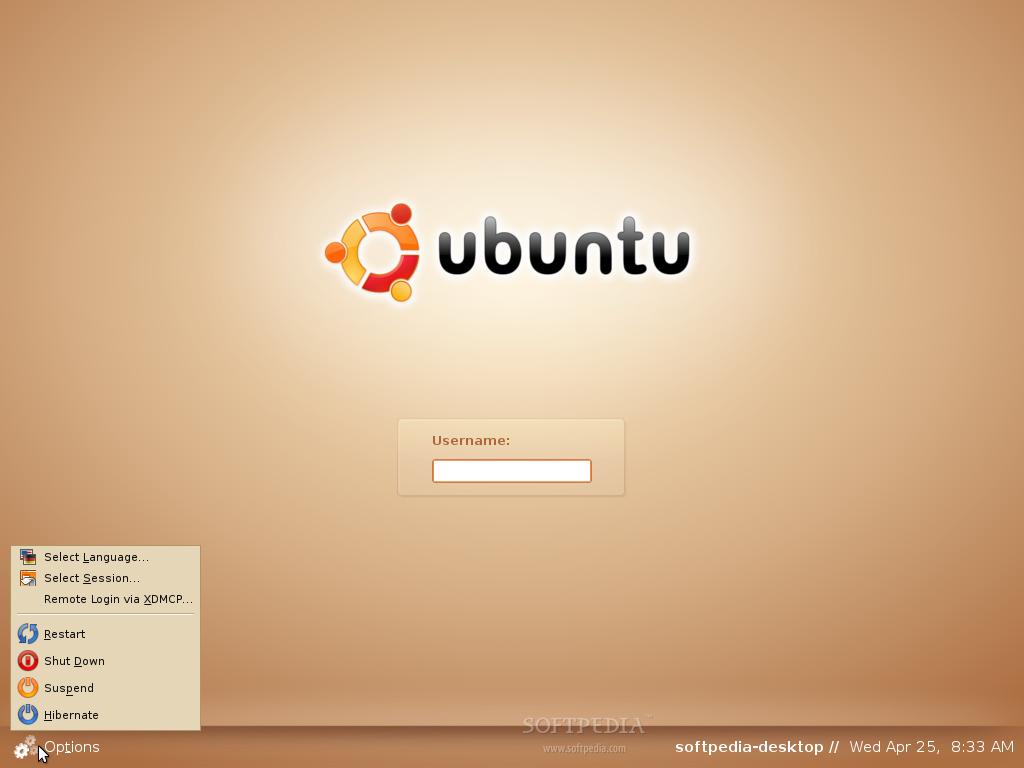
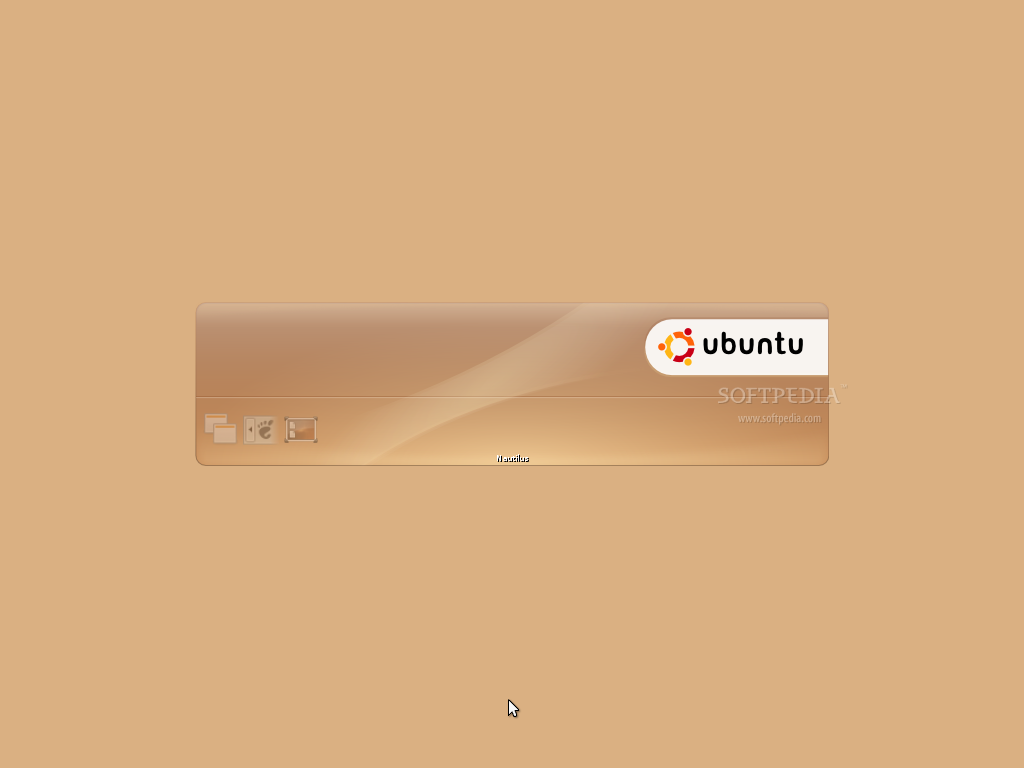
On the right side of the login screen, you will notice the name of the computer, the date and the current time. On the left side there are some very useful options, like reboot, shutdown, suspend, hibernate, change session etc. Ok, it's time for you to type in your username and password (hit enter after each one). Immediately after you've typed your username and password, you'll notice a splash screen that shows what programs are loading and in a few seconds the splash screen disappears and the Ubuntu desktop appears. That's the Ubuntu desktop!
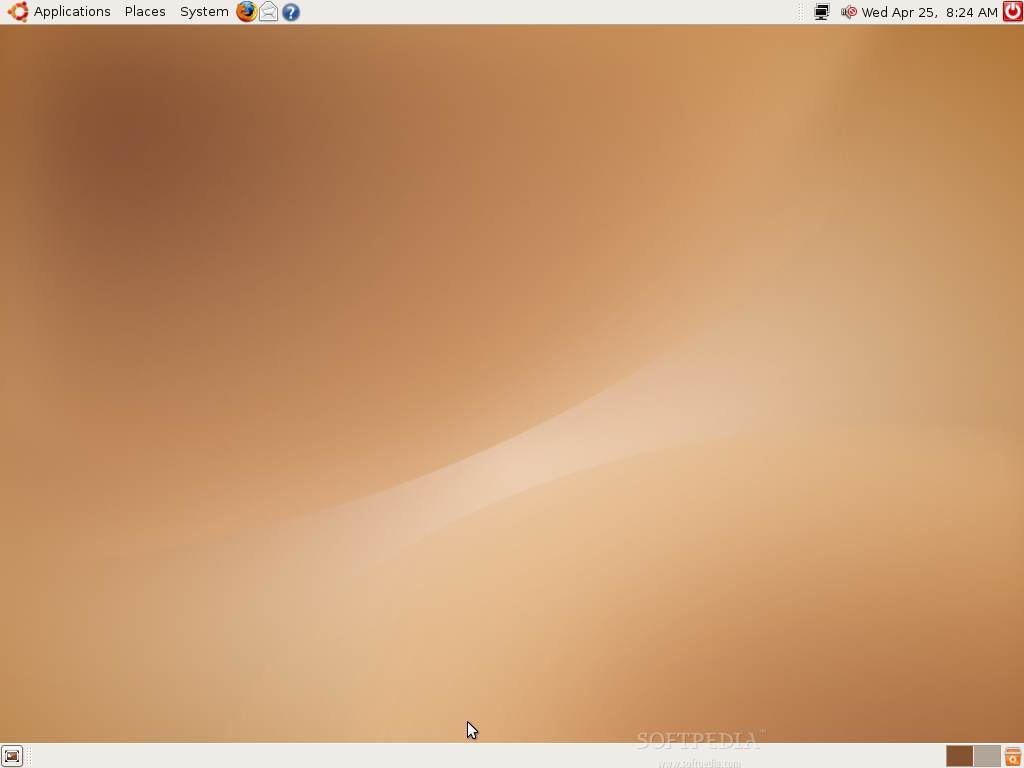
The grandiose GNOME desktop
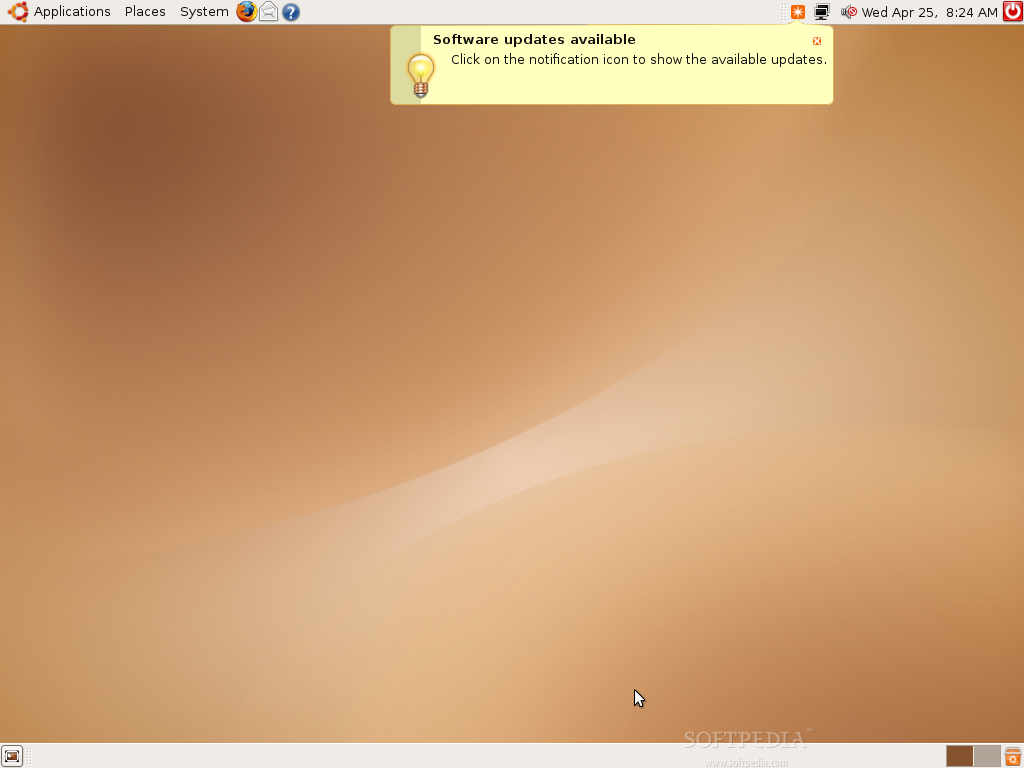
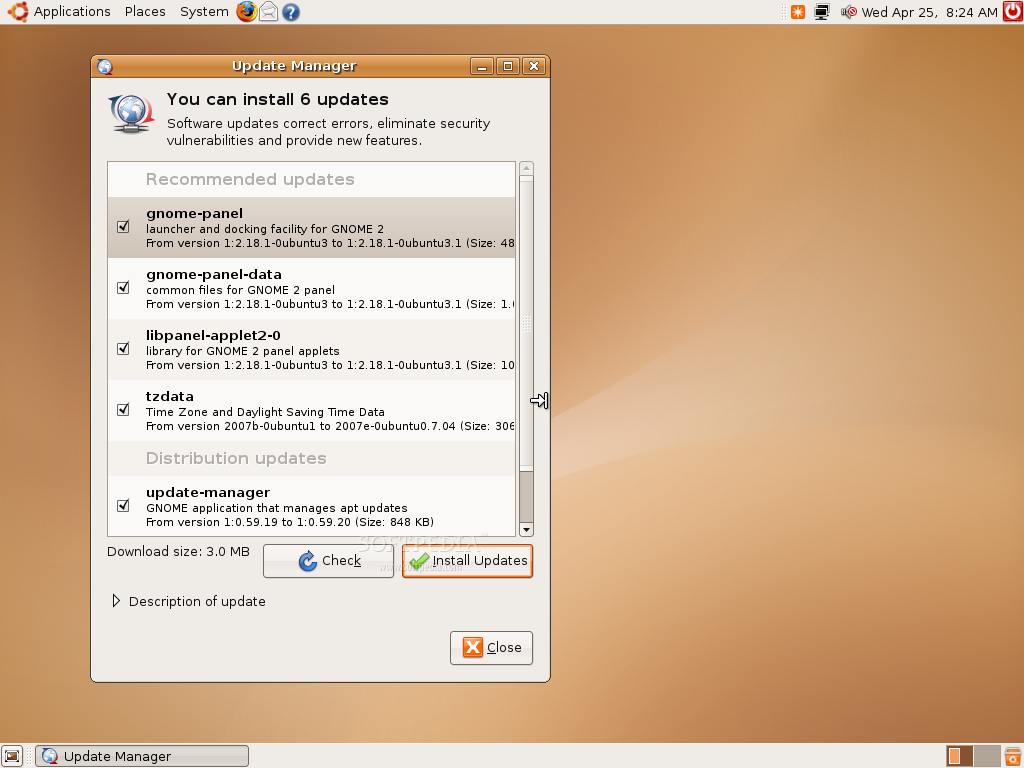
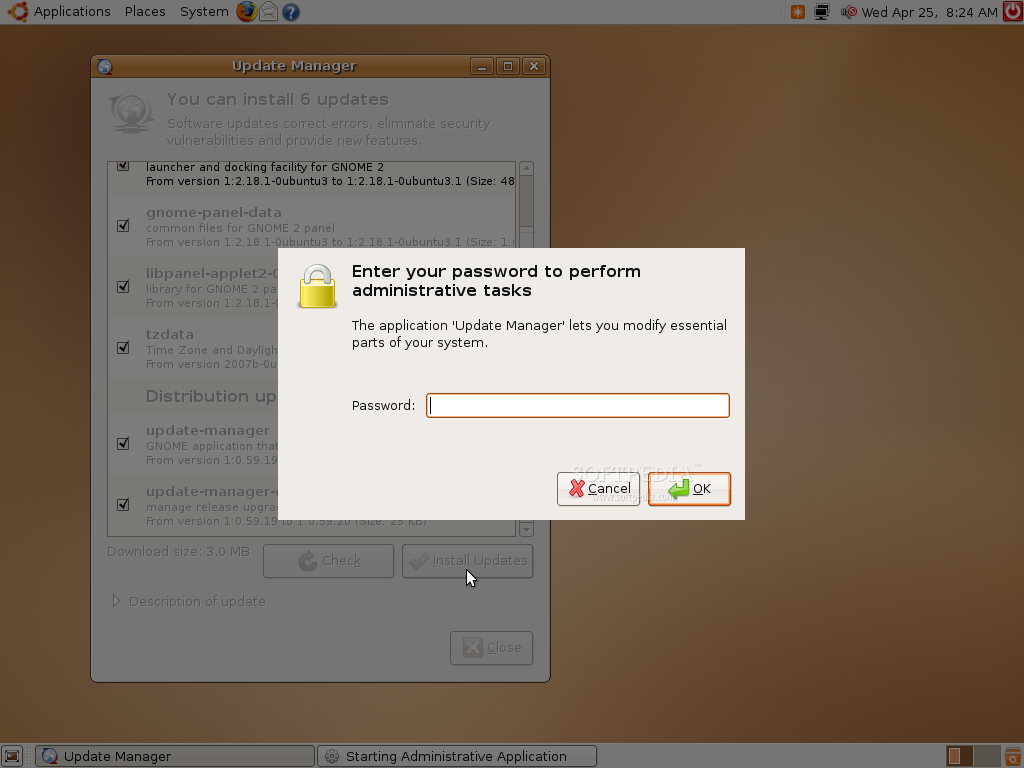
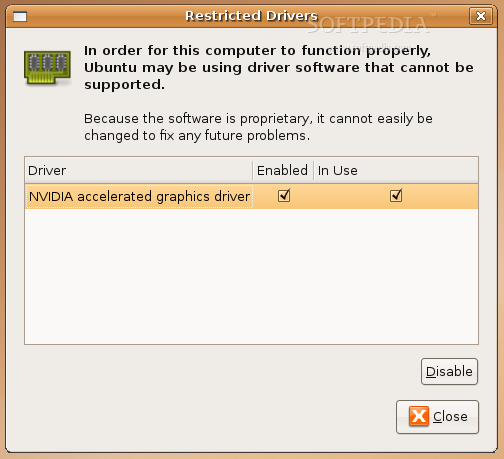
What now? If you have a DHCP based network connection (automatic IP address) then you are connected to the Internet as Ubuntu configures DHCP connections automatically and you will notice a notification message in the right-upper part of the screen that says "Software updates available". Click on the new orange icon (from where the notification message appeared) and a window will appear on the left side of the screen. This window will start to search for updates. Click the Install Updates button, when the search is complete, to install the available updates on your system. Ohh, what's this? It asks for a password, because this is an administrative task and it's safer this way; just type your password and hit enter. This program is called Update Manager and you can always find it under System -> Administration menu, but it will always appear when there are new updates. Also, you will notice another notification message that will ask if you want to install proprietary drivers for your graphics card. Just click the Enable option and it will start to download and install the necessary drivers.
Panels, applets and dirty secrets
Let's learn a few things about the desktop. First things first, you should know that this desktop is called GNOME; as you can see, it's a little different than Windows, as it has two Panels: one at the bottom and one at the top. But what's cool about this desktop is that you can always configure it however you want, but we'll talk about this a little bit later. Both panels have the same options and configurations.
The bottom panel has the Show Desktop button on the left side; in the middle you will see all the current opened windows and on the right you'll see a trash icon and the Workspace Switcher. Now this is something you didn't have in Windows (at least not as default), as the Workspace Switcher allows you to have multiple desktops. How does it work? Very simple: on the actual desktop, you have a window (or more) and if you click on the second square (default there are only two desktops, but you can set up to 36 desktops) the window(s) will disappear. Why? Because they are on the first desktop (you can even see them in the first square), and if you click the first square the window(s) will appear again. On the second (empty) desktop you can have other window(s). Come on, try it yourself to see how it works!
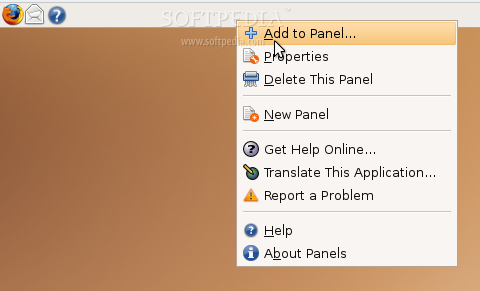
The upper panel is a little more complex. It contains on the left side the Main Menu from where you can access all the applications, different system locations (home folder, network places etc) and the system configuration tools. Right after the Main Menu you will see some software icons; these are shortcuts for different applications installed on your computer and you can add there as many as you want with a simple right click on the panel; then click on "Add to Panel" option and when the Add to Panel window appears hit the "Application Launcher" button on the left side and select your favorite applications from the list. On the right side of the upper panel you will see two icons (the network monitor and the sound volume), the date, the clock and a shutdown button from where you can reboot, hibernate, suspend, log out, switch user, lock screen or shutdown the computer.
Spice up your desktop
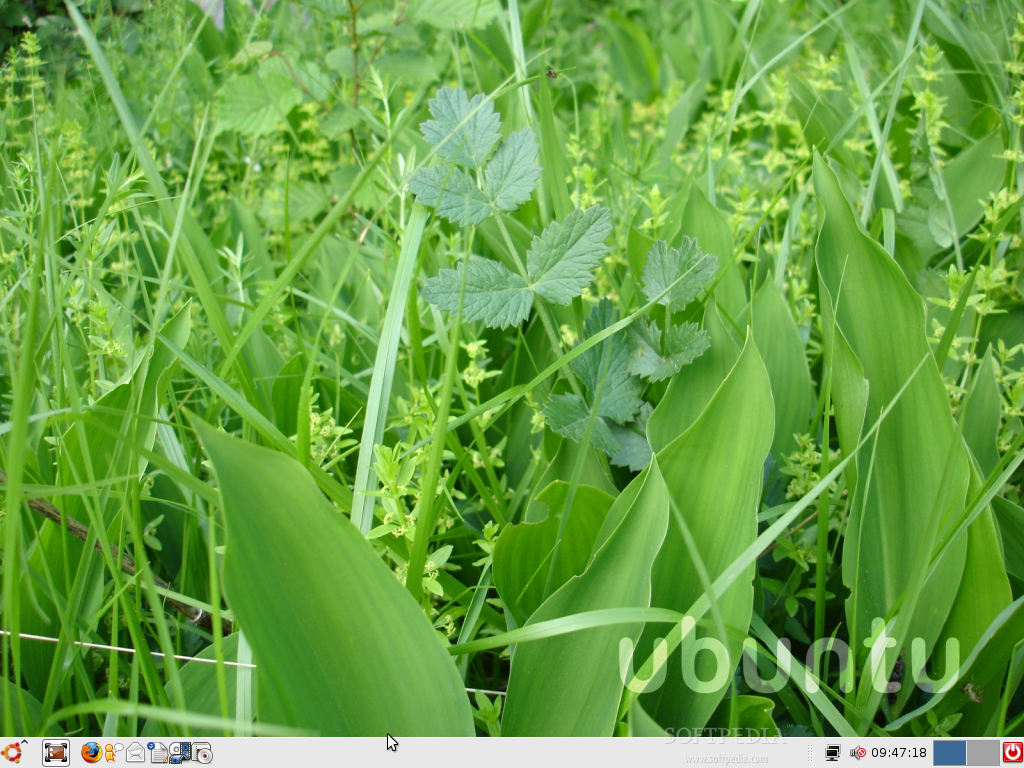
You should know now that all the panel items I've described above are called applets and you can add as many as you want from the Add to Panel option. You can add some cool stuff like some eyes that will follow your mouse or a fish or even the weather report. As I said earlier, the entire desktop is configurable, so you can remove for example the upper panel and you can start to add applets on the bottom panel to look like in Windows. Also, if you right click on the desktop you can change the wallpaper and on the System -> Preferences -> Themes you can modify the look of your panels and buttons, the colors of the whole system, the window bar and the system icons. You can get new themes from here and here. See below how I've set up my Ubuntu desktop in no more than 5 minutes!
Enjoy Ubuntu
These are the basic things you should know about the Ubuntu desktop and not only, because there are some other distributions out there that use GNOME as the main desktop environment, like Fedora for example.
If you want to learn how to install extra applications on Ubuntu please see my guide called The New Ubuntu User Guide: Install and Uninstall Software.
Enjoy Ubuntu!