14 DAY TRIAL //
 Remember the day when you unboxed your brand new iPhone and activated it for the first time? It used to operate fast and smooth, without any hiccups. Wi-Fi was blazing fast, switching through screens full of apps felt like ice skating, and browsing the web was faster than on your desktop computer.
If you’re wondering why even the newest iPhone still feels a bit sluggish, you might want to consider forgetting those backups you made in the past and just start anew. Don’t worry if you’ve already restored from a backup. You can always go back to a stock state without losing anything. Here’s how.
Step 1 – Back it up in every way you can
Always the first step involving any factory reset or restore, be it on your desktop computer, your tablet, or your smartphone, is to back up the thing and “selectively” save all your valuables to a different location, like a separate partition, a different drive (i.e. a USB flash drive), or any other medium you can think of. I say selectively because it’s very important that you take out all your music, photos, videos, and everything else that you care for and store them in an easily accessible manner on a computer. For your photos alone, you can choose to back them up using iCloud in the device’s iCloud settings.
In case you change your mind about using a factory-reset phone, it’s always good to also have a backup image of the phone itself.
So now what you need to do is go ahead and connect the iDevice to iTunes, perform a local backup of the entire thing (select your iDevice in the left pane and then click Back Up Now in the right pane), and while you’re at it do an iCloud backup too just in case (on your iDevice, go to Settings > iCloud > iCloud > Backup, and select Back Up Now).
Before you proceed to the next step, take a quick tour through your settings and see how they’re all set. It’s not crucial that you remember them all, but it’s a good idea to go through the menus one last time to make sure you know how you’ll be tweaking them after you do what’s described in Step 2.
Step 2 – Erase everything
That’s right. This is basically the medicine that your iPhone / iPad / iPod touch needs to regain its stamina and vitality. If you’re wondering why, here’s the short version: every restore-from-backup that you’ve ever made – which can extend all the way back to firmware like iOS 4 – has carried over its own kinks to the newest iDevice. These “kinks” aren’t necessarily bugs, but when you increment so much data over the years, the device starts to feel clogged up.
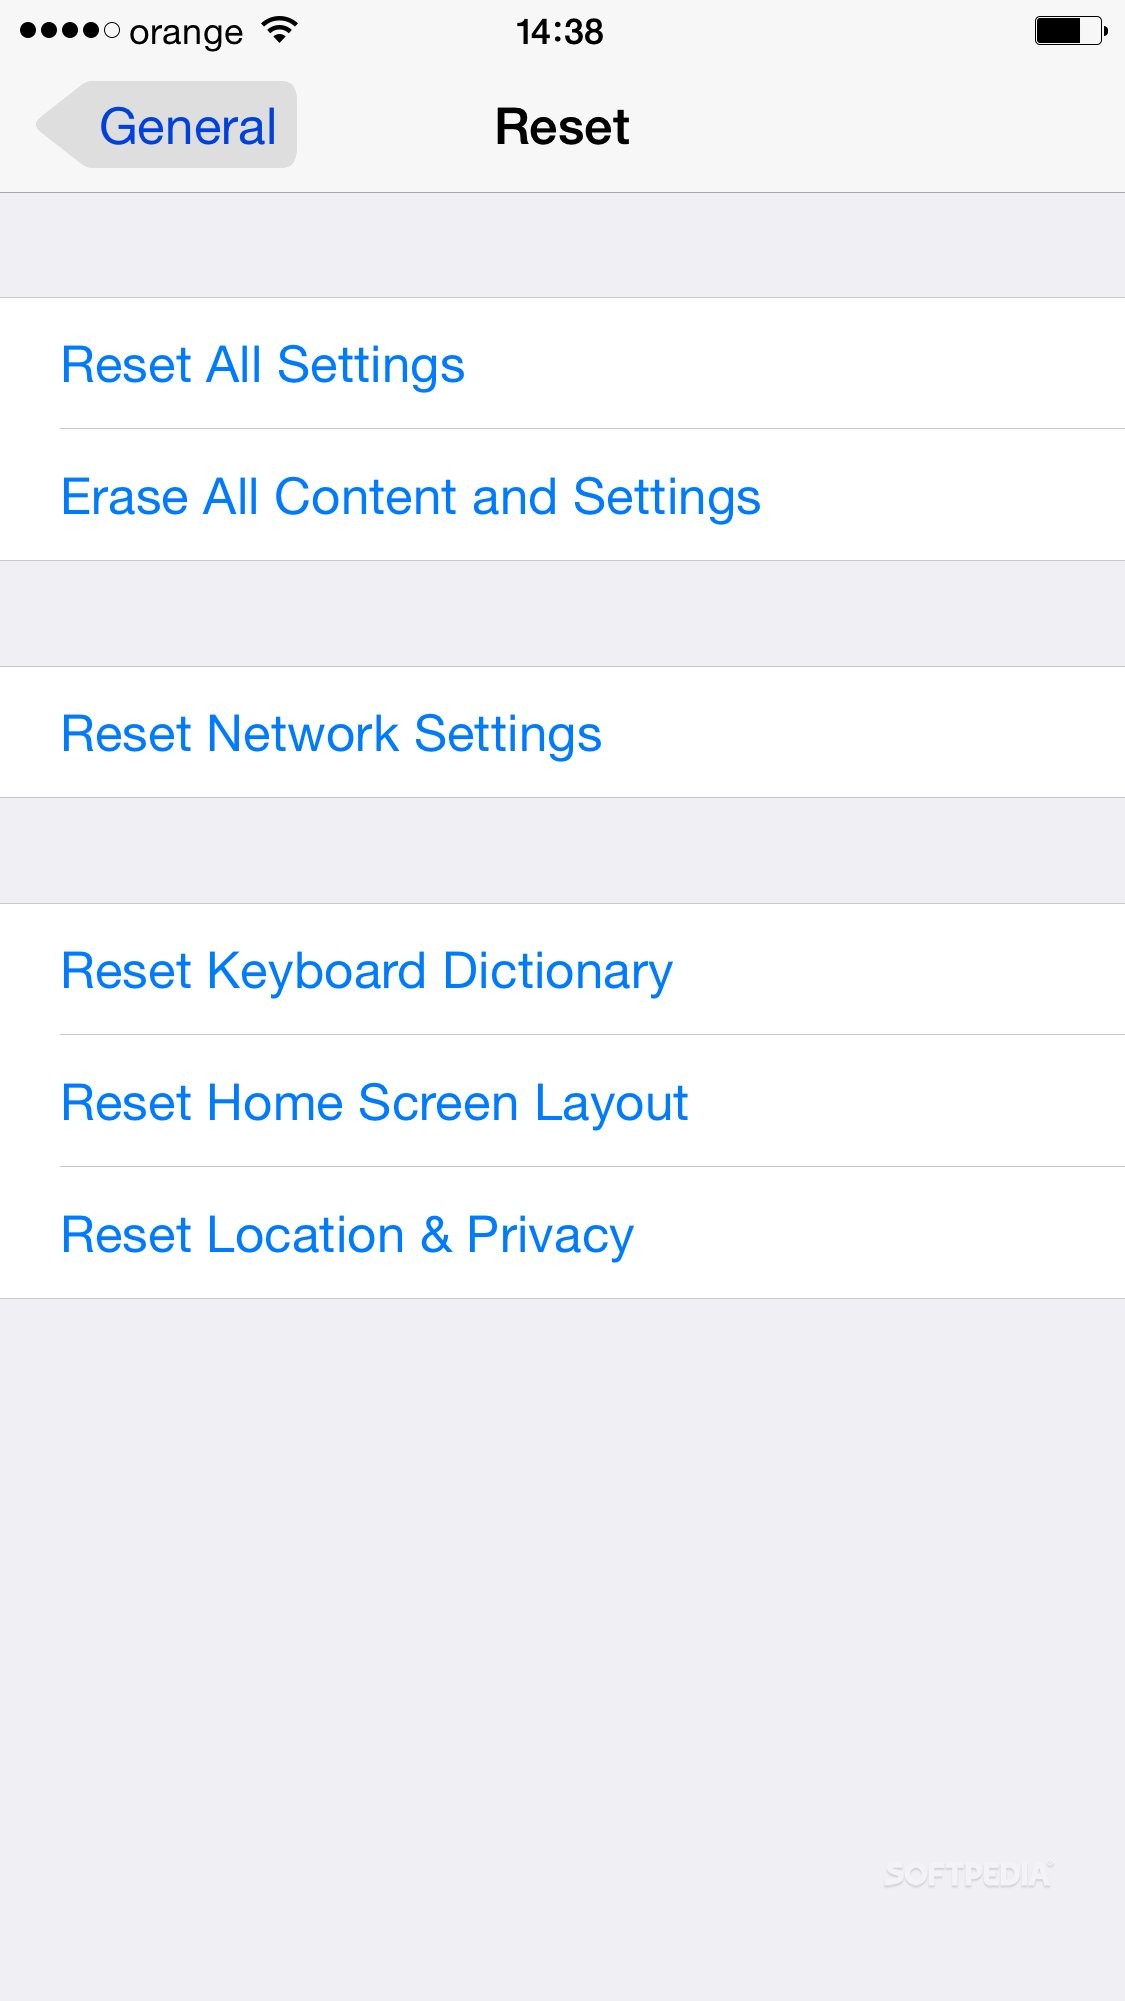
So the best way to clean up your act is to just revisit the device’s Settings pane, go to General, scroll down to the bottom until you see Reset, and choose this option. Punch in your passcode lock to gain access inside, and once you’re in there select Erase All Content and Settings.
The device will ask you twice if you’re sure you want to do this, which means you really need to be sure you want to do this. That’s why it’s so important that you save all your photos, videos, and everything else that matters to you by selectively backing up everything, as described in Step 1.
Step 3 – getting your game back on
Your iDevice is now restoring to a stock / factory state, which means it will start off with the firmware that came on it and you’ll basically need to start from scratch. Yes, it’s a bit of a compromise but it’s one that will allow you to fall in love with your iPhone again.
When it reboots, follow the on-screen instructions to re-activate it, sign in with your Apple ID / iCloud account, and everything that was stored via iCloud (including notes, contacts, and photos) will be automatically re-downloaded to your device.
Now go ahead and tweak every setting just the way they were before (chances are you’ll even discover some new ones in the process) and re-download your most used apps. You’ll most likely end up with far fewer apps than before because now you won’t be re-downloading those that you weren’t using in the first place. Which is another way to ensure not only smooth operability, but also to increase storage space. Lastly, update your firmware.
Step 4 – Fancy effects are only just that: fancy
Another thing you want to do is tweak those things that are really just for show. Like motion and translucency. These things may look pretty but they’re hardly essential and they can take their toll on the CPU/GPU. In fact, some users are confused by them and the first thing they do is to turn these off when they activate their iPhone for the first time. Go ahead and see if this applies to you as well. Your iPhone will thank you.
There are many more actions that you can perform to speed up your phone even further, but you’ll need to embark alone on this mission from here on. I’ve only outlined the basic steps to get your iDevice to a snappier state. Every other setting you choose to tweak, you’ll do based on your own preferences and usage.
Disclaimer: Note that restoring your iDevice to its factory settings basically means you’re erasing everything on it. The only way to get back to your phone’s exact previous state is to restore from backup using iTunes. If you follow the above steps correctly, you should have no problem restoring all your data just the way it was. This disclaimer is to ensure you understand what this procedure involves and why it may be necessary to have a backup ready at any time, just in case you change your mind and want to go back.