14 DAY TRIAL //
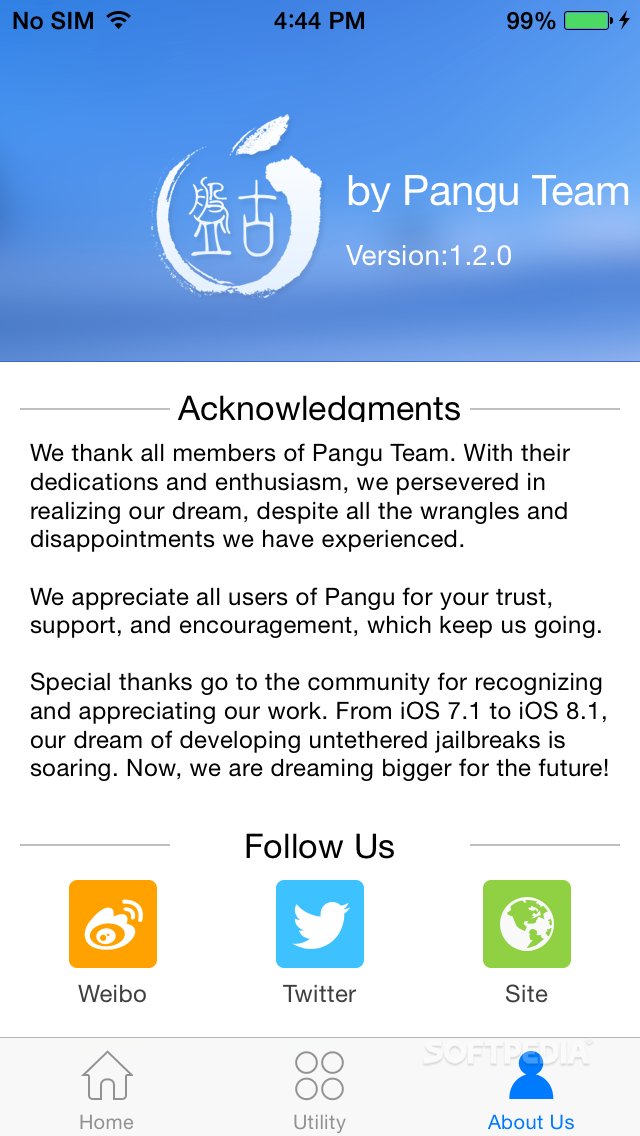
 By now you’ve probably heard that iOS 8 is jailbreakable using a tool coded by a bunch of Chinese hackers. That tool is called Pangu and it’s now available for both Windows and Mac users, and it also supports English. Which means pretty much everyone gets to finally use it.
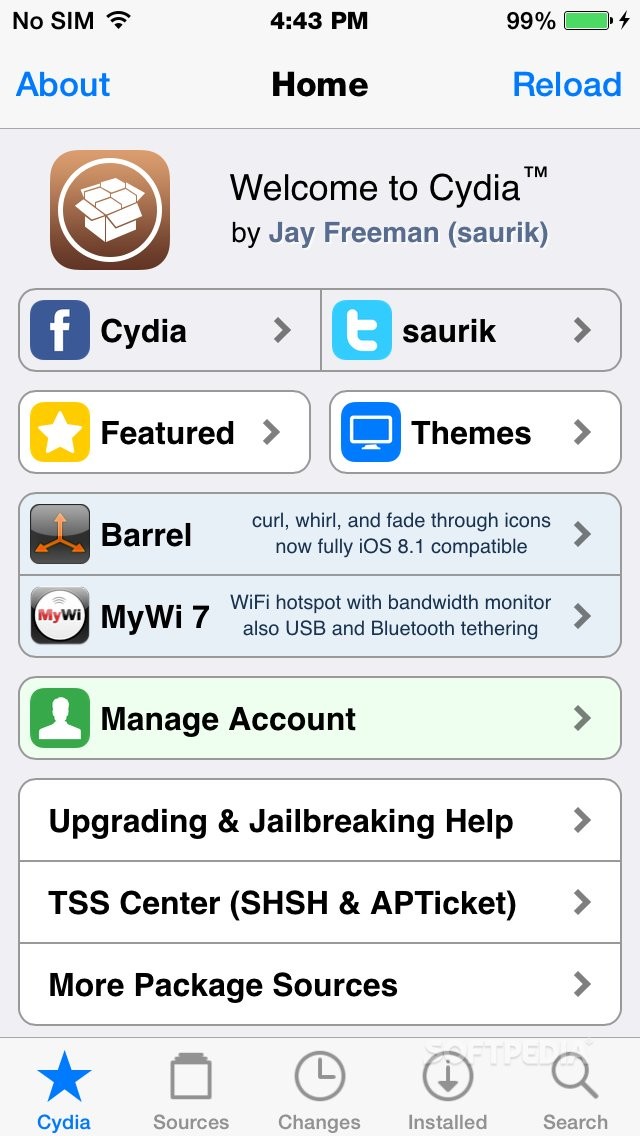
Cydia founder Jay Freeman (aka @saurik in Twitter circles) has given Pangu a green light. Same goes for iOS 8 jailbreak tweaks. In other words, Pangu is finally safe to use. Well, at least safer than it used to be.
In the paragraphs below we’re going to outline the standard procedure of jailbreaking an iPhone running iOS 8.1 (currently the latest firmware available). Note that jailbreaking isn’t actually recommended if you care about your phone’s warranty and its security. You can learn all about it with a few Google searches. But if you’ve made it this far, chances are you’ve already made up your mind. Without further ado...
How to jailbreak iOS 8 with Pangu for OS X
This guide is strictly for the Mac user base. Most of the steps here probably apply to the Windows version of Pangu, but we’re not taking any chances. Follow these steps (for now) only if you’re using OS X.
Step 1 – Back the heck up
There’s no reason to waste anyone’s time explaining why it’s important to always have a recent backup of your phone’s contents. If you know what jailbreaking involves, then you should already know this lesson by heart. So plug your device into your computer, launch iTunes, and do a local backup of your phone’s contents. In case something goes wrong, you can always restore to that image of the phone. Do an iCloud backup as well, just to be extra safe. Who knows, maybe your hard drive will succumb today.
Step 2 – Launch Pangu on your Mac
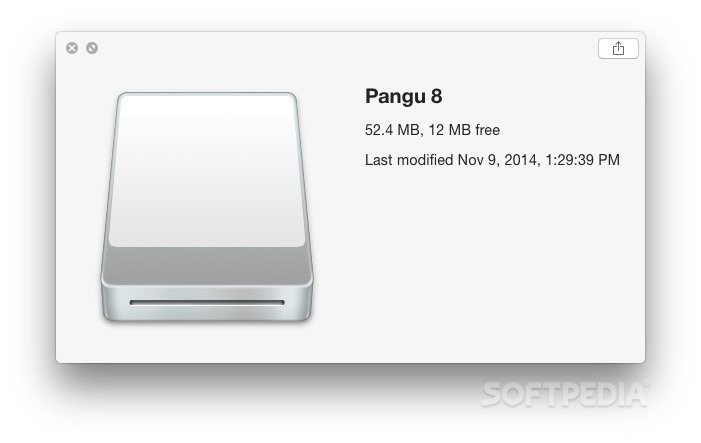
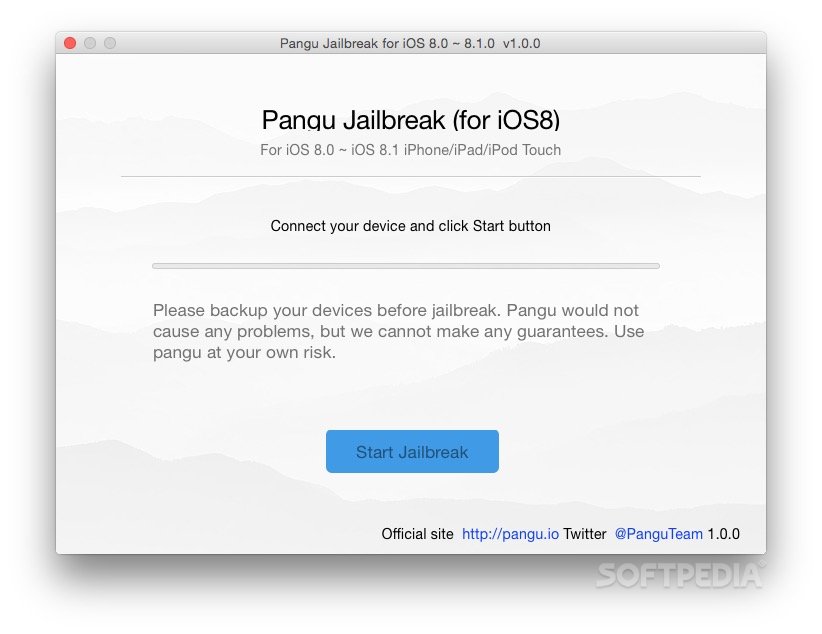
Download the Pangu app, double click the disk image, and then double click the application resulted from mounting the image. The Pangu UI should appear any second now. It will tell you to connect your device via the USB cable (if it isn’t already) and hit the Start Jailbreak button. Go ahead and do that.
The jailbreak process won’t start until you’ve read the disclaimers, which include the backup advice, a tip involving Airplane mode (apparently it works better if the phone’s radios are off), and other formalities. Follow the on-screen instructions if you think you’ve missed something. If not, choose “Already Did.”
Step 3 – Hit the button
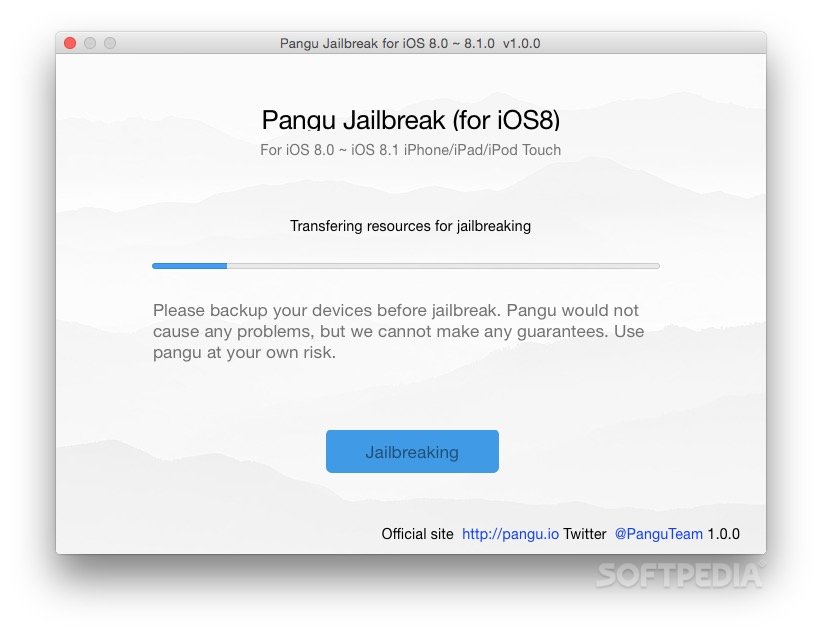
When you’ve made sure you’ve taken every precaution, you can finally hit that big blue Jailbreak button and let Pangu work its magic. It will start to display a few progress messages, stuff like transferring this and that, injecting this and that, until it finally states “jailbreaking,” and then “Jailbreak Succeeded!”
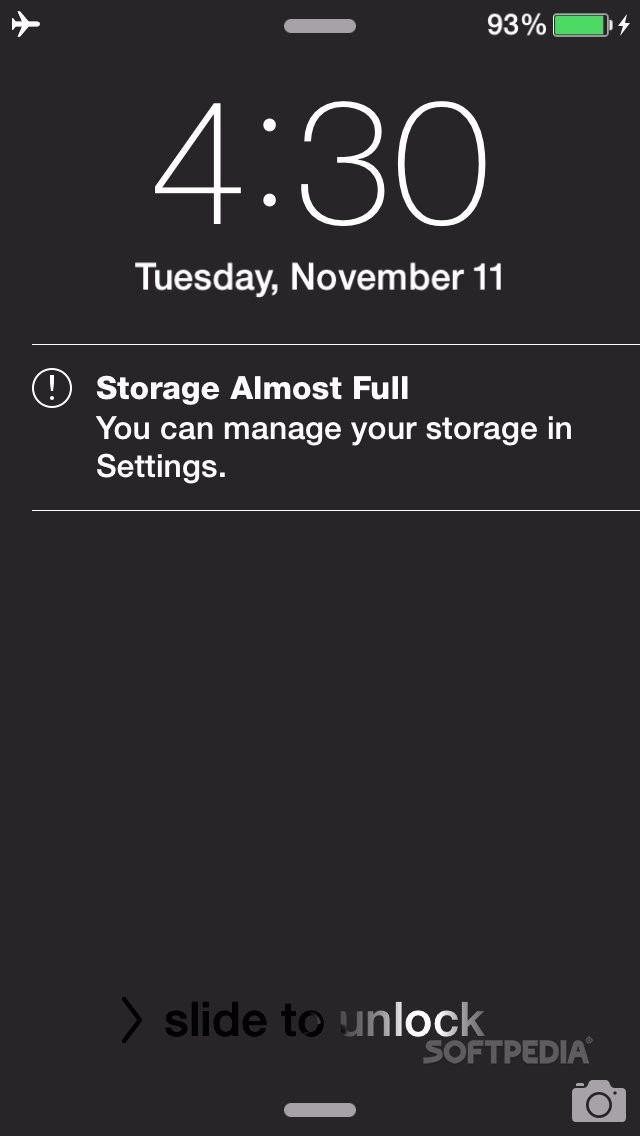
Your phone may state something about its memory being full. Ignore that, it's not. Unless, of course, you know it's full. But otherwise this is a well-documented bug and it won't affect the jailbreak or your phone.
At this point, your phone will reboot. Don’t be impatient, and leave it connected until everything is back to normal. That means seeing the Cydia and Pangu app icons on your iDevice’s home screen. If you see those, you’re home free. Your device is now jailbroken! Visit the screenshot gallery below for more assistance.