14 DAY TRIAL //
 The following tutorial will teach all Ubuntu users how to install an unofficial Google Drive client, called Grive, on their healthy Ubuntu operating system(s).
As you already know, Google (probably hates Linux users) does not provide a Linux client for its awesome Google Drive cloud storage service. But don't worry, as the open source community has its geniuses like Lorenzo Breda, who developed an unofficial Google Drive client for Linux, called Grive.
Before we start with the actual installation, we should warn you that the Grive application is in early stages of development and it has some limitations, such as folders and files with multiple parents, and the ability to download Google Documents.
Other than that, we should also mention that Grive is command-line client and it has no GUI (graphical user interface), therefore, for this installation we will use another tool created by another Linux genius, simply called Grive Tools, which will automatically download, compile and install the latest version of Grive on your Ubuntu machine.
The following Ubuntu distributions are supported: Ubuntu 12.10 (Quantal Quetzal), Ubuntu 13.04 (Raring Ringtail), and Ubuntu 13.10 (Saucy Salamander).
Adding the PPA Repository
This is an easy step, which requires you to open a Terminal by searching it in the Unity Dash or by pressing the CTRL+ALT+T key combination, and to paste the following code in the Terminal window:
sudo apt-add-repository ppa:thefanclub/grive-tools
Hit the Enter key, type your password when asked, and hit Enter again when asked if you want to add the repository. Do not close the Terminal.
Installing Grive Tools and Grive
Now, paste the following commands in the Terminal window, one by one, hitting enter after each one:
sudo apt-get update sudo apt-get install -y grive-tools
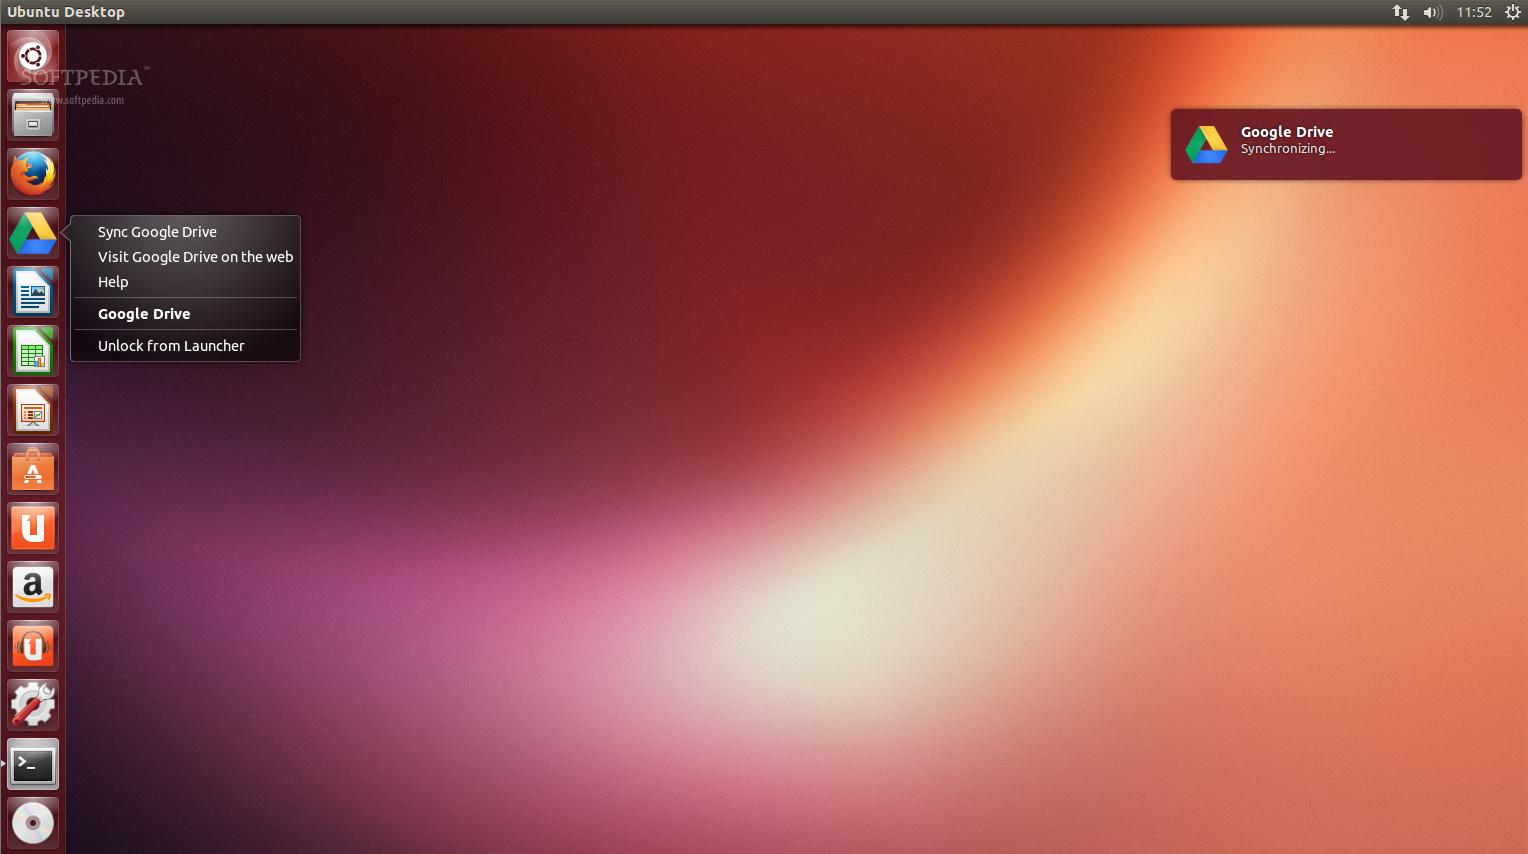
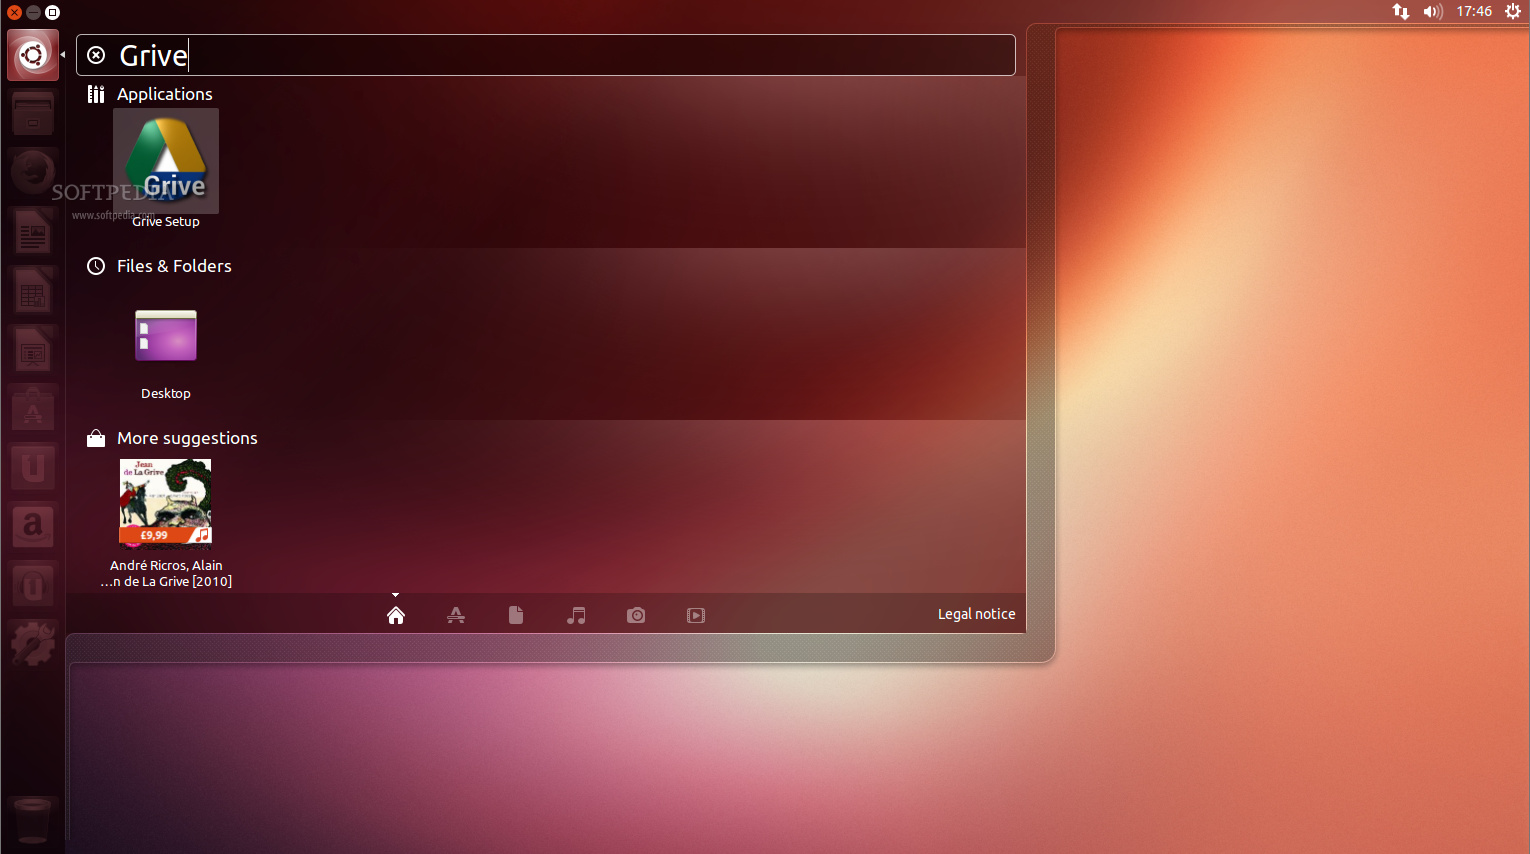
Once installed, search the application on the Unity Dash by typing Grive, and open it. The application will ask for your password, so insert it and click OK, and then it will start to download and configure the latest version of the Grive application, which will take some time.

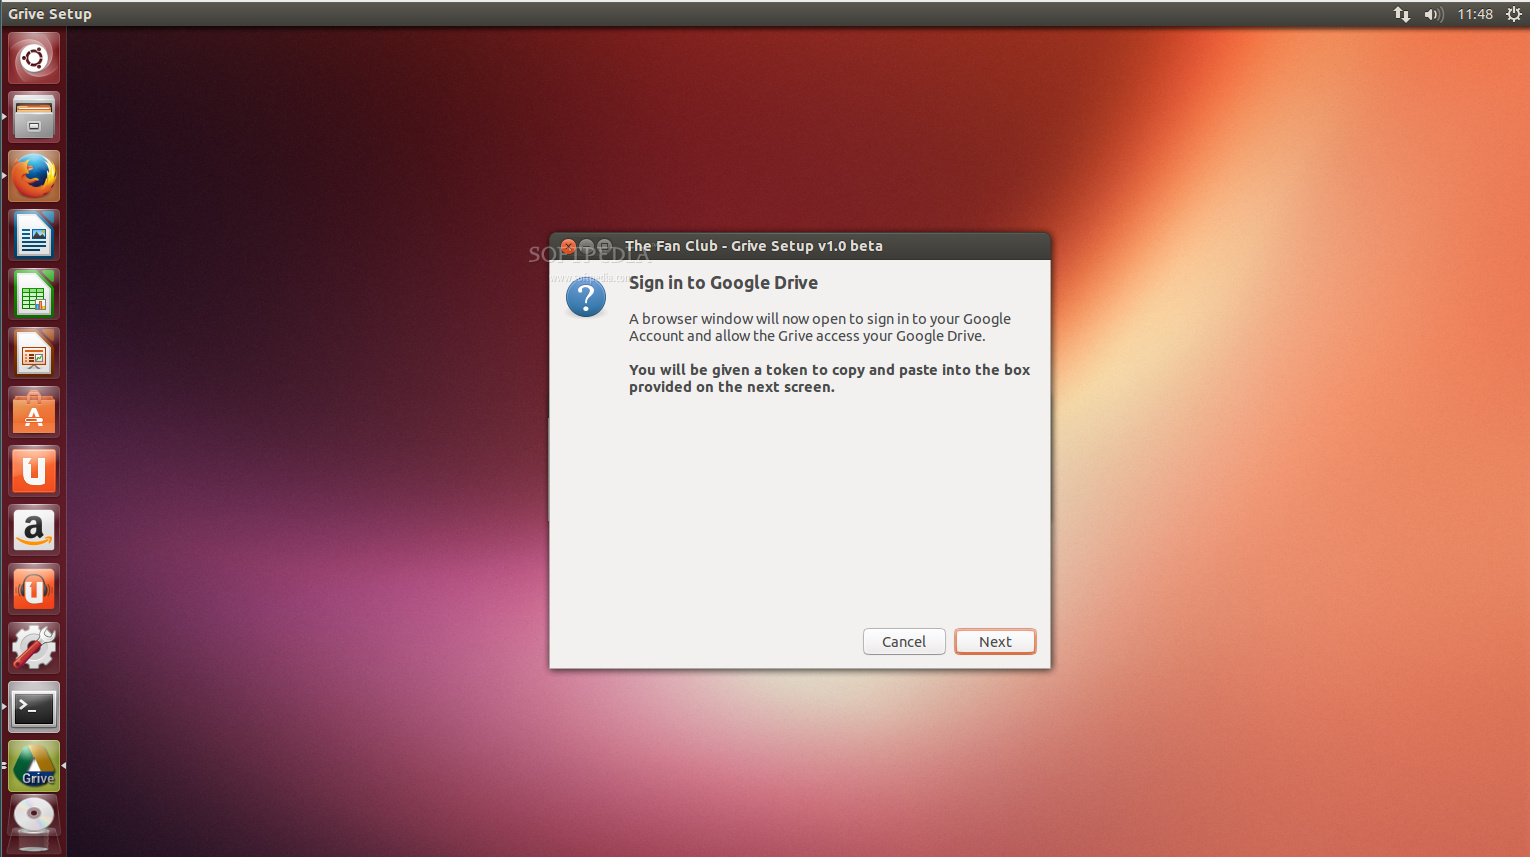
Now that the Grive Google Drive client for Linux has been installed, we need to configure it, in order to allow it to access your Google Drive account. Press the "Next" button when you see the following dialog...