14 DAY TRIAL //
 Zimbra Collaboration Suite (ZCS) is a groupware product created by Zimbra Inc, located in California, USA. It consists of both client and server components. There are two versions of Zimbra available: an open-source version, which is supported by the community, and a commercially supported version with closed-source components. In this article, we'll learn how to install the free (open-source) version of ZCS on an Ubuntu system.
So what's ZCS more exactly? ZCS is a full-featured collaboration suite, which supports email and group calendars using an Ajax web interface that enables tool tips, draggable items and right click menus in the user interface. There are also some advanced searching capabilities included, as well as date relations, online document authoring and a full administration interface. The ZCS server works well with many open source projects such as Postfix, MySQL, OpenLDAP and it also acts as an IMAP and POP3 server.
REQUIREMENTS
. root account enabled . static external IP address and a valid domain (or subdomain) pointing at this IP . a valid MX record in your DNS for the current hostname (or at least, your Linux hostname should be added in /etc/hosts next to the external IP address) . port 25 opened or forwarded if behind router
PREREQUISITES
. Enable the root account:
. Edit the /etc/hosts file and add the following line:
. Disable the CD repository and enable Universe: - Open /etc/apt/sources.list in your favorite editor and add an "#" to that line, like this:
# update-rc.d -f postfix remove
INSTALLING Zimbra
. Install its requirements:
- Untar the package and start the installer:
# cd zcs
# ./install.sh
Install zimbra-ldap [Y] Y
Install zimbra-logger [Y] Y
Install zimbra-mta [Y] Y
Install zimbra-snmp [Y] Y
Install zimbra-store [Y] Y
Install zimbra-spell [Y] Y
The system will be modified. Continue? [N] Y
After the installation process, you will be presented with the Main menu. By default, most of the options have a value that works on most systems, except for the Admin password. To set a password for the admin user, answer like this to the questions:
Address unconfigured (**) items (? - help) 6 Select, or 'r' for previous menu 4 Password for [email protected] (min 6 characters): enter a passwd Select, or 'r' for previous menu press Enter
*** CONFIGURATION COMPLETE - press 'a' to apply Select from menu, or press 'a' to apply config a Save configuration data to a file? press Enter The system will be modified - continue? Y press Enter
Notify Zimbra of your installation? your choice, enter Y or N Configuration complete - press return to exit press Enter
TESTING Zimbra
. Login as user zimbra and type the following command, then type exit to become root again:
$ zmcontrol status
$ exit
$ exit
Zimbra Web Interface
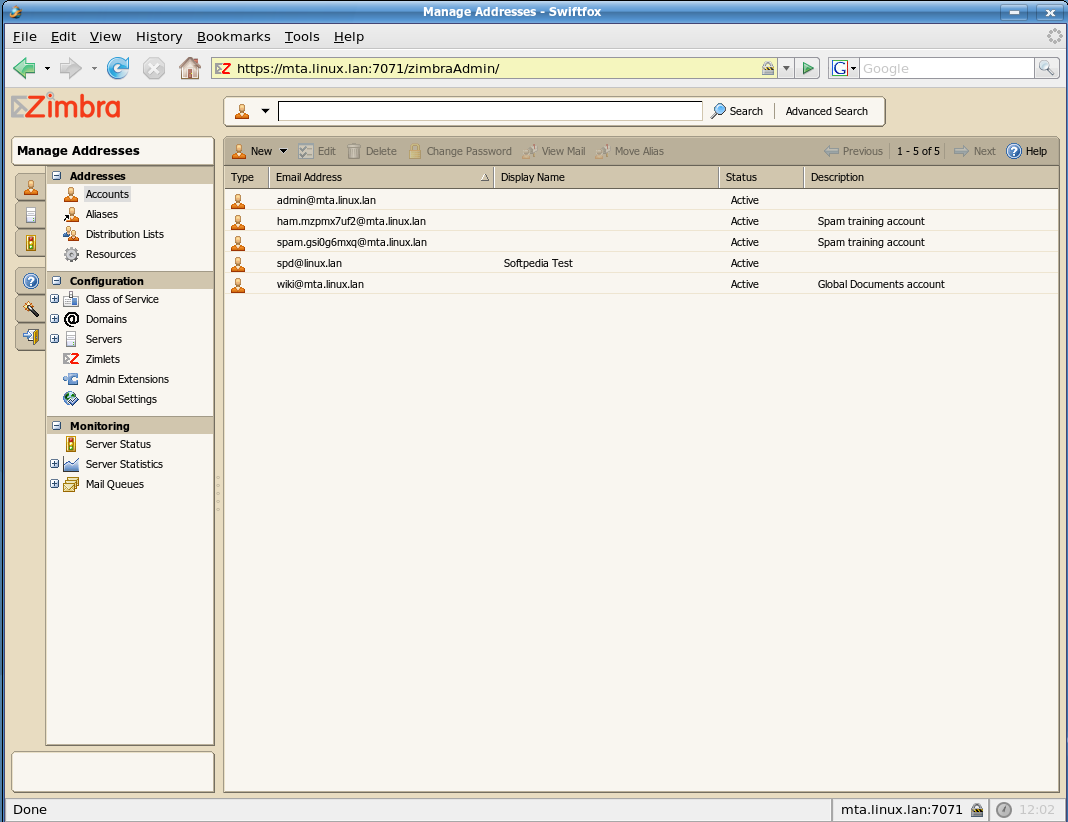
Unfortunately, the web interface only works with Firefox in Linux so you'll need to install it (apt-get install mozilla-firefox) before continuing. If you have it installed, run it and type the address https://your.hostname.com:7071/zimbraAdmin in the address bar. Log in with user admin and password specified during Zimbra installation. Here you can add domains, users and much, much more. Fortunately, the interface is pretty straight-forward and doesn't need (I hope!) extensive explanations.
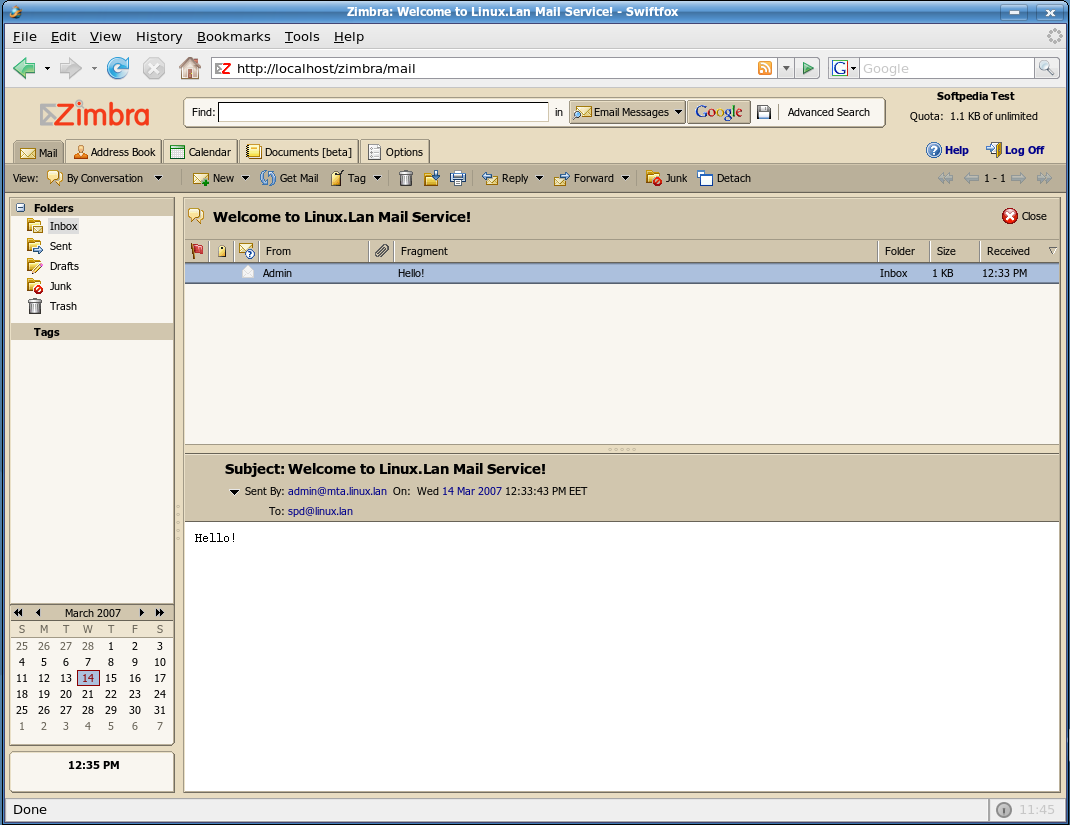
There is also an user interface which includes webmail, calendar and more
Enjoy!