14 DAY TRIAL //
 As Ubuntu Studio was just released today around the world, and because it is not a LiveCD and you must install it (text mode installer) on a hard drive in order to enjoy it, I thought it will be nice to give people some instructions on how to achieve this task. Take a cup of coffee first, as it will take some time, and follow the instructions below.
If you didn't download it yet, go ahead and get a copy of Ubuntu Studio right now from Softpedia. Burn it on a DVD-R or DVD-RW disc and reboot your PC. I guess you know how to boot from your CD/DVD-ROM, so please do so in order to start the Ubuntu Studio installation.
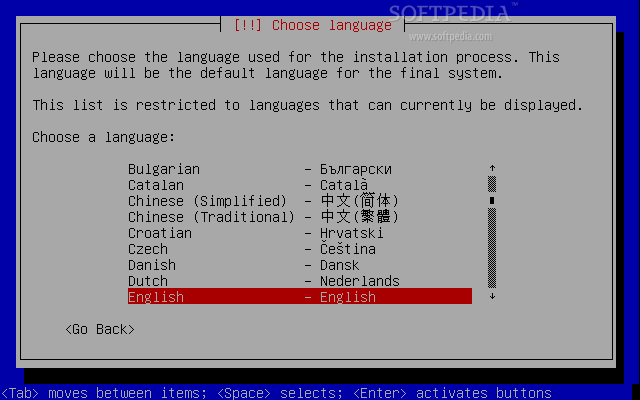
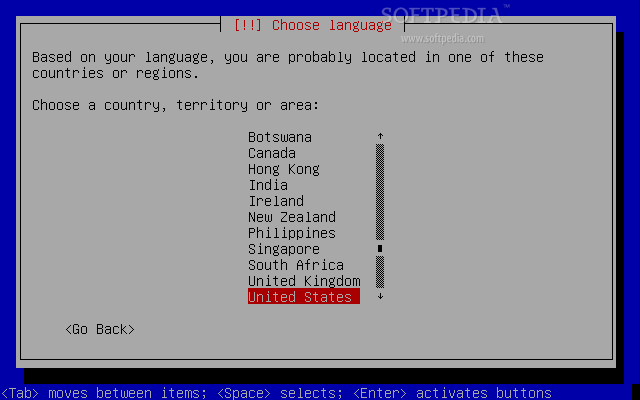
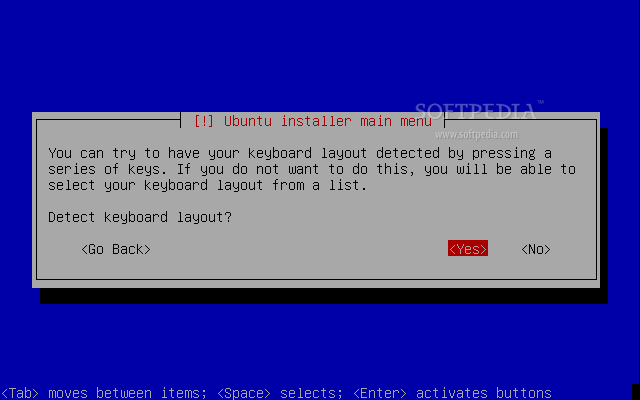
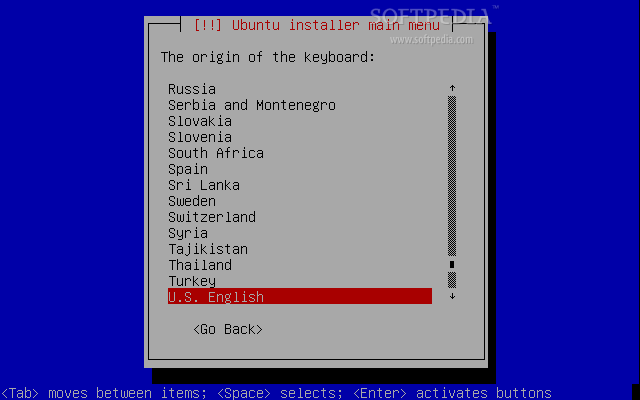
Press the "Install Ubuntu Studio" option (default), then you must choose your language and based on it, you must also choose your location. After the language/country selection, you are asked if you want to let the installer detect your keyboard layout. I suggest you do so if you have strange characters that you must use. If you use a US keyboard, please select 'No' and continue with the installer. Next, a language for the installation's main menu will be asked.
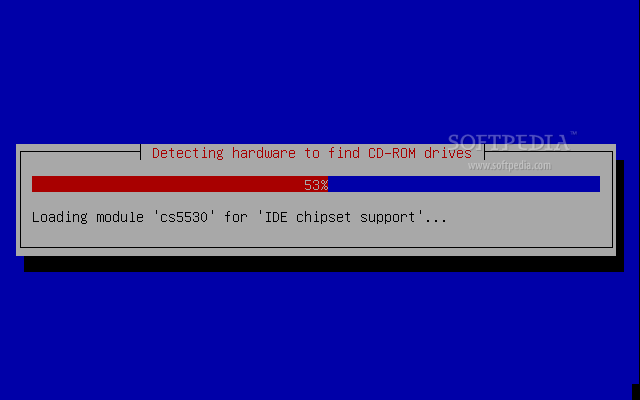
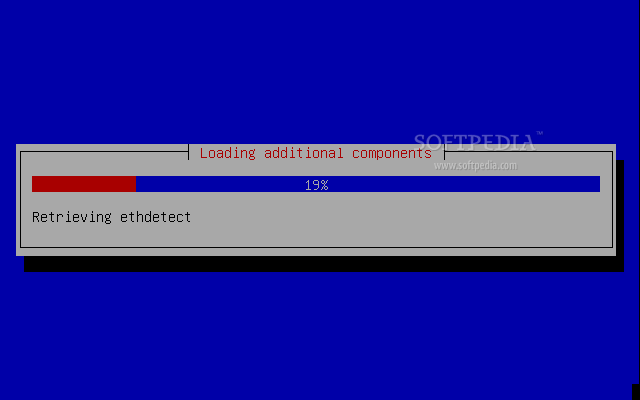
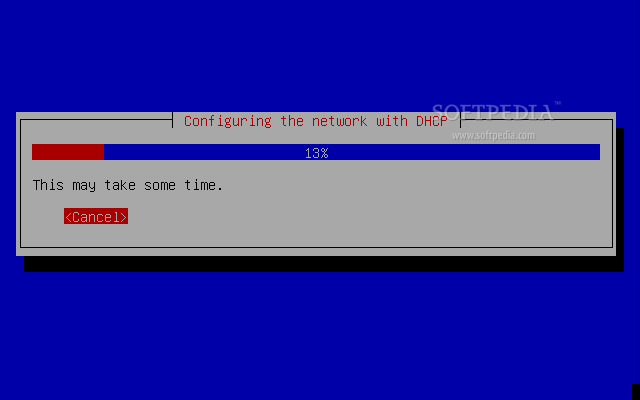
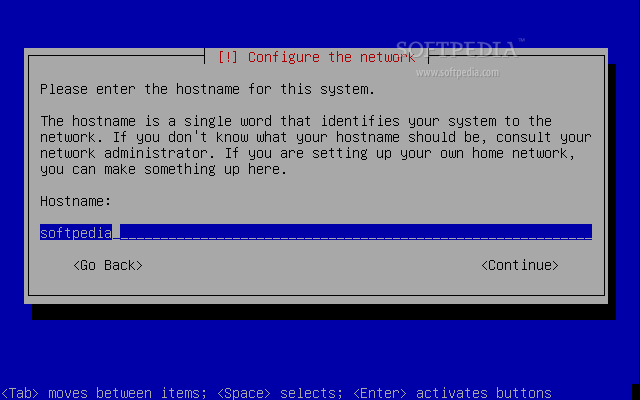
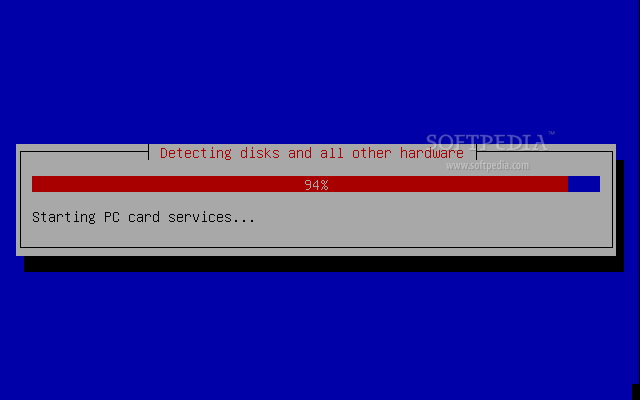
On the next step, the installer will detect your hardware to find CD-ROM drives. Then it will load some additional components and it will automatically configure your network with DHCP. After a successful network configuration, you must input the hostname for the system. Once you do that, the installer will search for disks and all other hardware in order to start the partitioning process.
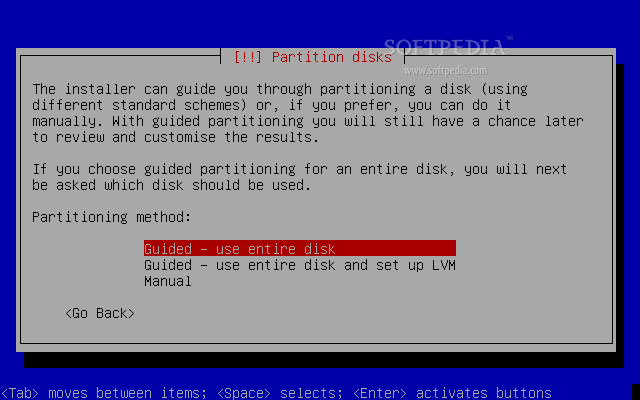
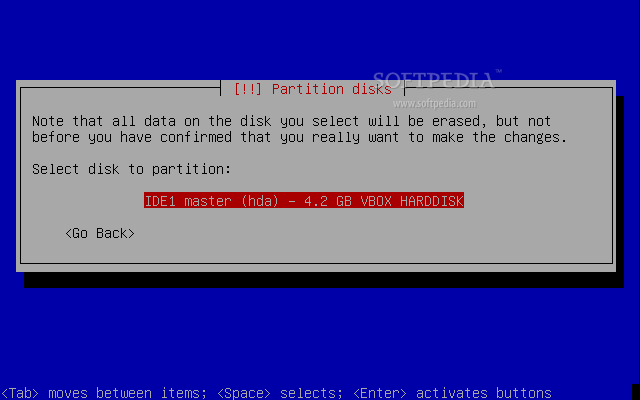
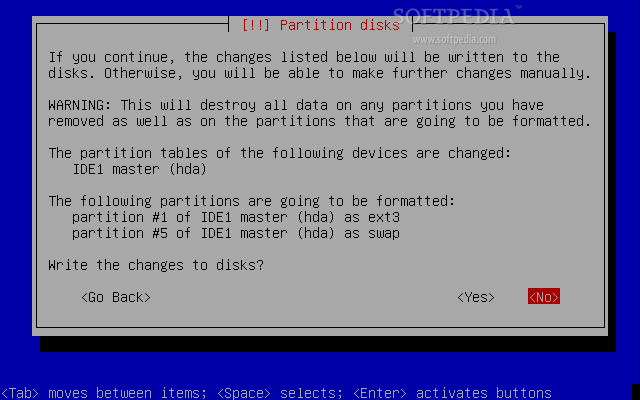
Welcome to the partitioning process, and don't be scared because it's an easy task. As I said in all of my "How to install an operating system" guides, I strongly suggest you to use an empty hard drive when you install a new operating system (especially if you just want to see how it looks/works). If the hard disk you'll use for this installation is empty (that means no important data must be on it, because it will be completely erased) then you can select the first option 'Guided - use entire disk', hit enter and it will let you select the disk to partition. Because the partitioning process is done automatically, hit 'Yes' on the next screen to write all the changes to disk.
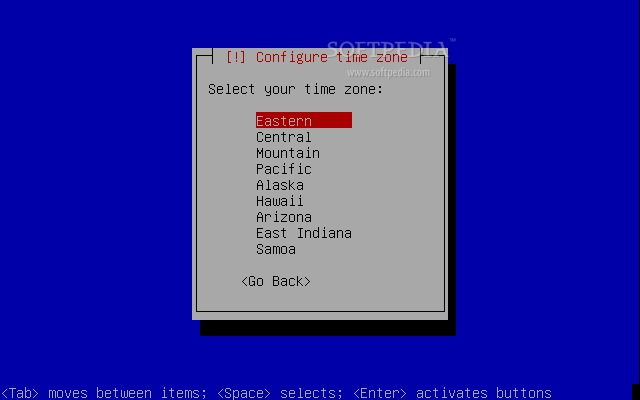
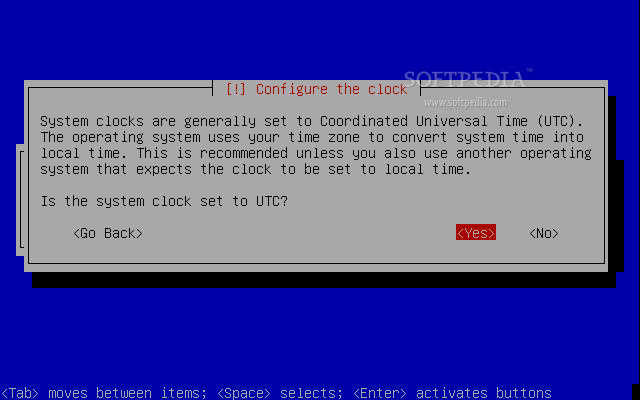
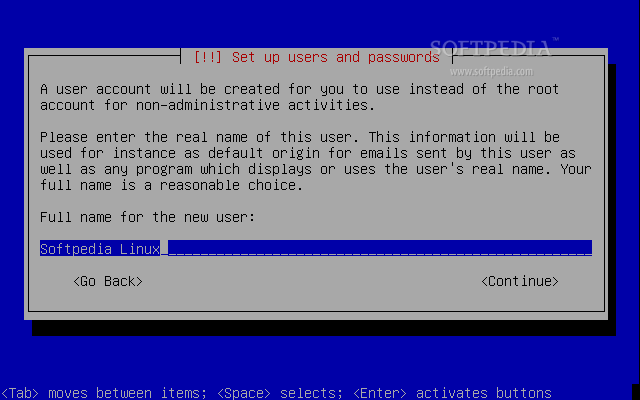
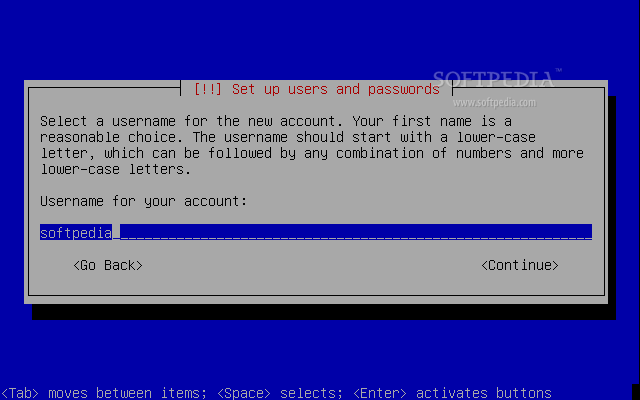
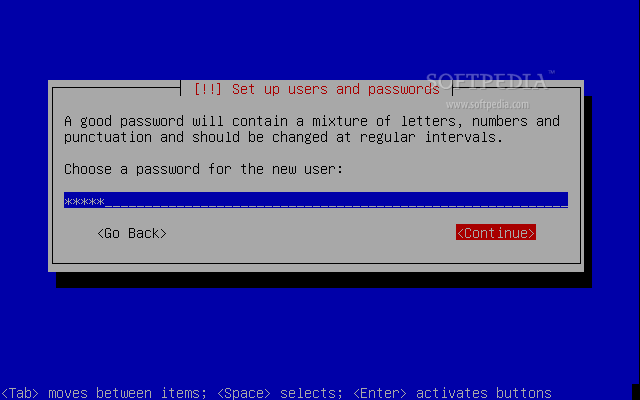
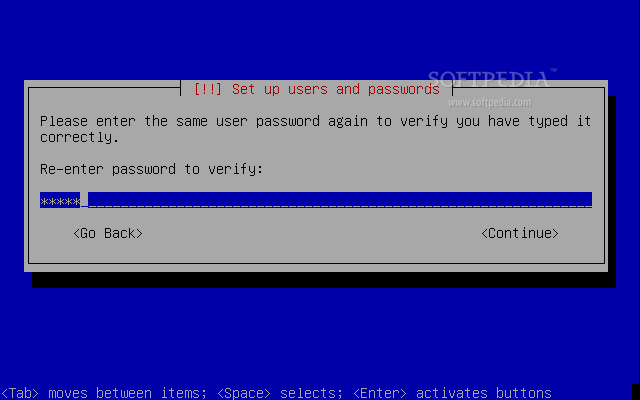
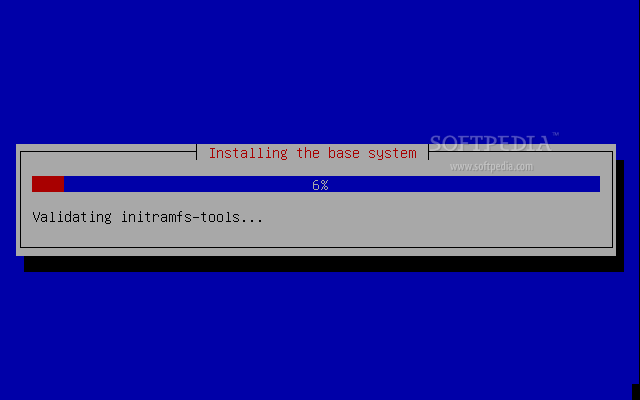
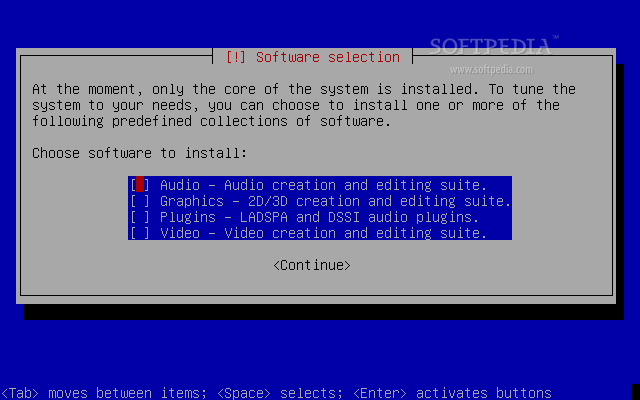
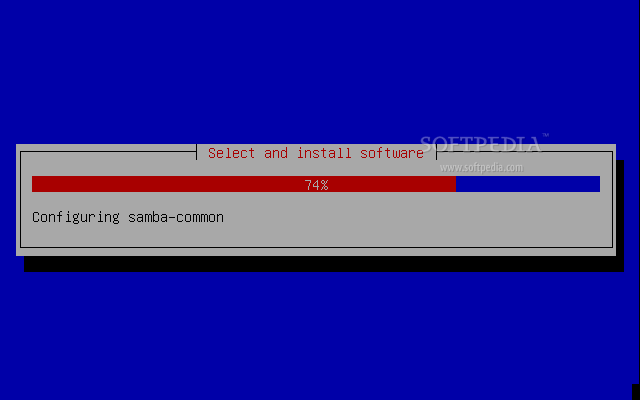
When you're done with the partitioning process, select the time zone and configure the clock. Then you must create a default account for the system. Input the full name for the account, the username and password (twice). The base system installation will begin, and shortly after you'll be asked what collections of software you want to install on your new Ubuntu Studio machine. I've selected all four options here. The installation process will begin, so sit back and relax because it will take some time, 15-20 minutes, depending on your computer's specs.
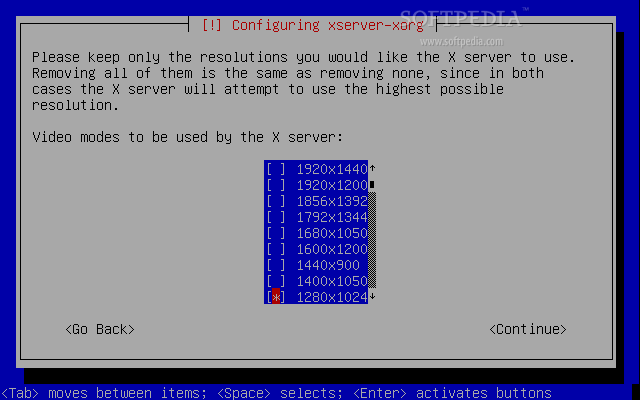
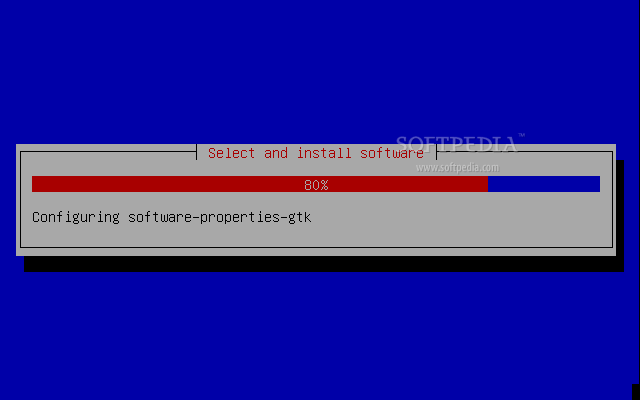
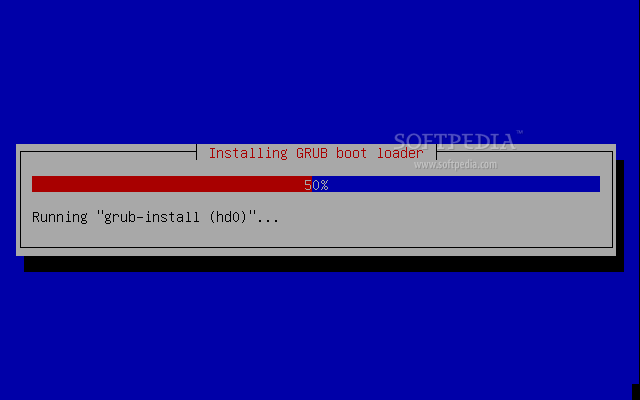
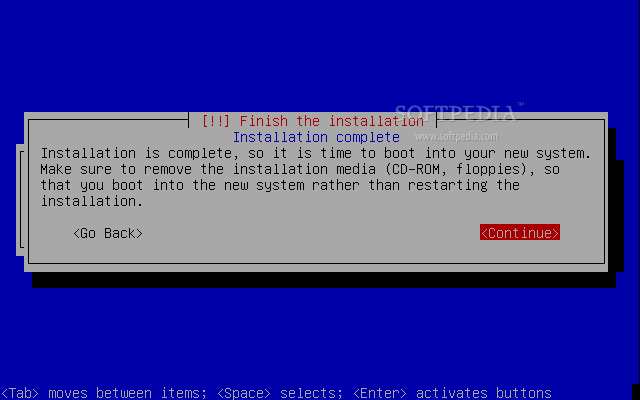
After the installation of your selected components, you must select the default resolution for the system and then wait again some 2-3 minutes until extra packages will be installed. GRUB will be automatically installed on your hard drive's MBR and the installation will be over when you see the "Finish the installation" screen. Hit 'Continue' and the system will reboot.


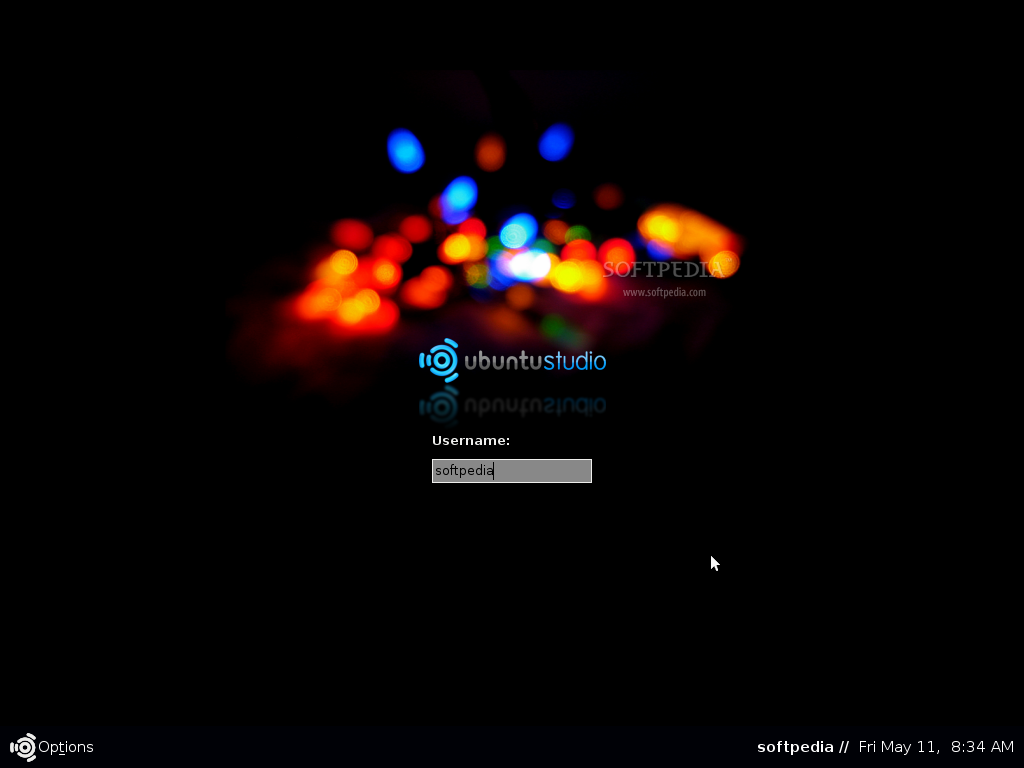
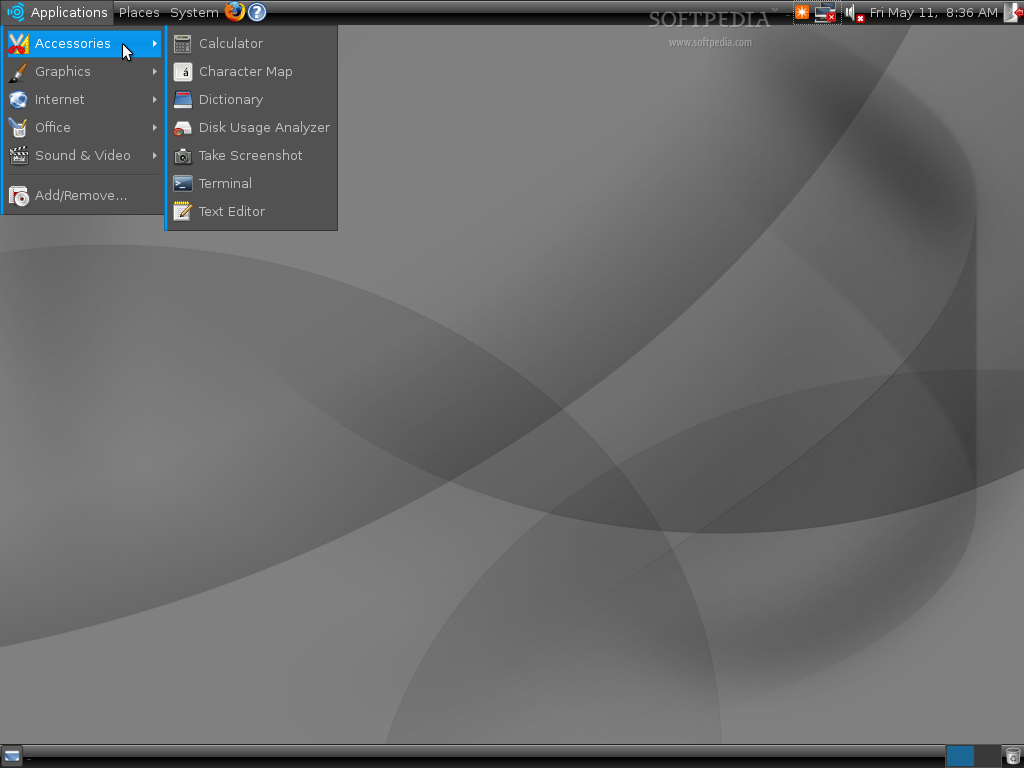
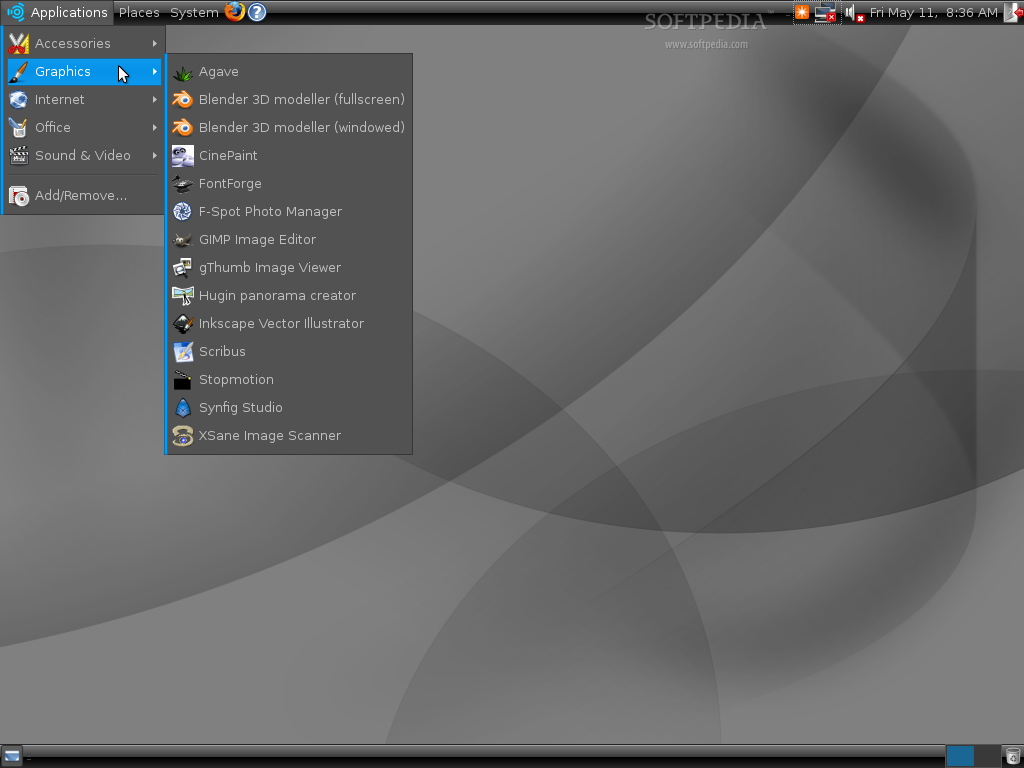
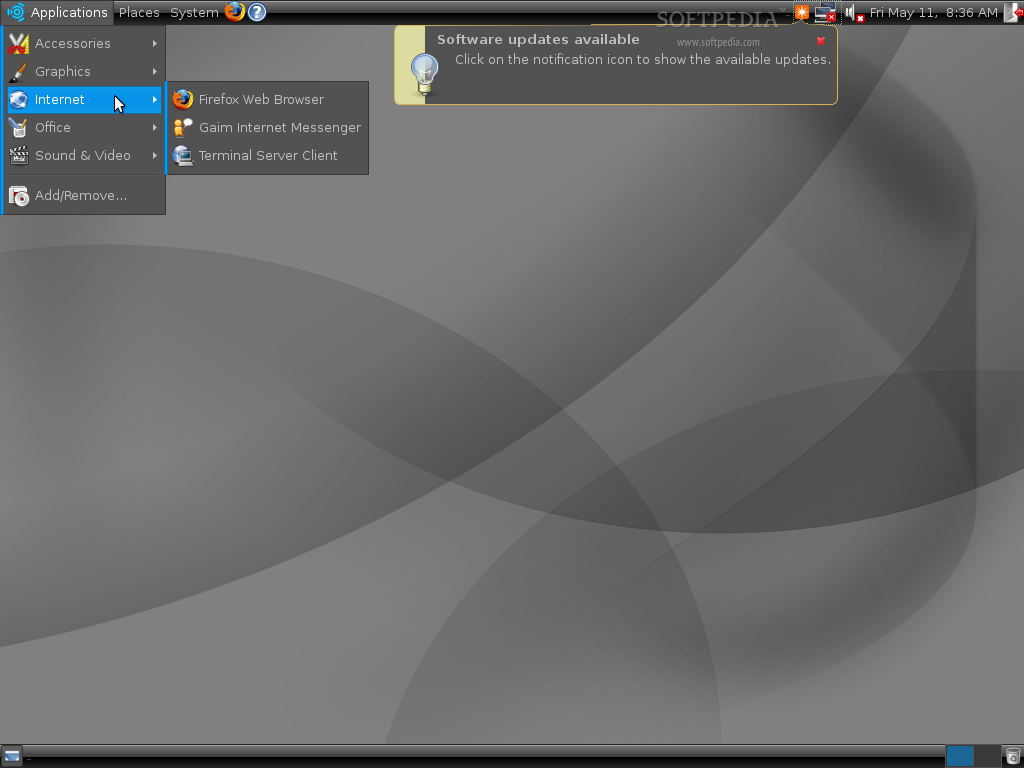
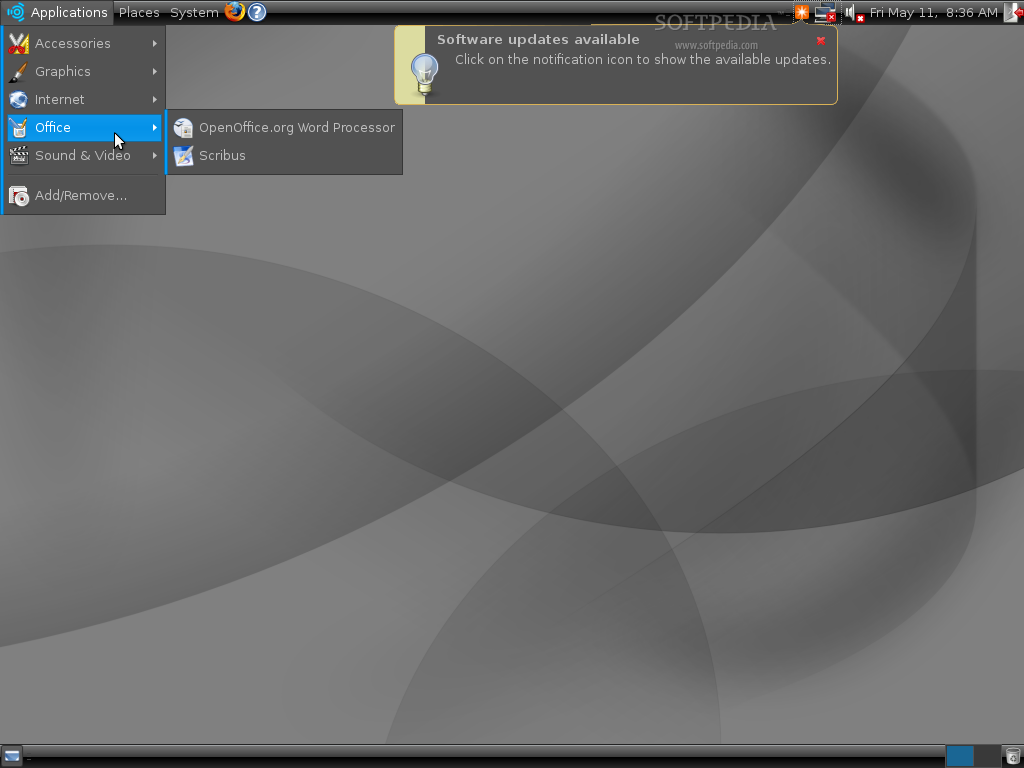
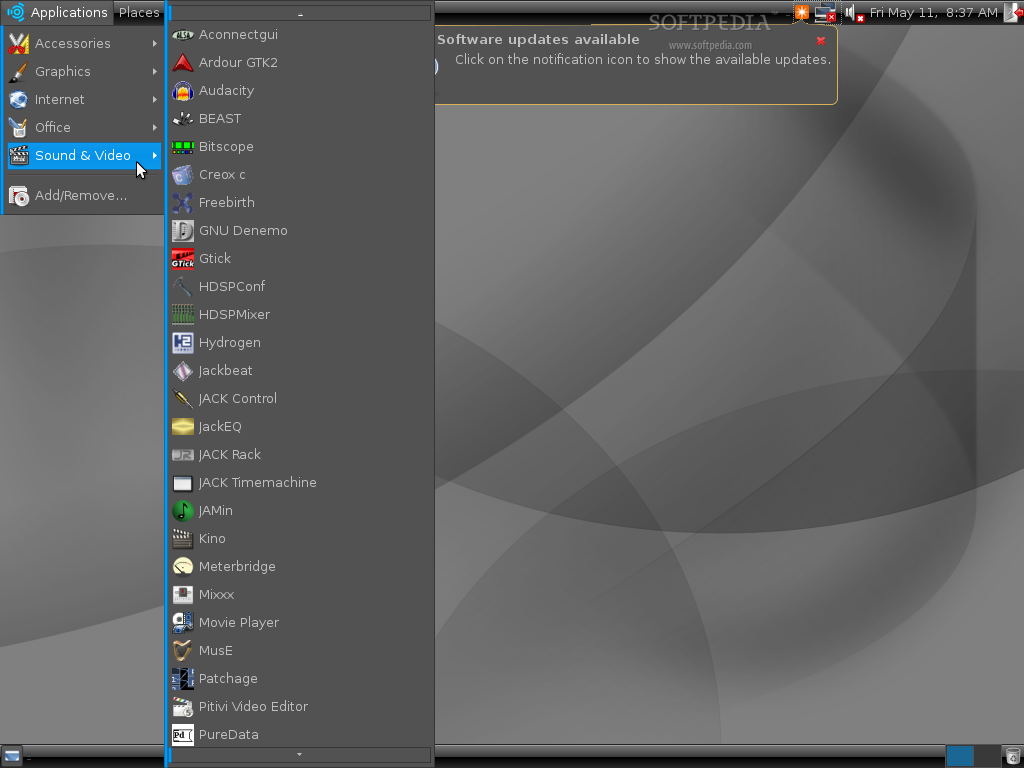
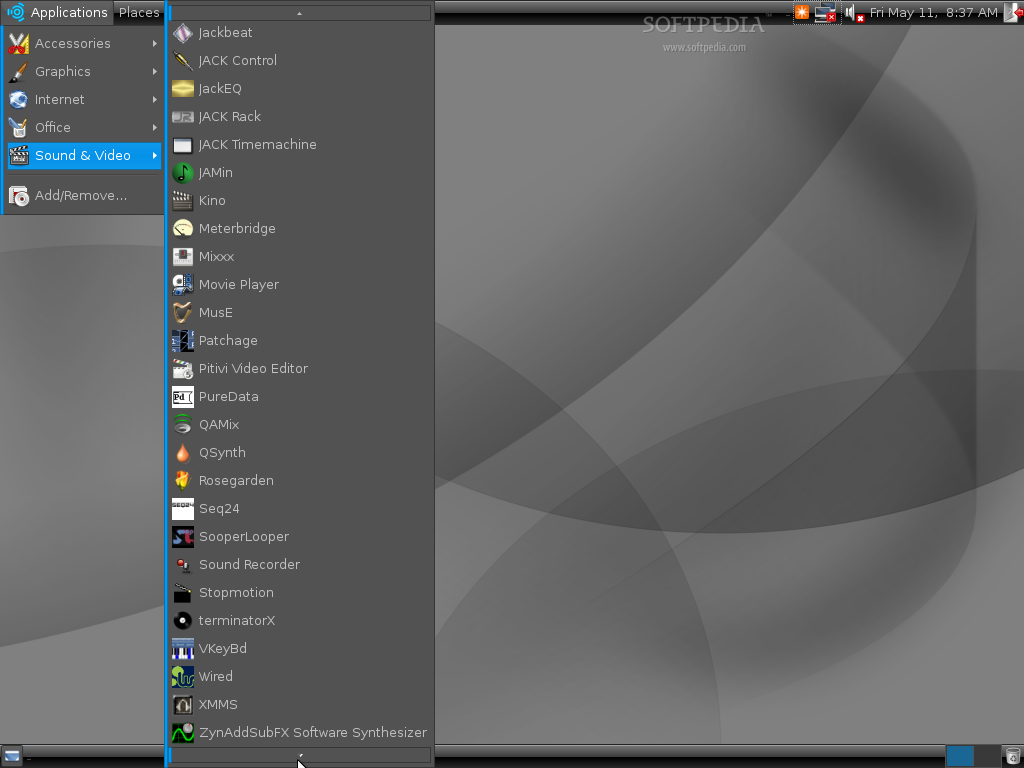
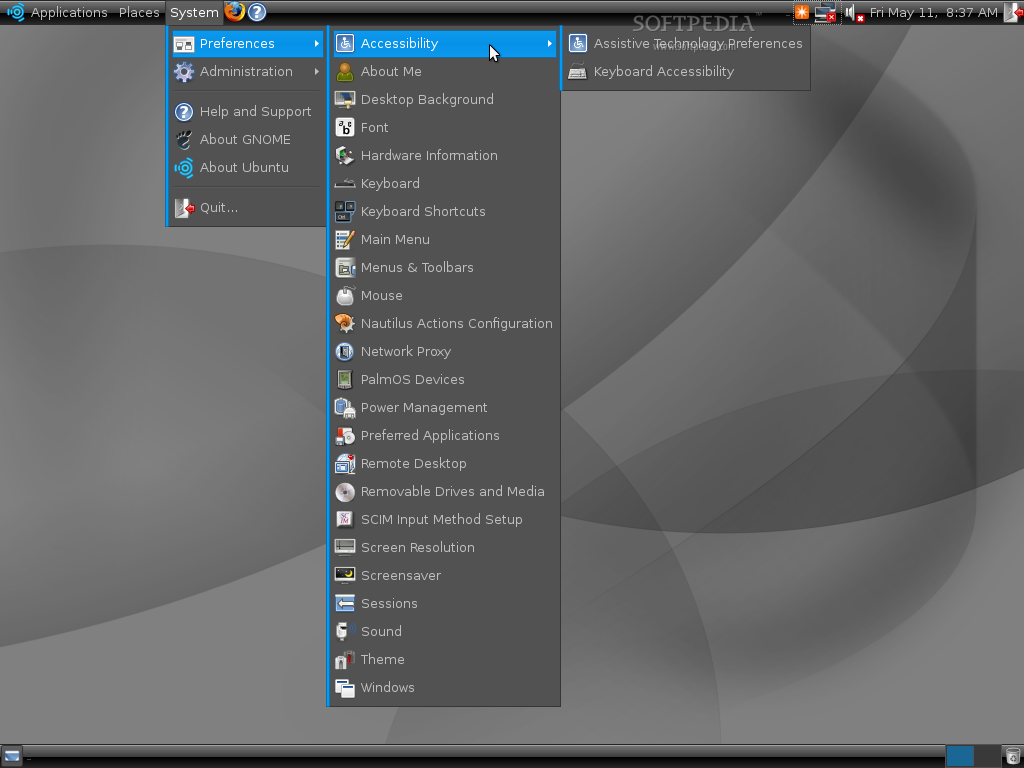
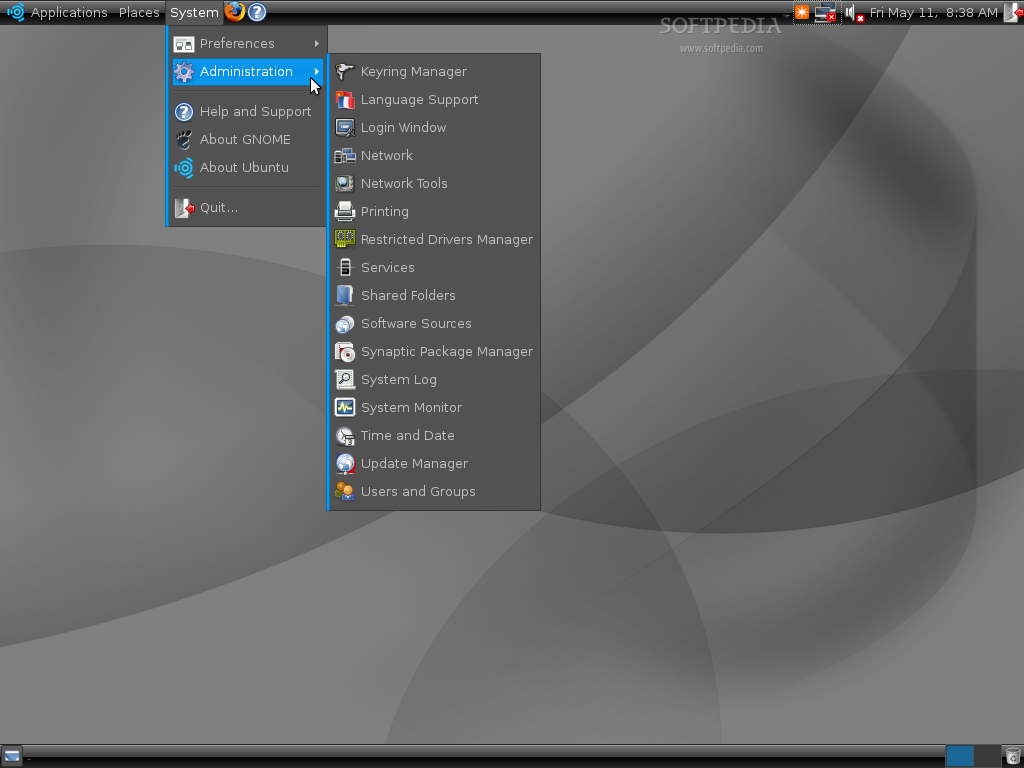
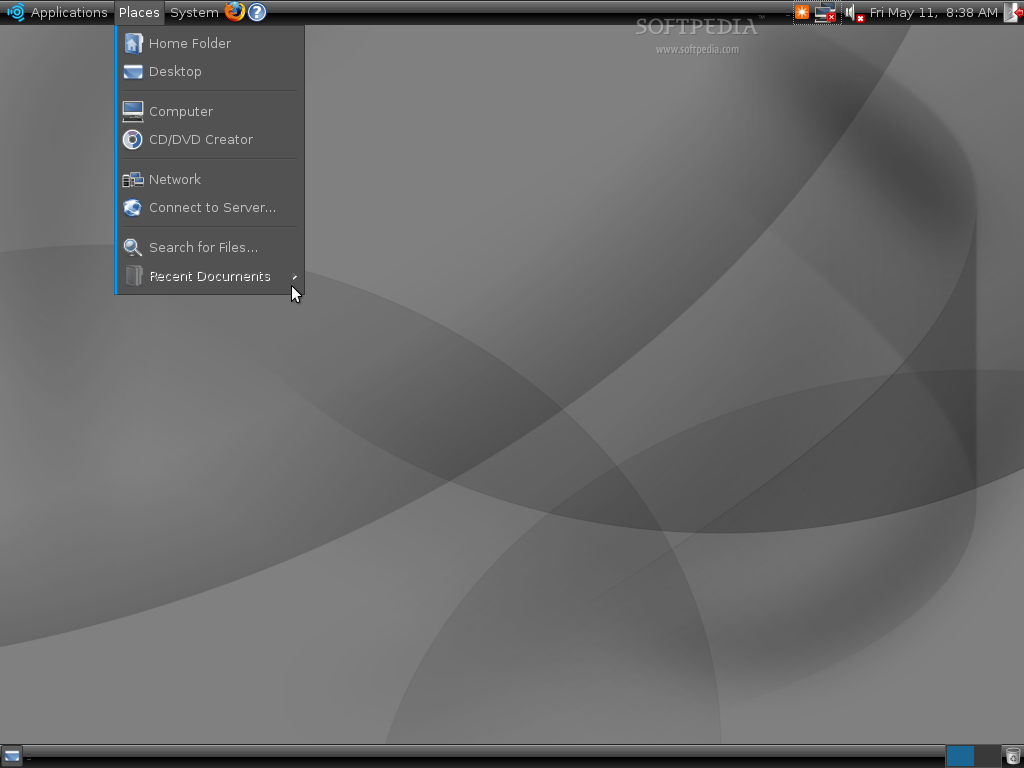
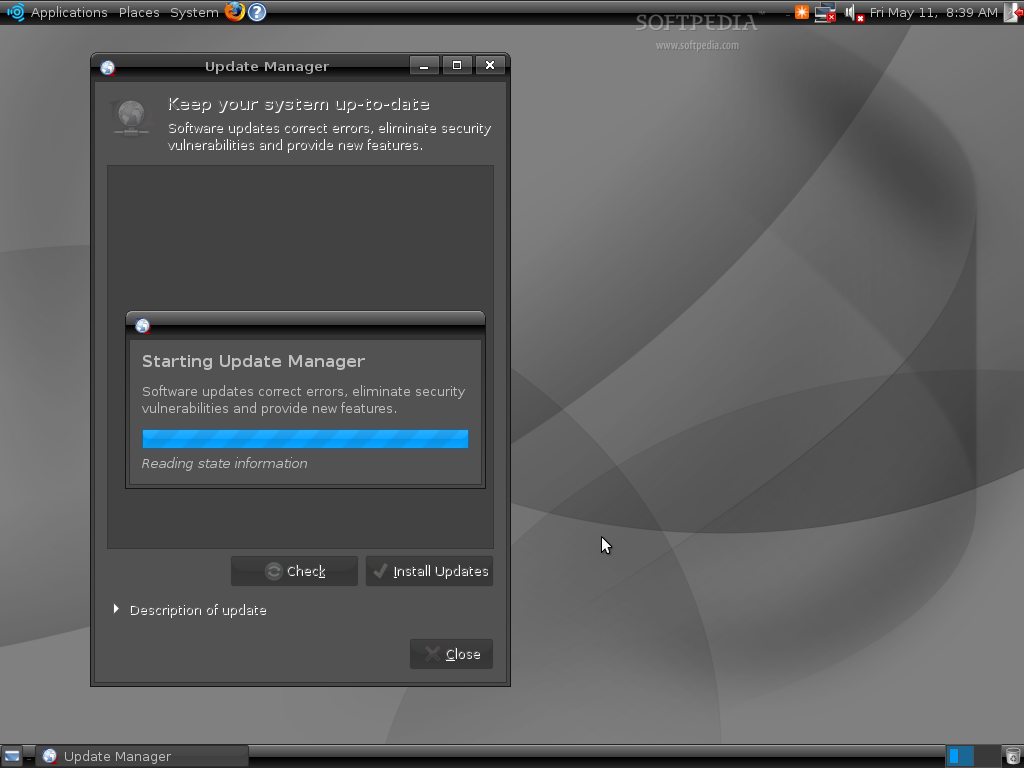
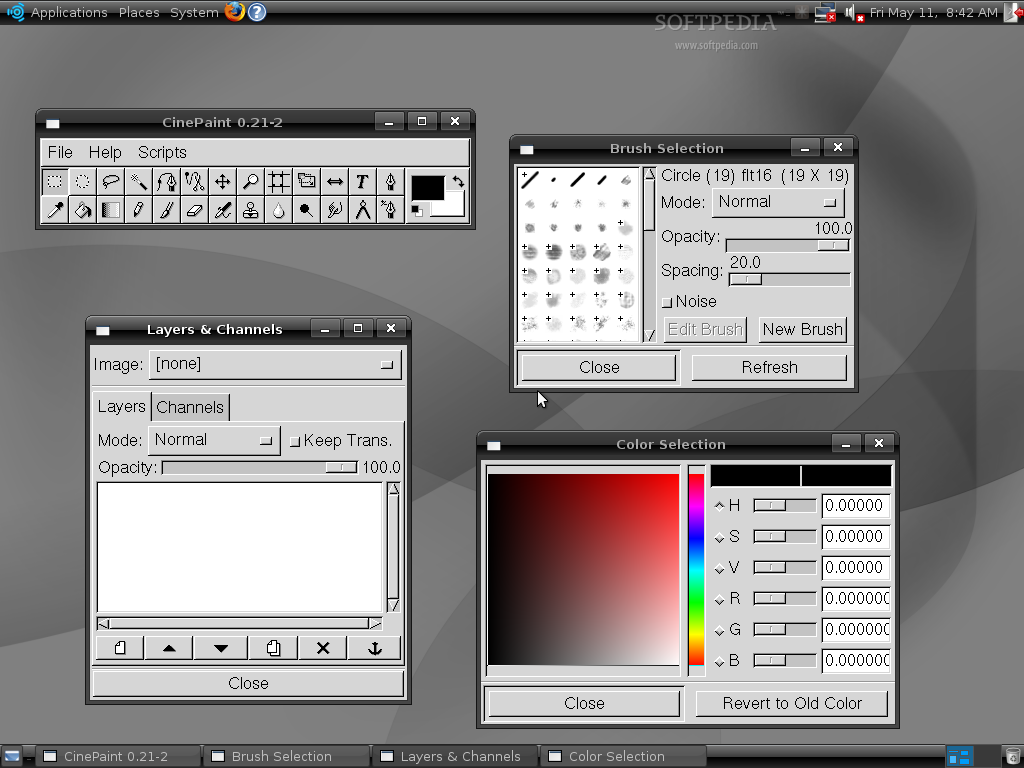
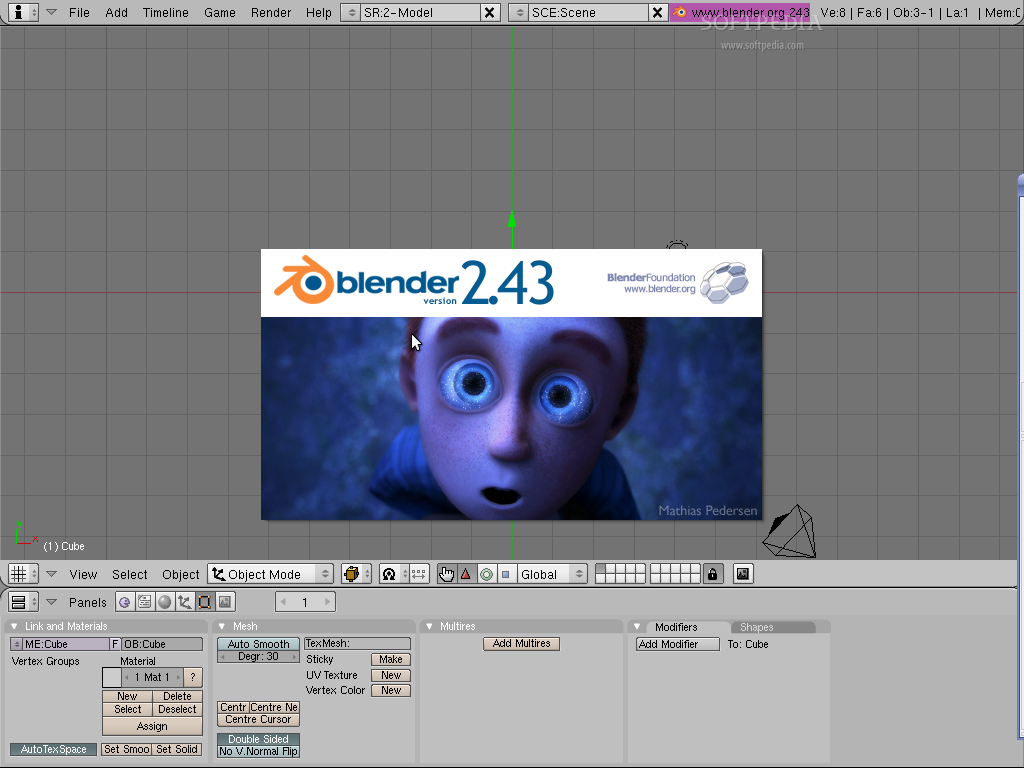
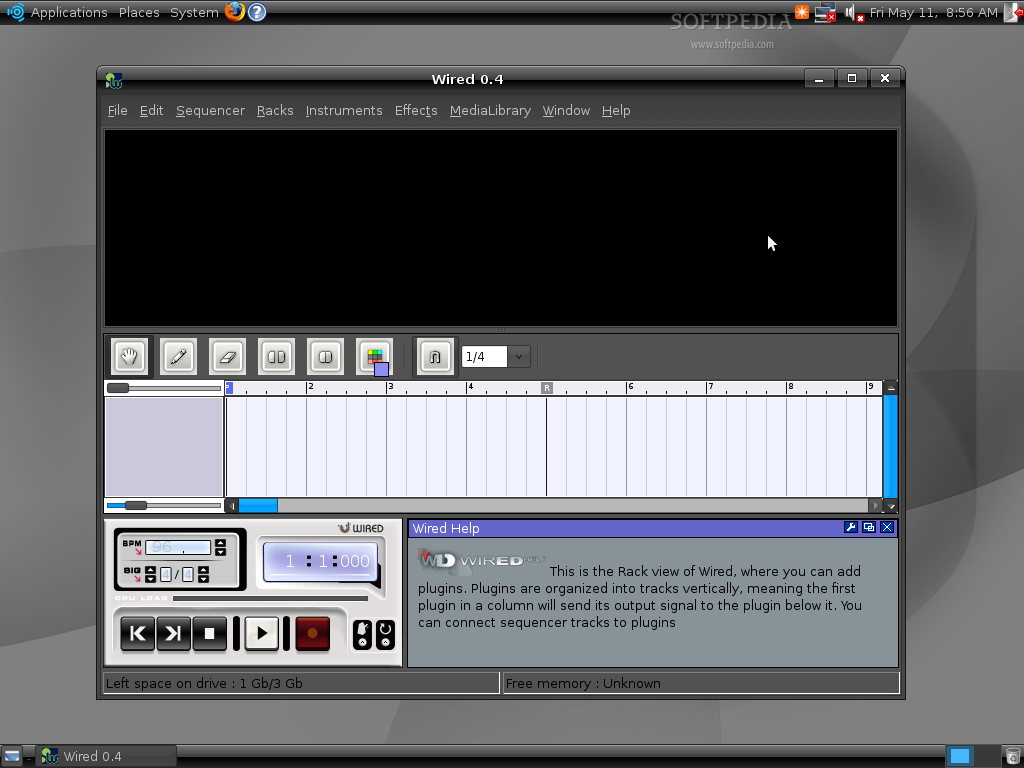
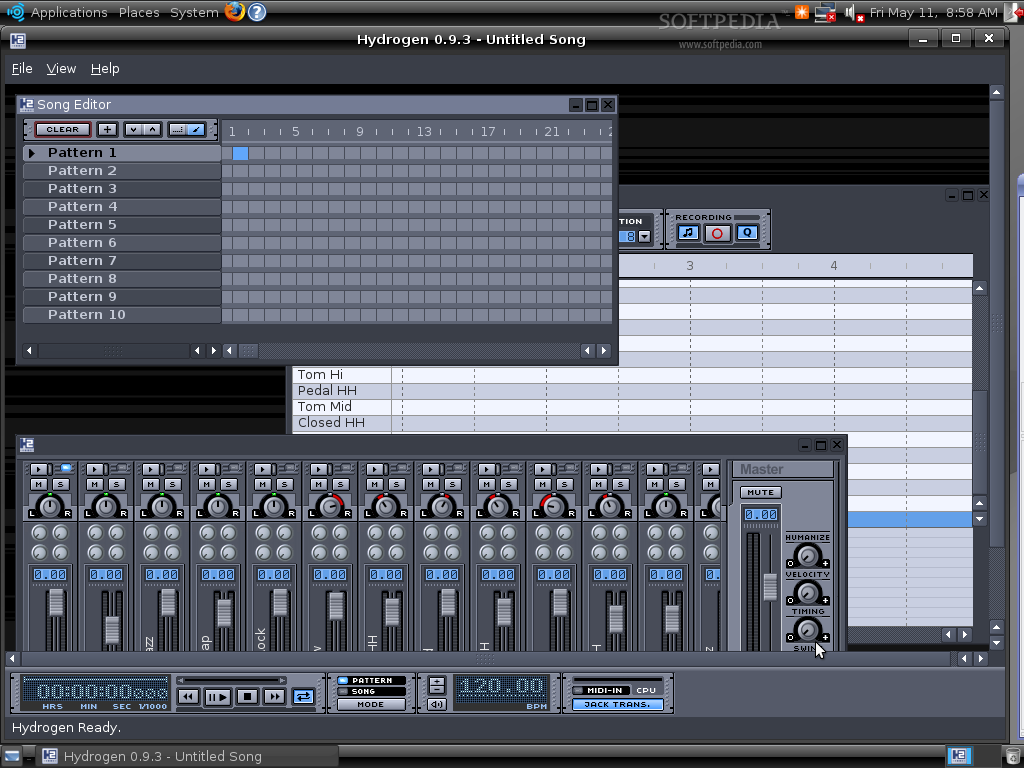
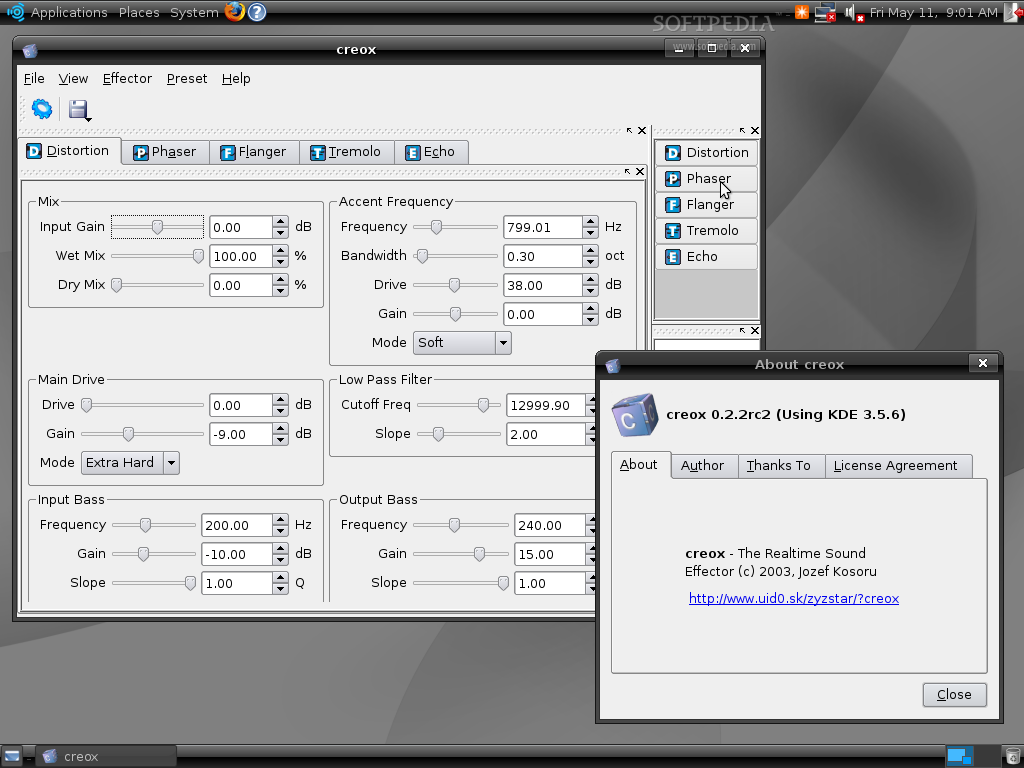
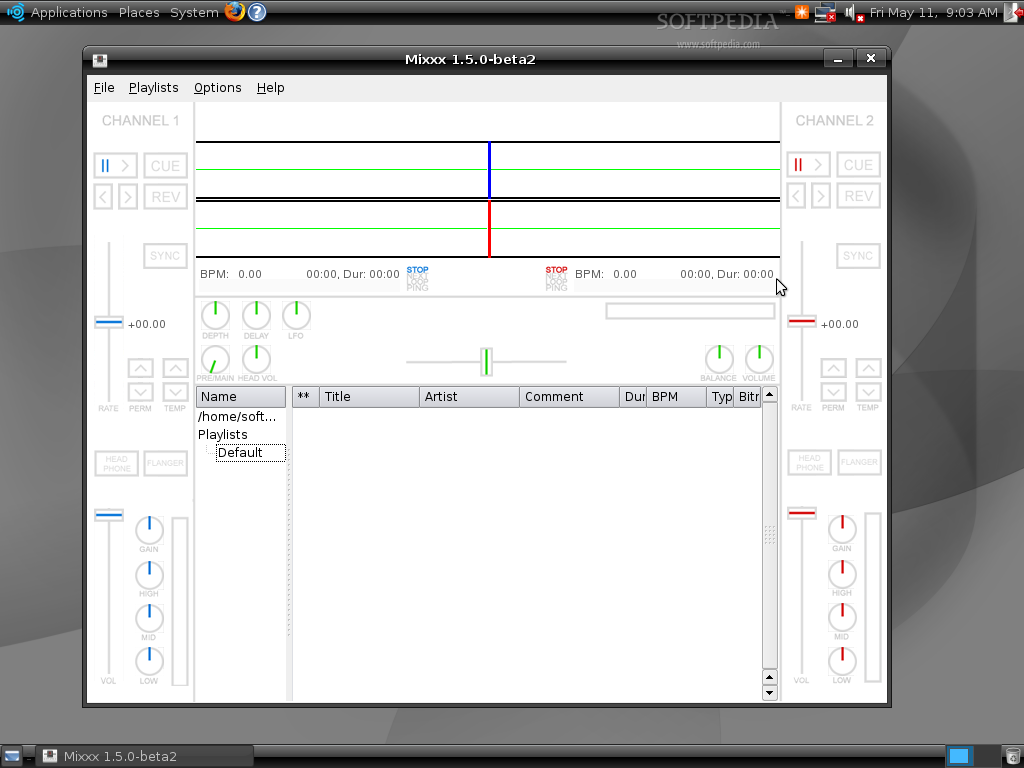
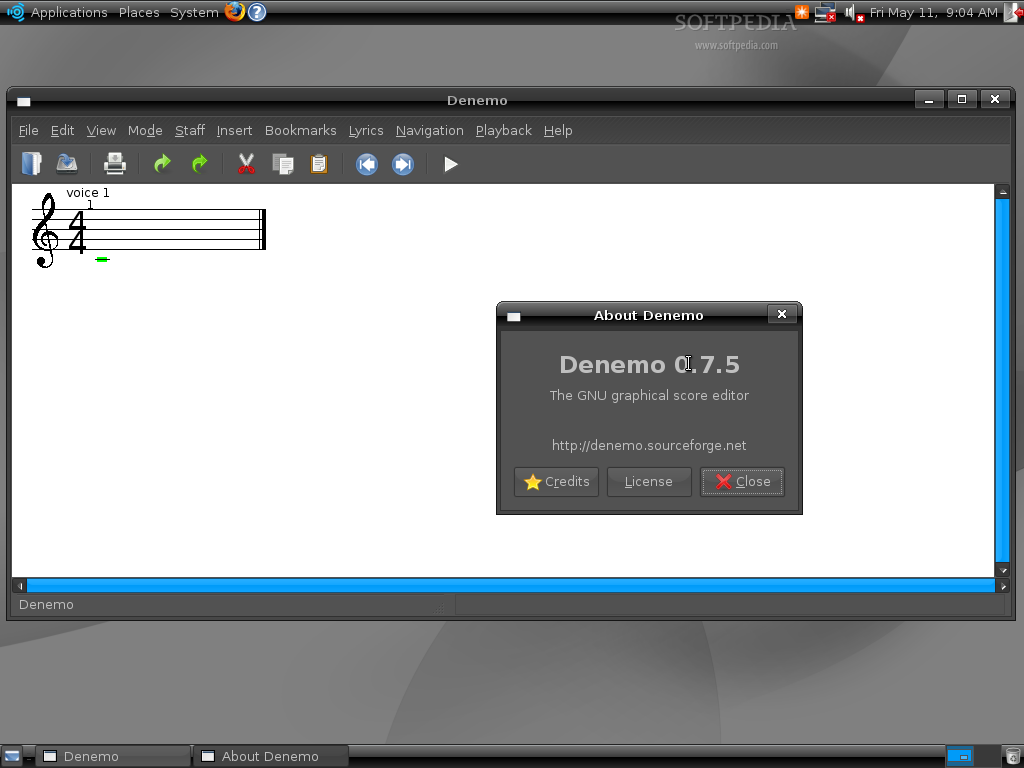
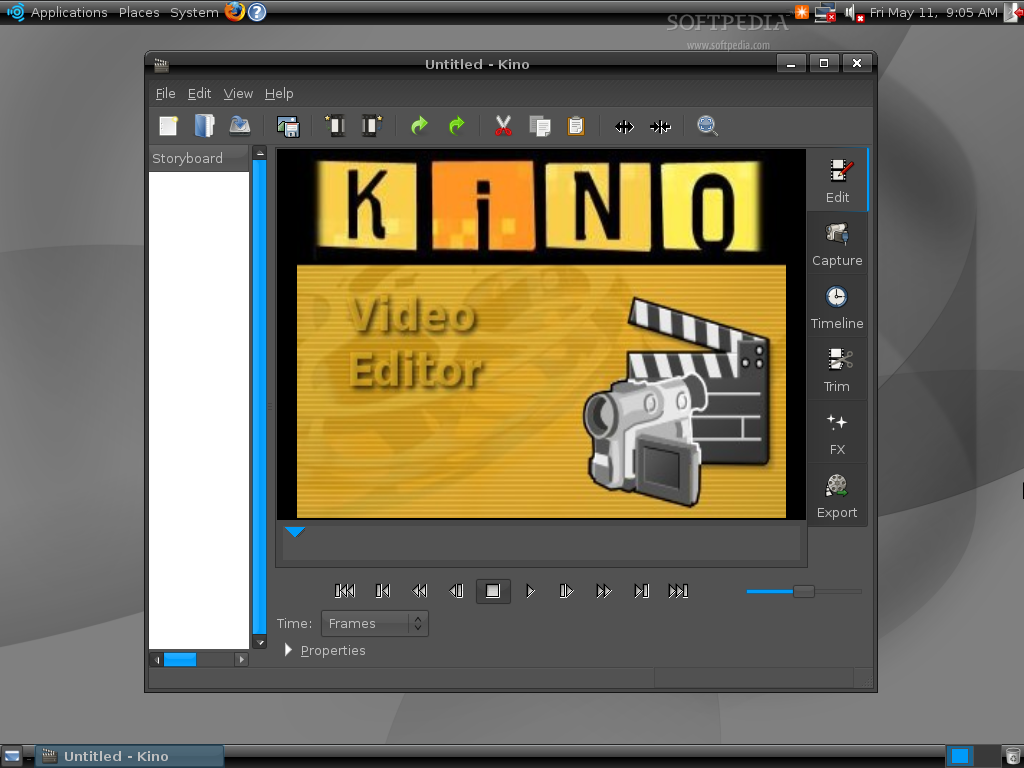
Please enjoy the first screenshot tour of Ubuntu Studio 7.04: