14 DAY TRIAL //
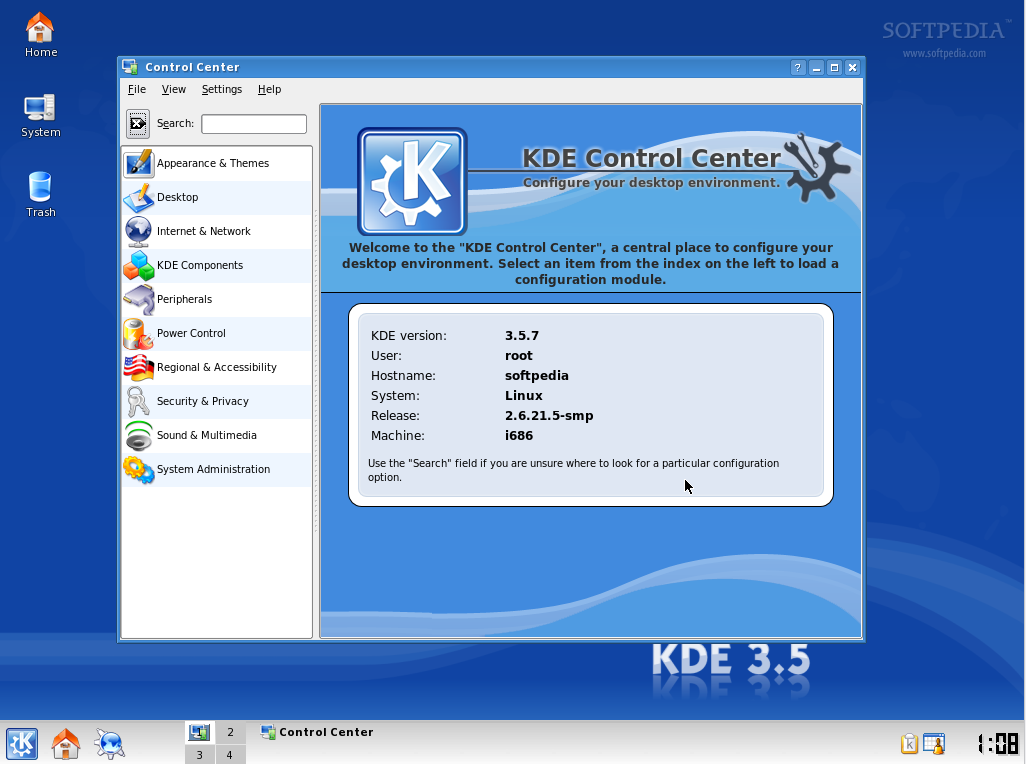
 Slackare 12.0 was released last night, being a "must-have upgrade for any Slackware user", as Patrick Volkerding (Slackware developer) stated. If you wonder why, it's because this is the first release based on the 2.6 Linux kernel.
Other highlights of Slackware 12.0:
- Linux kernel 2.6.21.5 - KDE 3.5.7 - Xfce 4.4.1 - HAL support - SCSI and ATA RAID volume support - SATA support - Software RAID - LVM - Encrypted Filesystems - and many more...
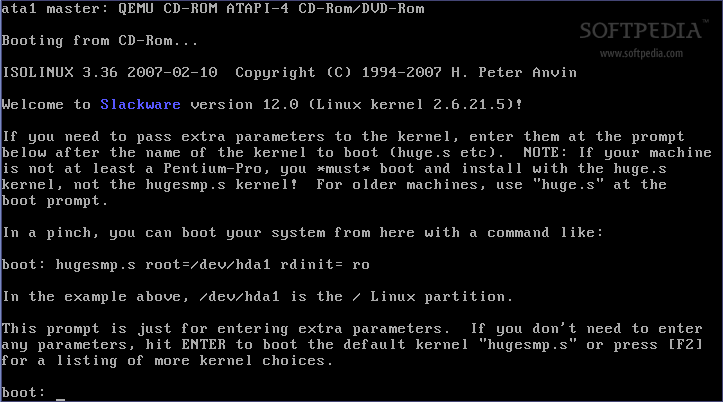
Get yourself a copy of Slackware from here, burn it on a blank CD and insert the disc in the optical drive of your computer. Boot from the CD:
Then, if you're not using a US keyboard you can select a different keyboard map if you press the 1 key, or just hit enter to leave the keyboard layout as it is:
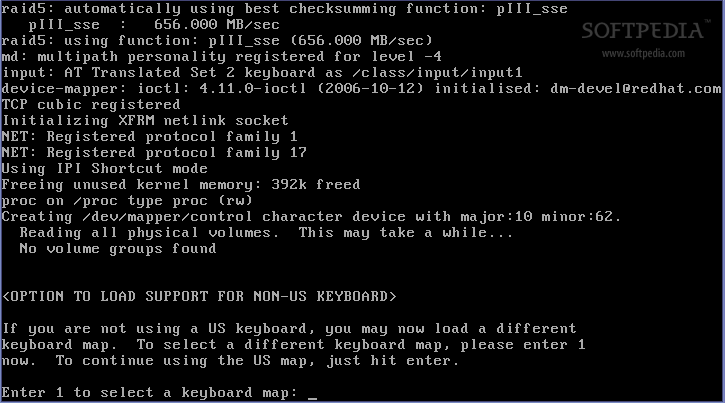
Now, type root to login:

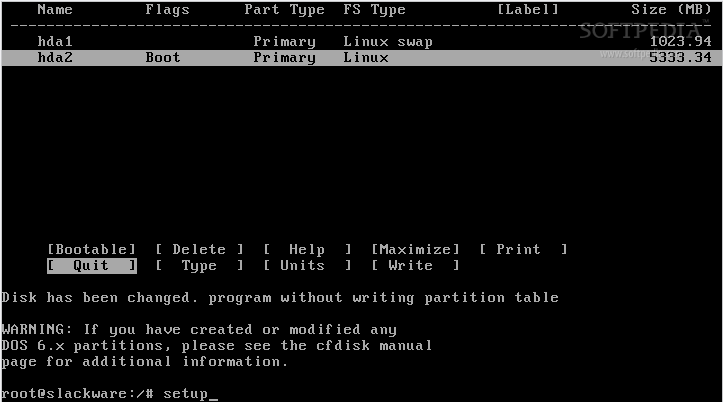
I used cfdisk to make a Linux bootable partition and a SWAP one on a previously formatted hard drive. Here's how:
First of all, you should know how to use cfdisk:
- up/down arrow lets you navigate through partitions/free space - left/right arrow lets you navigate through the existing functions - enter key executes a function when selected
Now, if you have some left over partitions on your hard drive, please select them (one by one) and with the left arrow select the "delete" function. Your hard drive is empty (no partitions) now so you can start the partitioning process:
Create swap partition
1. Select "New" 2. Select "Primary" 3. With the Backspace key delete the existing size (which is the total amount of your hard disk) and type a new size that should be double the RAM of your machine 4. Navigate to "Type", hit enter twice and set the value at 82 (which is default, so all you have to do is hit enter again).
Create root partition
1. Select the Free space with the down arrow 2. Select "New" 3. Select "Primary" 4. Leave the size as it is, or if you don't want to distribute all the remaining space for the server, you can type a new size (minimum 5 GB). 5. Select "Bootable"
Now the swap and root partitions are created, navigate with the left arrow until you reach the "Write" function, hit enter, type yes to write all the changes to disk. Select "Quit" and then type setup to start the installation wizard:
Main Menu is the same as always, first option is HELP, where you'll find some useful information about the installation process if this is your first time installing Slackware. The KEYMAP section allows you to map your keyboard if you didn't do that when the CD/DVD booted:

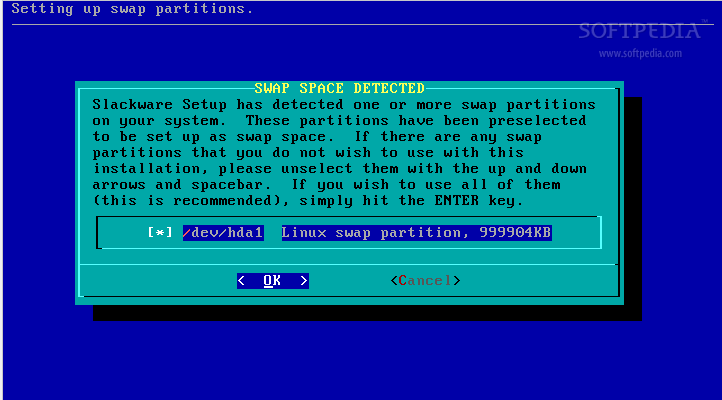
If you mapped your keyboard, go directly to the ADDSWAP section so you can choose and activate your SWAP partition (it's a good thing to activate it before you begin to install the packages, so it can run much faster):
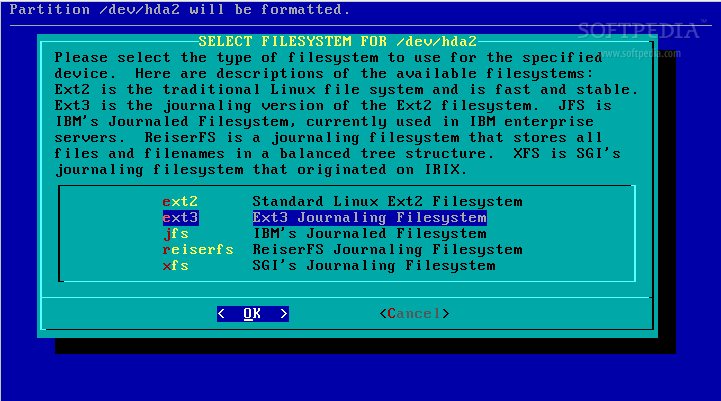
Then you'll be asked to choose the target hard drive partition where you want to install the system, and then you must select a filesystem to use for the specified device:
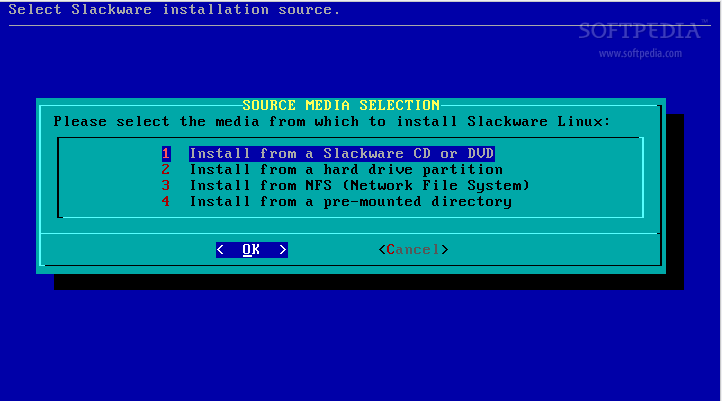
You must then select the media from which to install Slackware (CD-ROM, HARDDRIVE, FTP). In our case, the first option is the one we need, so just press enter, and on the next screen select auto and the installer will search and detect the Slackware CD:
You'll arrive at the package selection screen, from where you can select which packages to install on your system:
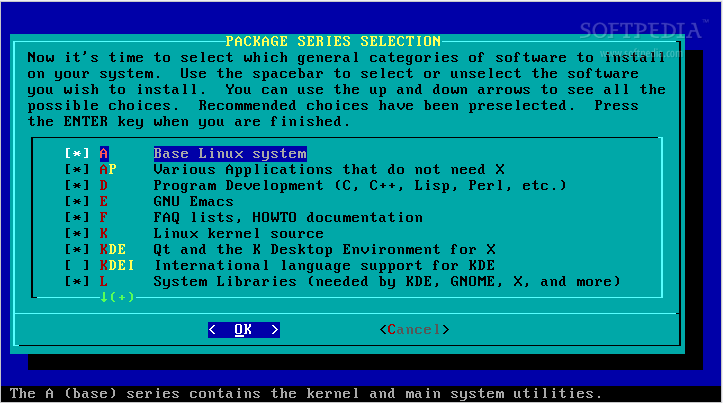
The default selection is perfect for every beginner, so just press enter and on the next step select the full option to install everything:
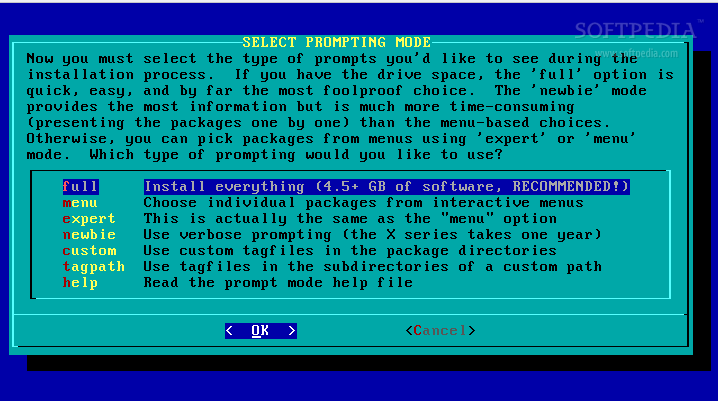
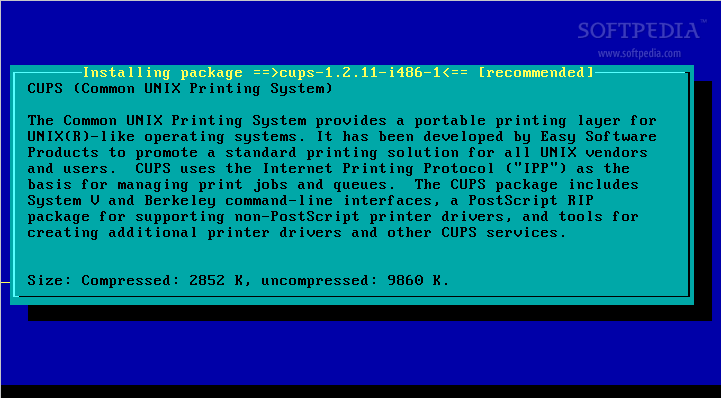
The package installation will start and it will take some time (about 15-20 minutes, depending on your computer specs):
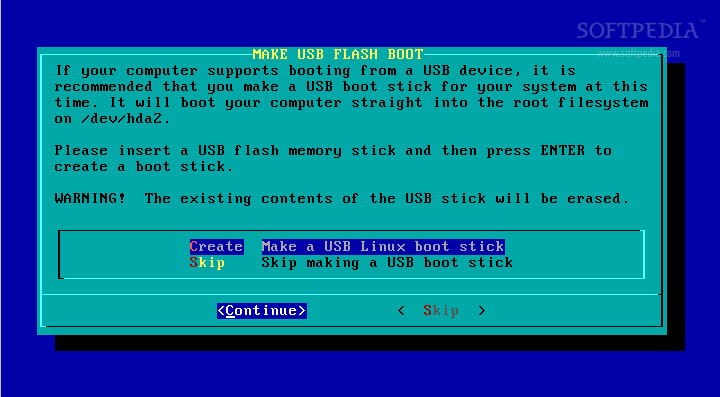
When the package installation is over, you will be asked if you want to create a USB Linux boot stick; I've chosen to skip this part:
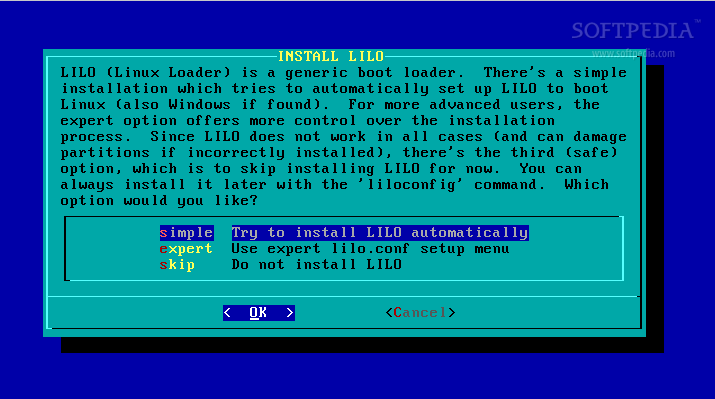
Then you can configure your modem (if you have one). And on the next step you can install the LILO boot loader. Press enter on the default option (simple) which is recommended for beginners:
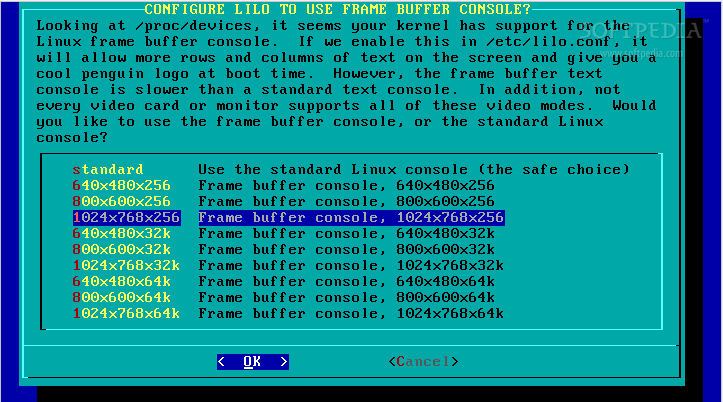
Choose the frame buffer console. Default is good:
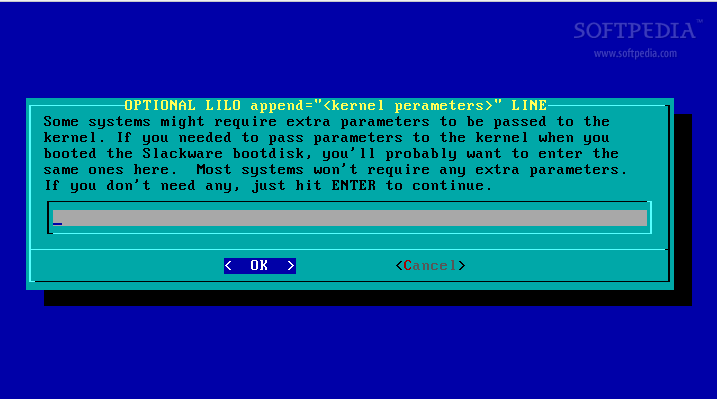
Input extra kernel parameters (ONLY IF YOU KNOW WHAT YOU'RE DOING)! If not, press ENTER here:
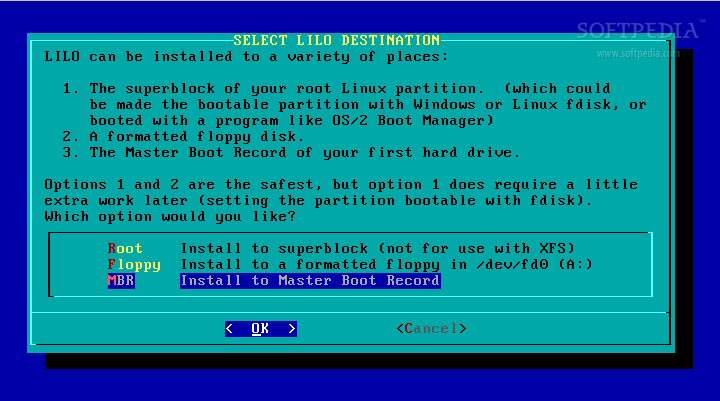
LILO destination should be on MBR (default option):
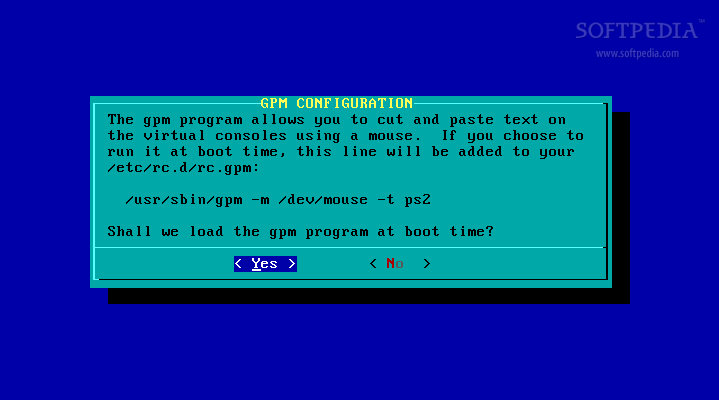
Configure your mouse and then select 'Yes' to load the gpm program at boot time. gpm allows you to copy/paste text on the virtual consoles with the mouse:
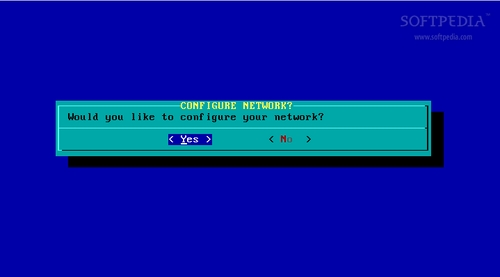
Would you like to configure your network? Hit ENTER:
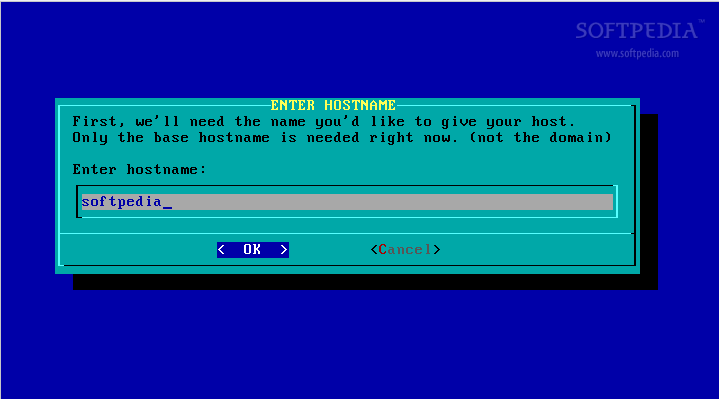
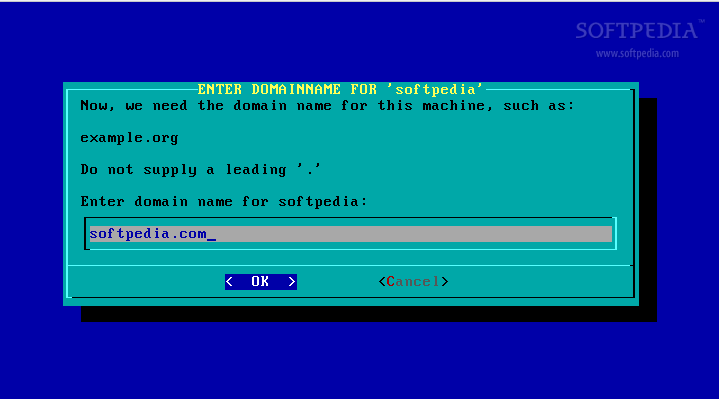
Then enter the hostname, domain name and then select the type of connection you have in order to connect to the Internet:
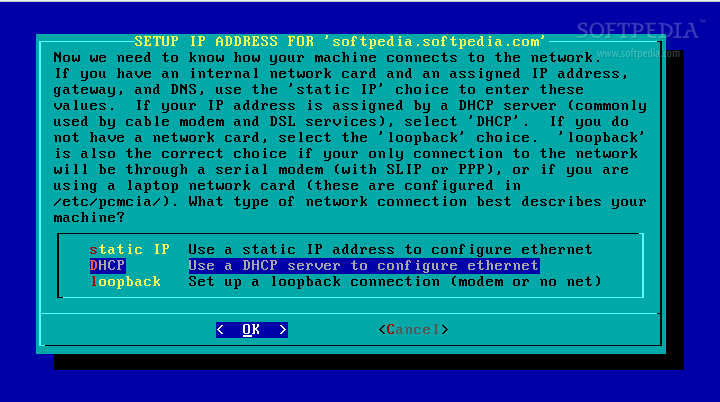
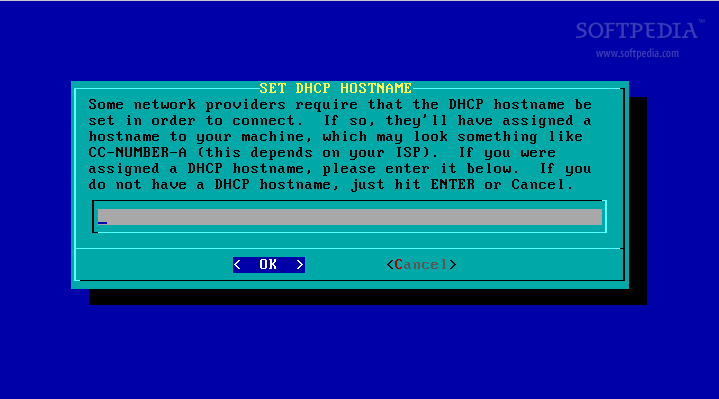
I have DHCP (default option). If you choose DHCP, you'll be asked for a hostname and if you don't have one, just hit ENTER:
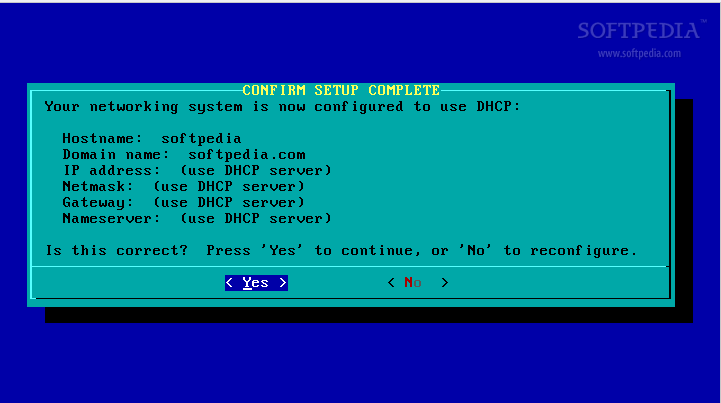
Confirm your DHCP setup:
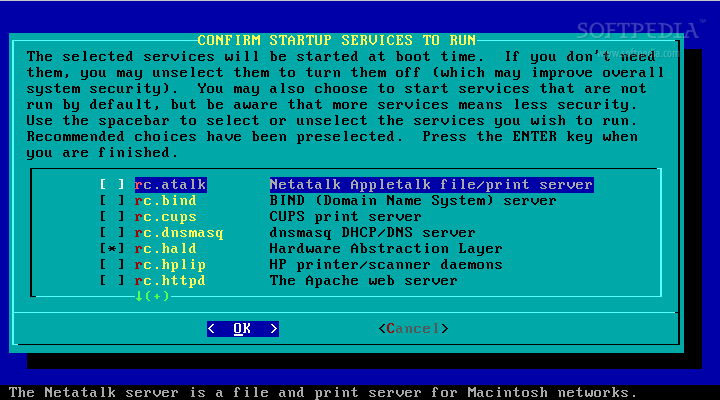
Select which processes to start at boot time (if you don't know which process to remove or select, just hit ENTER):
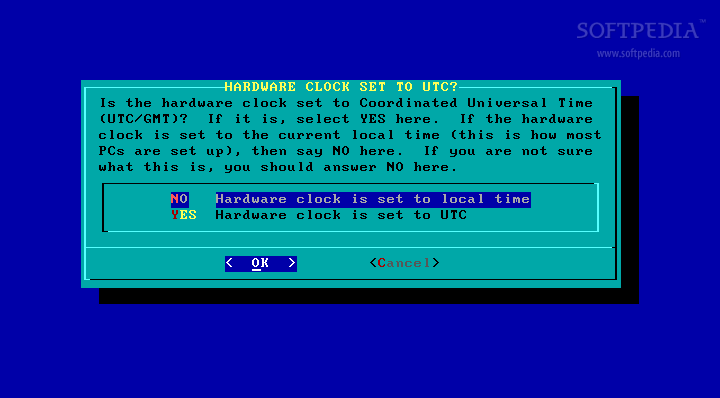
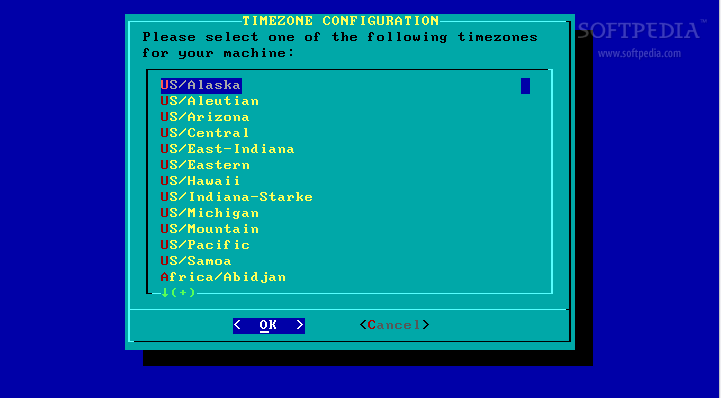
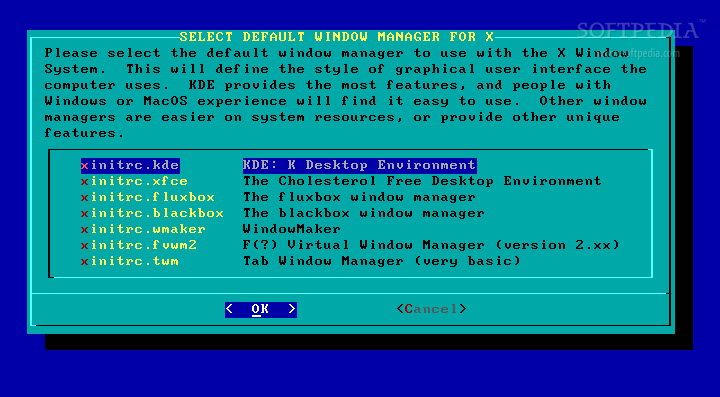
You can then try out some custom screen fonts, set the hardware clock to UTC select your timezone, choose a root (system administrator) password and set the default desktop environment:
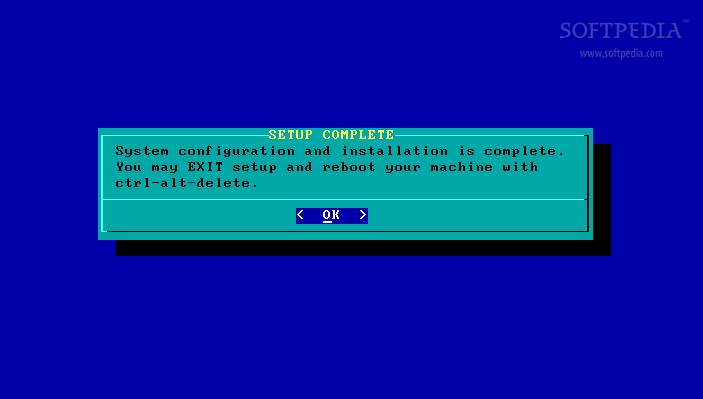
Congratulations! Installation is now complete, exit setup and reboot your machine with the CTRL+ALT+DEL key combination:
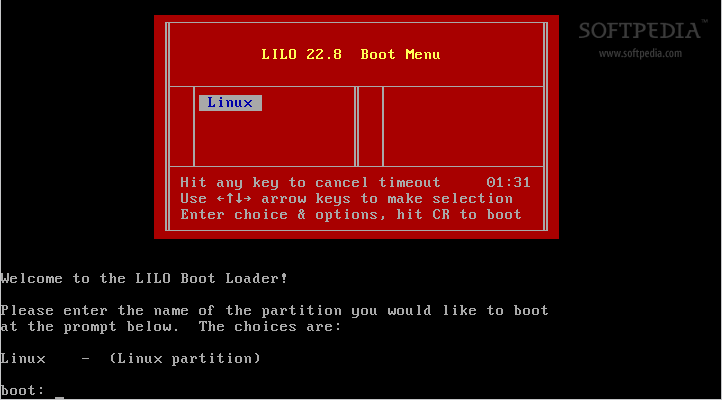
Remove the CD from your optical drive and boot from the hard drive. You will see the LILO boot loader, press enter to boot the system. When the boot process is over, you must login and then type startx to enter the desktop environment you've chosen on the installation process. Enjoy your new Slackware system!