14 DAY TRIAL //
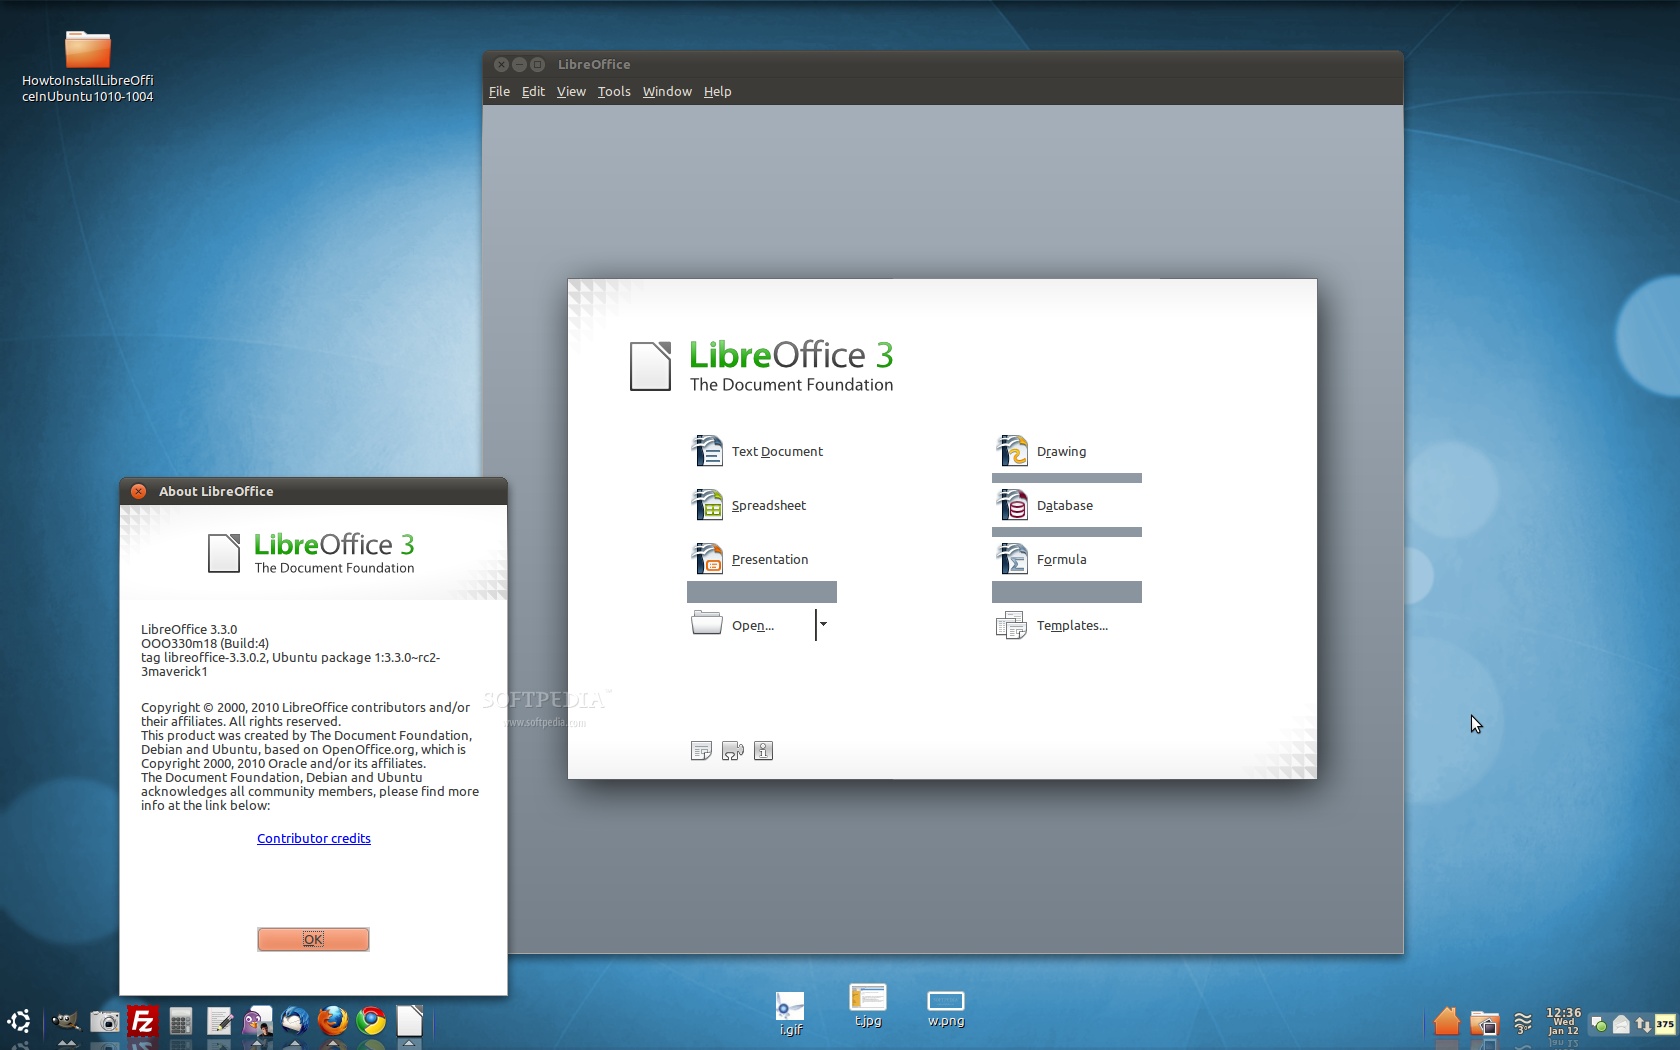
 The following tutorial will teach every Ubuntu 10.10 and Ubuntu 10.04 LTS user how to install the new LibreOffice open source office suite and replace the old OpenOffice.org office suite from Oracle.
Last week we've announced that the Ubuntu developers started the transition of the outdated OpenOffice.org packages to the new LibreOffice ones, in the upcoming Ubuntu 11.04 (Natty Narwhal) operating system, due for release in late April this year.
However, the LibreOffice package are also available for Ubuntu 10.10 (Maverick Meerkat) and Ubuntu 10.04 LTS (Lucid Lynx) users. To remove OpenOffice.org from your system and install LibreOffice, follow the next step-by-step (with screenshots) tutorial.
Step 1 - Remove OpenOffice.org
Hit the ALT+F2 key combination on your keyboard, check the "Run in terminal" option and paste the following command in the "Run Application" dialog:
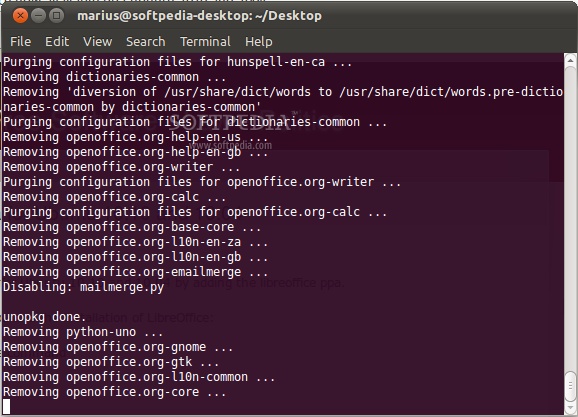
gksu apt-get purge "openoffice*.*"
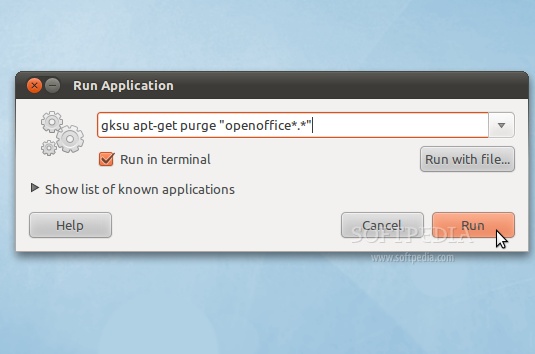
When you will be asked if you want to remove the OpenOffice.org package, type Y and hit Enter. After this, the OpenOffice.org packages will be removed and the terminal window will disappear...
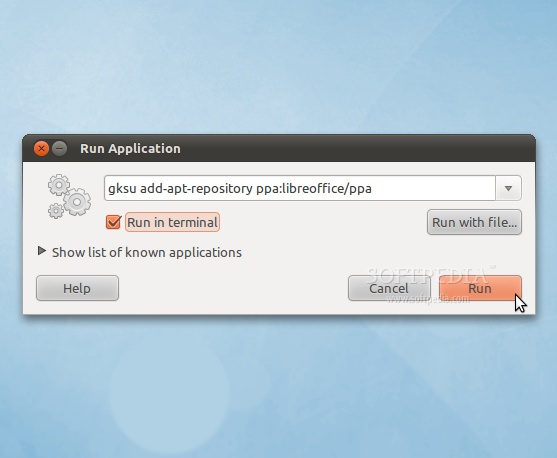
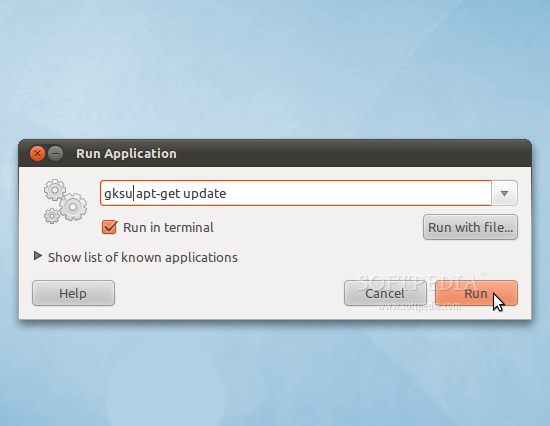
No matter what operating system you are running (Ubuntu 10.10 or Ubuntu 10.04), hit the ALT+F2 key combination on your keyboard, check the "Run in terminal" option and paste the following command in the "Run Application" dialog:
gksu add-apt-repository ppa:libreoffice/ppa
gksu apt-get update
Step 3 - Install LibreOffice
Hit the ALT+F2 key combination on your keyboard, check the "Run in terminal" option and paste the following command in the "Run Application" dialog:
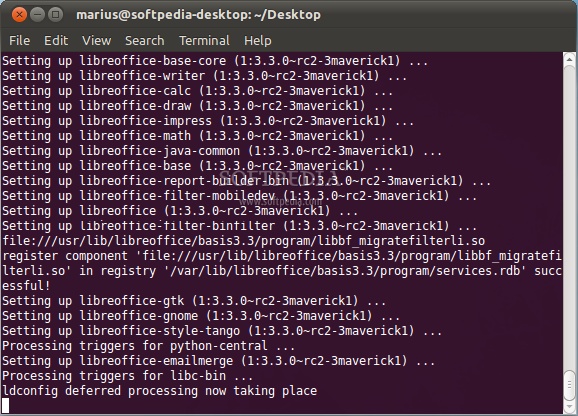
sudo apt-get install libreoffice libreoffice-gnome language-support-en
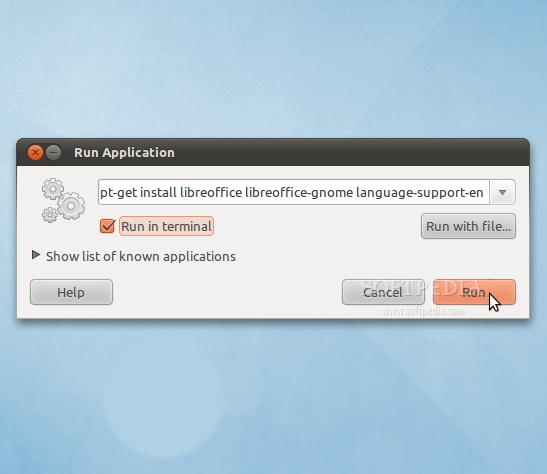
When you will be asked if you want to install the LibreOffice packages, type Y and hit Enter. Wait for the installation to finish...