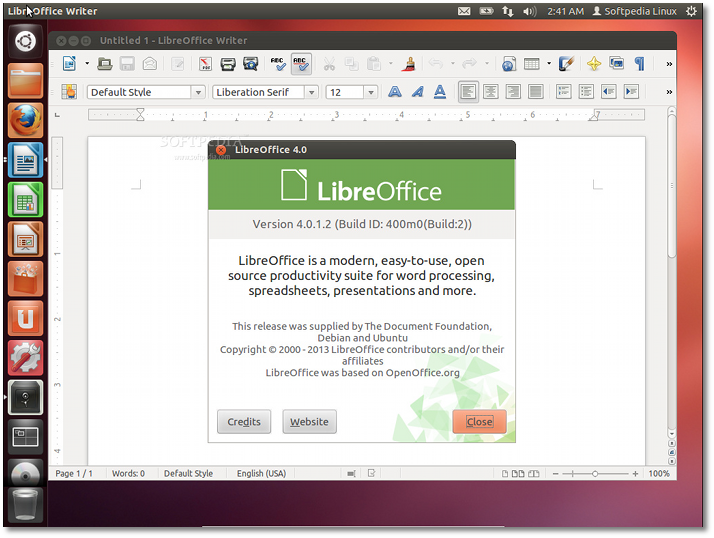
The following tutorial will teach Ubuntu 12.10 and Ubuntu 12.04 LTS users how to install the new LibreOffice 4.0 open source office suite on their operating system, replacing the old 3.6 version.
LibreOffice 4.0 was officially released on February 7 and brought very nice and highly anticipated features, such as integration with Ubuntu’s Unity interface, support for Mozilla Firefox themes, as well as support for Microsoft Publisher documents.
We wanted to write an easy-to-follow tutorial for Ubuntu users since the day of the release, but we had to wait for the official Ubuntu packages from The Document Foundation’s PPA.
So, today is that day, as the official LibreOffice 4.0 packages are now available on the PPA repository for Ubuntu 12.10 (Quantal Quetzal) and Ubuntu 12.04 LTS (Precise Pangolin). To install it, follow the instructions below carefully!
Step 1 - Add the LibreOffice 4.0 repository
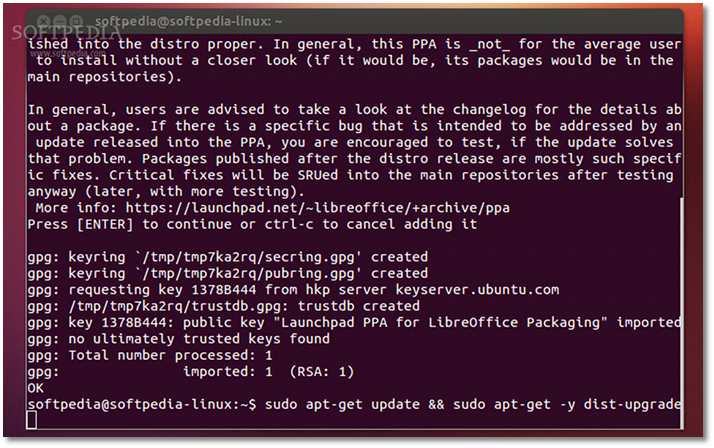
No matter what Ubuntu operating system (see above the supported Ubuntu OSes) you are running, open a terminal by typing Terminal in the Unity Dash, and paste the following command in the terminal window:
sudo add-apt-repository ppa:libreoffice/ppa
Hit the Enter key after you’ve pasted the above command, type your password when asked and hit the Enter key.
Hit Enter again when asked...
Don't close the terminal window! Proceed to the next step.Step 2 - Install LibreOffice 4.0 on Ubuntu
Now paste the following command in the same terminal window:
sudo apt-get update && sudo apt-get -y dist-upgrade
Wait for the installation to finish and close the terminal window.
That's it! Your LibreOffice office suite has been upgraded to version 4.0. In time, it will automatically upgrade to newer releases, as they are published by The Document Foundation, so make sure you update your system regularly.If you have problems with the tutorial, do not hesitate to comment below!

 14 DAY TRIAL //
