
 14 DAY TRIAL //
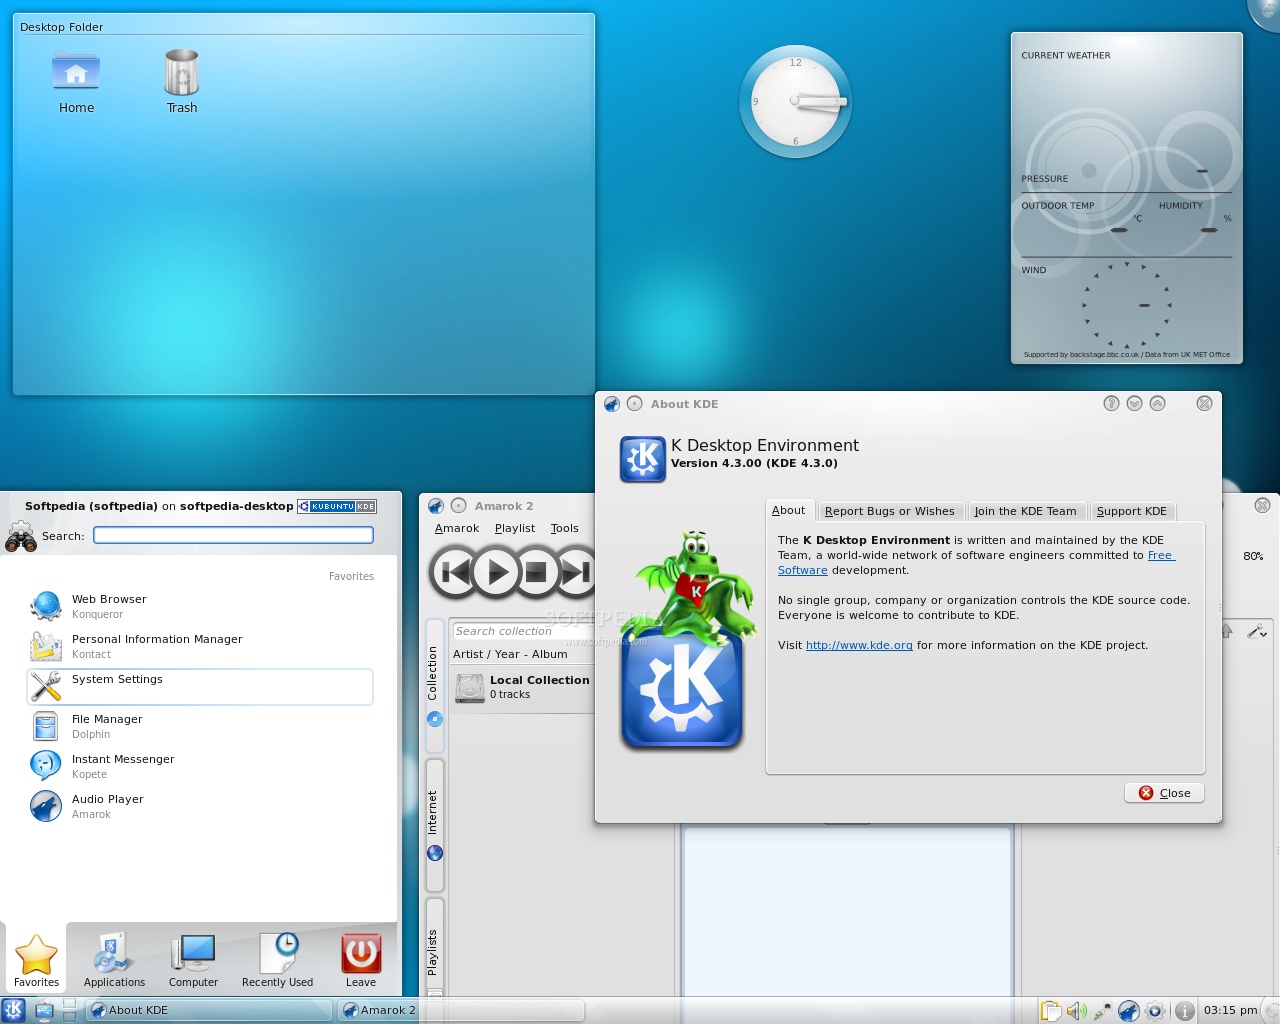
 After six months of development, the K Desktop Environment 4.3.0 was launched on August 4th, 2009. It fixes over 10,000 bugs and brings about 2,000 features. Among some of the most interesting ones in the KDE 4.3.0 desktop environment we can mention the new Arora web browser that will replace Konqueror, the beautiful Air theme, new eye-candy effects, a redesigned run dialog, lots of Plasma improvements, a new network manager, updated applications and many more. With this said, the KDE 4.3.0 is the most modern and beautiful desktop environment to date.
Today's tutorial is for those of you who don't want to wait until late October for the Kubuntu 9.10 (Karmic Koala) release, which will come with a default KDE 4.3.0 installation, and it will teach you, step by step, how to install the brand-new KDE 4.3.0 desktop environment on your existing Ubuntu 9.04 (Jaunty Jackalope) installation.
Editor's note: To eliminate the "terminal madness" for Linux beginners, we've used apt-url links in this tutorial. So, just click the links where it says to install a software!
Step 1 - Add KDE 4.3 Repositories
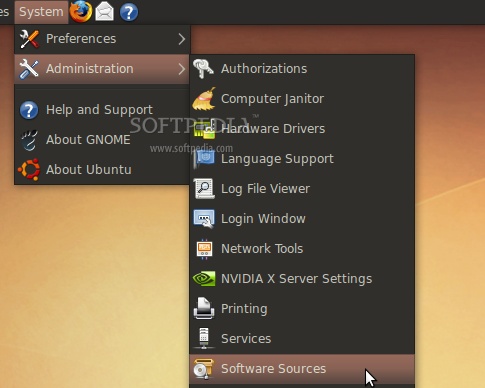
Go to System -> Administration -> Software Sources...
deb http://ppa.launchpad.net/kubuntu-ppa/backports/ubuntu jaunty main
Then, click on the "Add Source" button...

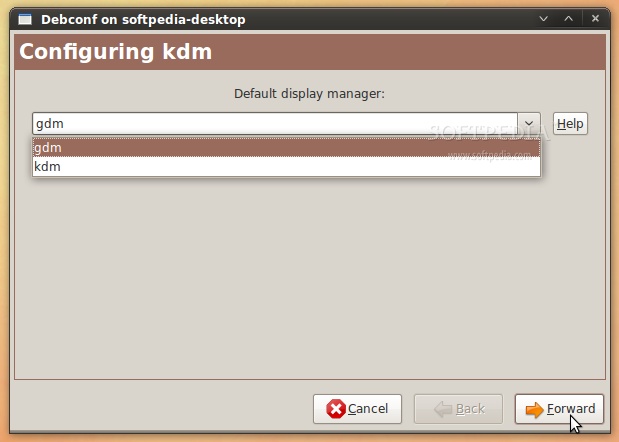
Step 2 - Install KDE 4.3
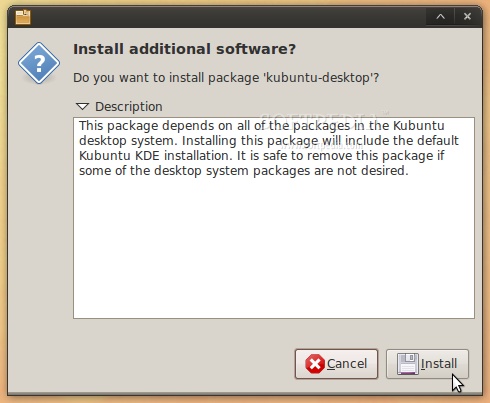
All you need to do now is click the link below...
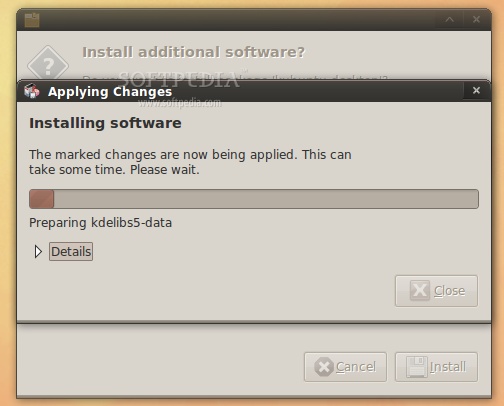
Then click the "Install" button to install the packages (enter your password if asked)...

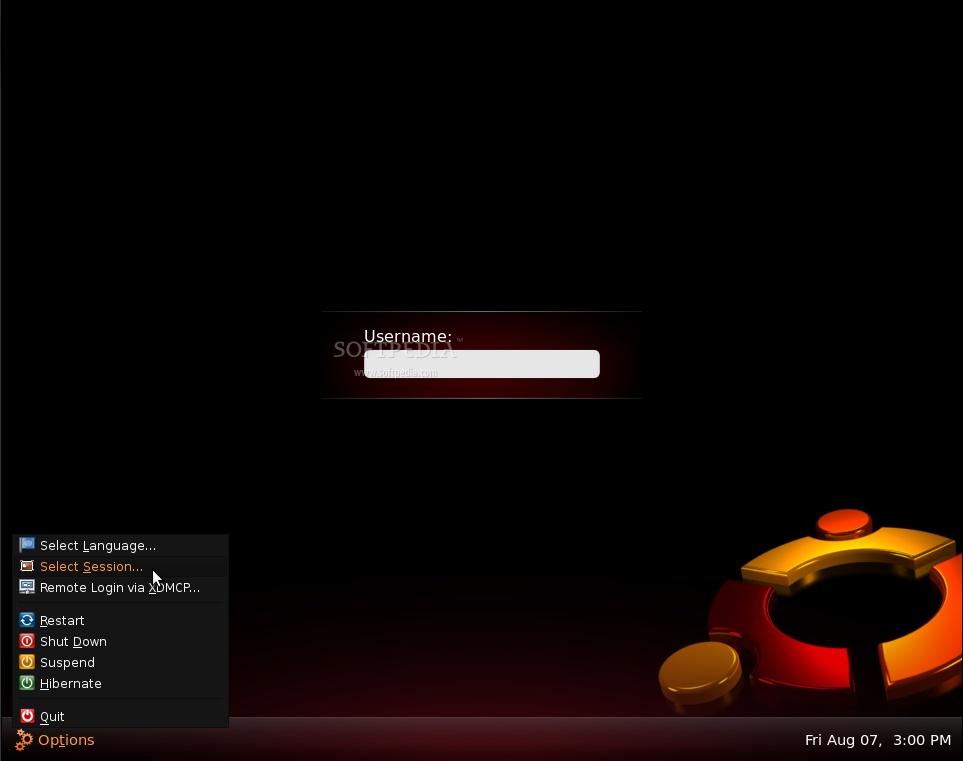
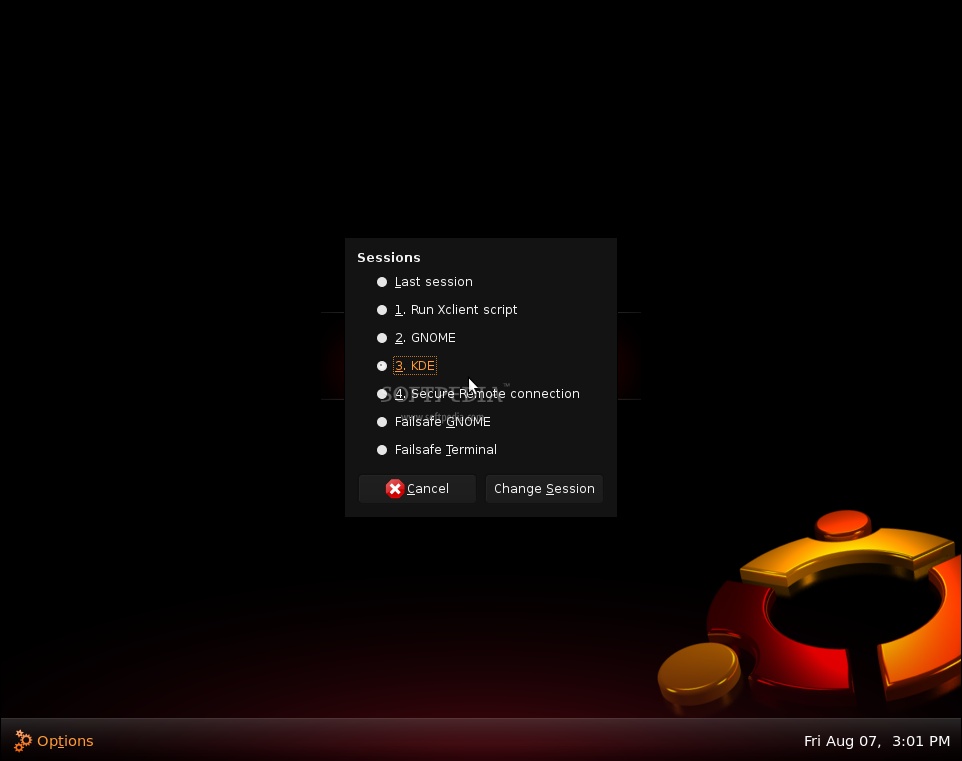
At the login screen, if you've chosen to keep Ubuntu's default login screen, go to Options -> Select Session menu...
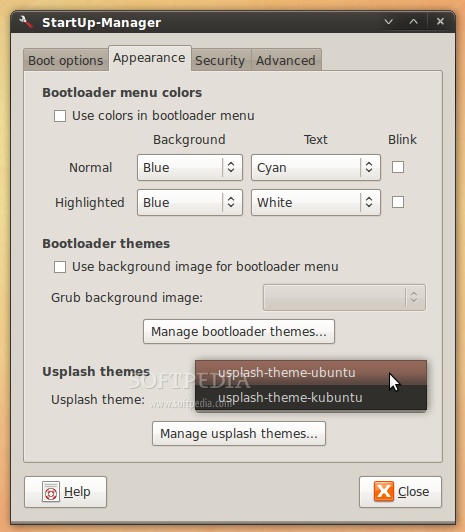
Optional Step 1 - Restoring the Original Ubuntu Bootsplash
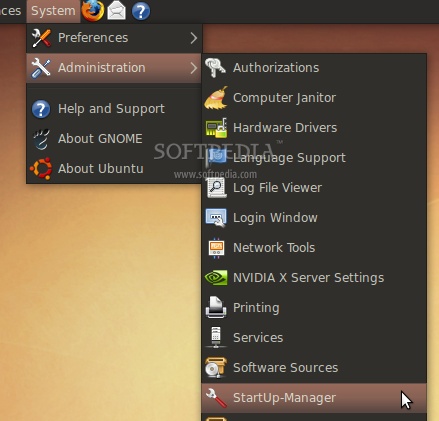
The KDE 4.3 installation will overwrite your current Ubuntu boot splash theme. If you don't like the blue Kubuntu splash and you want to restore Ubuntu's, follow the instructions below...
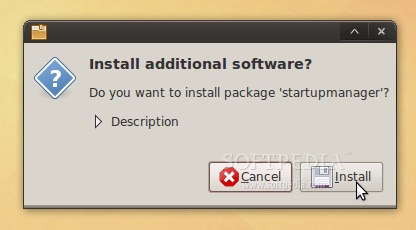
Click here to Install StartUp-Manager
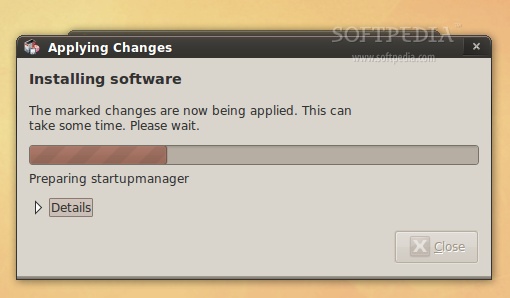
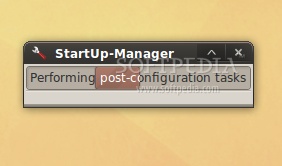
Then click the "Install" button to install the packages (enter your password if asked)...
Optional Step 2 - Restoring the Original Ubuntu Menu
The KDE 4.3 installation will mess up your current Ubuntu menu. What that means? Well, all the KDE applications will "invade" your GNOME menu. If you don't like this and you want to restore Ubuntu's menu, follow the instructions below...
1. Click HERE to download Gnome Menu Extended. Get the "Ubuntu DEB ALL" file! 2. Save the file on your desktop. 3. Double click the file and install it (input your password when asked).
That's it! All the KDE applications will be stored in a single entry in the GNOME menu...

If you encounter any issues with the tutorial, do not hesitate to use our commenting system below.