
 14 DAY TRIAL //
 The following tutorial will teach Ubuntu users how to "unofficially" update their systems to the Mozilla Firefox 12.0 web browser.
Mozilla Firefox 12 has not yet been released, it is in Beta state at the moment, but it will bring features such as the ability to paste URLs in the download manager window, line numbers for the Page Source viewer, the title attribute supports line breaks, Find in Page improvemens to center search results, added column-fill CSS property, added support for the text-align-last CSS property, added experimental support for ECMAScript 6 Map and Set objects.
This is also an important release for Ubuntu users, because it will be the default web browser for the upcoming Ubuntu 12.04 LTS distribution and users should get used to it. And because there will be no other Firefox version until June.
Mozilla Firefox 12.0 can be installed in the following Ubuntu operating systems: Ubuntu 12.04 LTS (Precise Pangolin), Ubuntu 11.10 (Oneiric Ocelot), Ubuntu 11.04 (Natty Narwhal) and Ubuntu 10.04 LTS (Lucid Lynx).
To install Mozilla Firefox 12.0 on your system follow the next step-by-step (with screenshots) tutorial.
Step 1 - Add the Firefox 12.0 repository
No matter what Ubuntu operating system (see above supported OSes) you are running, open a terminal and paste the following command:
sudo add-apt-repository ppa:mozillateam/firefox-next
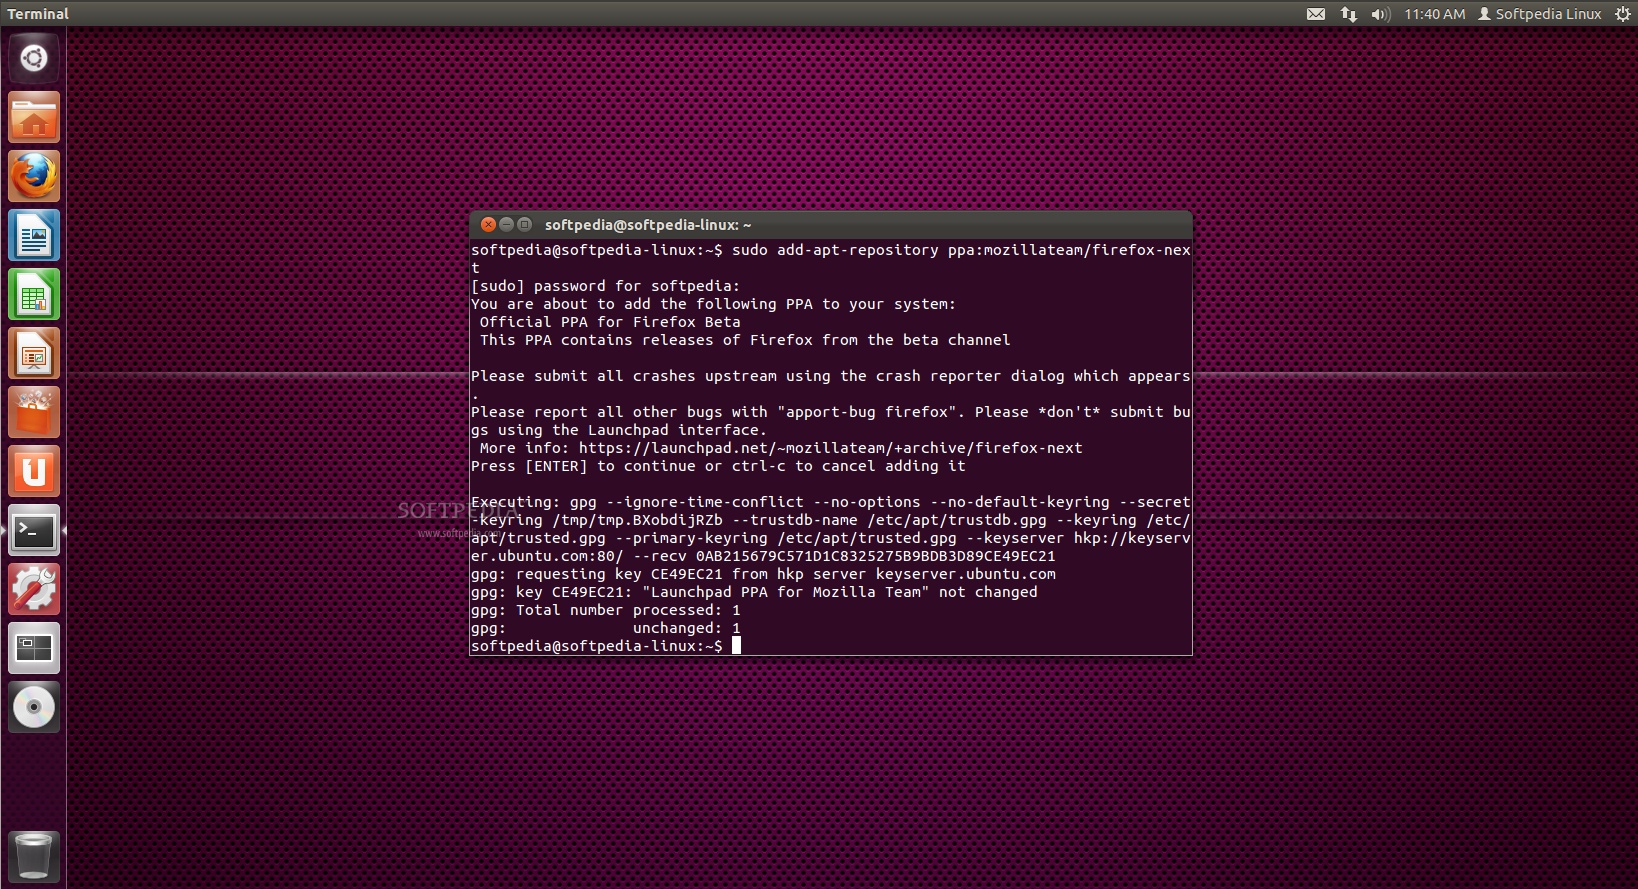
Don't close the terminal window! Proceed to the next step.
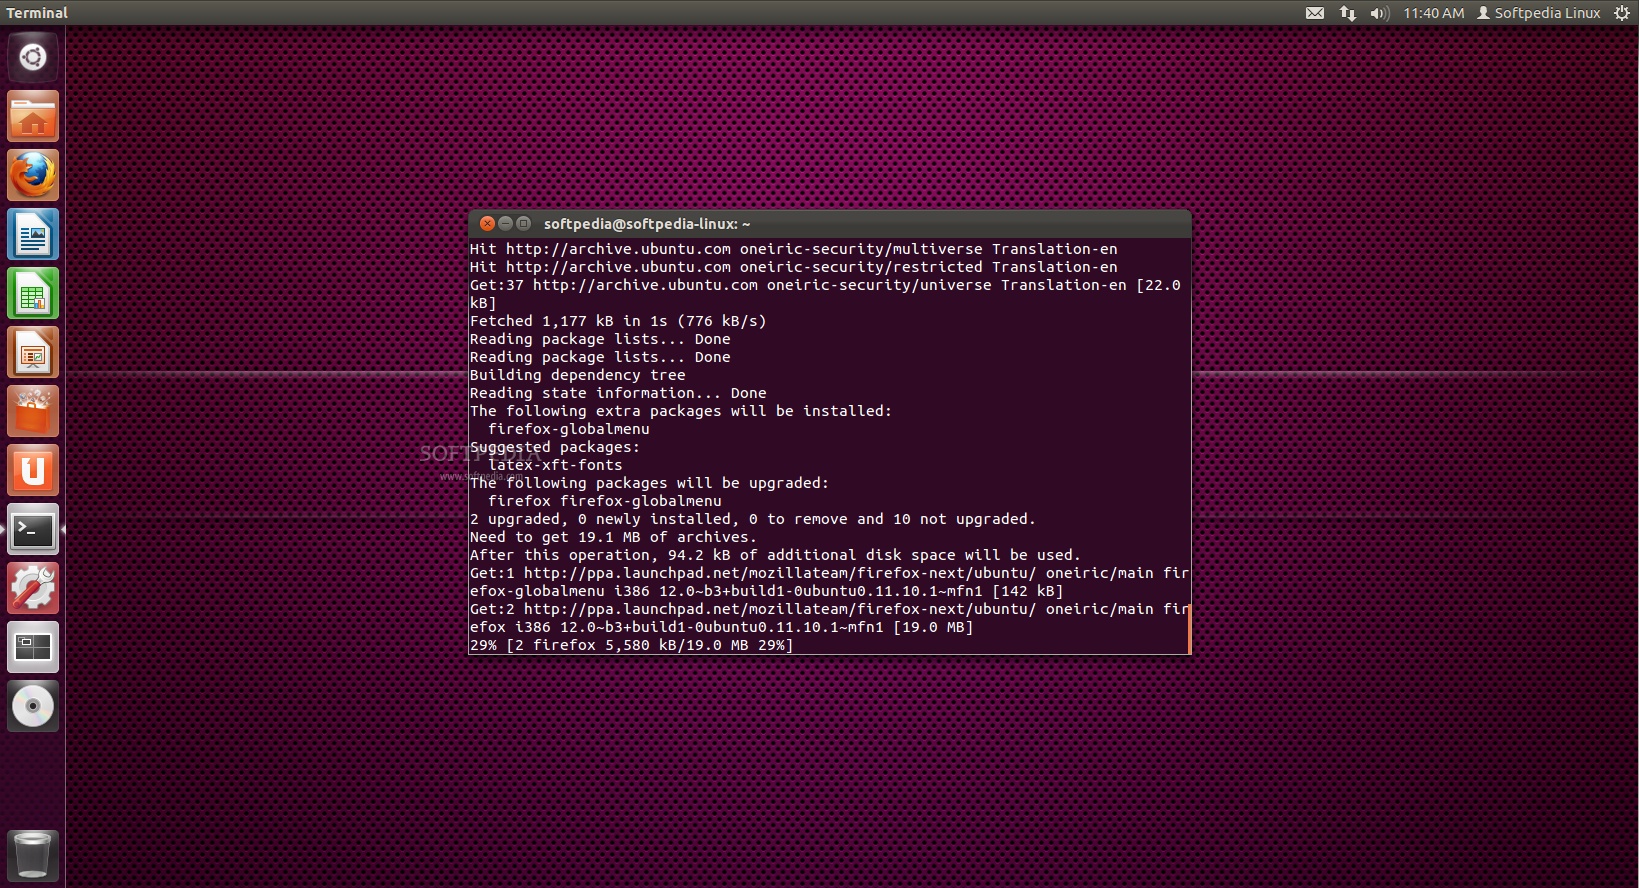
Step 2 - Install Firefox 12.0 on Ubuntu
Now paste the following command in the same terminal window:
sudo apt-get update && sudo apt-get install -y firefox
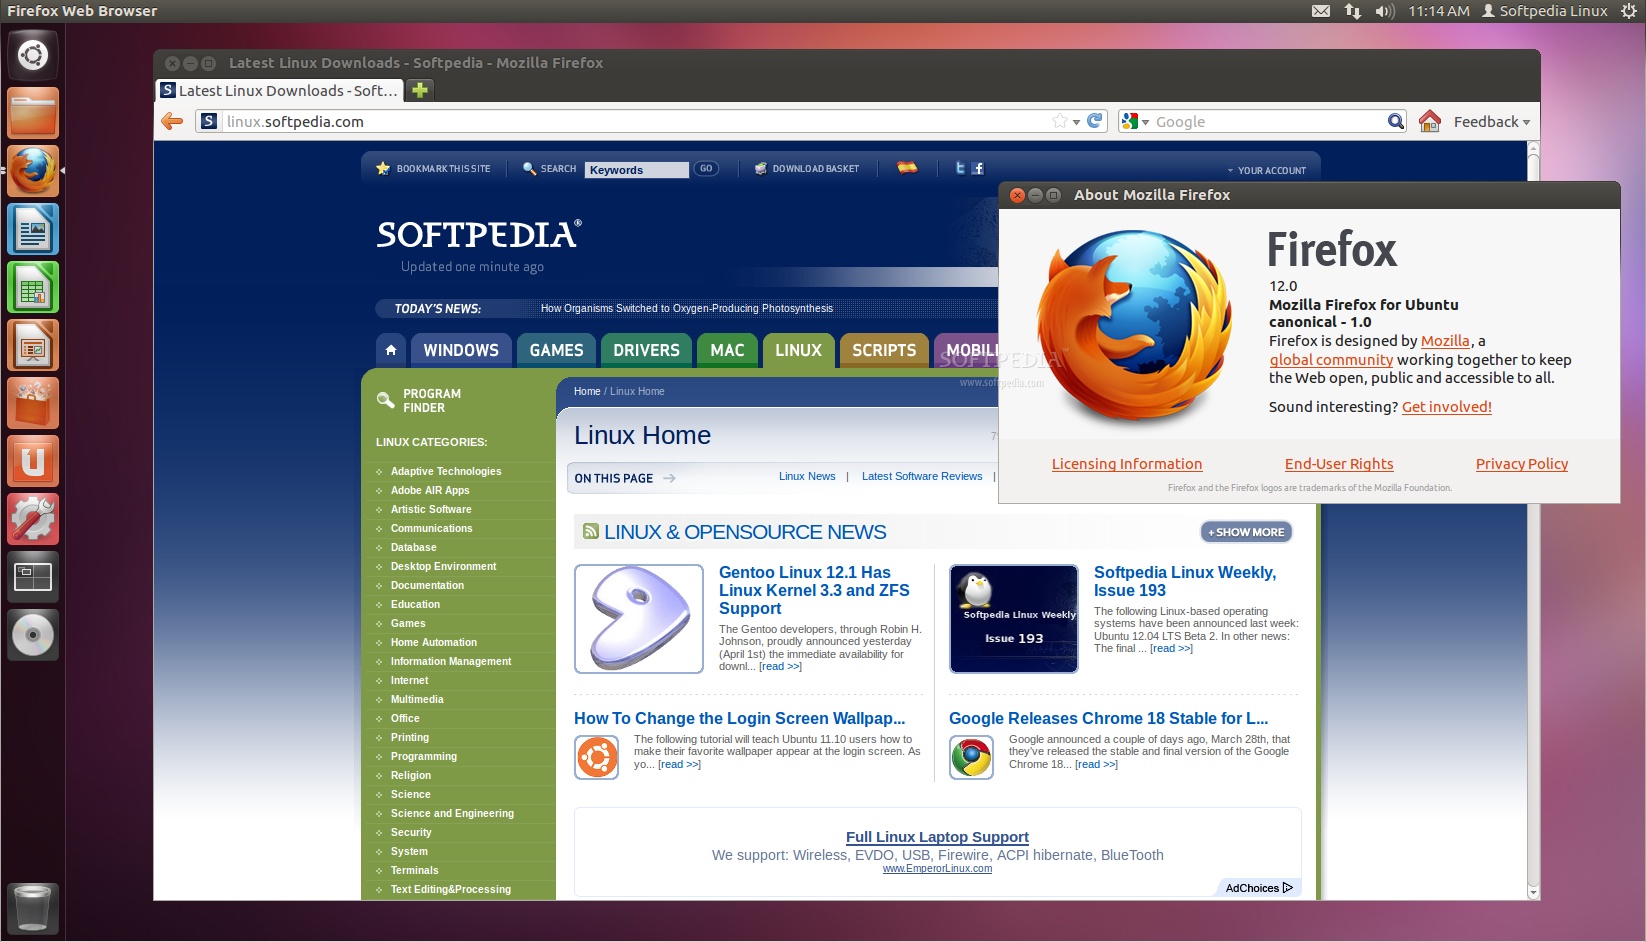
That's it! The new Mozilla Firefox 12.0 is now fully installed in your Ubuntu machine. You'll need to restart Firefox for the changes to take effect.
If you have problems with the tutorial, do not hesitate to comment below!