14 DAY TRIAL //
 The final version of Elive Linux distribution burst onto the Linux scene yesterday and I thought it would be nice to teach the new users how to install it, because this baby is a keeper, trust me. But first, I think some background about Elive wouldn't hurt anyone. Elive Gem is a Linux distribution based on the heavyweight champion, Debian 4.0 (Etch). However, Elive is built in such a way as to offer recent packages, stability, eye candy, with minimal hardware requirements. It comes with a full suite of software that will encompass almost everything you need for your daily tasks, and if something is missing, you will be able to install it with Automatix2 in no time.
So, if you didn't get a copy of Elive Gem yet, go to Softpedia's Elive project download page and download the ISO image. Save it in your home directory, and burn it on a blank CD. Beware though that the ISO image has around 700 MB, so if you have a slow bandwidth, the download process will take some time.
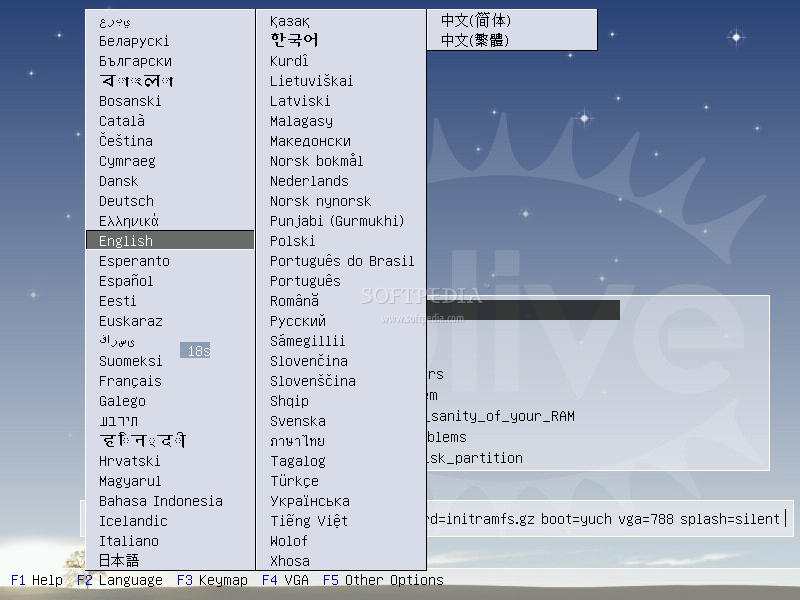
When the burning process is over, insert the CD in the optical drive of the computer on which you want to install Elive and boot from it. At boot, you will be prompted to choose your language:
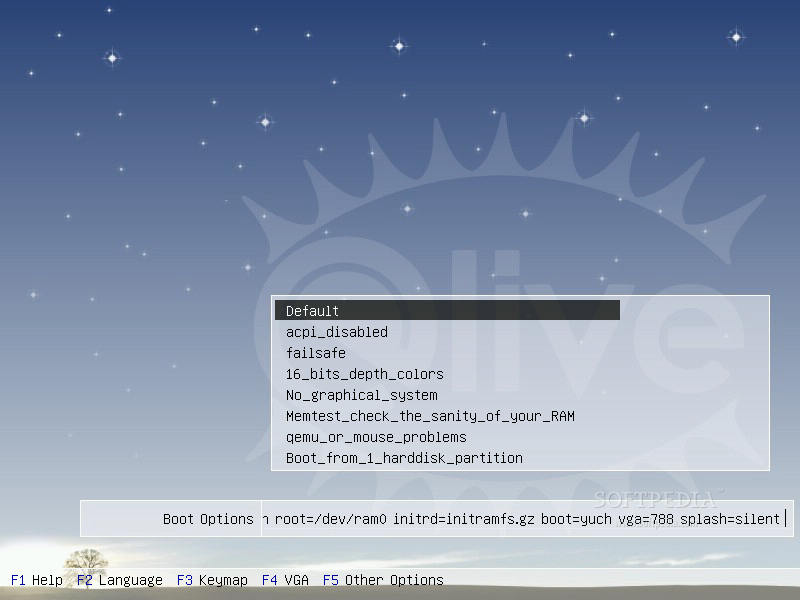
Then just hit enter on the "Default" option:
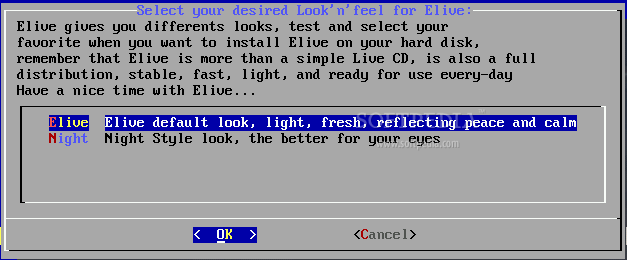
You will be asked to select your desired Look'n'feel:
The preferred screen resolution:

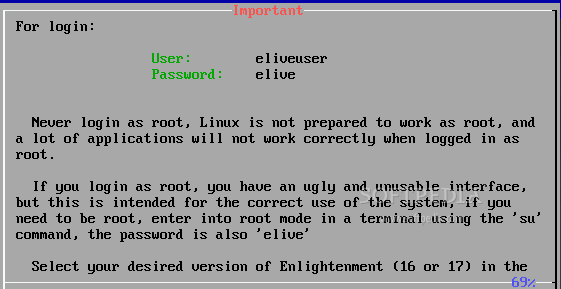
Remember the user and password:
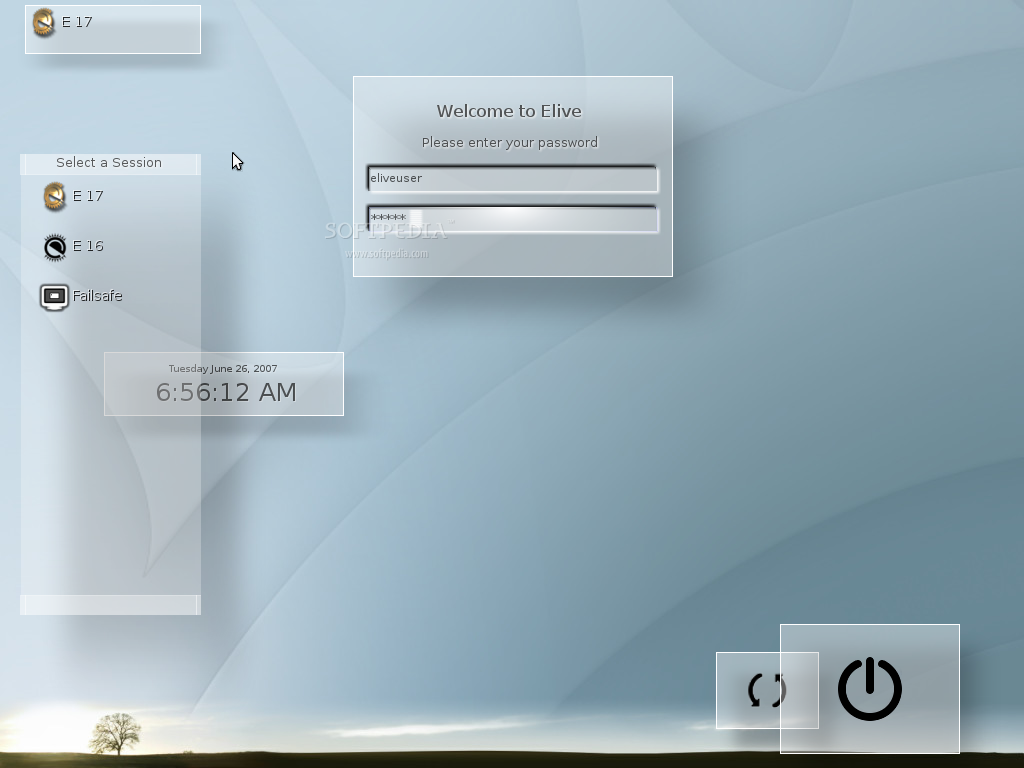
And you'll arrive to the login screen:
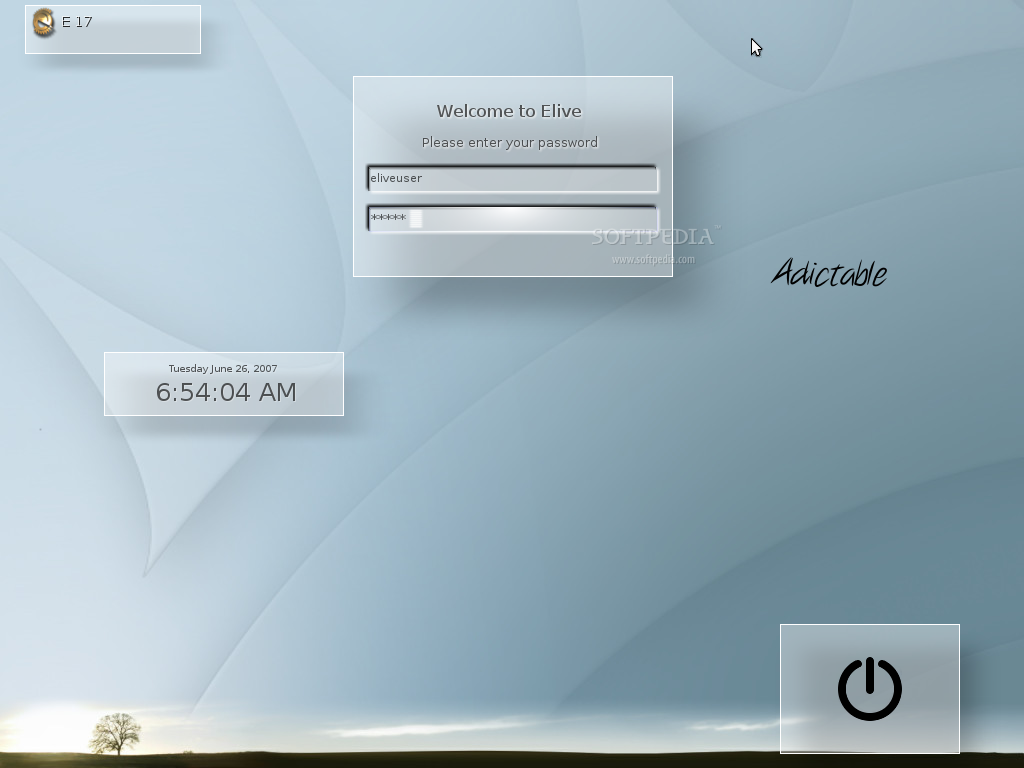
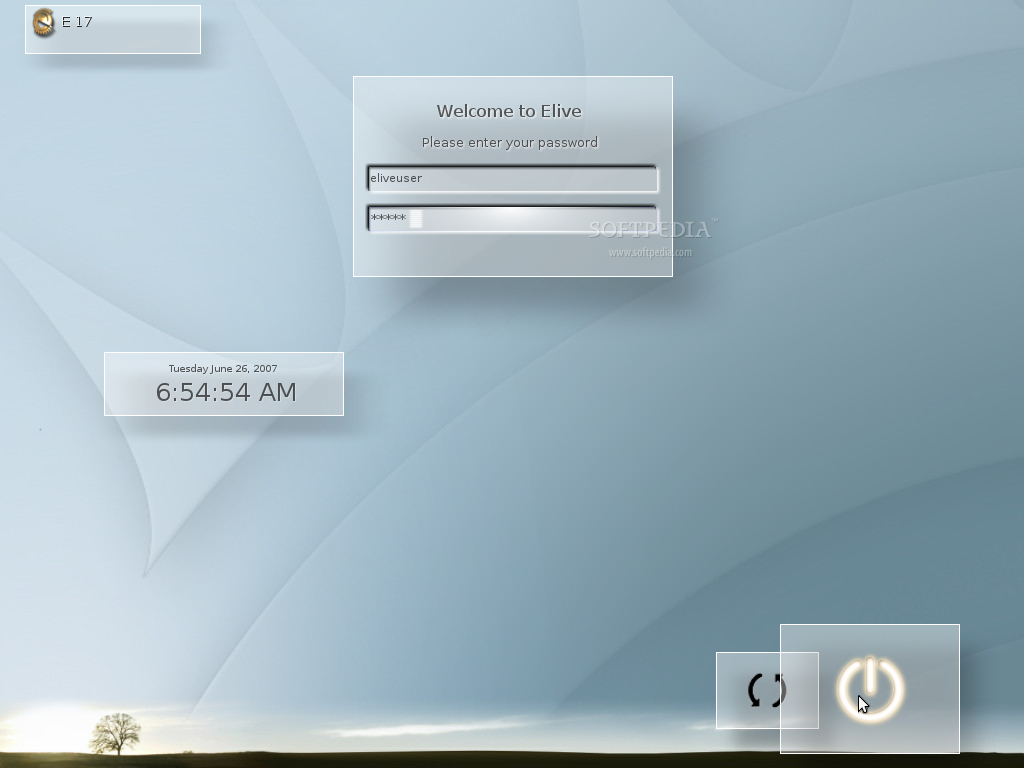
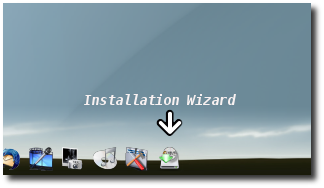
After you have logged in with the user: eliveuser and password: elive, click on the last icon from the dock:
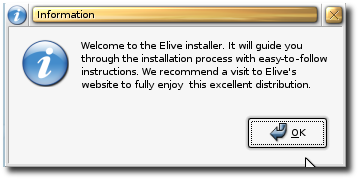
Welcome to the Elive Installer:
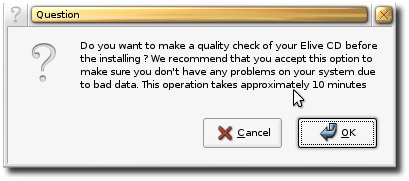
The installer offers you the opportunity to make a quality check, to make sure you don't have any problems on your computer:
A readme file will open, which I strongly suggest you to read:
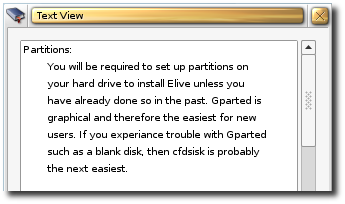
And at the same time, another window will open, so you can select a partitioning tool:
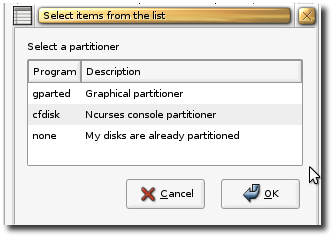
GParted is the most easy-to-use partitioning software. So if you are a beginner, choose the gparted option. In my guides, I always suggest you to test/install Linux distributions on a previously formatted hard drive, especially if you have another operating system installed on the same machine. The partitioning process is quite simple:
1. Create a SWAP partition of a size that is double the RAM of your computer (e.g. if you have 512 MB RAM, the SWAP partition should be of 1024 MB); 2. Create a ROOT (/) partition of about 10-15 GB with ext3 filesystem; 3. From the available space, create a /home partition with ext3 filesystem. The /home partition is a smart move, because if you choose to keep Elive, it will help when you want to make future upgrades to the system.
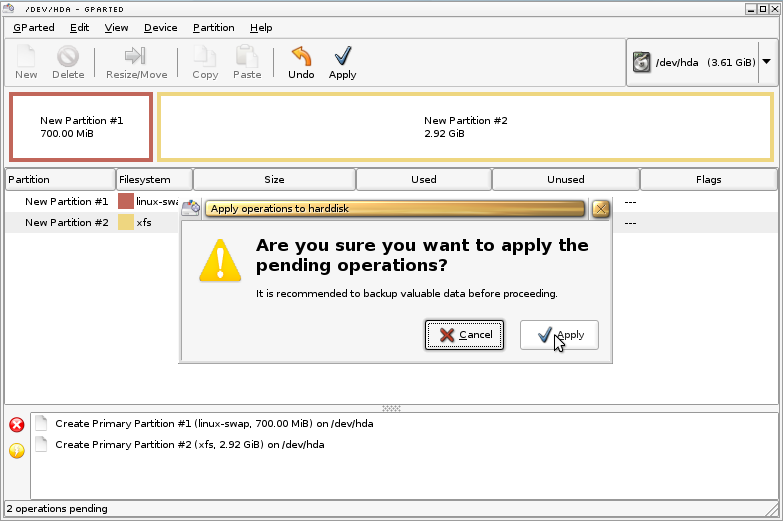
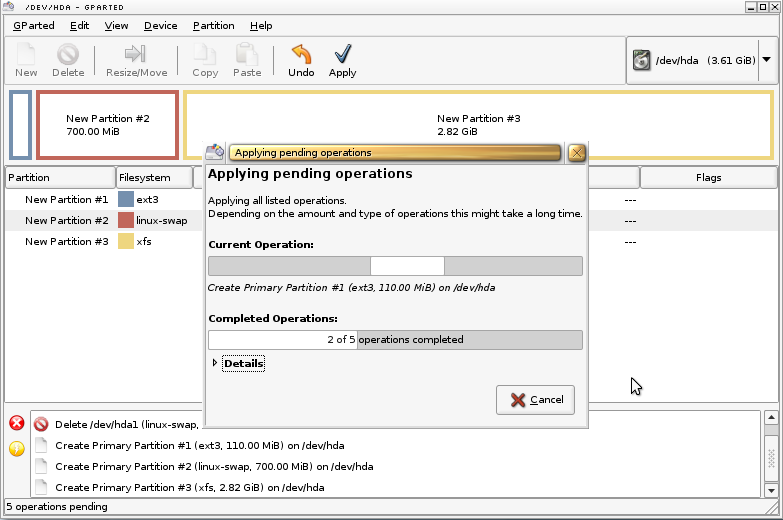
Apply the changes and close Gparted.
WARNING: Write somewhere the partitions' order (e.g. /dev/hda1, /dev/hda2 is ROOT and /dev/hda3 is the /home partition).
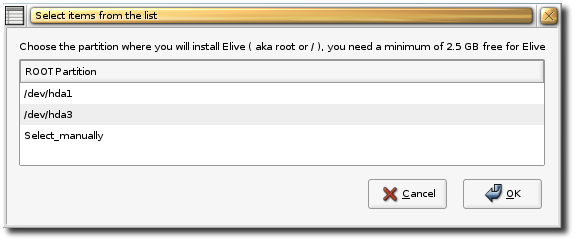
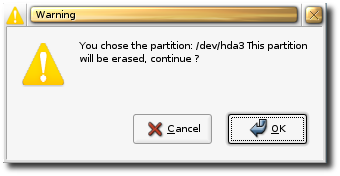
When you're done with the partitioning process, you must restart the installation wizard. So, click again on the last icon from the dock, and when you arrive again at the partitioning tool selection window, select "none - My disks are already partitioned" option, and you will be asked to choose the root partition:
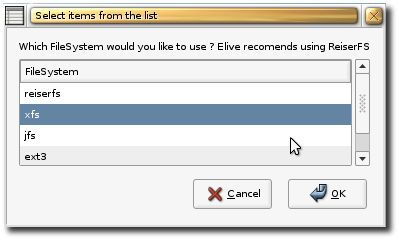
Then select the filesystem. Ext3 is recommended:
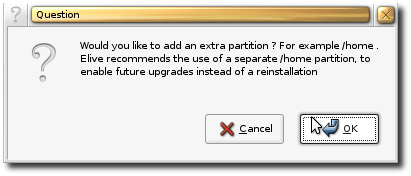
When the format process is over, you'll be asked if you want to add an extra partition. Click OK and select the /home partition (/dev/hda3 in our case):
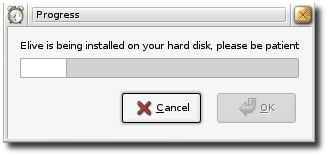
After this, the installation process will start and it will take a few minutes:
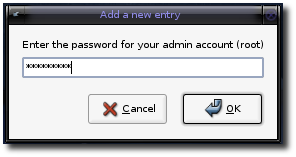
Enter the root (system administrator) password when the installation is over:
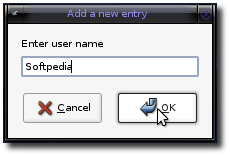
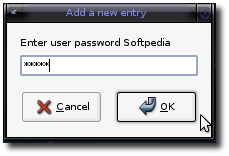
Then enter a name and password for a non-root user:
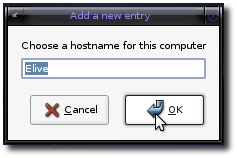
Choose a hostname for the system:
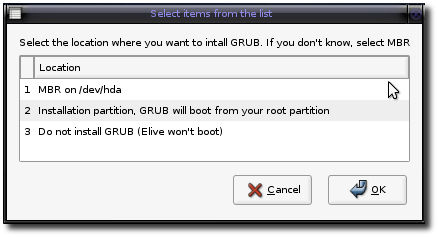
Choose where you want to install GRUB. MBR is the recommended option:
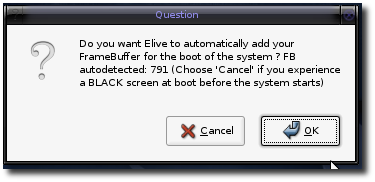
Do you want Elive to automatically add your FrameBuffer for the boot of the system? Click OK here only if you didn't have any problems at boot:
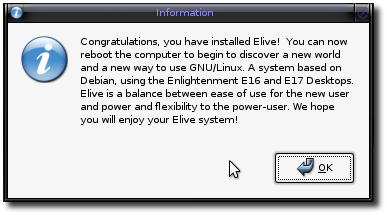
Congratulations! You have successfully installed Elive. Reboot your computer, eject the CD and boot from the hard drive. You will notice that the GRUB boot loader is different this time; there are only two options: Elive Gem (default) and Memtest (Memory RAM diagnostic tool). Wait 25 seconds for the default option to be activated, or hit enter to boot into Elive. Login with the username and password you've created on the installation process and enjoy a different Linux experience.
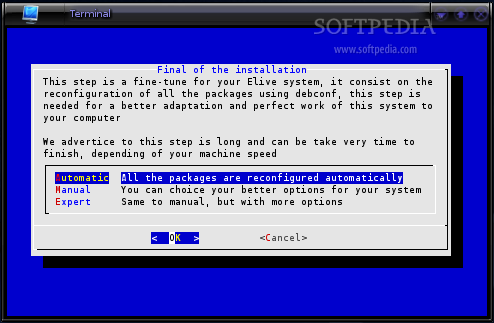
You should know that when you enter for the first time the Elive desktop, you must do a one-time system configuration operation. Don't worry, because everything will be done automatically (if you choose so). This will take about 10 minutes to finish: