
 14 DAY TRIAL //
 Arch Linux is a lightweight and flexible GNU/Linux distribution. It uses i686 and x86_64 optimized packages that offer you an improved performance over other distributions. In today's guide, I'll try to explain you how to install this Linux distribution on your personal computer. First of all, grab the ISO from Arch Linux's Softpedia download page, burn it on a blank CD and then insert the disc in the optical drive of the PC on which you want to install Arch Linux.
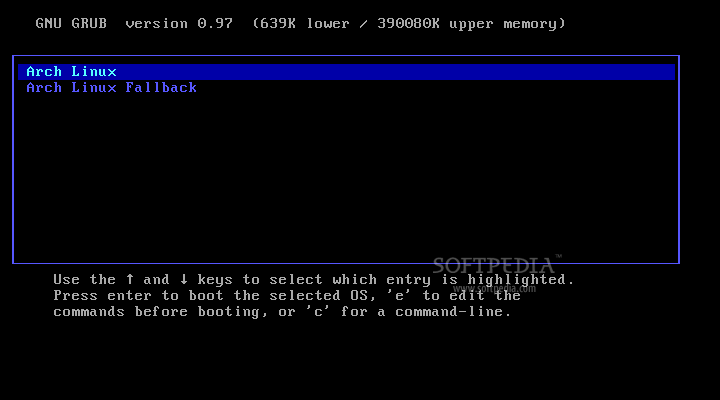
Once the CD booted, you'll see a welcome screen. Hit enter to boot:
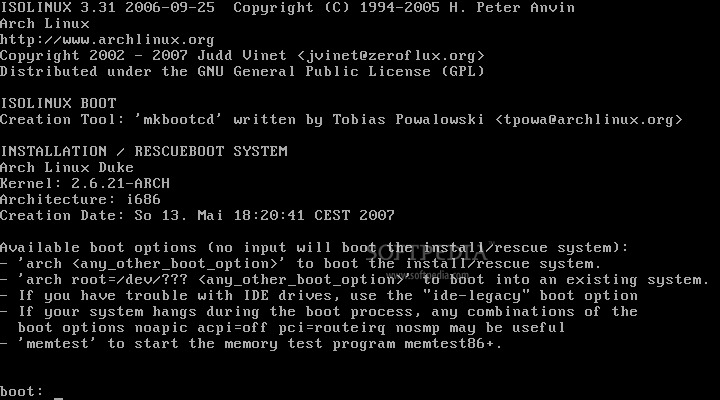
When the CD loaded, you will see another screen with some options. The most important thing to remember here is the command to start the installation process: /arch/setup. But, before we launch the installation wizard, let's create some partitions with cfdisk.
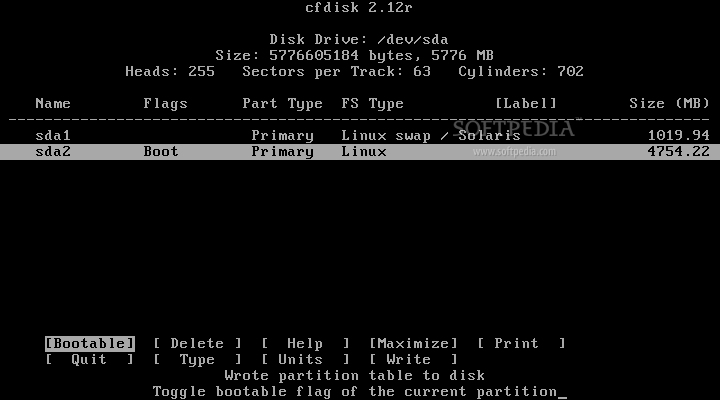
Disk partitioning with cfdisk:
First of all, you should know how to use cfdisk:
- up/down arrow lets you navigate through partitions/free space - left/right arrow lets you navigate through the existing functions - enter key executes a function when selected
Now, if you have some leftover partitions on your hard drive, please select them (one by one) and with the left arrow select the "delete" function. Your hard drive is empty (no partitions) now so you can start the partitioning process:
Create swap partition
1. Select "New" 2. Select "Primary" 3. With the Backspace key delete the existing size (which is the total amount of your hard disk) and type a new size that should be double the RAM on your machine 4. Navigate to "Type", hit enter twice and set the value at 82 (which is default, so all you have to do is hit enter again).
Create root partition
1. Select the Free space with the down arrow 2. Select "New" 3. Select "Primary" 4. Leave the size as it is, or if you don't want to distribute all the remaining space for the server, you can type a new size (minimum 5 GB). 5. Select "Bootable"
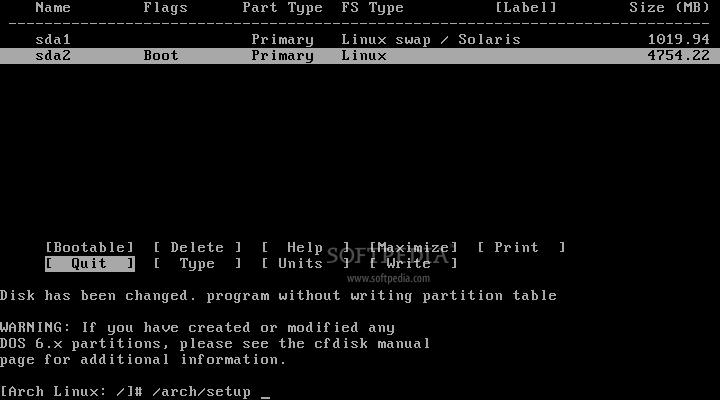
Now the swap and root partitions are created, navigate with the left arrow until you reach the "Write" function, hit enter, type yes to write all the changes to disk. Then navigate to the "Quit" function and hit enter.
You are back to the command line, type /arch/setup
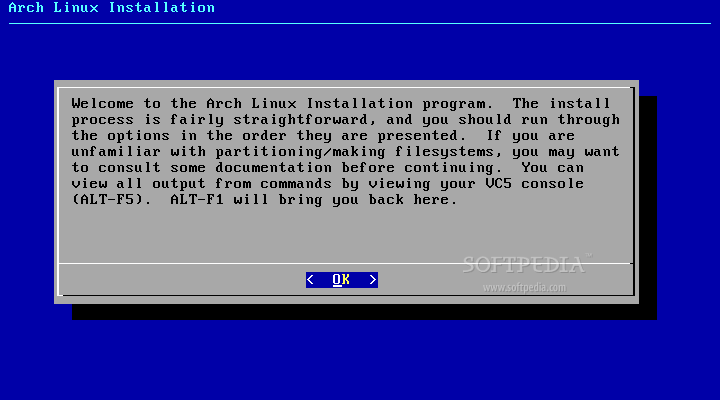
You'll see a welcome screen. Hit OK:
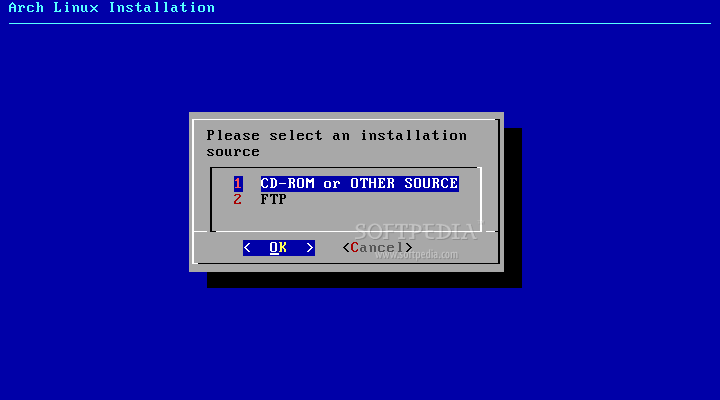
Select the installation source, which in our case is the first one (CD-ROM or OTHER SOURCE):
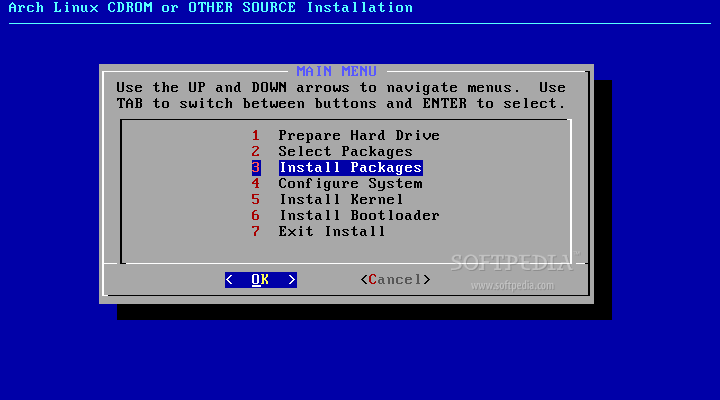
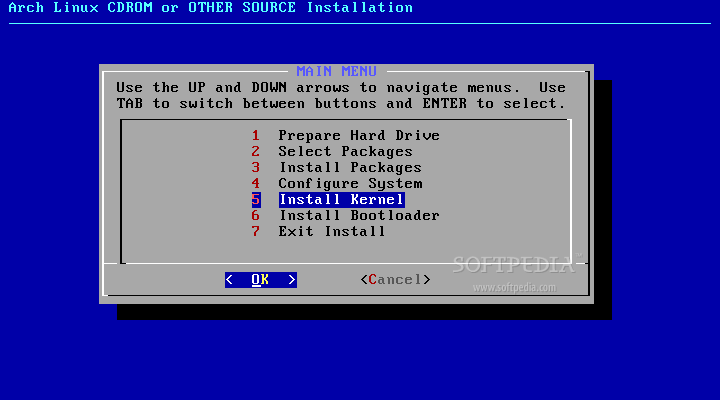
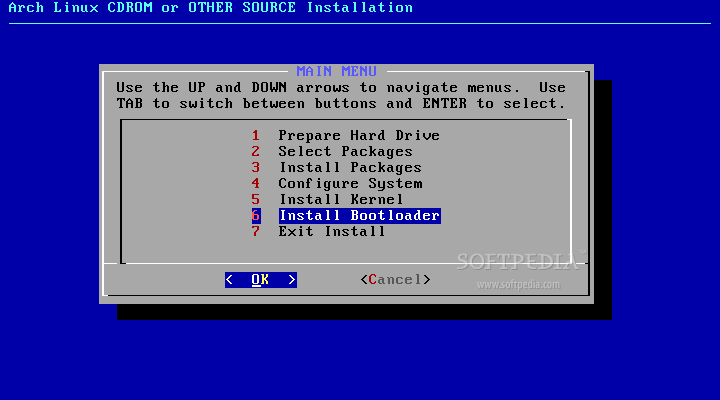
And you'll arrive to the Main Menu from which you can control the whole installation process:
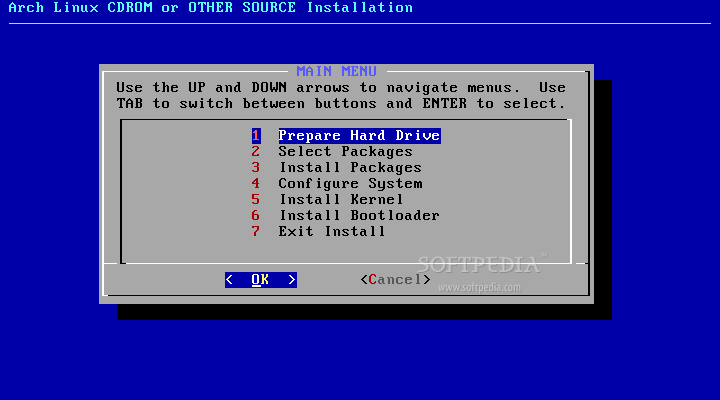
The options are:
1. Prepare Hard Drive 2. Select Packages 3. Install Packages 4. Configure System 5. Install Kernel 6. Install Bootloader 7. Exit Install
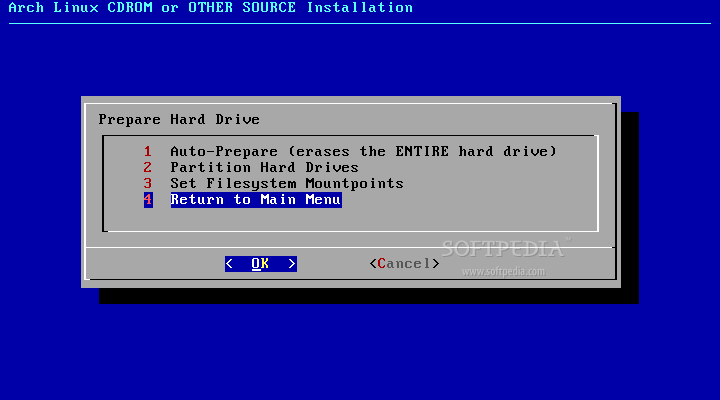
Enter the first option (Prepare Hard Drive) and choose the third option (Set Filesystem Mountpoints):
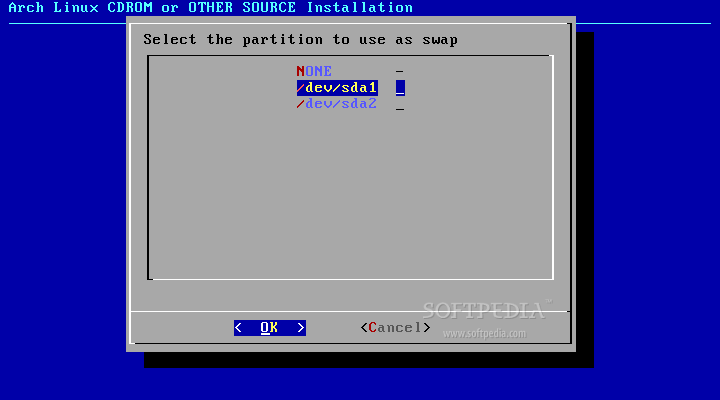
Select the SWAP partition (in our case is the first one: /dev/sda1):
When asked if you want to create a filesystem on /dev/sda1, hit 'Yes':

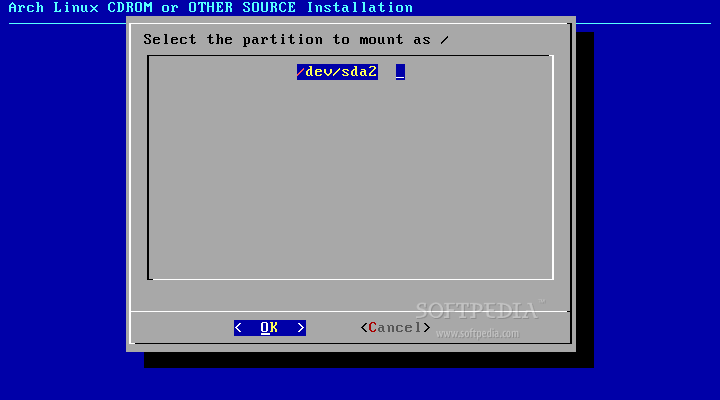
Then select the root (/) partition (/dev/sda2):
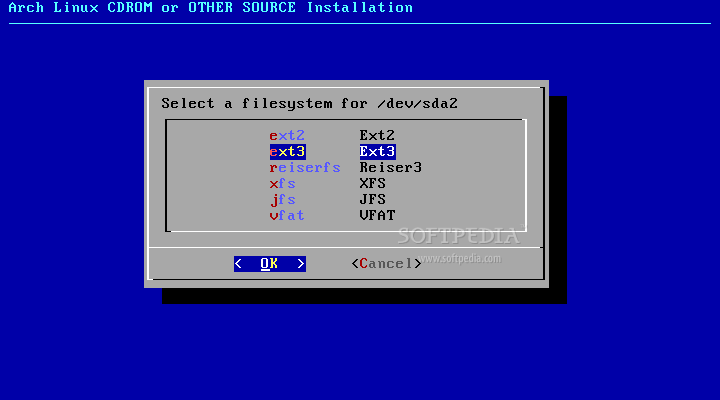
And the filesystem for it. Ext3 is very good choice here:
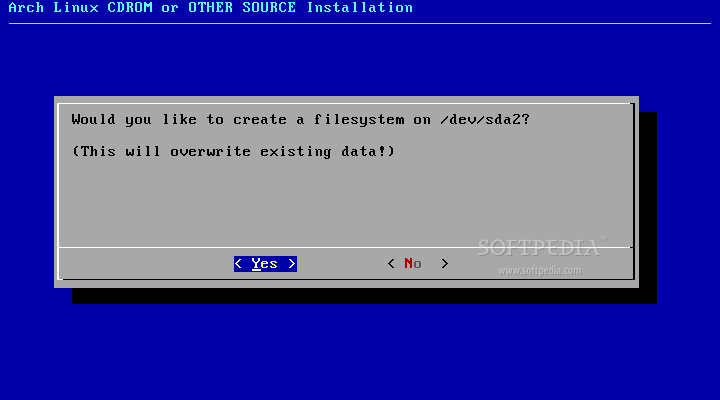
When asked if you want to create a filesystem on /dev/sda1 hit 'Yes':
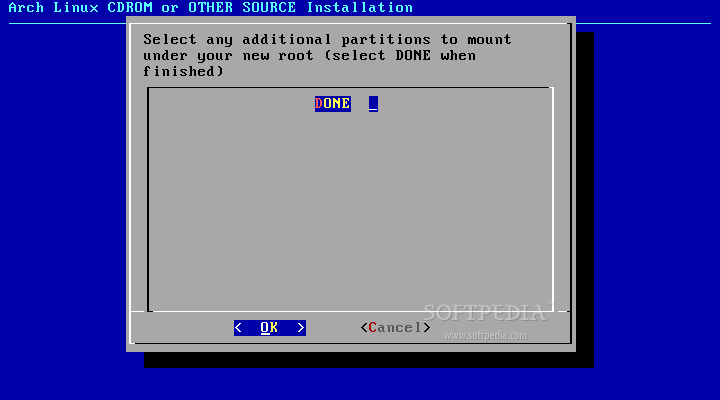
Hit DONE when finished:
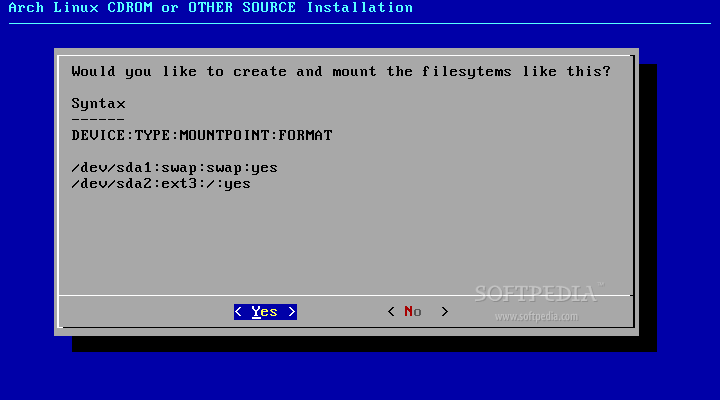
Then you will be asked if you want to create and mount the filesystems. If it looks just as in the screenshot below, hit 'Yes':
Wait a few seconds and you'll receive a message that notifies you that all partitions were successfully mounted. Hit OK and you will be back on the Prepare Hard Drive menu.

Select the Return to Main Menu option:
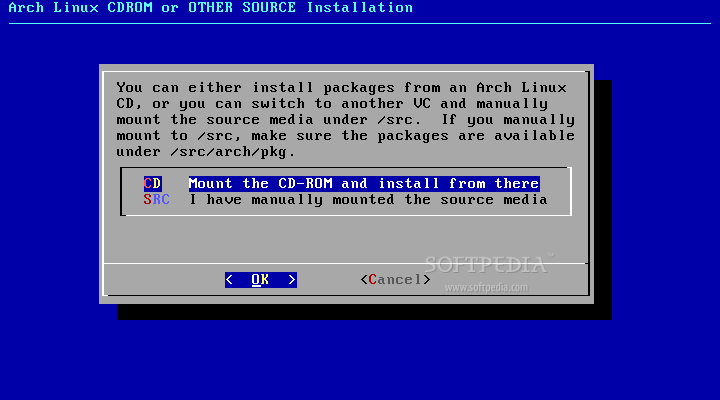
Enter the second option now, Select Packages and select the first option (Mount the CD-ROM and install it from there):
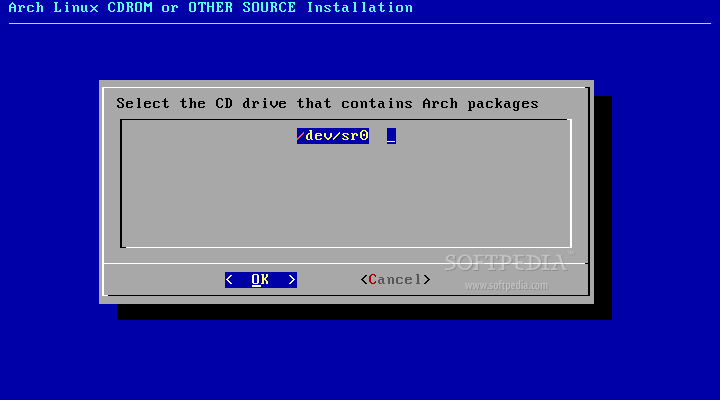
Select the CD drive that contains the Arch packages:
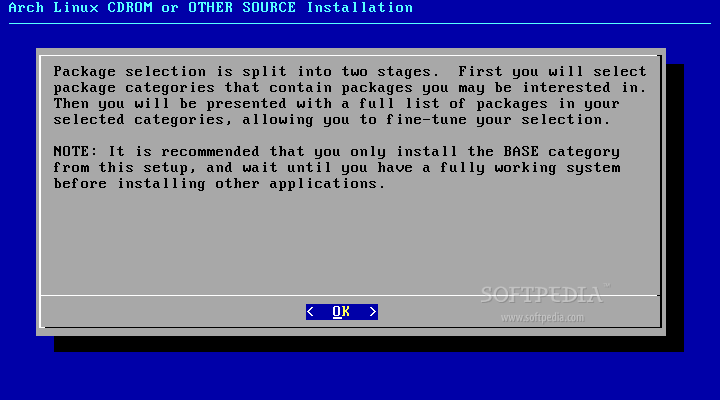
Wait for the CD to be mounted and when it's done, you will get a notification message about the package selection. Read it, because it's very important!
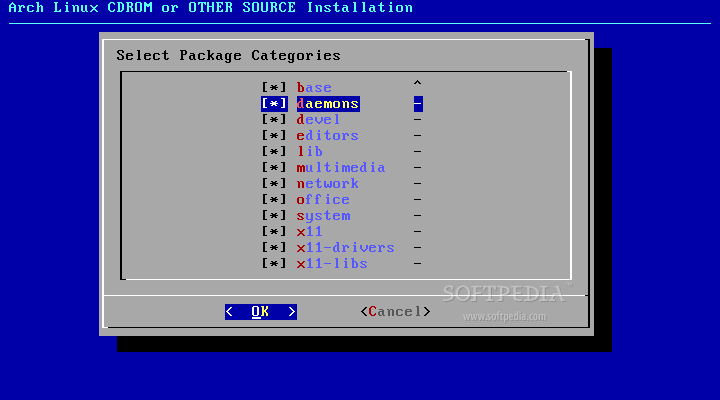
I've selected all the packages for this installation, and if you want to have a complete Arch installation I suggest you to do the same:
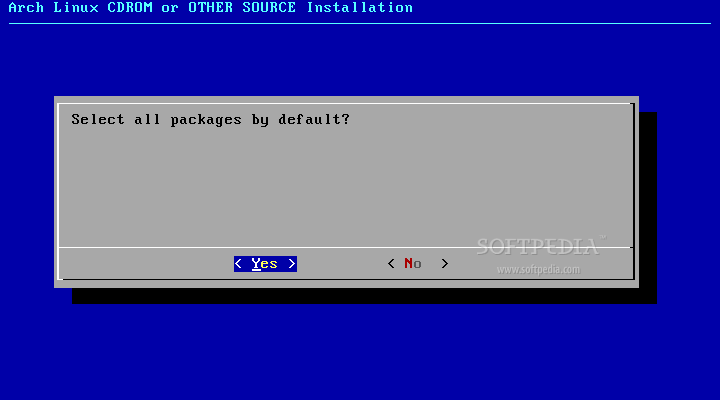
When asked if you want to select all packages by default, hit 'Yes':
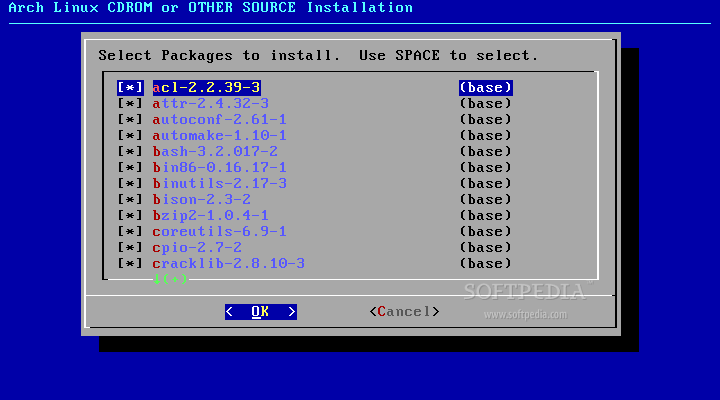
Then you will see all the packages that will be installed in your system. You can remove some packages at this point ONLY if you know what you're doing; if not, hit OK and you'll be back to the Main Menu:
Enter the third option (Install Packages):
You will be notified that the package installation will begin and that it will take a few minutes to finish. Hit OK and when asked if you want to keep the packages in pacman cache choose 'No'.
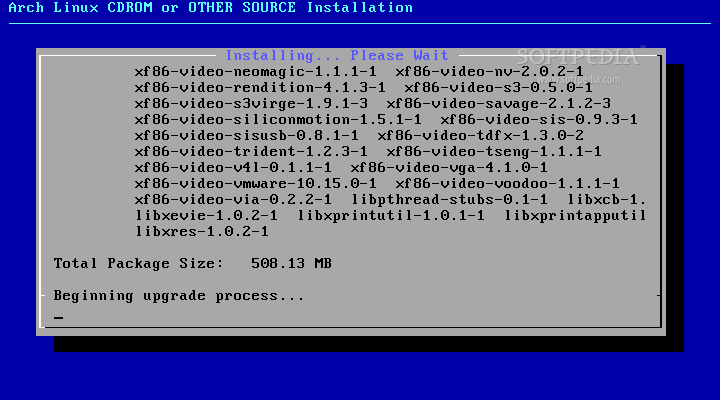
The package installation will start:
You will be notified when the package installation is complete. Hit 'Continue' until you reach the end of the text, where it says (Package Installation Complete):

Hit 'Continue' and you will be back to the Main Menu. Select the next option, Configure System:
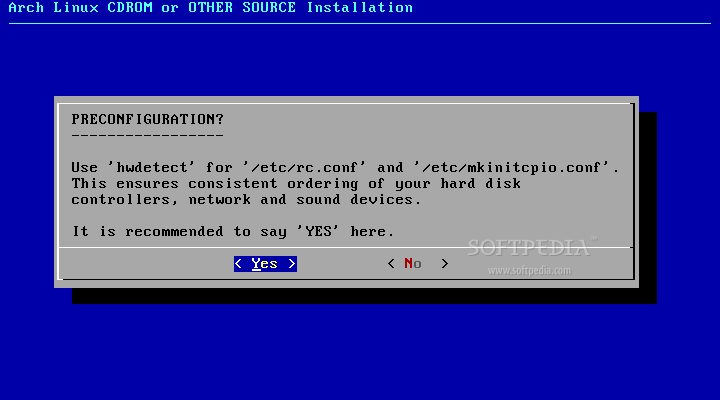
For the first question, select 'Yes' as it is already recommended:
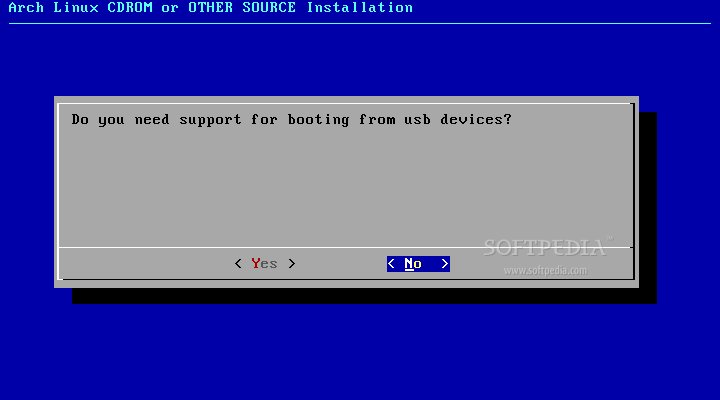
If you need support for booting from USB devices, select 'Yes' or 'No'. I suggest you to select 'Yes' here:
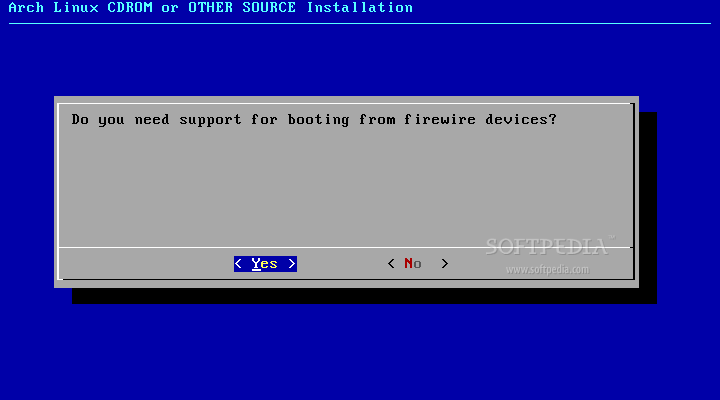
Do you need support for booting from firewire devices? Select 'Yes' or 'No' depending on your needs:
If you want to boot from pcmcia devices, select 'Yes' on the next screen, otherwise select 'No' if you don't have PCMCIA devices:

For NFS shares boot support select 'Yes' on the next question, or 'No' if you do not want to boot from NFS shares:

If you want to boot from software raid arrays, select 'Yes', otherwise select 'No' for this question if you have no idea what software raid arrays are:

Same goes for software raid mdp/partition arrays boot support. Select 'No' here if you have no idea what the software raid mdp/partition is:

Do you need support for booting from lvm2 volumes?

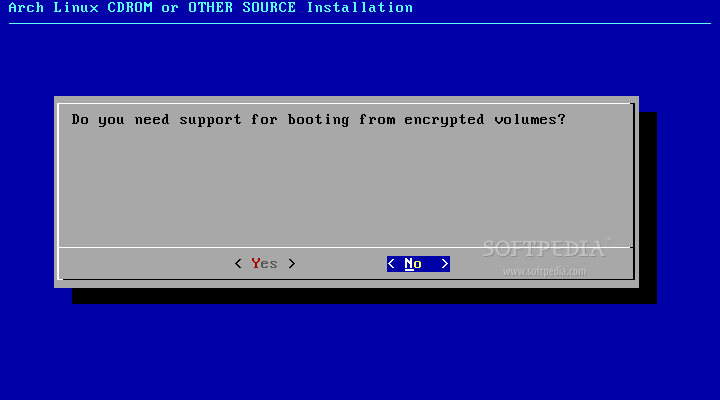
If you want to boot from encrypted partitions select 'Yes' to this question (recommended):
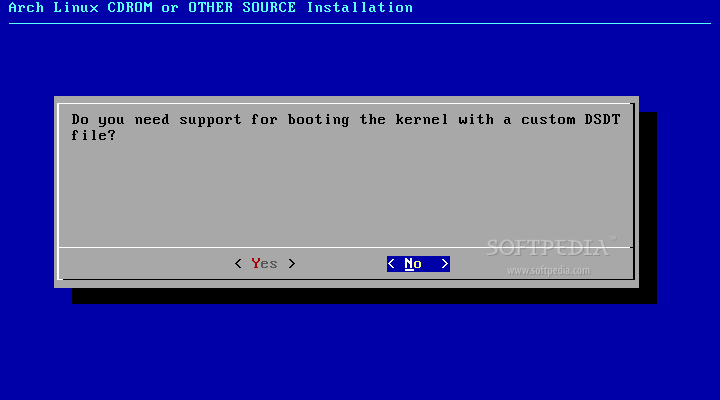
And the last question asks you if you want to boot the kernel with a custom DSDT file. If you have no idea what this is, select 'No'.
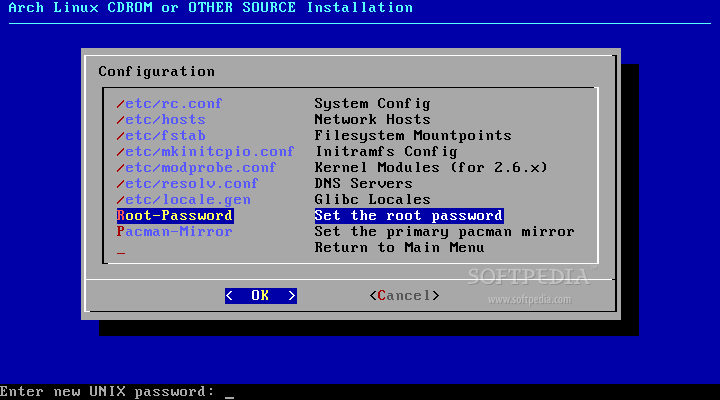
You will be asked for a default console-based text editor, so select nano if you are an inexperienced user. Then you will see a list with the most important configuration files that you can tweak to meet your needs (ONLY IF YOU KNOW WHAT YOU ARE DOING):
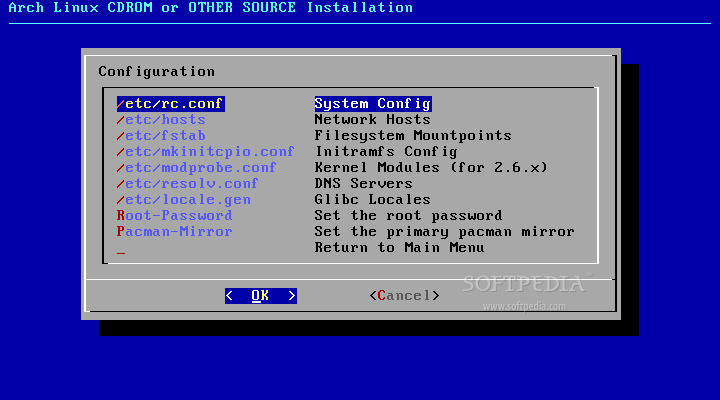
I suggest you to leave the configuration files as they are and go to the Root-Password option to setup a password for the root (system administration) account. Type the password, hit enter and then type it again. If successful, you'll come back to the Configuration menu where you can setup a mirror for the Pacman package manager or return to the Main Menu:
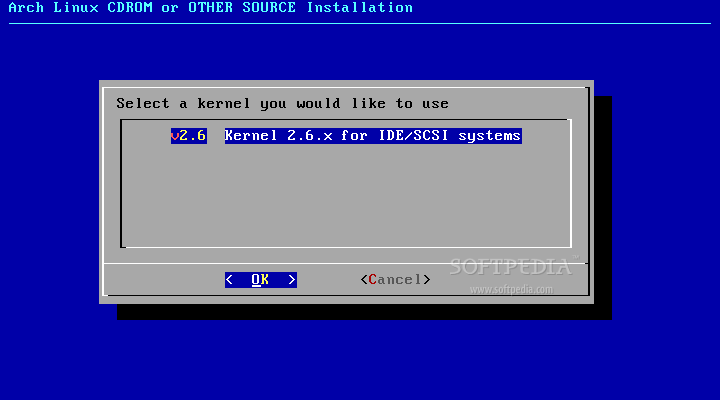
The fifth option allows you to Install the Kernel:
You will see a list with only one kernel, so there is no other choice here than to select the default one:
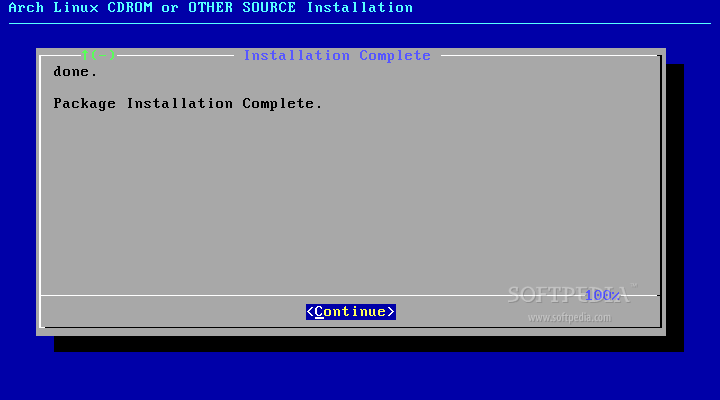
Once again, you will be asked if you want to keep packages in pacman cache. Select 'No' and the kernel will be installed. You will be notified when the kernel installation is complete, scroll the text until you see Package Installation Complete and then hit 'Continue'. You will see a message that lets you know the kernel was successfully installed.
Hit 'OK' and you must configure the kernel now. Select 'Yes' for the first question:
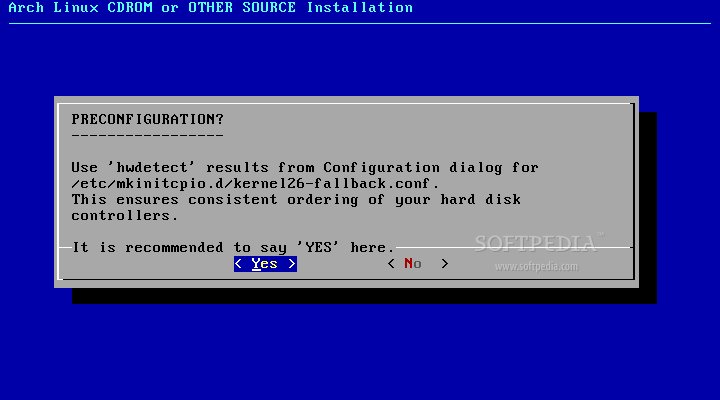
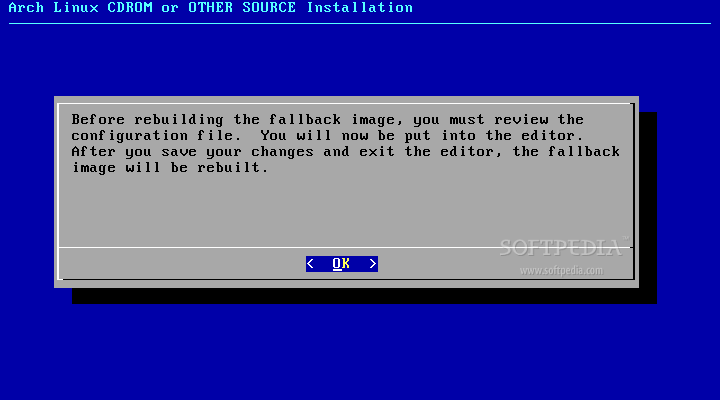
Before rebuilding the fallback image, it is recommended that you review the configuration file. Hit 'OK' and you'll be put into a text editor (GNU nano). Inexperienced users should hit CTRL+X to exit the editor:
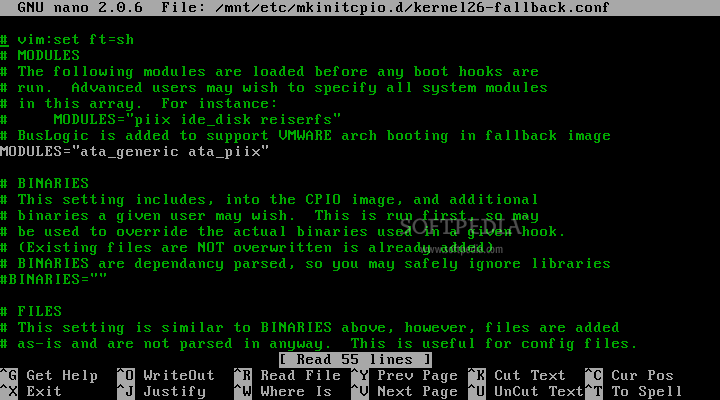
The fallback image will be rebuilt. It will take a few seconds:

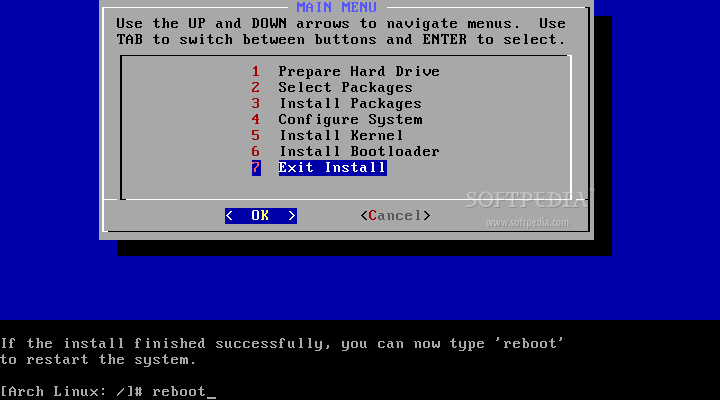
You are back to the Main Menu. Select the sixth option, Install Bootloader:
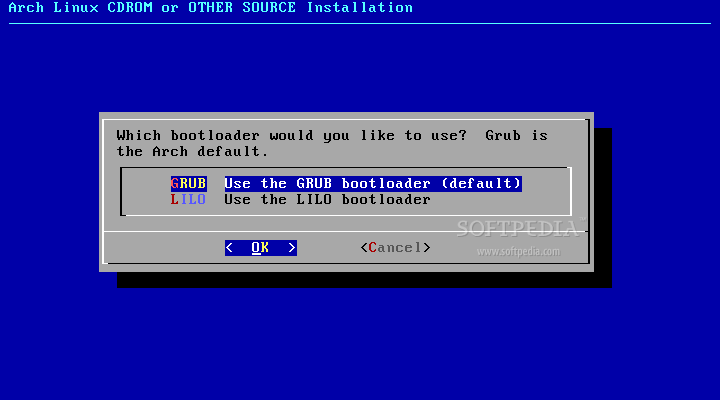
Here are two options: GRUB and LILO. If you have no idea what to select, I strongly recommend you to choose GRUB:
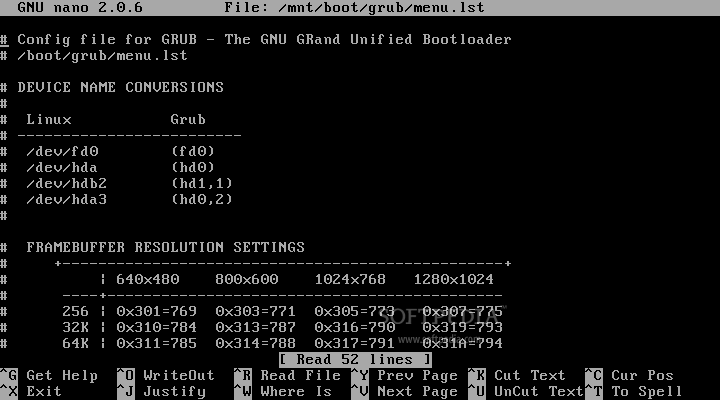
Before installing GRUB, it is recommended that you review the configuration file. Hit 'OK' and you'll be put into a text editor (GNU nano):

Inexperienced users should hit CTRL+X to exit the editor:
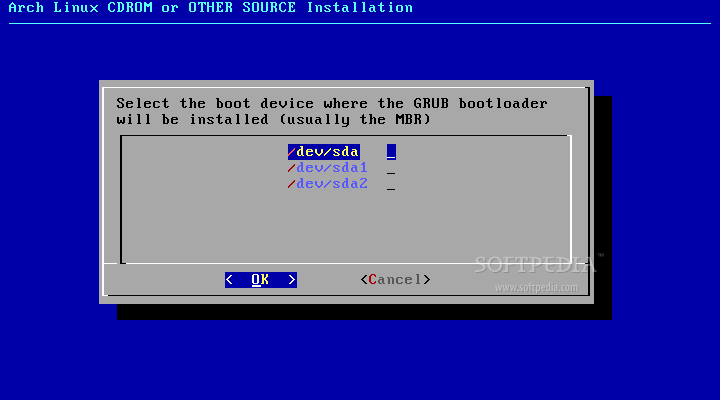
Then you must select the boot device where the GRUB boot loader will be installed. It is recommended to hit ENTER here with the default option /dev/sda (MBR):
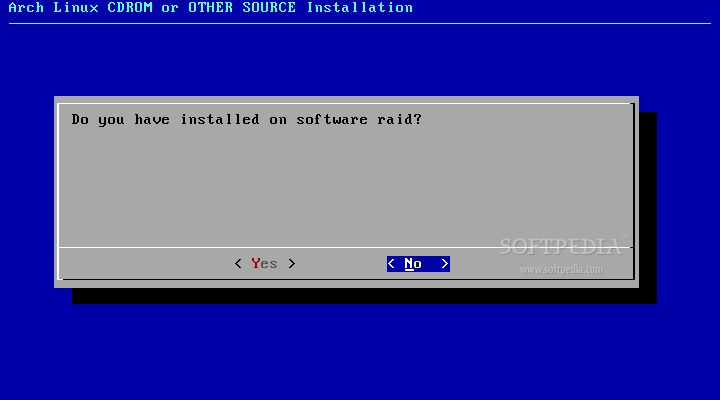
You'll be asked if you have software raid installed:
?GRUB was successfully installed? is the message you'll receive next. Hit 'OK':

Exit the installer and type reboot:
Remove the CD from the optical drive. The system will boot from the hard drive and you will see the GRUB boot loader. Hit enter on the default option (Arch Linux) or wait for 5 seconds for the system to boot:
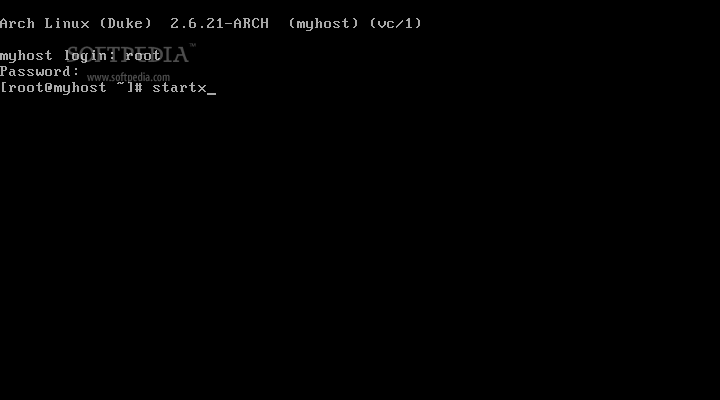
At the login prompt, type root and the password you have set up when you installed the system. When you're logged in, type startx to enter the graphical environment:
That's it! Congratulations, you've just installed Arch Linux.