
 14 DAY TRIAL //
 Now that you've learned how to install Fedora 10 on your personal computer, why not learn how to create your own Fedora distribution and give it to your friends or use it for your machines?
Fedora 10, also known as Cambridge, was released on November 25th, 2008, and it brings GNOME 2.24 and KDE 4.1, faster boot experience with Plymouth, better printing, better webcam support, improved wireless network connection sharing, better software maintenance and update (powered by PackageKit and RPM 4.6), and virtualization storage.
The following tutorial will teach you how to create a customized version of the Fedora 10 Linux distribution. We will use a tool called Revisor, which features a nice GUI for inexperienced users and a CLI (command-line interface) with extended configuration for advanced users. Revisor can create both Fedora 10 CD/DVD installable media and Live CDs.
What do I need to get started a.k.a. Requirements?
Fedora 10 Revisor (see below for installation instructions)
Editor's note: Before you start, make sure your system is up-to-date! For this demonstration we've used a Fedora 10 DVD installation with the GNOME desktop environment.
Step 1 – Installing Revisor
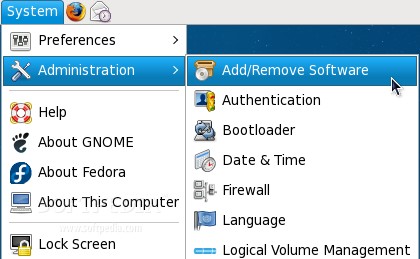
Go to System -> Administration -> Add/Remove Software...
...and search for Revisor...
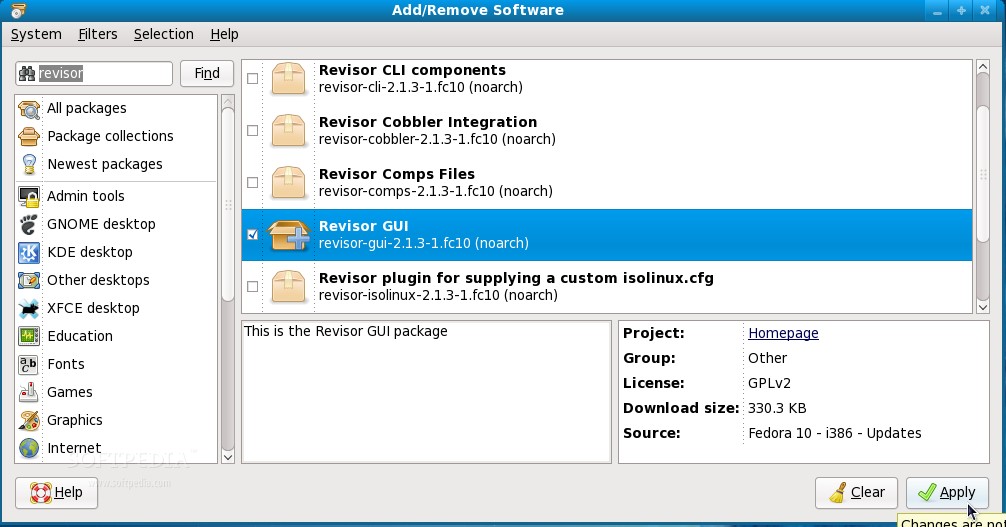
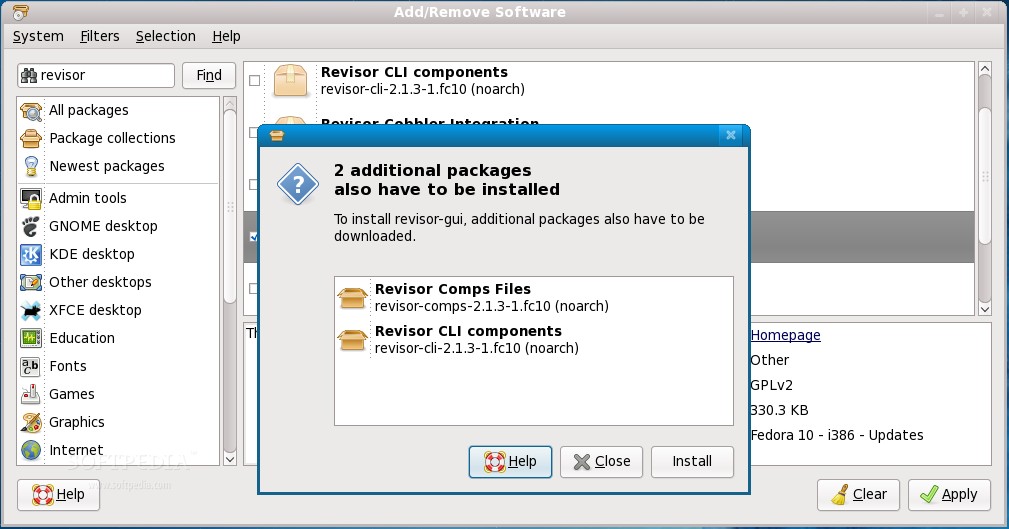
In a few seconds, after you've clicked the "Find" button, you'll notice that the application listed a few results. Click on the check box in front of the "Revisor GUI," "Revisor Comps Files," "Revisor plugin for supplying a custom isolinux.cfg," "Revisor plugin to enable Reusing existing installer images," "Revisor Cobbler integration," "Revisor CLI components," entries. Now click the "Apply" button to install Revisor. The software installer will gather the required dependencies and you will be asked if you want to install them. Click "Install"...
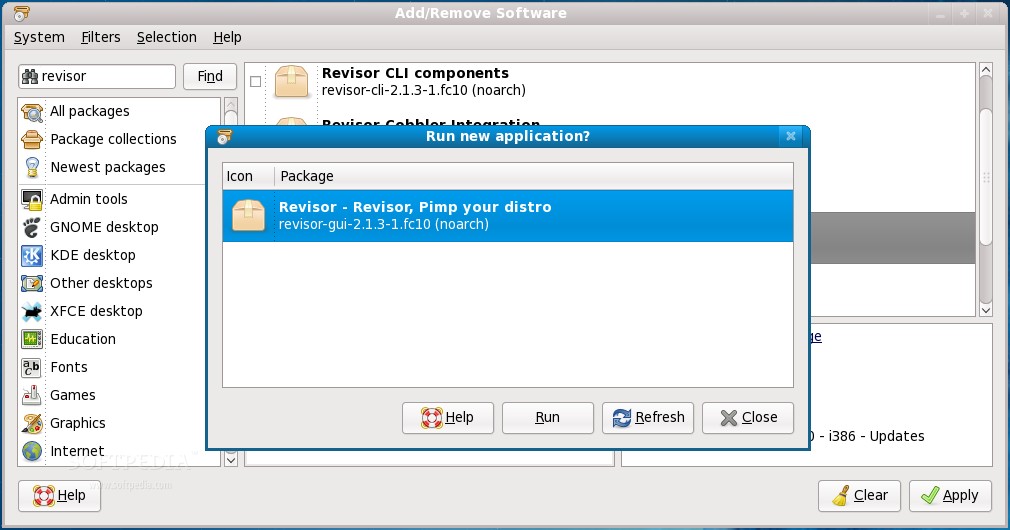
When the installation is over, you will see a "Run new application?" window. Click the "Run" button to start Revisor. You will be asked for the root (system administrator) password.
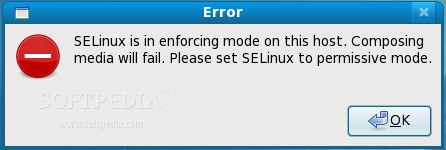
Step 2 – Set SELinux to permissive mode (optional)
This step is required ONLY if Revisor gives you an error about SELinux running in enforcing mode, and to run Revisor you must set SELinux to permissive mode...
If so, here's how to set SELinux in permissive mode. Go to Applications -> System Tools -> Terminal and execute the following commands (the ones in italic, one by one):
su - (enter the root password) setenforce 0
SELinux will now run in permissive mode. To verify this, type the following command:
getenforce
The result should be "Permissive." Close the terminal window.
Step 3 – Create your own Fedora 10 distribution
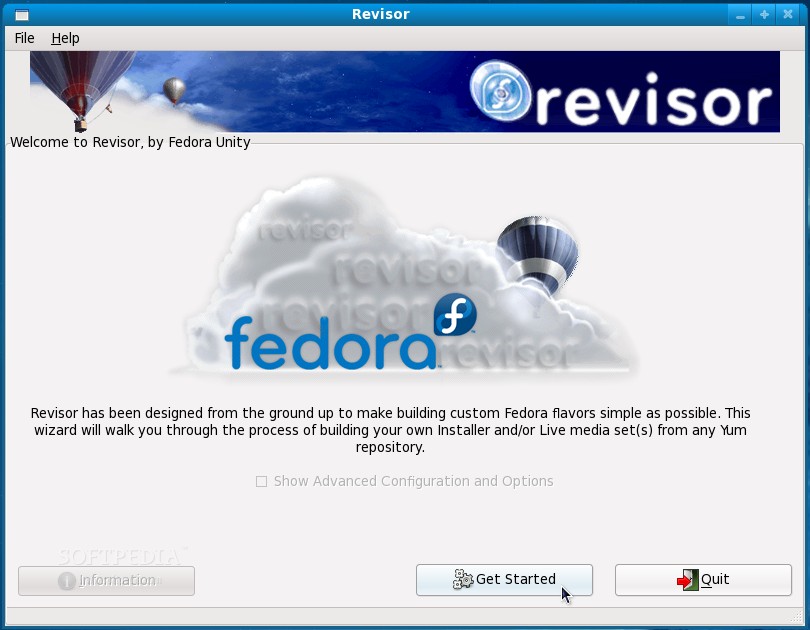
If you followed the second step, you can start the Revisor tool from Applications -> System Tools -> Revisor. It is an administrative application, therefore the root password will be required. This is the intro window of Revisor. Click the "Get Started" button...
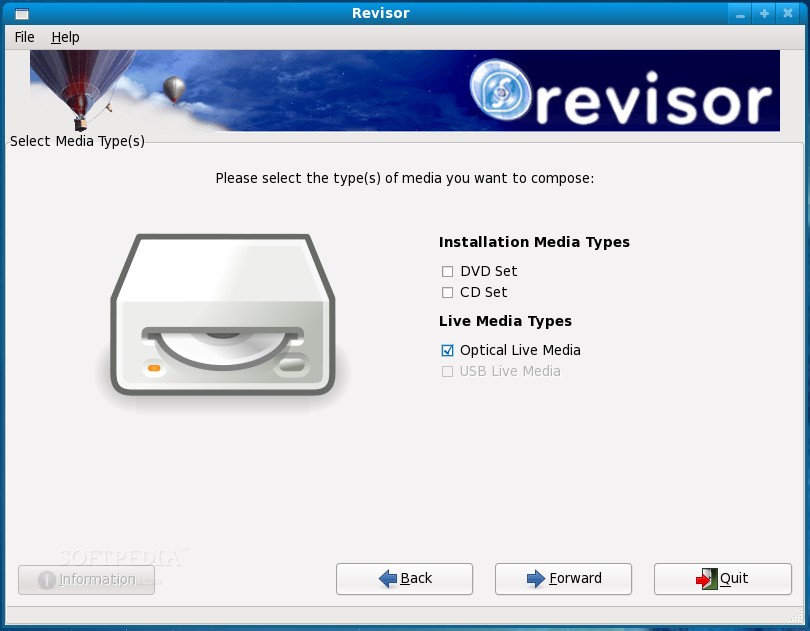
The first step of the wizard will ask you to select the type of media you want to remaster. As we've mentioned at the beginning of the tutorial, there are two types of media that Revisor can build:
1. Installation Media (DVD or CD) 2. Live Media (Optical Live Media)
Apparently, Revisor can also build a USB Live Media, but the function is not active (maybe we missed something?). Anyway, for this guide, we've chosen the "Live Media" option.
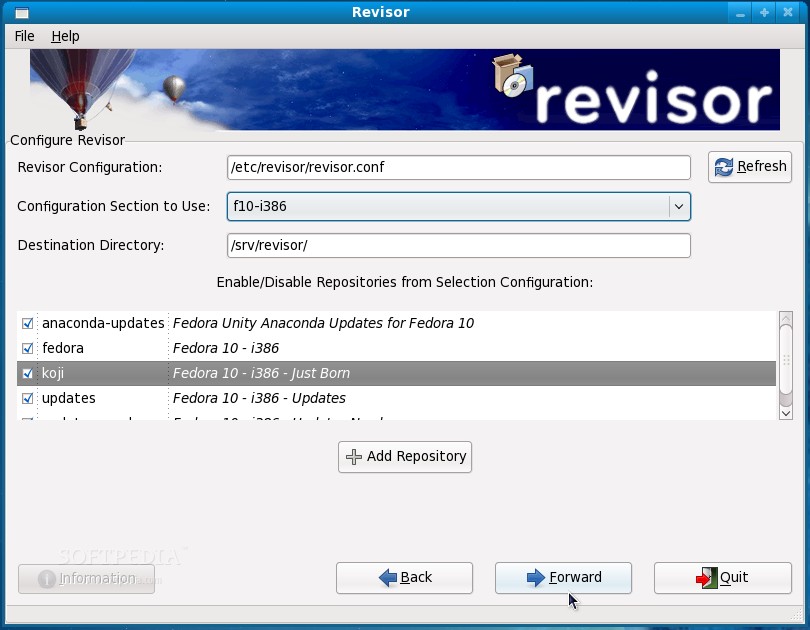
Click the "Forward" button and, on the second step, you have the possibility to select the machine type and the distribution, as Revisor can build both Fedora 9 and 10 distributions: · i386 · PPC · PPC64 · x64_64 In the middle of this screen you can disable or enable/add software repositories. For this demonstration we've chosen to build a Fedora 10 i386 media, only with the "fedora" and "updates" repositories active.
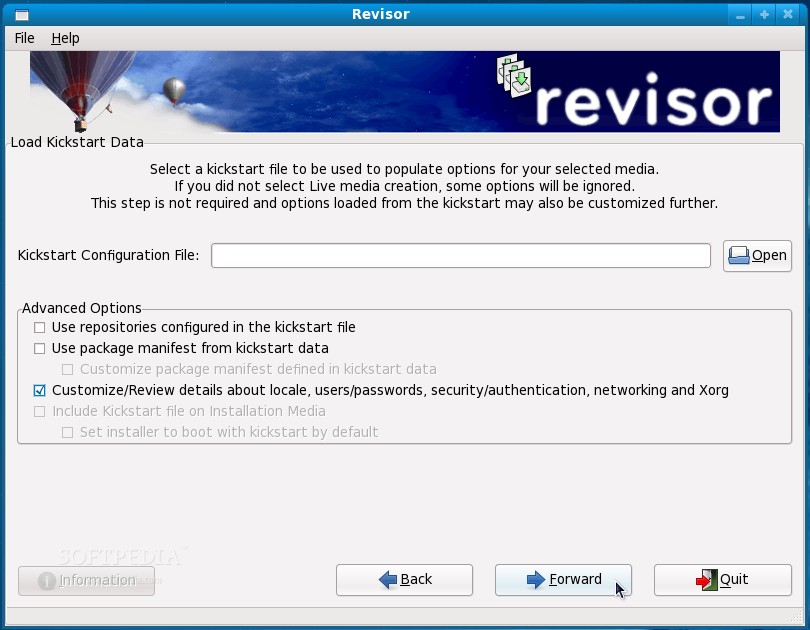
The third step allows you to select a kickstart configuration file that will be used to populate options for your selected media. However, this is optional! We didn't use a kickstart file for this demonstration. In the middle of this screen you'll notice some options, which are available only if you've chosen the Live Media creation (as we did). We've selected the third option, which allows us to configure the locales, users/passwords, security/authentication, networking and X.org.
Click "Forward" and on the next screen you will be able to choose which applications you want to have in your custom version of Fedora Linux. For this demonstration we've added a few applications, randomly.
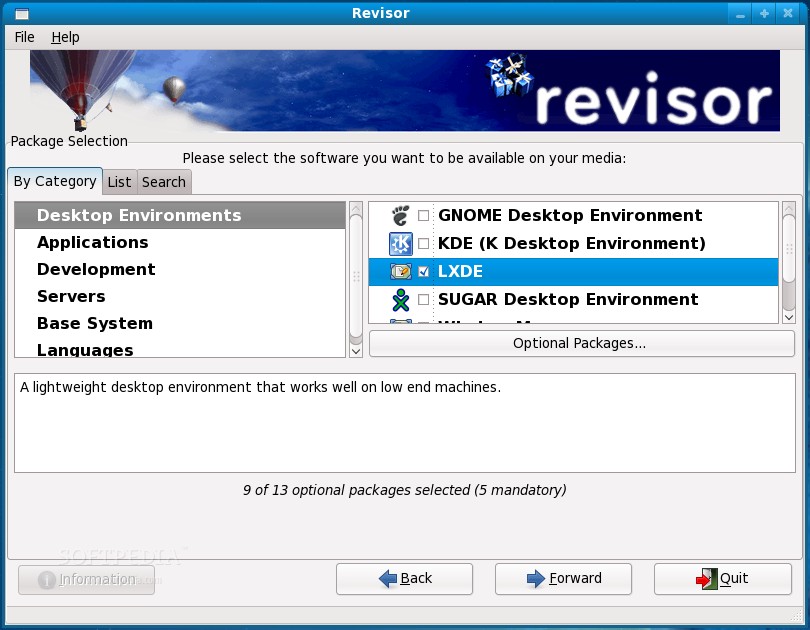
Editor's note: For detailed application selection, please use the "List" tab!
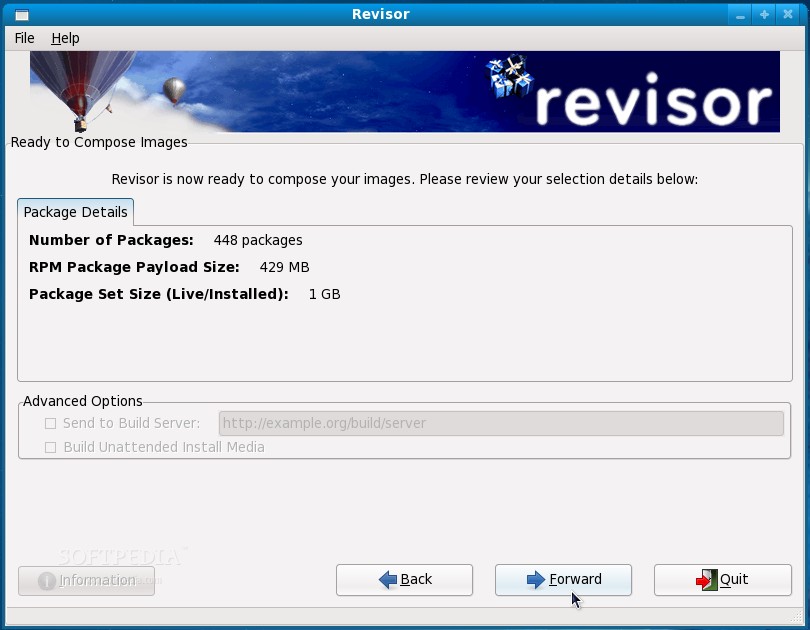
Once you've finished with the package selection, click the "Forward" button and you will see a screen that shows you how many packages will be added and how much space it will require. If the numbers are OK with you, click the "Forward" button to begin the remastering process.
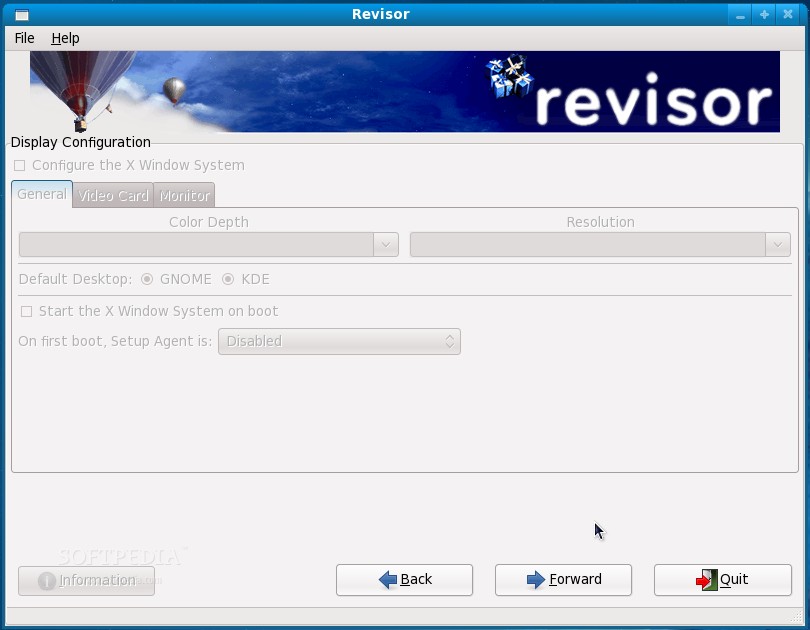
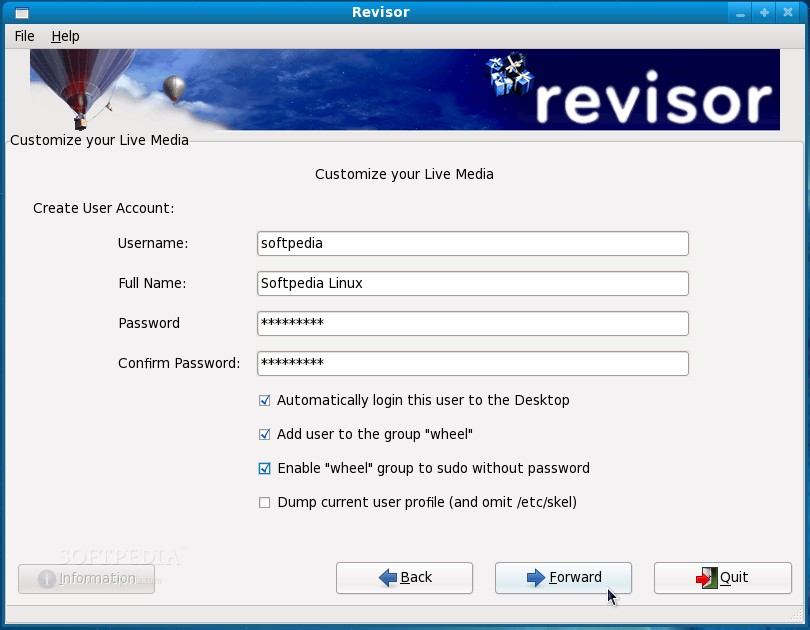
If you chose the third option on the third step of the wizard (the one that allows you to configure the locales, users/passwords, security/authentication, networking and X.org information) you will see the following screens...
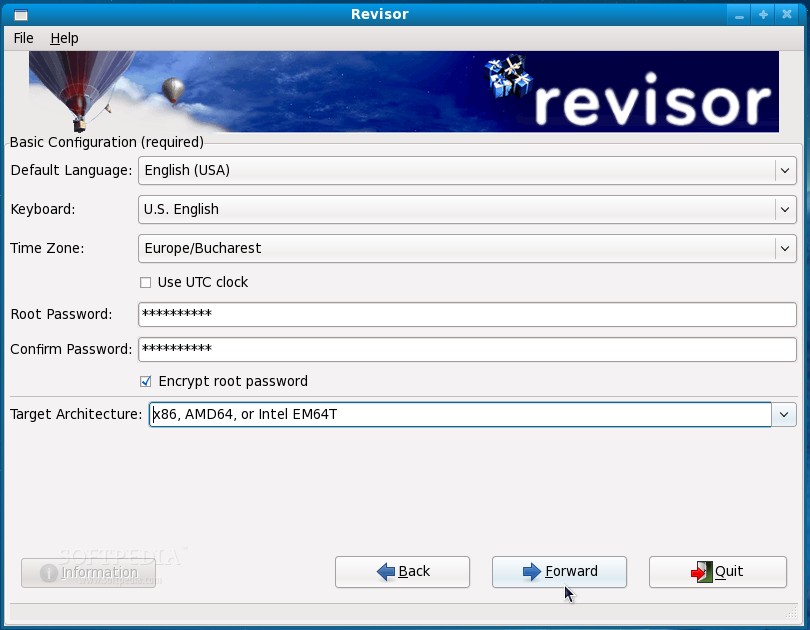
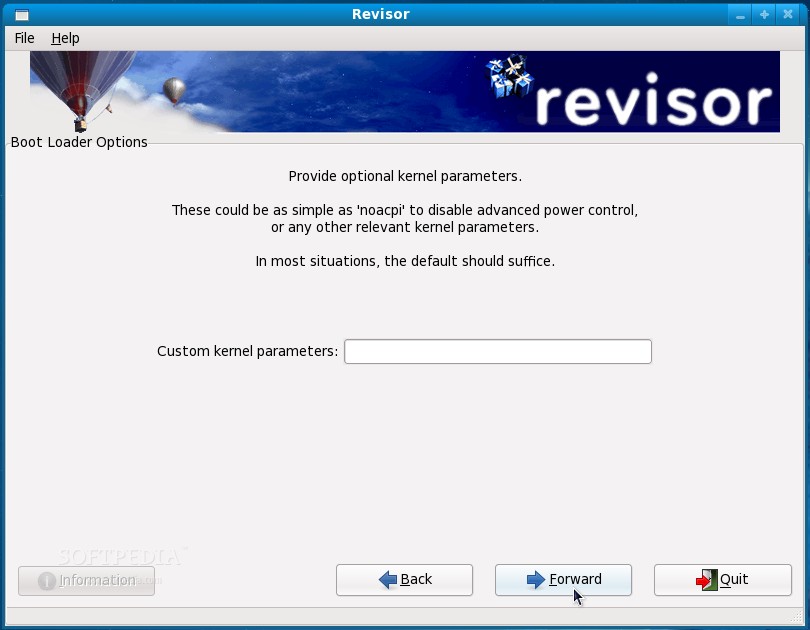

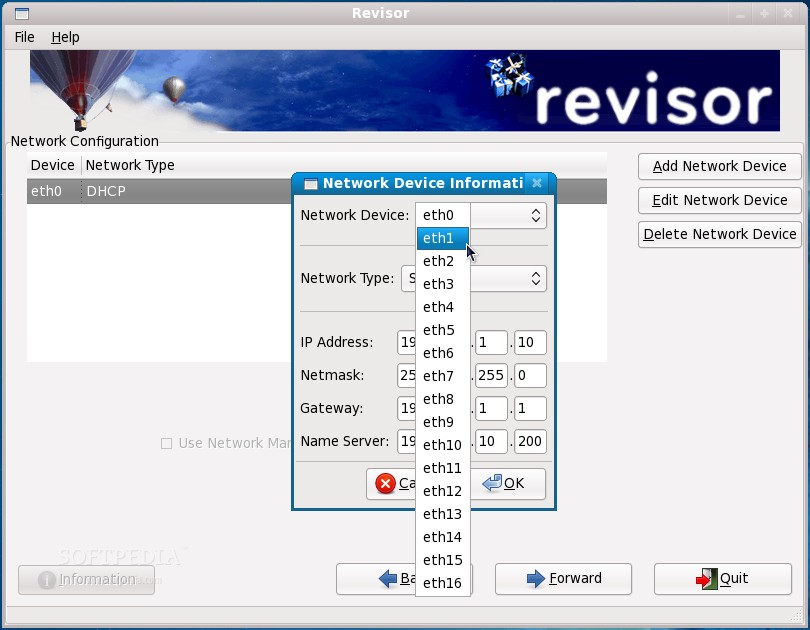
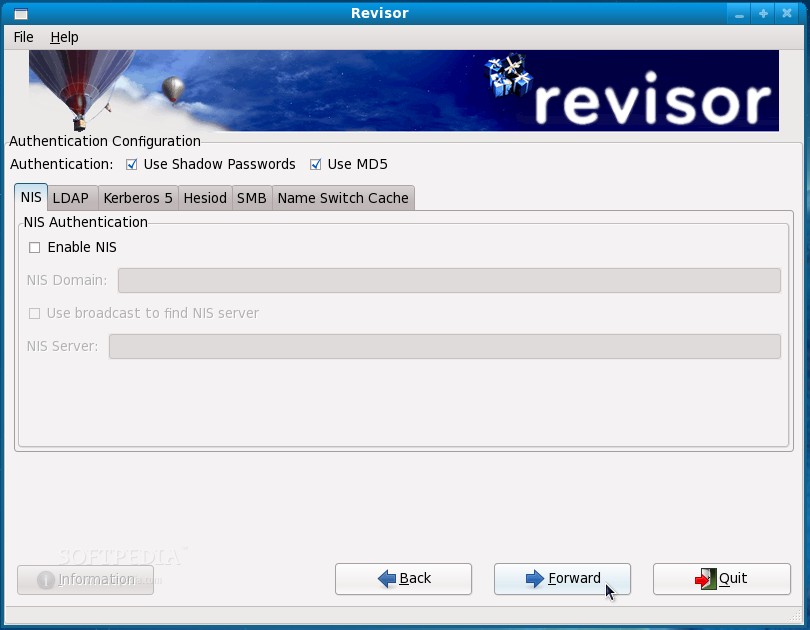
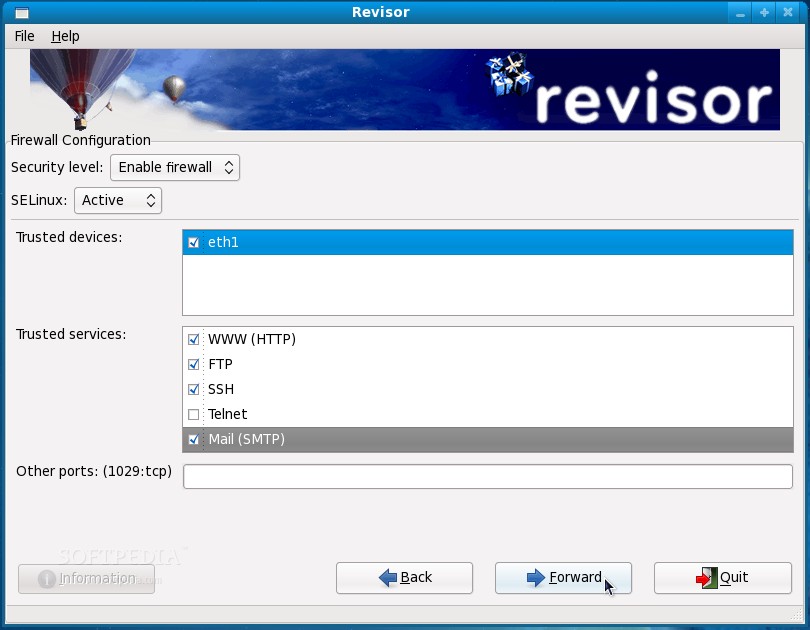
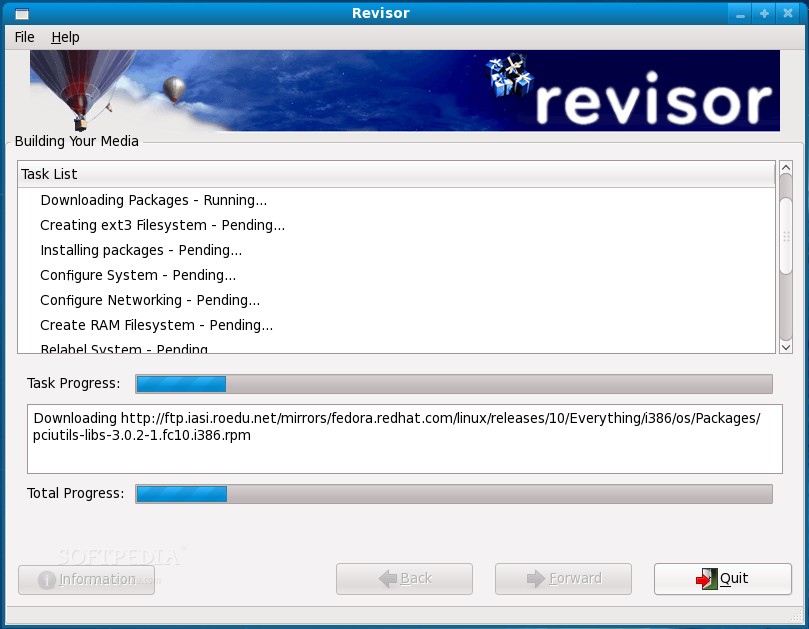
That's it! After the above configuration, Revisor will build the media....
When it finishes, you will see the following message: "Congratulations, Compose Complete."
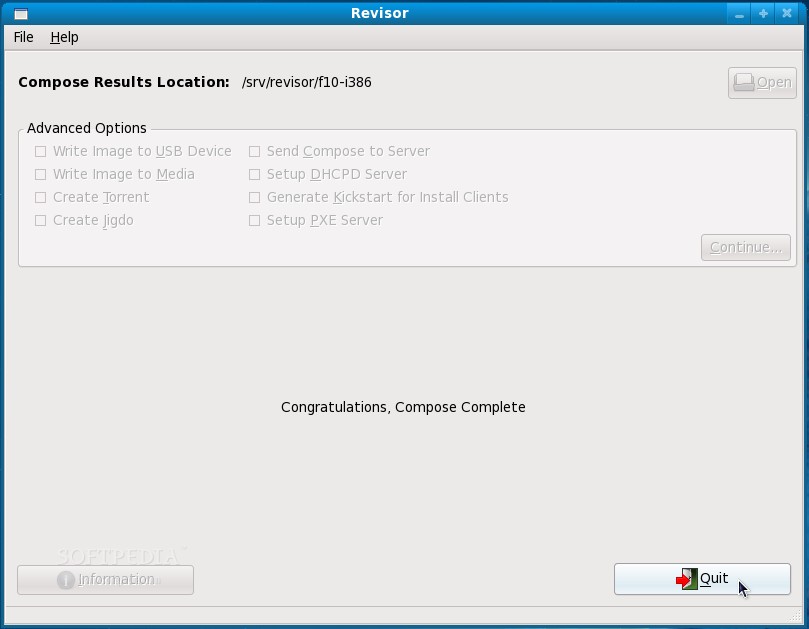
Go and get the ISO from the output location and burn it on a CD or DVD disc, or test it on VirtualBox.
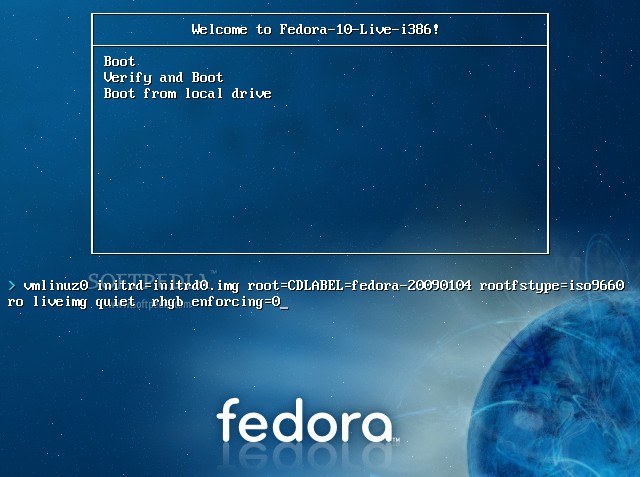
Ohh, one more thing... if you create a Live CD/DVD and it jams at the end of the boot process, put the "enforcing=0" option at the GRUB menu. Like this...
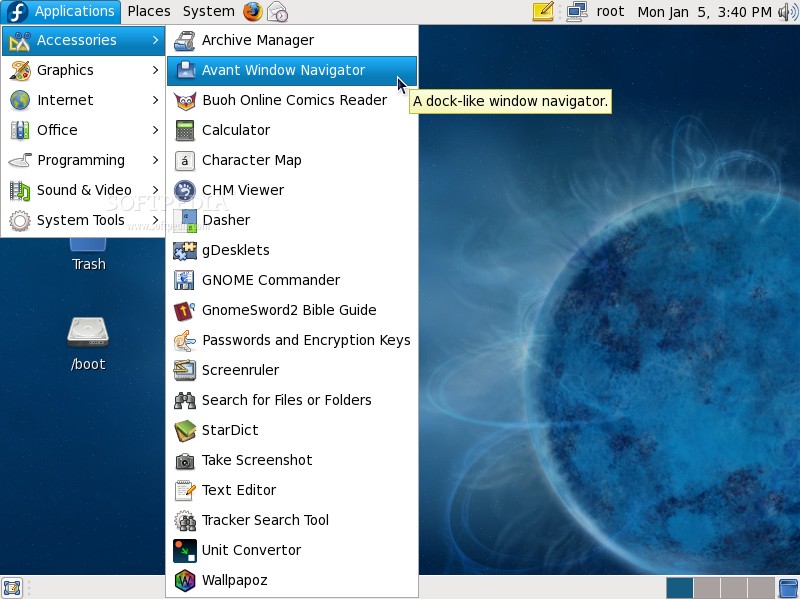
Here is our Live DVD (1.4 GB) with a lot of applications and the GNOME desktop environment.
Have fun!