14 DAY TRIAL //
 Since its market release, back in October 2008, there was much talk about the possibility to synchronize Google's Android-based smartphone with a PC. While the developer of the Android platform doesn't officially support this option, there were some statements that promised a future possible synchronization with Microsoft's Exchange.
Moreover, Cemaphore has released a unique application called MailShadowG, which allows users of the G1 to synchronize their email, contacts and calendars with a Microsoft Exchange server. Unfortunately, the application doesn't make a direct connection between the mobile device and the Exchange Server. MailShadowG provides bi-directional synchronization of email, calendars, and contacts by working through Microsoft Outlook running on a PC.
Basically the email received on the Exchange Server is forwarded to Outlook on the user's desktop. It is then synchronized by MailShadowG with the Google Gmail server, which pushes it out to the G1, and vice versa. Other companies are working to offer a more direct approach, but for now MailShadowG is the only application available for customers who are using Microsoft Exchange for their business. You can find a 15-day trial here.
Until the Microsoft Exchange synching process will be available, let's discuss another aspect of the connectivity options of G1. Just as the title says, this is a short tutorial of how G1 (or any other Android-based smartphone) can be connected to a PC.
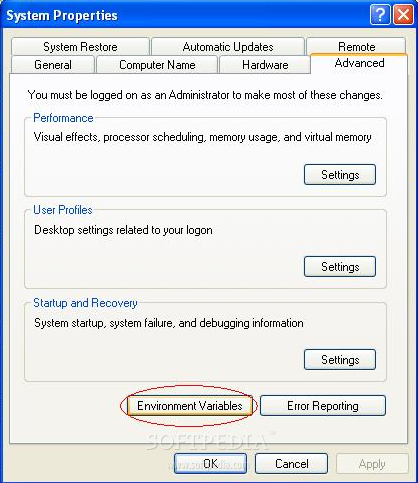
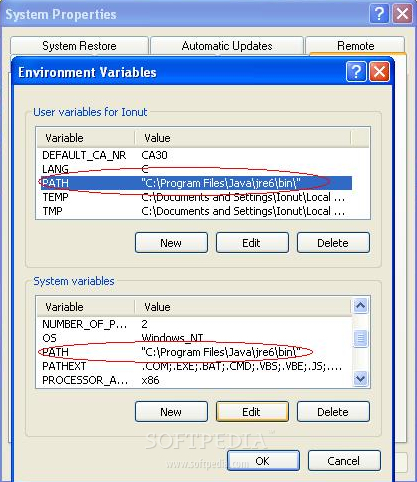
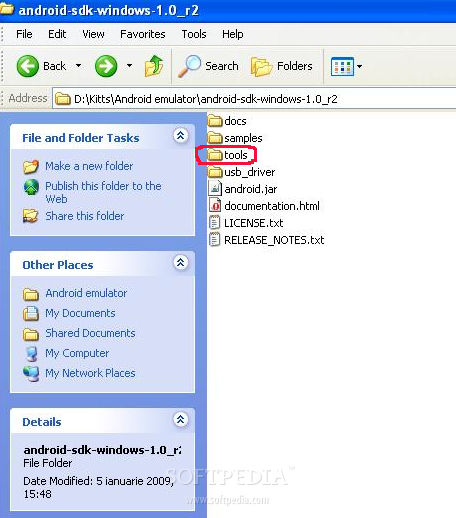
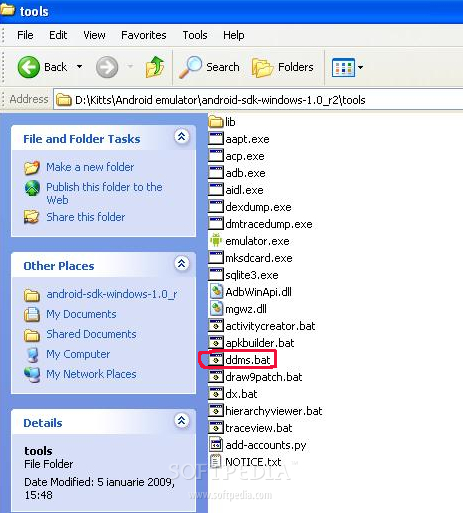
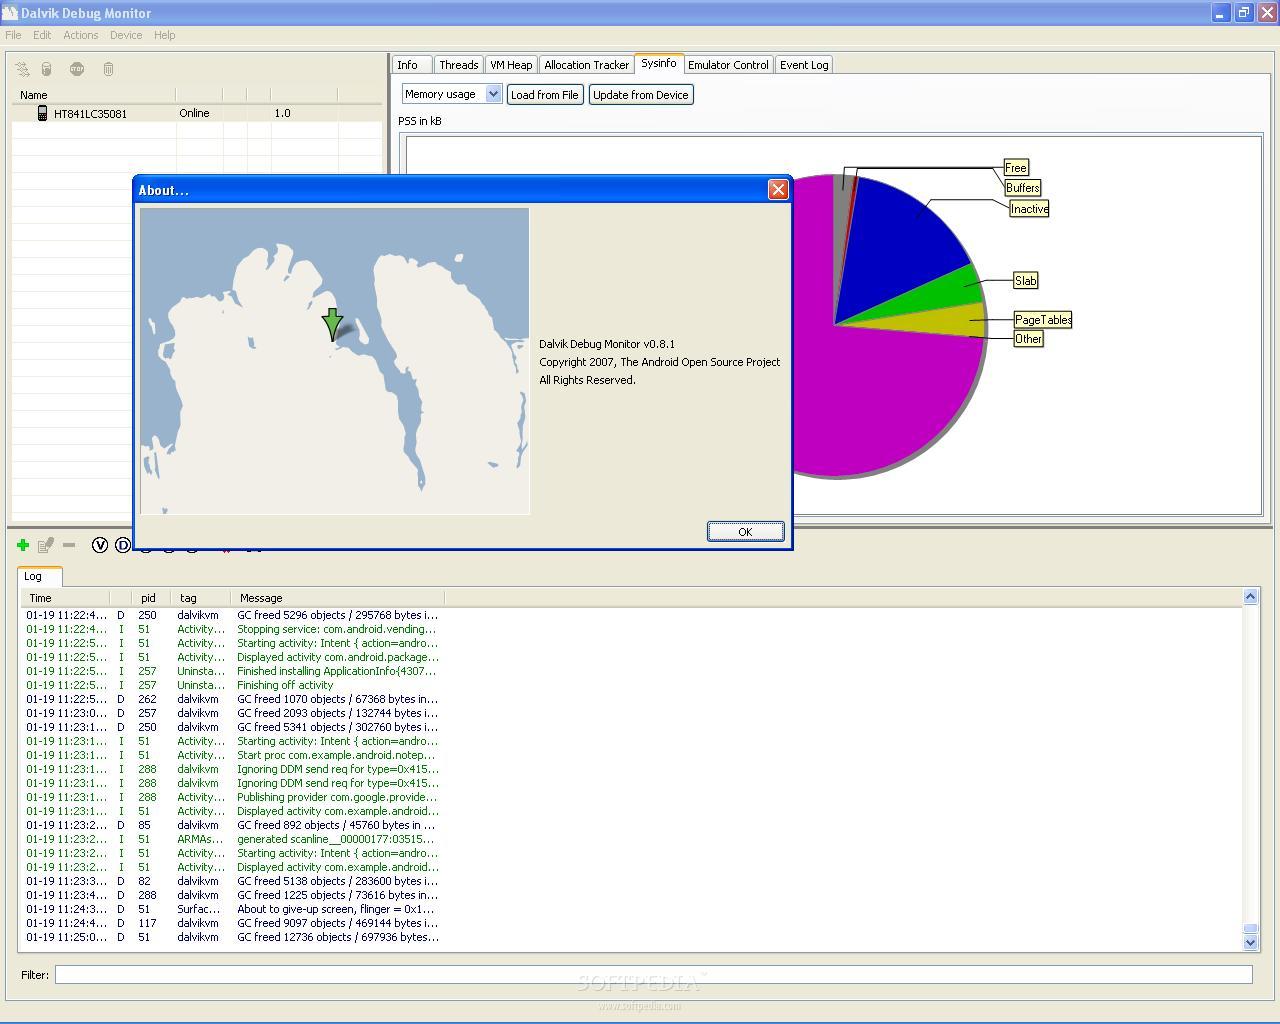
First of all you need 2 pieces of software installed on your PC, Java and the latest Android SDK. You can find both here and here. After installing Java, download and extract Android SDK to a new folder on your computer. The SDK is compatible with Windows XP and Vista, Mac OS X 10.4.8 or later (x86 only) and Linux (tested on Linux Ubuntu Dapper Drake). After unpacking the SDK you'll have to point out a Path to where the Java has been installed on your computer. Right click on My Computer – Advanced tab, Environment Variables. Where it says PATH you need to click the Edit button and paste the link to the folder where the java.exe file has been installed. In my case, as you can see from the screenshots, it's C:\Program Files\Java\jre6\bin.
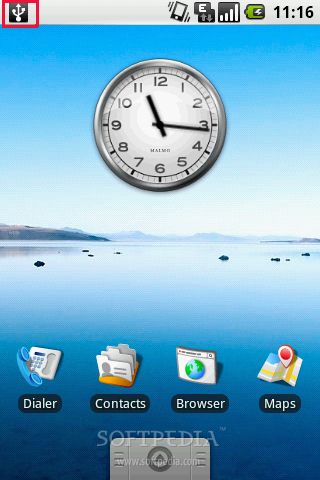
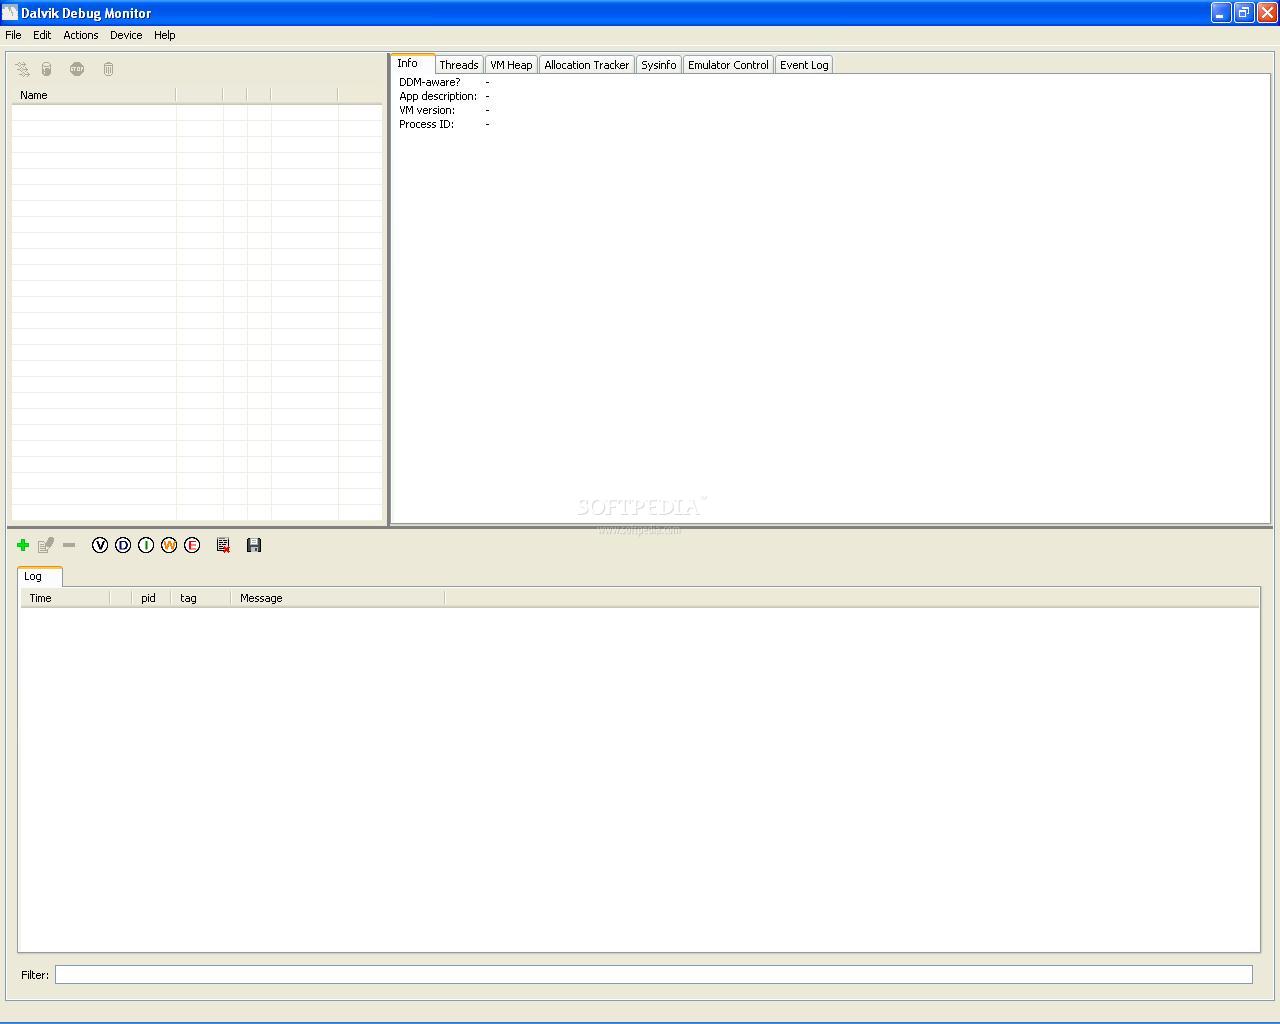
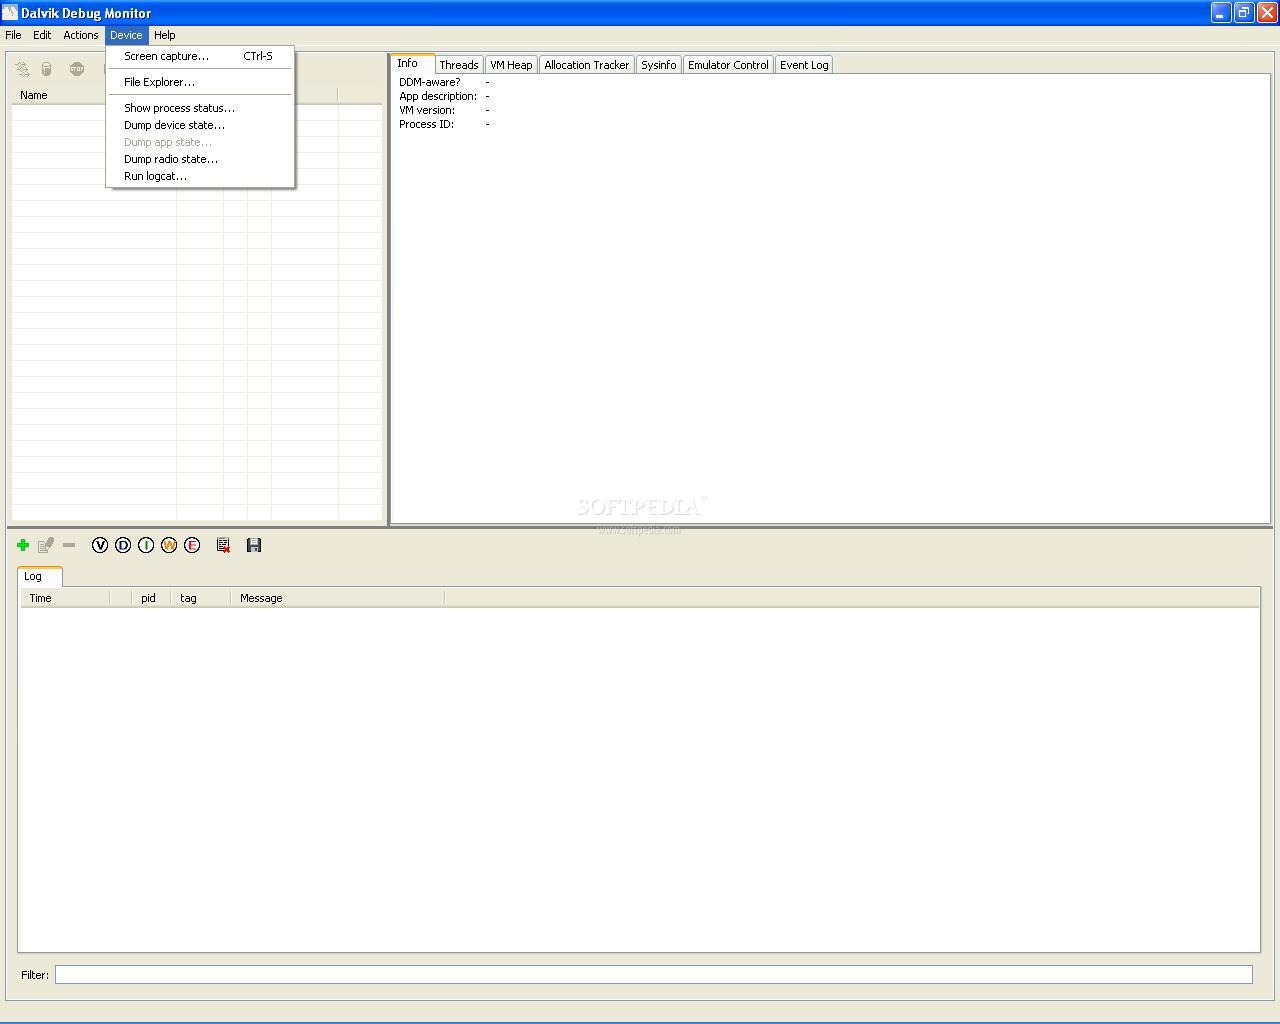
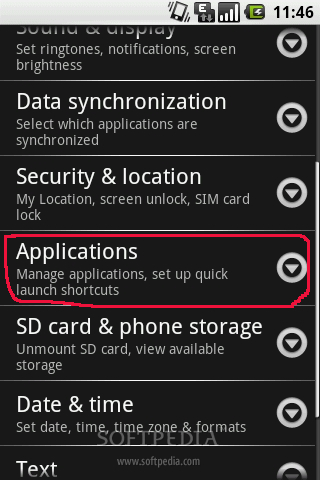
There are some settings that you must change on your smartphone also. Go to Settings, Applications, Development, USB Debugging (must be checked). For those who want only quick access to their memory card, it's possible without using Android SDK. Connect your phone with the USB cable. The PC should detect the phone and will ask for the drivers. These are found in the SDK directory (after unpacking), under the 'usb_driver' folder. Point out where the driver is and check out your smartphone screen. It will show a little trident icon in the upper left corner, which means that the phone is connected to the PC.
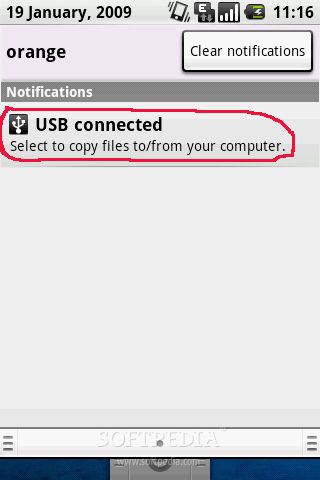
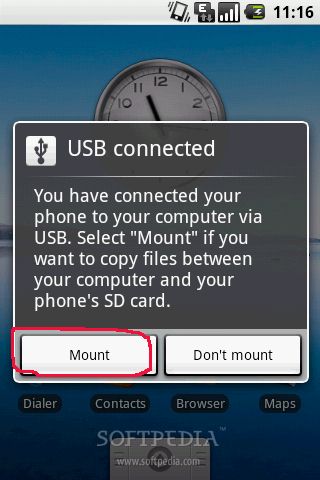
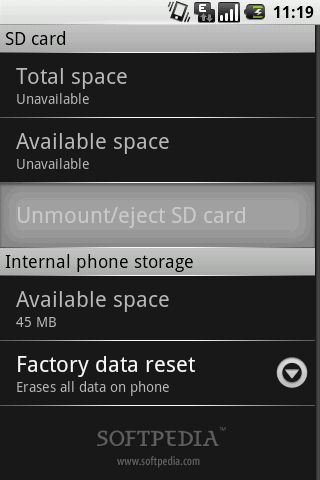
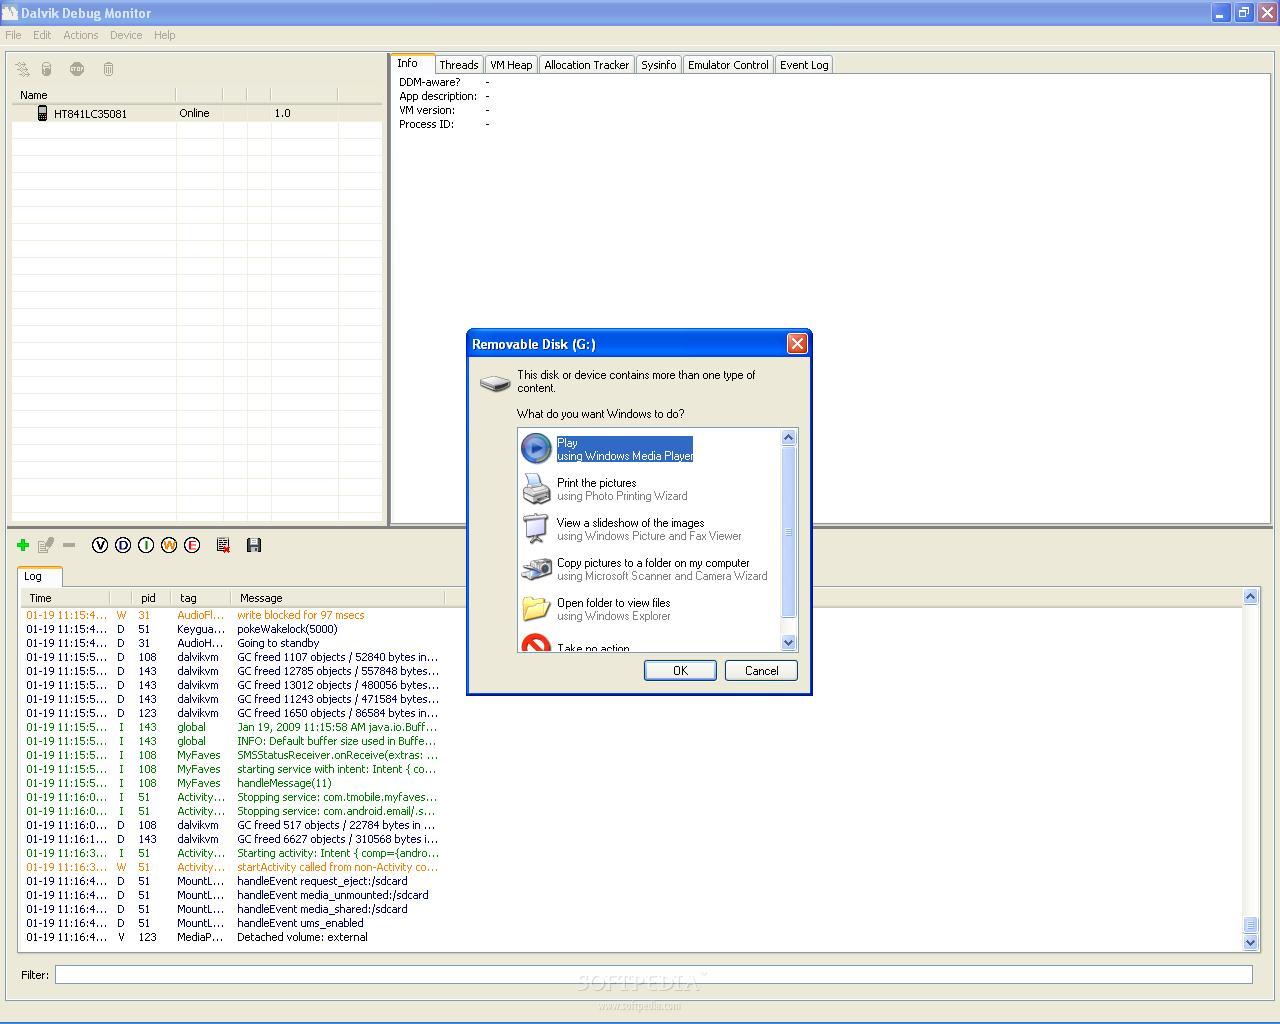
BUT, to really have access to your SD card, you have to click on that notification icon (check screenshots). Click on the 'USB connected' window and choose to mount your SD card. That's the faster way to connect your Android-based smartphone to a PC.
In case you didn't manage to connect your G1 with the PC, bear in mind that the smartphone is only compatible with USB 2.0, so if you have a USB 1.0 PCI card, it won't work. Also, I heard that some USB cables are not working with the G1, so I suggest keeping the one in the sales package. I hope this helps, but if you have any problems please leave us your comments below.