 14 DAY TRIAL //
 The following guide will explain in-depth how you can take screenshots on the new Google Nexus One smartphone. The device doesn't have this feature included by default, as the iPhone 3GS, so additional tools will be needed for this to work. Bear in mind that you do not need to connect your Nexus One smartphone using the following guide unless you plan to take screenshots. For users that only wish to transfer files between the PC and SD memory card, you will only need to connect the device using a microUSB cable and click on the Mount SD option that is displayed in the notification bar.
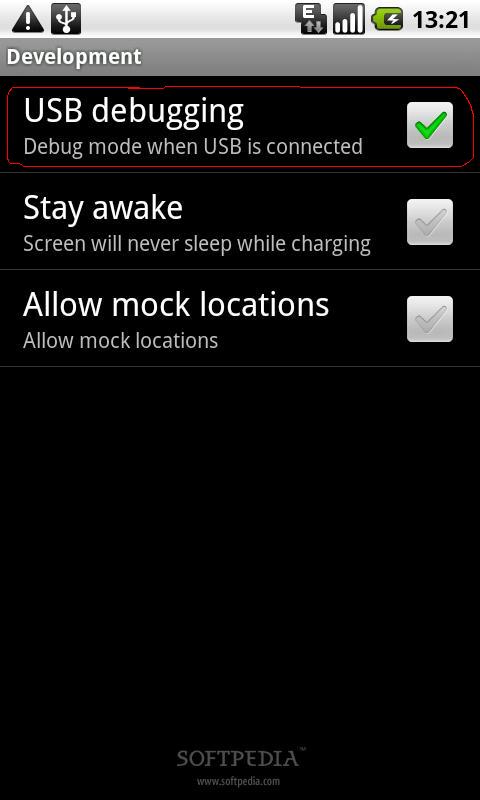
Anyway, to be able to take screenshots on your Google Nexus One device, you will need to download two pieces of software: Android software development kit (Android SDK) and Java software development kit (Java SDK). After both files have been downloaded, start installing the Java software first. When the installation is finished, unzip the Android SDK in a separate folder where you can find it easily. Before attaching your Google Nexus One to your PC, you need to make some settings that will enable your device to enter into debugging mode. Go into your smartphone's Menu, Settings, Applications, Development, USB debugging (needs to be selected). One more thing that you need to take care of before connecting the phone to the PC is to be sure that you have the latest USB driver for your gadget.
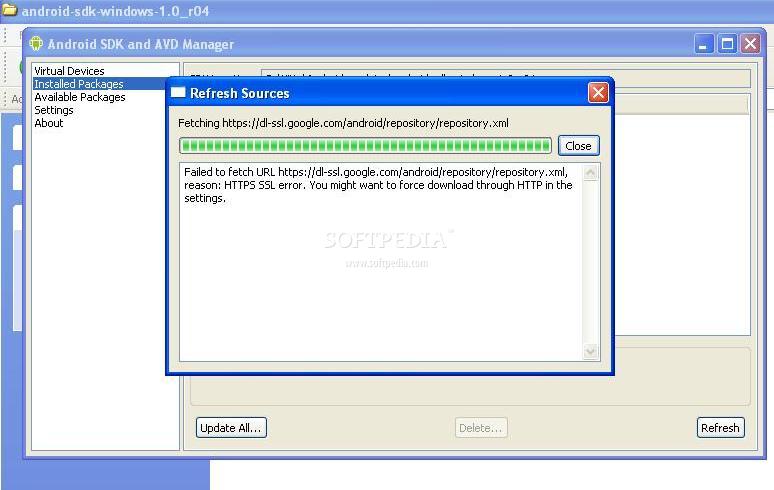
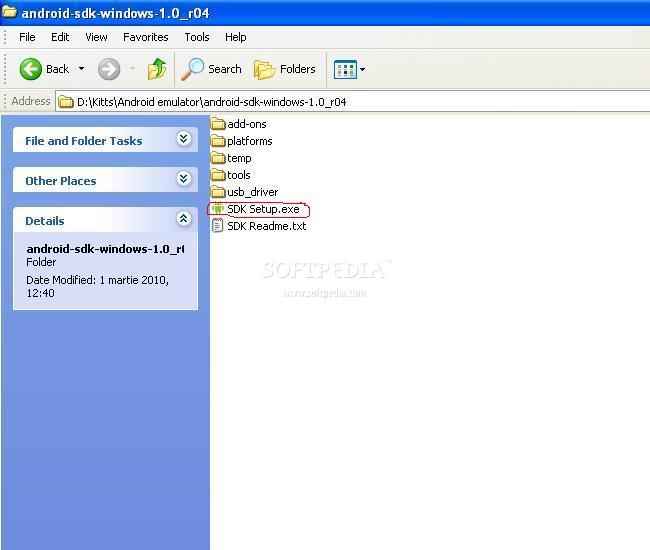
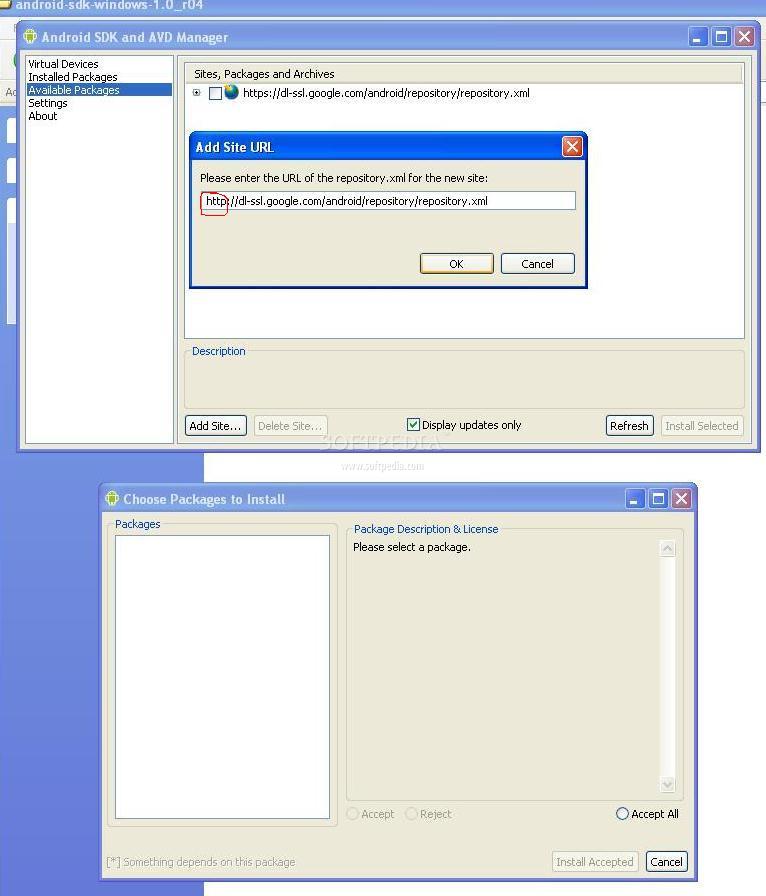
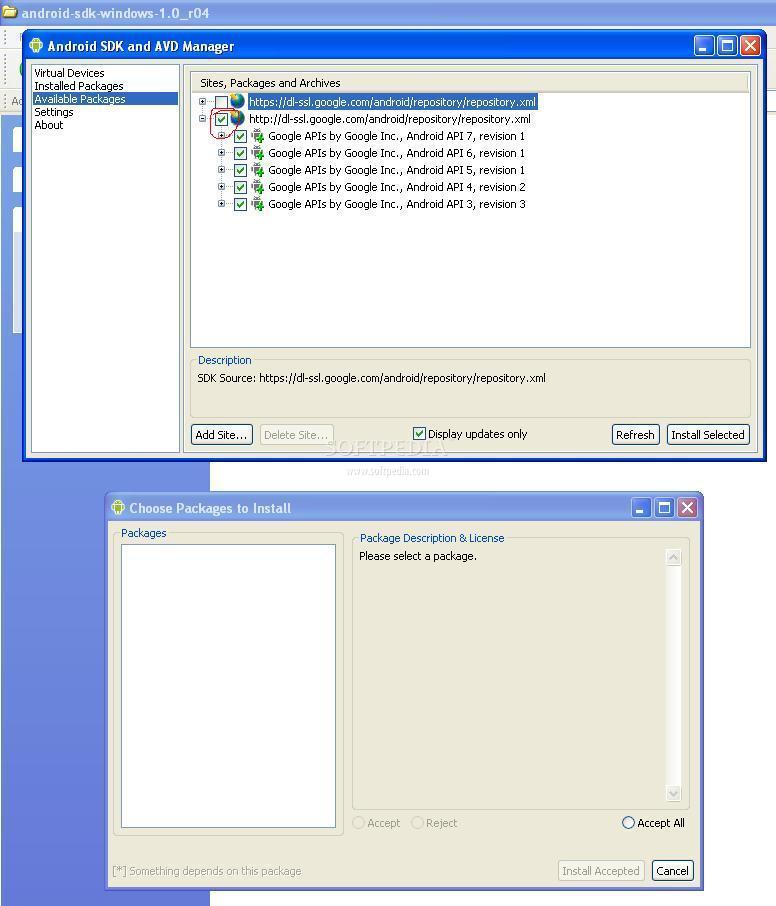
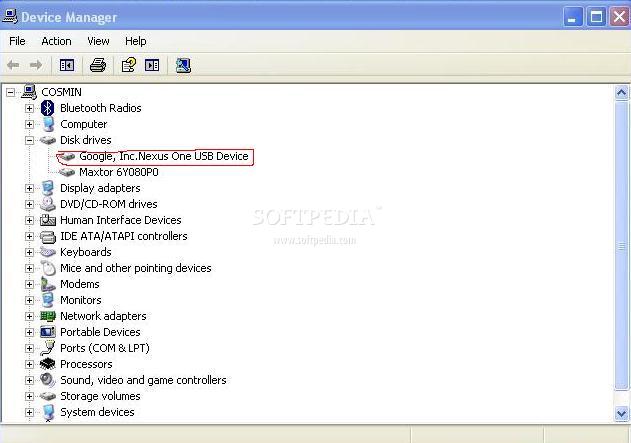
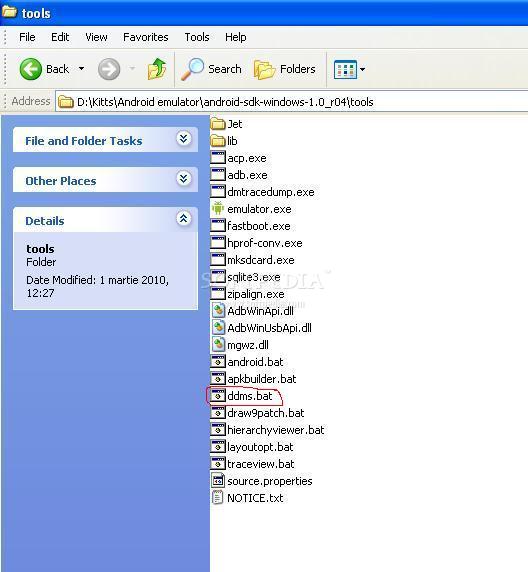
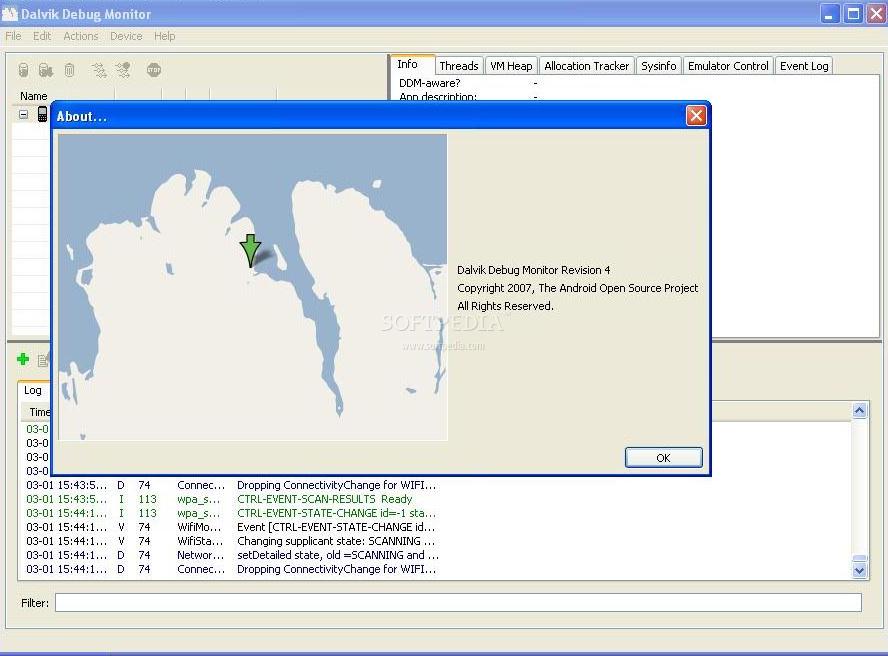
After unzipping the Android SDK, I noticed that the USB driver for Google Nexus One wasn't included in the package, so you will need to download it as an additional package. Go to the folder where you downloaded the Android SDK and click on SDK Setup.exe and after a few seconds, the application will try to connect to one of Google's servers containing a list with all the updates you can download. In case you get an error message (like I did), replace the "https" with "http" and it will work 100%. There are a few APIs, which can be downloaded, useful for developers, but you will also be able to download the much needed USB driver for Google Nexus One. After the download is finished, you can connect your device to the PC and when asked for the driver, just follow the link to where your Android SDK was unzipped. You will find a new folder called "usb_driver," which contains all the drivers you need, so that your PC can recognize the handheld. After the installation of the device, go to the Android SDK folder, click on the "tools" folder and then on the "ddms.bat" command. If you didn't forget to set your gadget to automatically enter the debugging mode when it uses a USB connection, your Google Nexus One will be detected by Dalvik Debug Monitor. Click on Device menu and choose Screen capture and your device will appear in the capture utility. Every time you want to take a different screenshot, remember to click on the Refresh button, so your capture utility will display the latest image. That's about it. If you have any questions, don't hesitate to contact me or leave your feedback under the current guide.Note: You can easily follow my guides by subscribing to the RSS feed.