14 DAY TRIAL //
 Testing of any kind needs to be done in safe environments and when it comes to computer, a screen doesn’t mean safety. Trying out a program’s new features might considerably affect the integrity of your system. This is where virtual machines come in handy.
A suitable example is Windows itself and Microsoft is releasing development builds you can mount, test, and submit issues to make the final launch stable. You need specialized applications to make this happen, as well as a beefy computer to split your resources to two operating systems running simultaneously.
When reaching the final step, we hope that you can start setting up a virtual machine yourself. It might seem like a complicated task because of the abundance of technical details that need to be managed, but the basic setup is easily done, and here’s how.
Basic setup and launch
Step 1: Launch your system’s BIOS.
Step 2: Enable Virtualization Technology (VT-d). It should be located in CPU setup.
Step 3: Save changes and boot Windows normally.
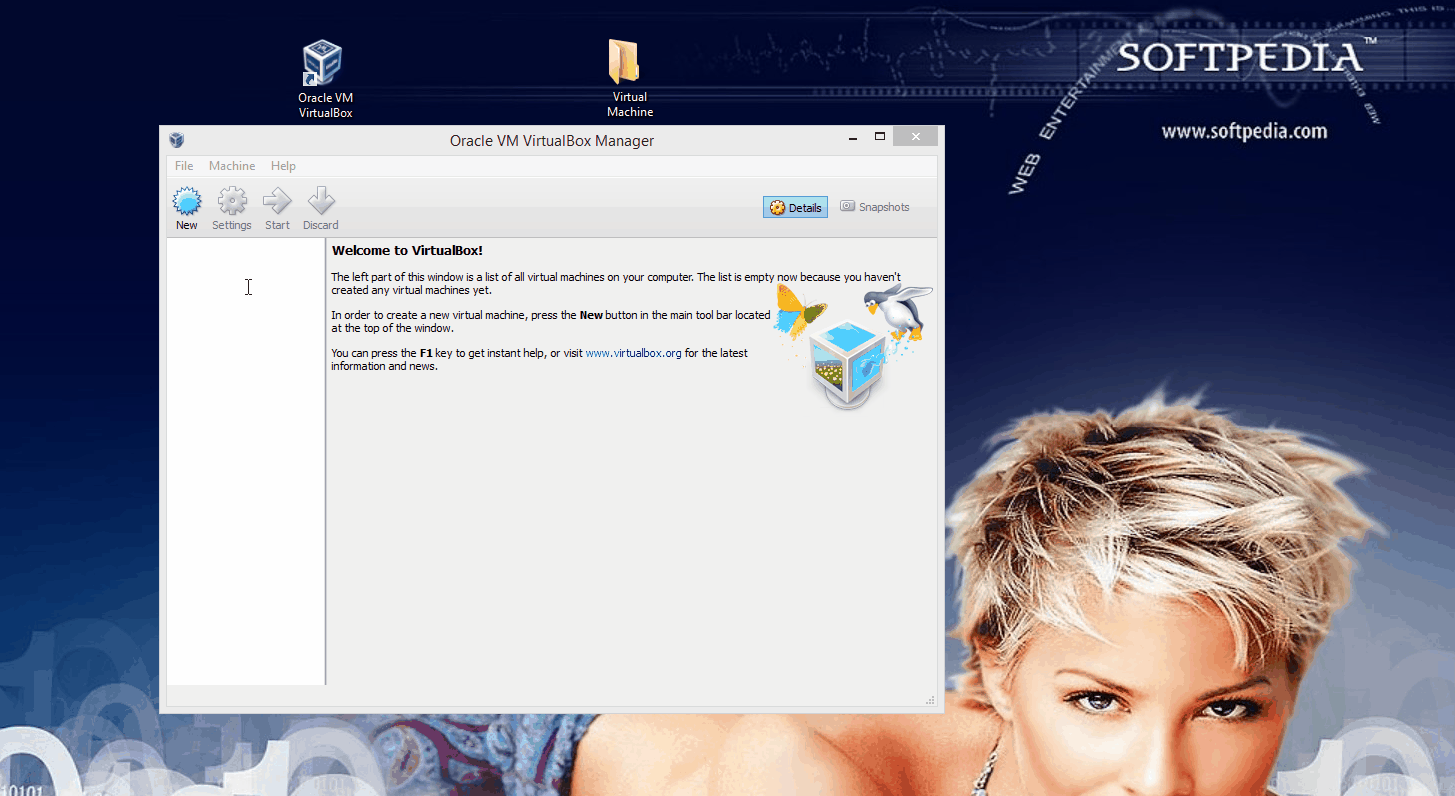
Step 4: Download and install Oracle VM VirtualBox.
Step 5: Head over here and grab the operating system virtual machine of your choice.
Step 6: Run Oracle VM VirtualBox and pick Import Appliance from the File menu (Ctrl + i).
Step 7: Use the open dialog to open the OVA file you just downloaded.
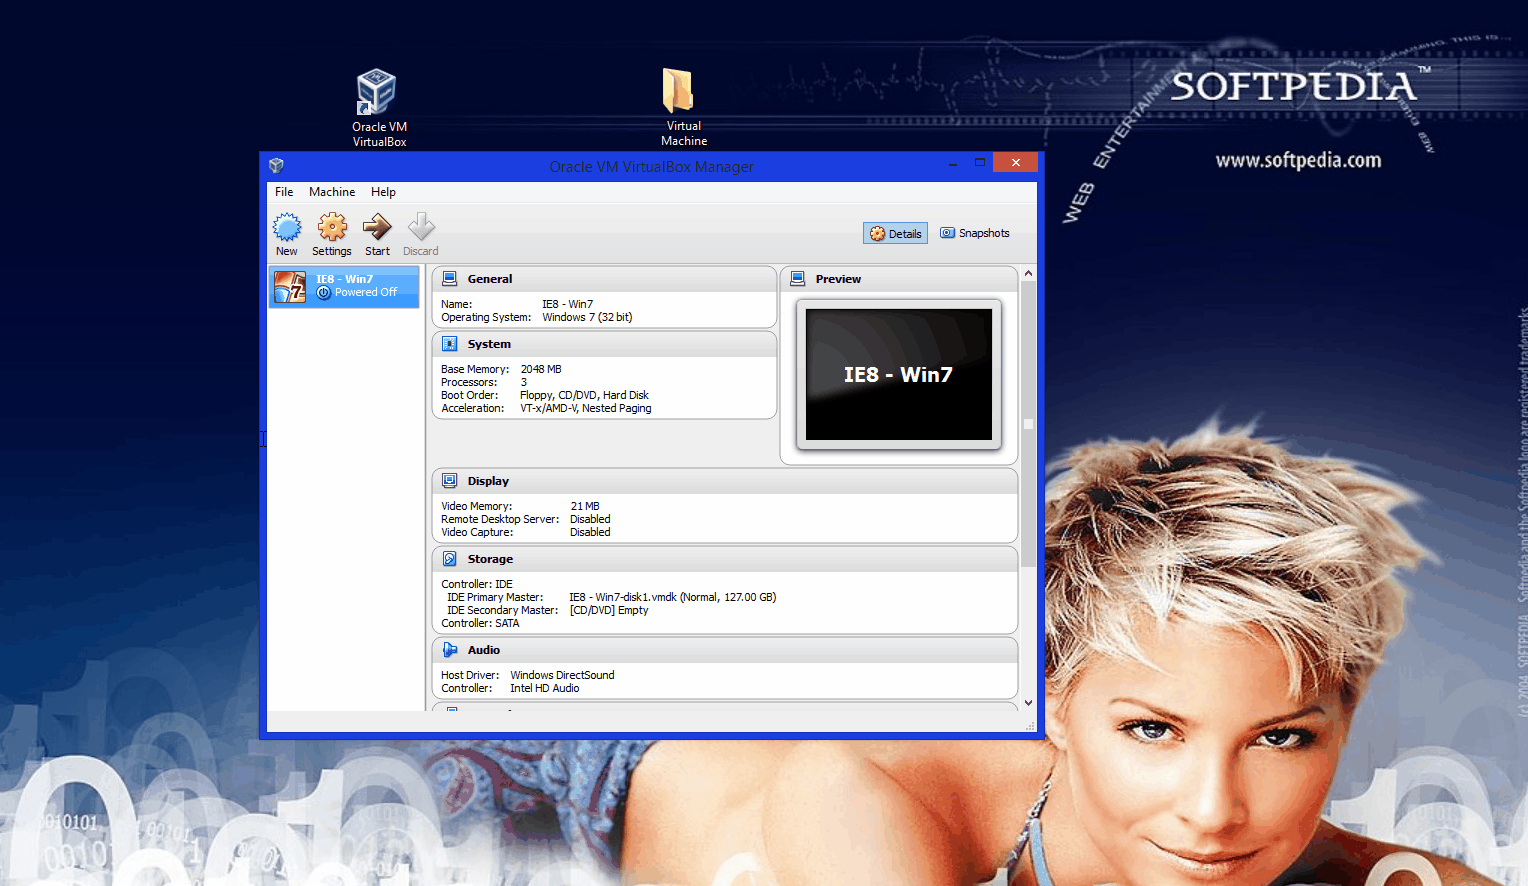
Step 8: Allocate more resources for smooth workflow.
Note: Resource allocation is physical usage of your own, so be careful not to exhaust the host OS. Below are the minimum specs for some iterations of Windows. Don’t change the Guest OS Type because it is determined by the OVA file you downloaded.
Minimum System Requirements for Windows 7, 8, and 10 (technical preview, subject to change):
Processor: 1GHz or faster with support for PAE, NX, and SSE2 (more info) RAM: 1GB (32-bit) or 2 GB (64-bit)
Example: Windows 8 runs really smoothly if you set two CPU cores and two GB (2048 MB) of RAM.
Step 9: Wait for the image to be imported, it might take some time.
Step 10: Select the image from the left panel and hit Start.
Step 11: Follow toolbar indications and prompts to set up input functionality and performance calibration.
Step 12: Restart the virtual machine to apply changes.