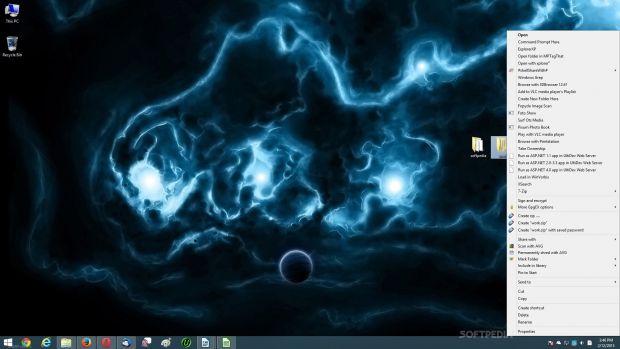
It’s a well-known fact that Windows gives you the possibility to fully customize its appearance one way or another. However, there are some applications that forcefully integrate themselves even in your default configuration, with little to do in this regard.
One suitable example is the explorer context menu, which is best to keep clean and only with functions you really need.
If you don’t want to end up with a context menu list that extends beyond your screen’s height, there are a few things you can do. First, check every step of installation processes to see whether or not the target program wants to automatically integrate itself. This is the best case scenario, but it’s not available for everything you install. Just as the guys over at The Windows Club suggest, here are a few tips on customization:
Modify context menu items through registries
Step 1: Press Win + R and write down regedit to launch the registry editor.
Step 2: Try to find this location: HKEY_CLASSES_ROOT -> * (yes, plain asterisk)-> shellex -> ContextMenuHandlers.
Step 3: Identify third-party application entries and simply remove corresponding registries.
Note: It gets a little tricky here because most entries are used for specific file types or folders and place their roots somewhere else.
Safer alternative with third-party applications
Step 1: Download and install Context Menu Editor.
Step 2: Launch it with Administrator privileges.
Step 3: Switch to the Remove tab.
Step 4: Right-click the desired item in the list and hit Remove.
Note: This is also a neat method to thoroughly identify registry entries, simply by hitting the Launch Registry Editor from the program’s interface, taking you directly to the specific item’s location, wherever it’s hiding.
Add custom context menu entries
Step 1: Run Context Menu Editor again if you close it.
Step 2: Browse and select the executable or command to launch.
Optional step: Pick a representative icon. The default one is imported automatically.
Step 3: Add text to be displayed in the context menu.
Step 4: Hit the Set button, with changes applied in real time.
Note: The same can be done for websites, requiring even less effort. If you run the utility for Windows 8, make sure to enable Windows 7 compatibility. Don’t worry, stability is not affected in any way.

 14 DAY TRIAL //


