14 DAY TRIAL //
 Do you care about your private data? If not, you should! Have you heard about encryption? If not, you must! To be sure you understand why I am interrogating you like a sleuth, I will cut to the chase and explain you in detail. Some data stored on your computer should not be accessed by other persons than you. A simple password protected user account would not be enough to restrict access to your important documents.
That's why computer specialists came up with the idea of encrypting data. The idea of encryption or cryptography does not have its origins in the computer environment; it dates way back in time, since the antiquity. The mechanism is based on a cryptographic algorithm which transforms the plaintext information in a scrabbled one with no value as it cannot be read without having the proper cryptographic key.
Enough with the theory, let's talk about practice. Windows XP Professional comes with a built-in encryption mechanism. I am sorry for those who did not consider buying the Pro version. Pro should have meant something isn't it? Well, the embedded encryption tool is one of the features that are available only in the professional version of Windows XP (Windows 2000 and Windows 2003 Server include this feature too). This feature spears users buying additional encryption software. The advantages are represented by its ergonomics, easy handling and the fact that it does not require too much knowledge to work with it.
One condition must be fulfilled: the filesystem must be NTFS. In case you have both NTFS and FAT32 formatted HDDs do not expect to be able to encrypt data on the FAT32 disks. It won't work.
Encrypting files / folders
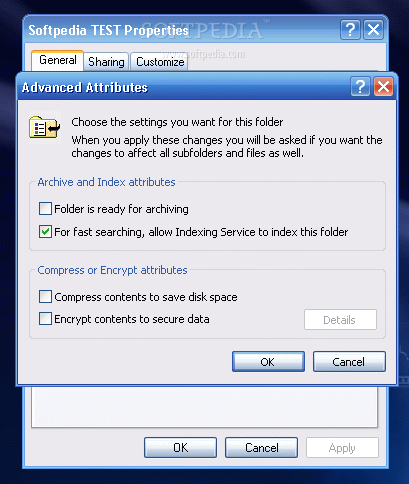
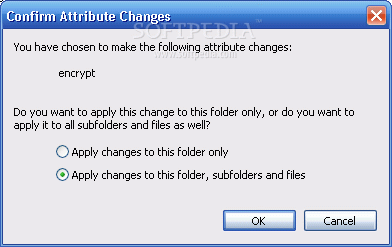
Why is it so simple to use? Because it works similarly to applying hidden/read-only attributes to files and folders. Therefore, select a file or folder at your choice and right click on it. Under the properties window, down at the bottom, select advanced. This will get you to the advanced attributes. Encryption is an advanced attribute along with the compression. To encrypt that file/folder check the "Encrypt contents to secure data" option. Once you click Apply you will be prompted to decide whether you want to encrypt only that folder or all the subfolders inside (in case you have chosen to encrypt a folder not a file). Now check the explorer for that file /folder. You will notice that it has a different color than the normal files. The color is meant to notify you that you are dealing with encrypted data.

Besides the advantages provided by the encryption mechanism, there is a dangerous pitfall. The encryption rewrites the data and gives access to it only to the user that applied the encryption attribute. That data cannot be accessed by other users or someone who physically obtained the HDD. You can ask why it is dangerous. Isn't it the aim of it? Yes, it does the job well, but if you make a mistake and accidentally lose your account or Windows crashes down and requires a reinstallation, all the data is lost. With no backup present, your documents will be gone. Or not? I will tell you how to avoid this unpleasant moment.
When you attempt to encrypt a file using the EFS Windows will immediately generate a security certificate attached to your user account. This is the certificate that grants access to encrypted files. To be sure that you can access the encrypted data after you reinstall Windows you need to backup the certificate.
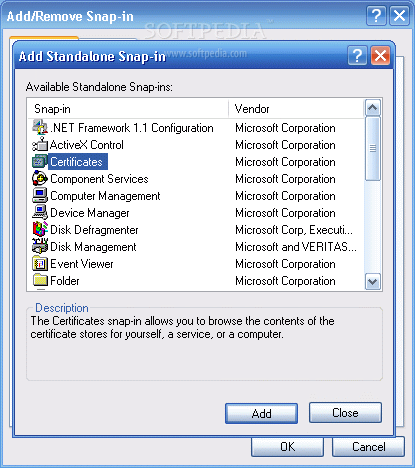
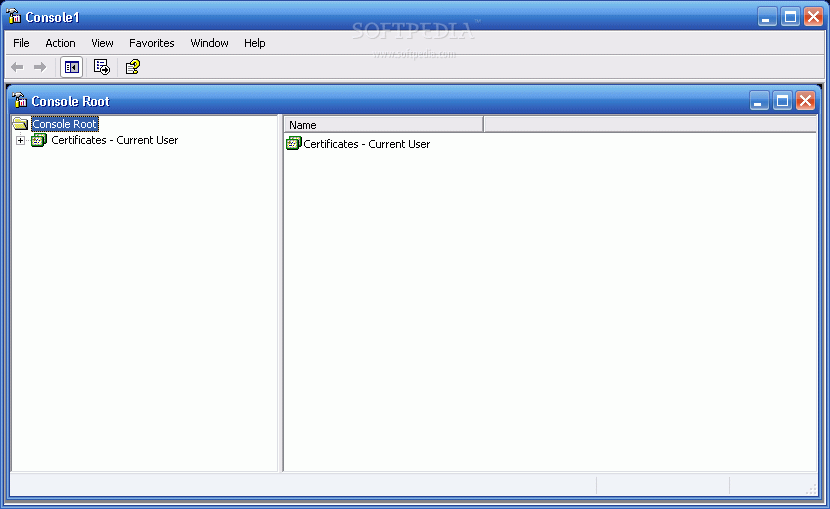
1. Go to Run and type mmc, then click OK. It will open the Management Console. From the file menu click Add / Remove Snap-In. In the newly appeared window, click ADD and from the list select the Certificates snap-in. After you have selected it, click Add again and then finish. Now you have access to the Certificates console.
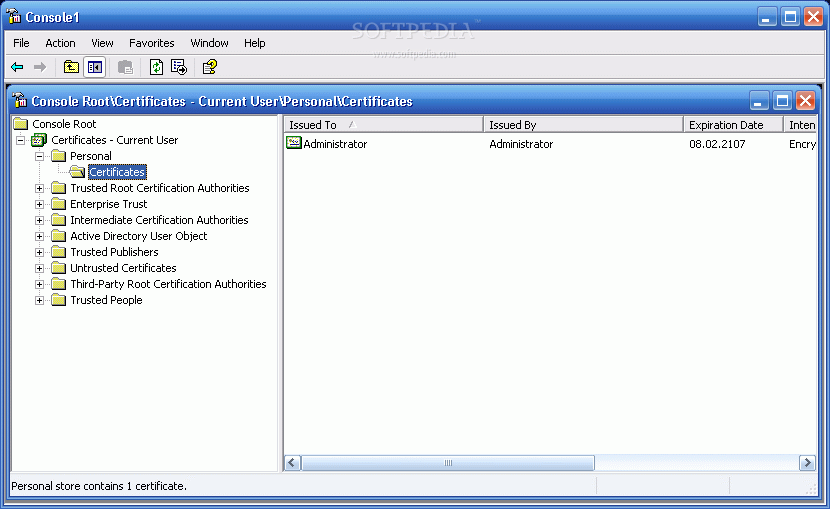
2. On the left expand the list and go to Persona > Certificates. Look in the right panel; there you will see a certificate named after your user account.
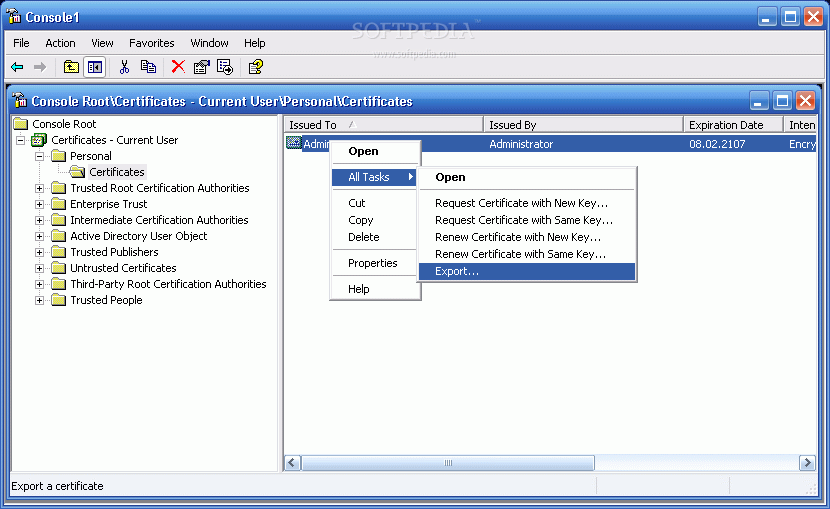
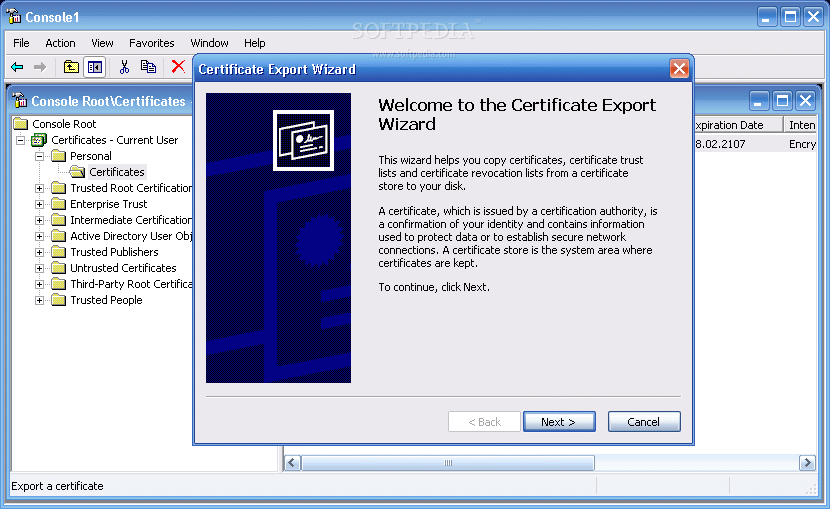
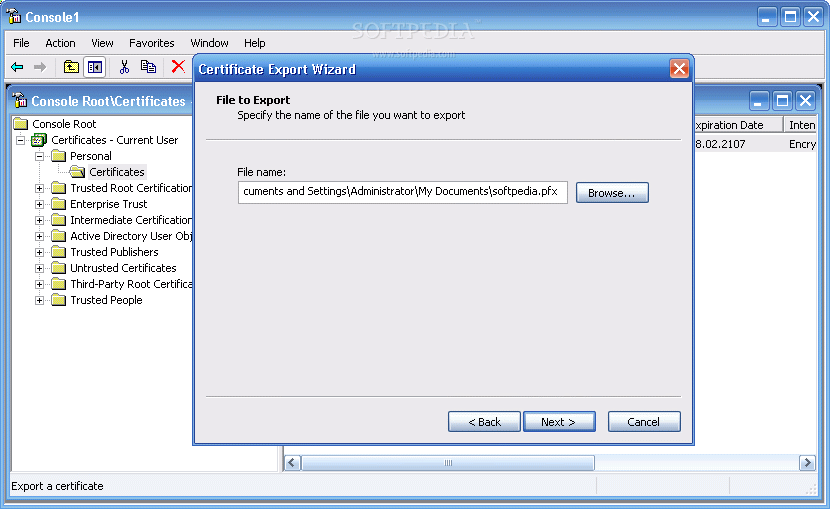
3. Right click on that certificate and go to All Tasks > Export. The Certificate Export Wizard will walk you through the process of exporting that security certificate.
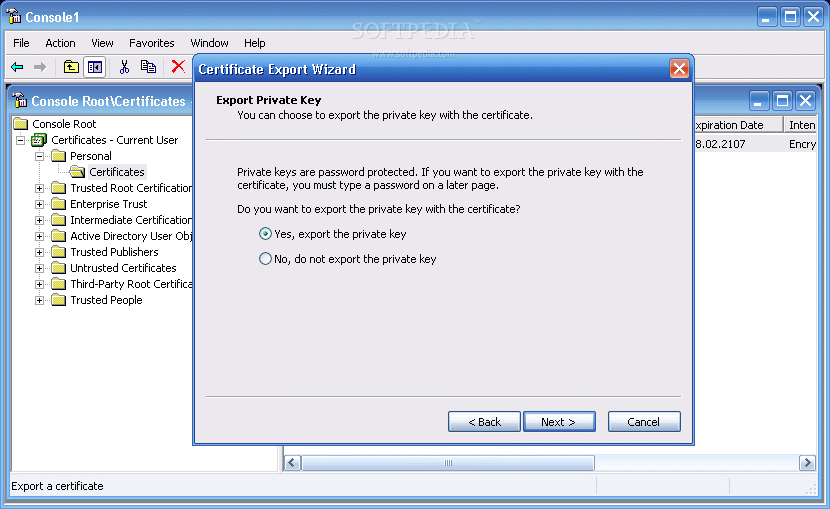
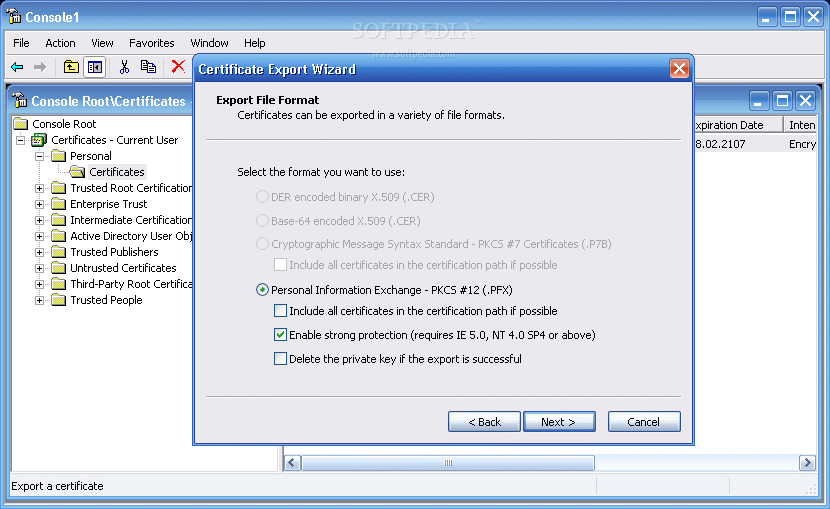
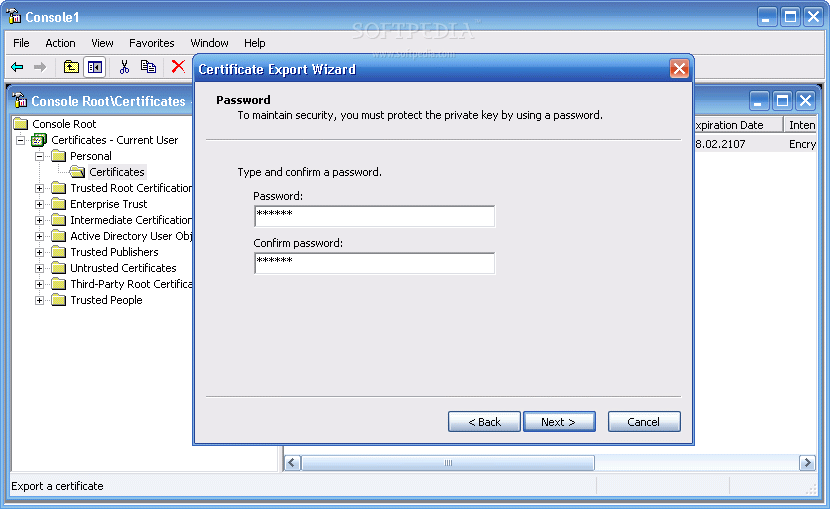
4. Select "Export the private key" and click next. In the following window provide a password to protect that certificate. Do not forget that password! Once you double typed the password, the wizard will let you choose a location for the certificate to be stored on disk. It will have a pfx file extension. Click finish and you are done.