 14 DAY TRIAL //
 Due to the huge spread of the digital cameras, thousands of photos invaded our computers. The number of pictures taken and deposited on HDDs, CD/DVD's or memory cards is so high that after a period of time, we have a lot of trouble in finding a specific image. This happens because of two major reasons:
■ When we copy the pictures from the digital cameras, we store them in many folders or all together creating a real chaos.
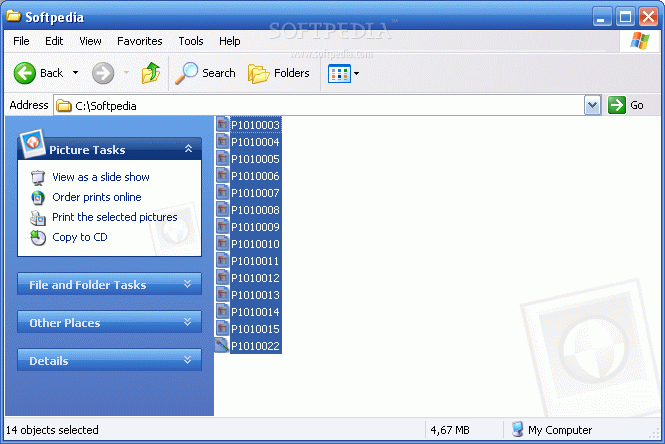
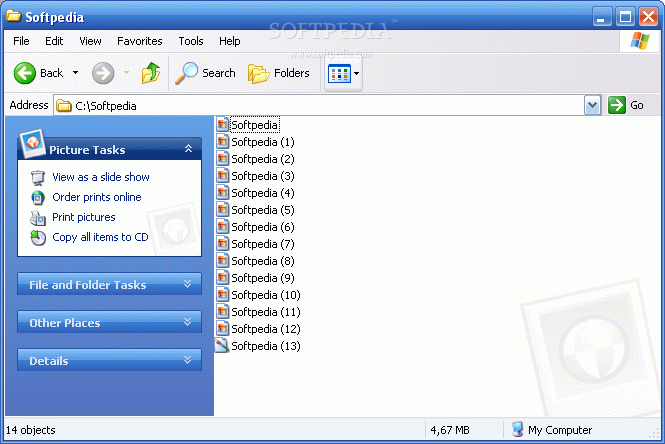
■ When the digital camera processes the image, it assigns a name to created image file. Usually, the name is DSC or PIC followed by a number. Example: DSC156789. It is so hard to remember a specific image if all the images taken by you and stored on your computer are named similar with the example above.
To avoid losing track with your beloved pictures, you have to rename them immediately after you download them from the camera. Well, it is difficult to rename each photo but you can batch rename them according to key event, date or other common clue that will later help you remind where the desired picture resides.
Batch Renaming is the process of renaming multiple computer files and folders (in our case digital images) in an automated fashion, to save time and reduce the amount of work involved. To do this task, we need an application that is able to undertake batch operations. A huge number of batch renaming programs are available but because we are talking about images, I prefer a nice and free application that provides a lot of useful features: Irfanview.
With Irfanview, not only that you can batch rename your digital image files but you can also batch convert them in a simple and easy way.
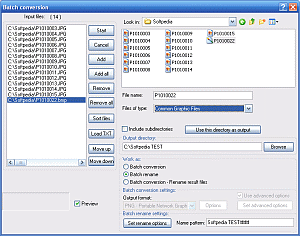
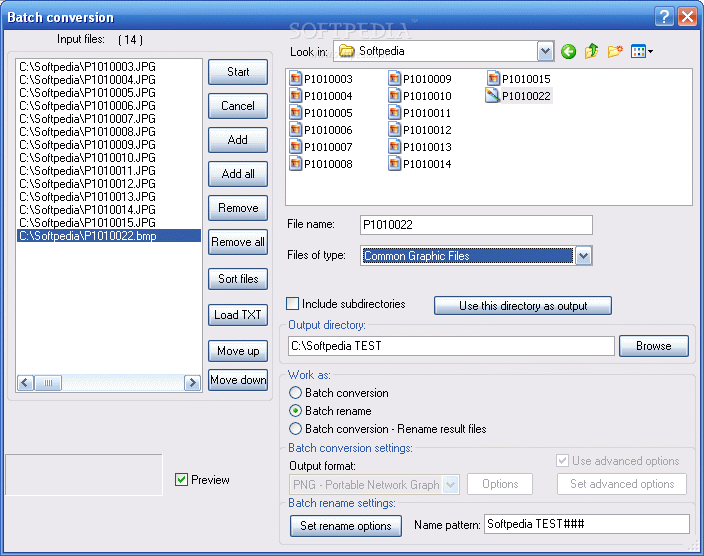
First, let me show you the steps how to batch rename your images:
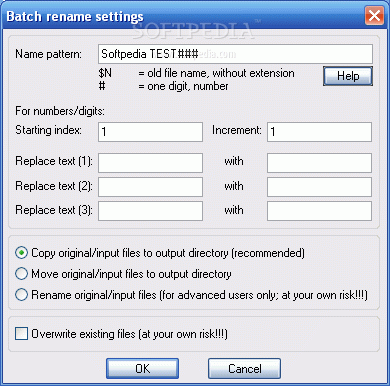
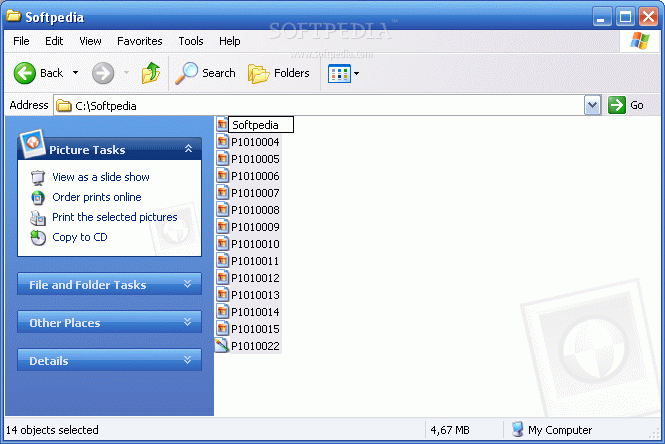
1. Launch the application and click File -> batch conversion/rename. 2. In the batch conversion window, browse the disks and select the files you want to rename. 3. Drag the selected files from the right explorer panel to the left one (the input files). 4. In the Output directory field, provide the target location for the upcoming renamed files. 5. Select "Batch Rename" under the "Work as" section and in the batch rename settings field provide the desired name for your files followed by the ### symbols. The ### will be automatically changed in numbers by the application. Example: you want to rename your images as Christmas_holiday. Because there are many pictures, they will be counted so your pictures will be renamed as follows: Christmas_holiday001 Christmas_holiday002 etc. 6. Click Start and the files will be immediately renamed and placed in the output directory.
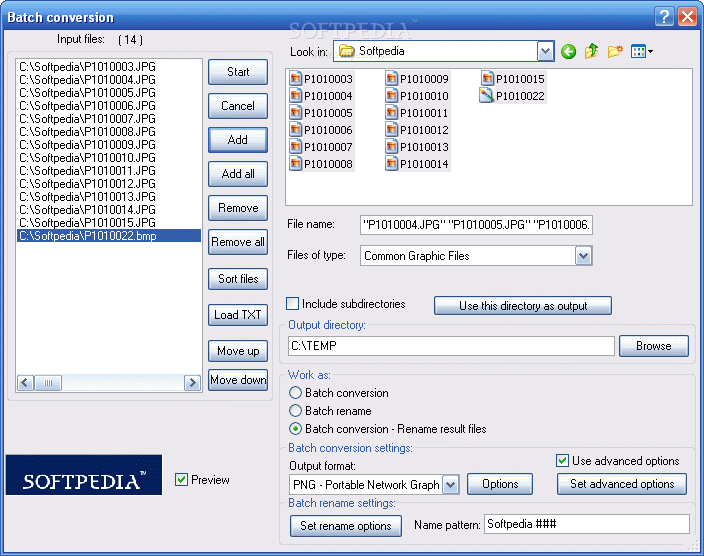
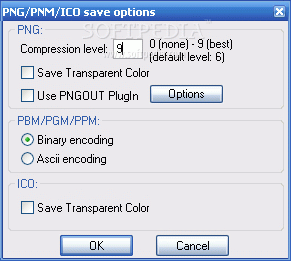
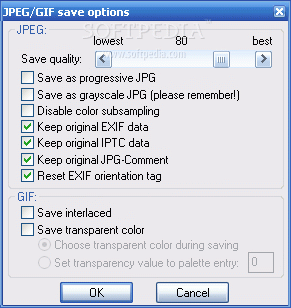
1. Launch the application and click File -> batch conversion/rename. 2. In the batch conversion window, browse the disks and select the files you want to rename. 3. Drag the selected files from the right explorer panel to the left one (the input files panel). 4. In the Output directory field, provide the target location. 5. Select batch conversion - rename the result files. Now you have extra options available. At the output format field, choose the desired output format for your files. After you've selected it, click options to set the quality level. If you do not intend to save space or use those on websites, select the highest level to obtain the maximum quality. In case you want to do additional modification to your files, select Advanced Options. Here, things are easy, you can: Crop, resize, change color depth, flip image or reset the brightness/contrast levels. 6. Click Start and the files will be immediately converted and renamed according to the settings you have provided.

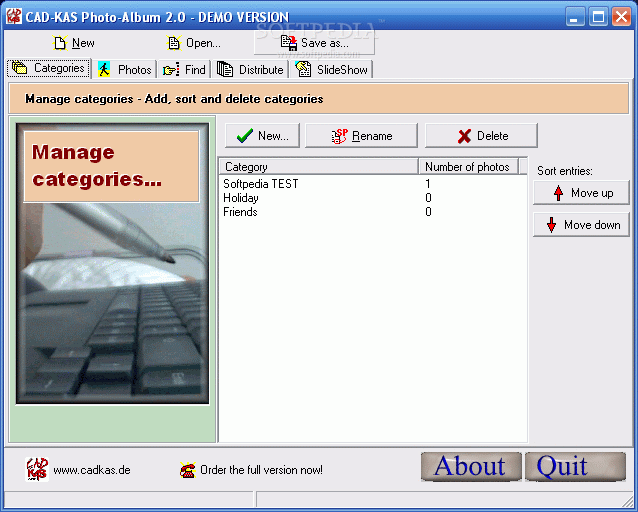
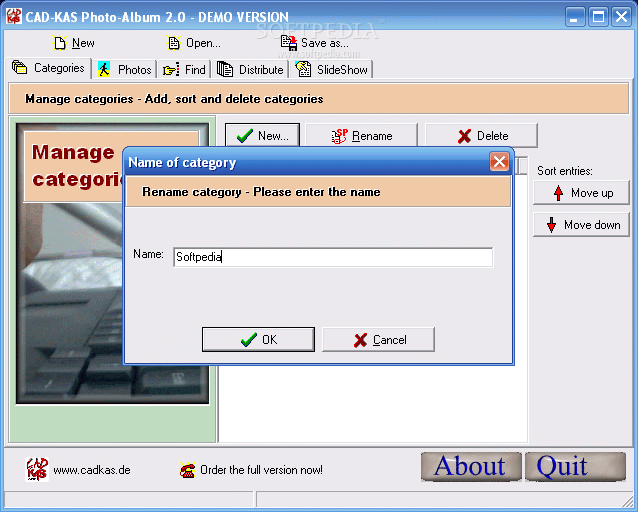
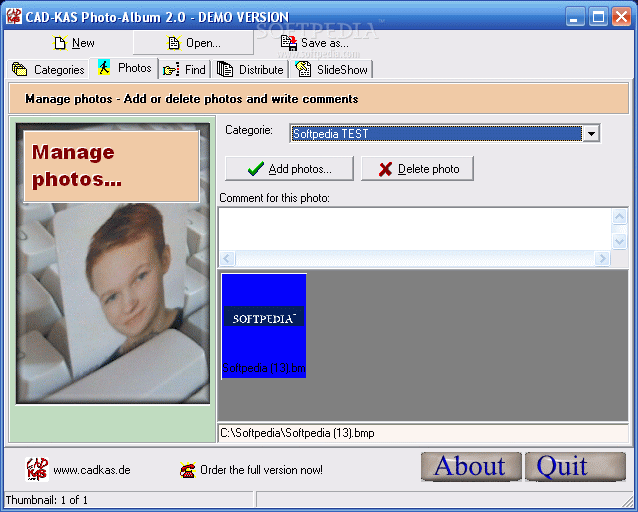
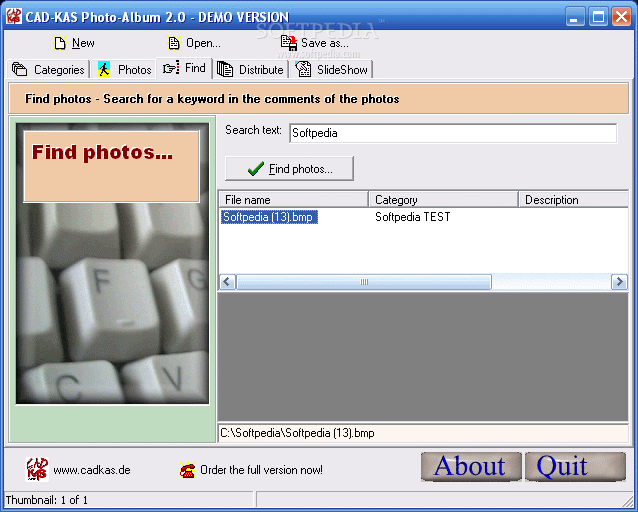
Moreover, you can try a software application that can organize your pictures in categories. For example, CAD-KAS GbR offers a nice application called Photo Album that enables you to sort and organize your pictures in a photo catalog. It is very simple. Just create categories and then add the related pictures for an easy later search and browsing.