
 14 DAY TRIAL //
 If you choose to install Fedora Core as your first Linux system, than this guide is for you. It's addressed to first timers in Linux world, and it will explain only the installation part, not the desktop configuration or anything else. The installation presented here is for a completely functional workstation environment. So, let's get started.
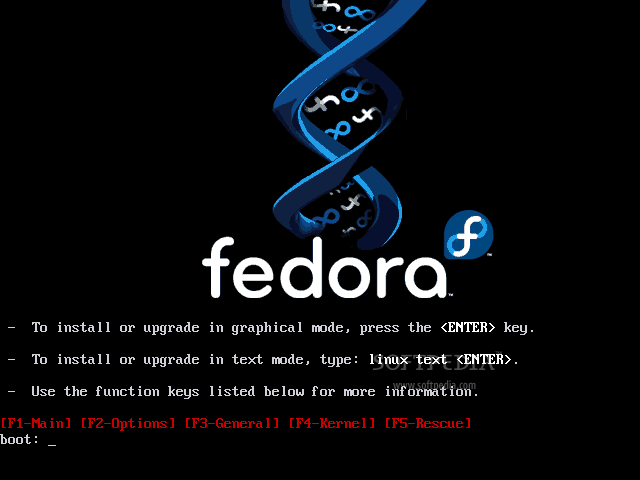
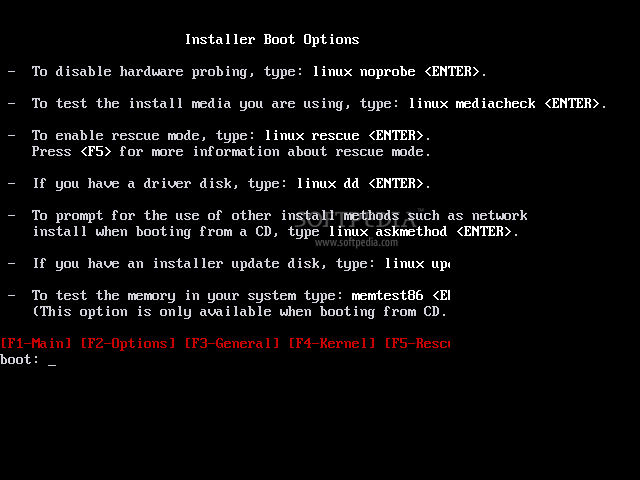
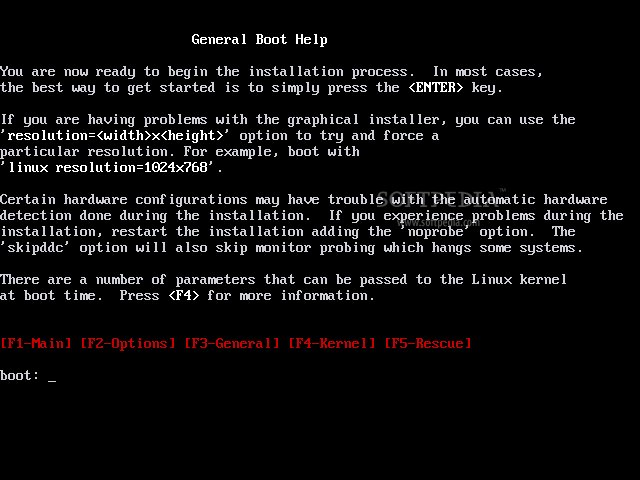
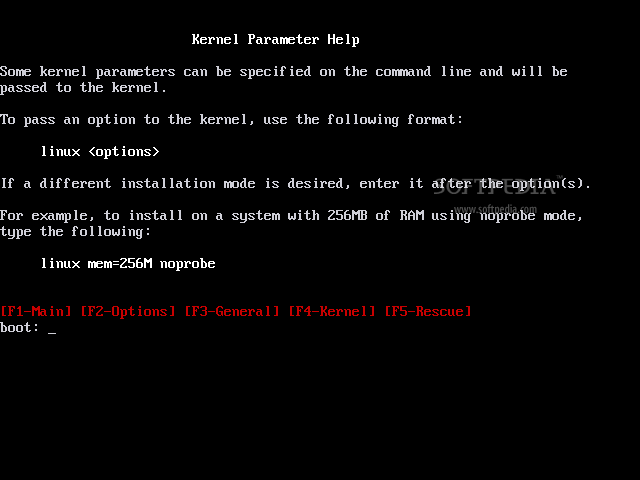
I have used a DVD disc and I recommend the same for all of you, if you don't want to have 5 CDs to insert and eject many times. Insert the disc and boot from it. You'll be presented with a nice Fedora artwork and some options, see pictures below. At this part, I simply suggest to press ENTER, and start the installation process.
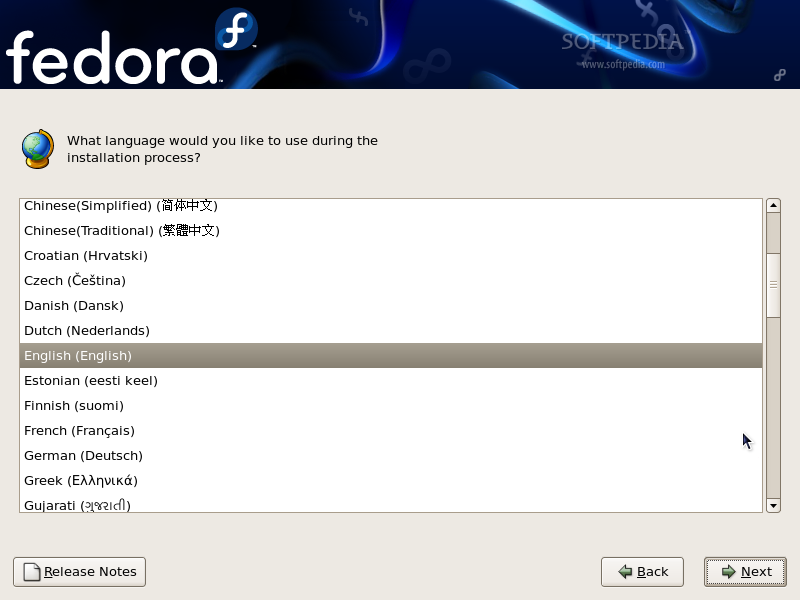
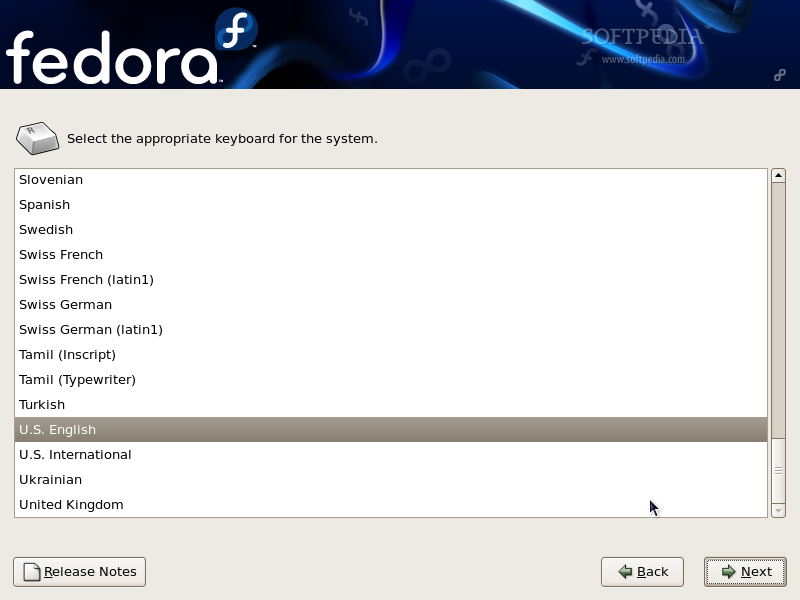
After pressing the ENTER button, you will see a lot of text; don't worry, because it's normal; then, you'll see a warning telling you that it has found a CD and if you want to test it, just select the SKIP option and prepare to enter the graphical installation part. The first screen is just a welcome one; hit Next and then, on the second screen, you'll have to choose your language - default is English. Hit Next again - the third screen will ask you about your keyboard layout - default is U.S. English.


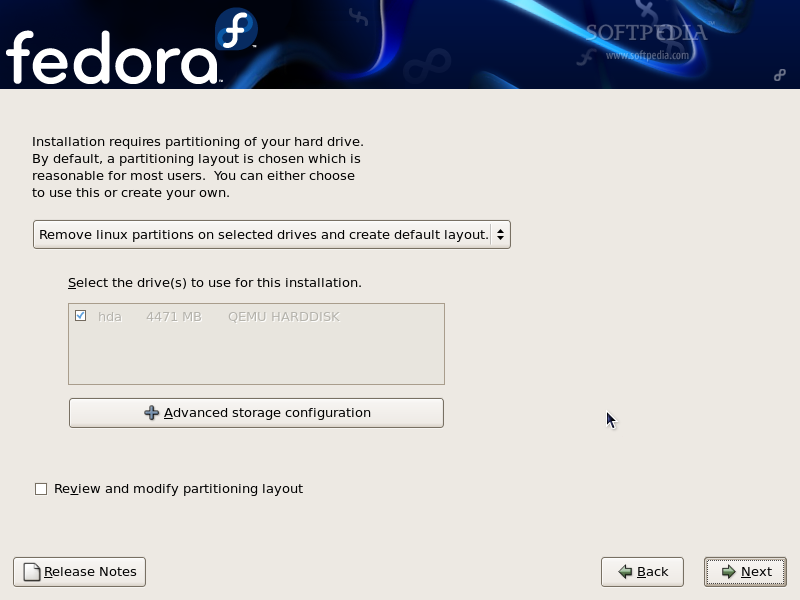
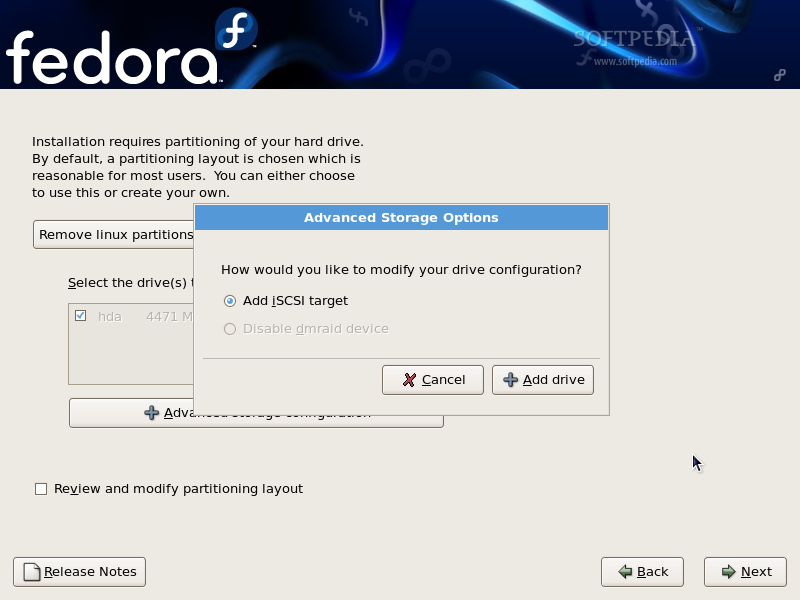
The next screen is about partitioning your hard drive. I always recommend having a blank drive, with no other operating system on it. At this point, I suggest leaving the settings as they are and hitting the Next button. Before we go to the next screen, a warning will appear that says all data on that drive will be destroyed; if you agree to that, just hit YES (if you really agree, of course).
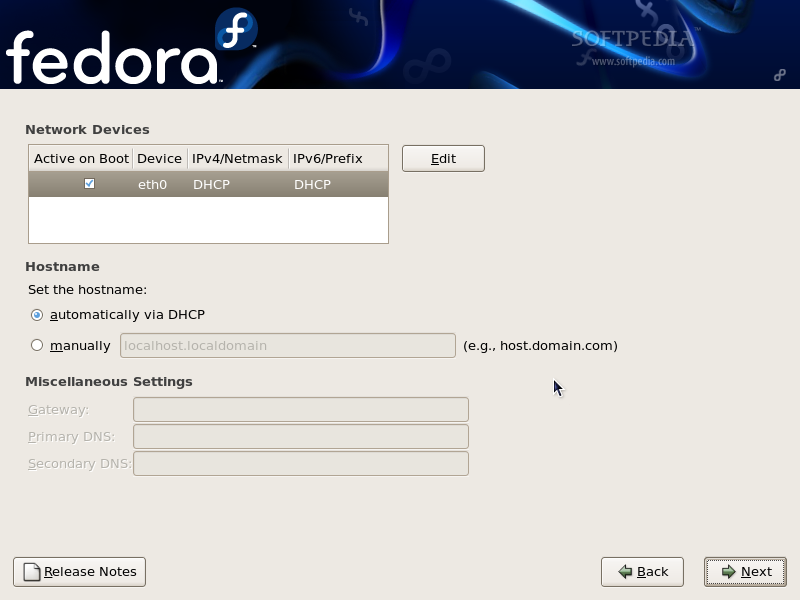
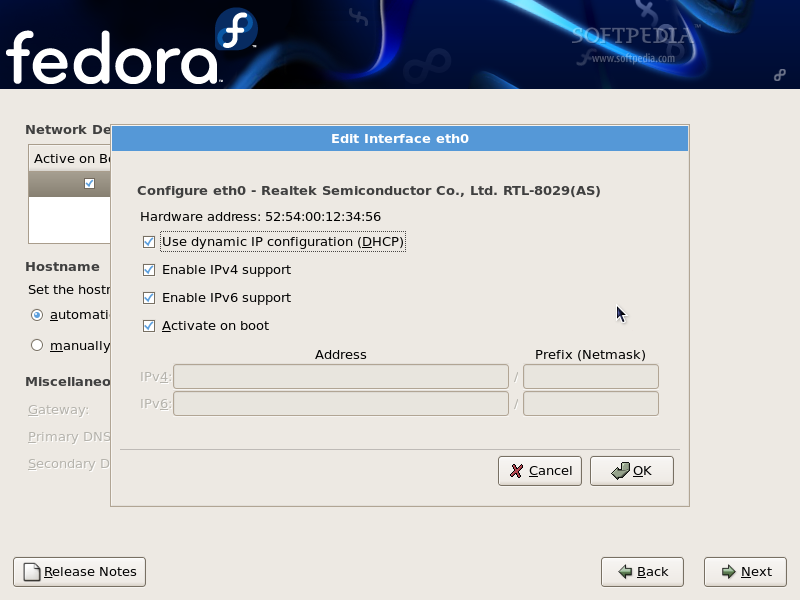
The fifth screen lets you set up your network. If you have DHCP (ask your provider if you're not sure), just leave the settings as they are and hit next. If you don't have DHCP and you need to configure your network manually, just press the EDIT button and a pop-up window will appear. Here, uncheck the "Configure using DHCP" option and you'll be able to enter the IP address and the Netmask (ask your provider if you don't know them). This version also has options to setup your IPv6 address, if you have one. Hit OK after you've finished entering the IP and the Netmask, and you'll be back to the initial screen, where you'll see that new fields are available:
- Hostname - the name of your computer, you can just enter my.linux or home.linux or anything you like, or you can leave it as it is. - Gateway - ask your provider if you don't know what to enter here. - DNS fields - ask your provider if you don't know what to enter here.
You'll have to fill in all these fields for a successful functional network environment.
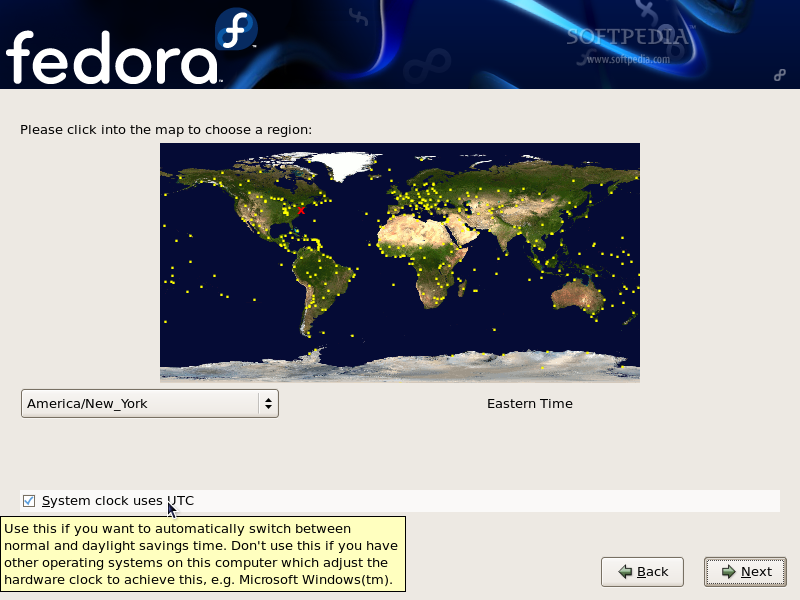
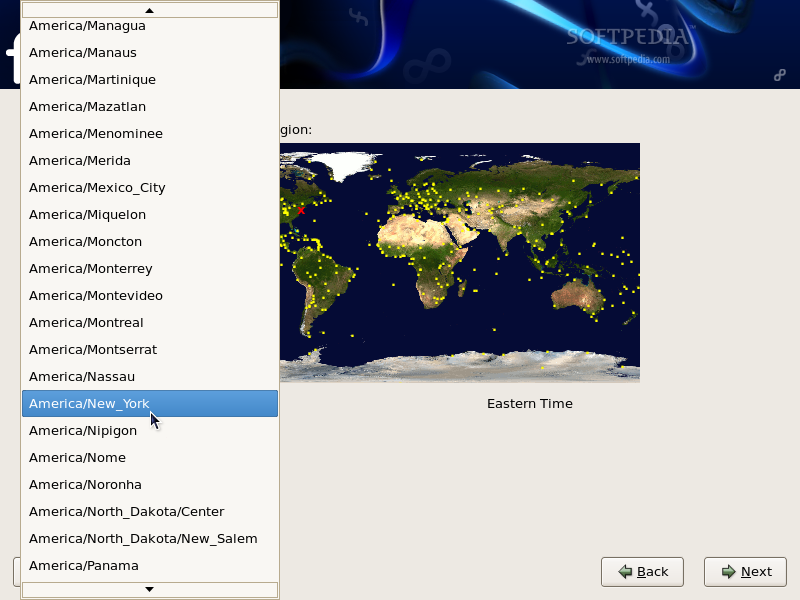
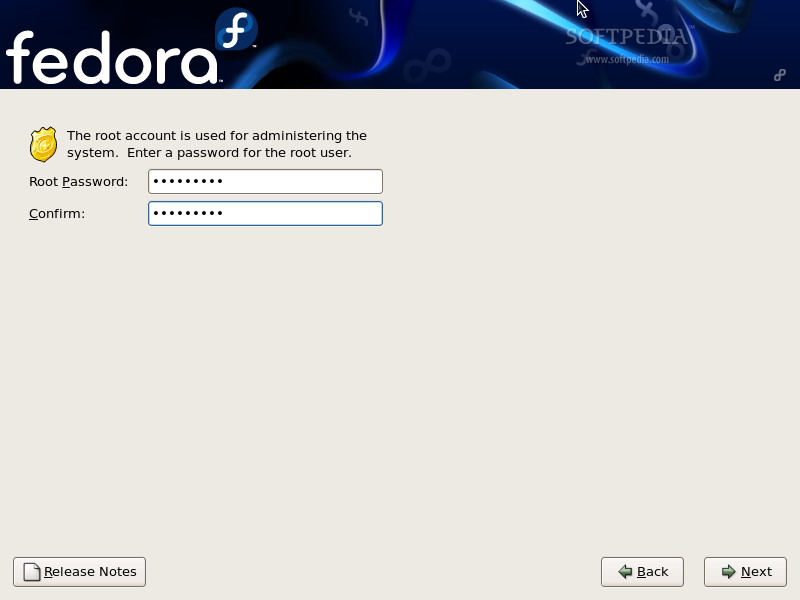
On the sixth screen you will simply select your country and hit next to go to the following screen, where you'll be asked for the root (Administrator of the system) password - the longer, the better (WRITE IT SOMEWHERE OR MEMORIZE IT). Hit Next again and we have arrived to the software selection part, which will take some time. I will give you an example of software selection for a completely functional workstation environment; after all, this is the goal of this guide.
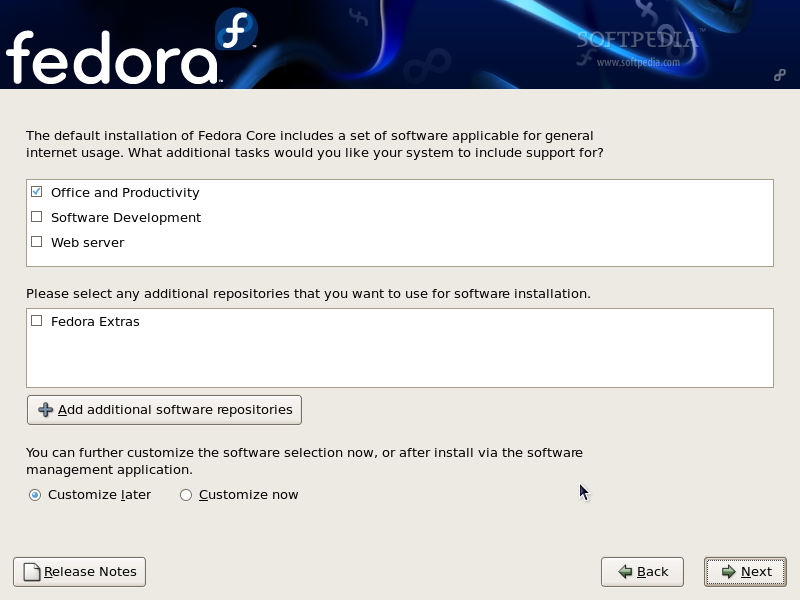
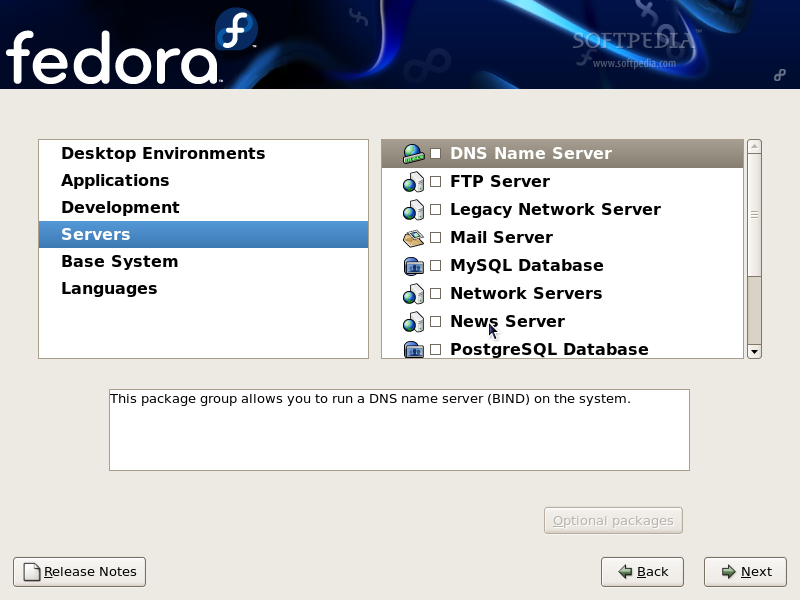
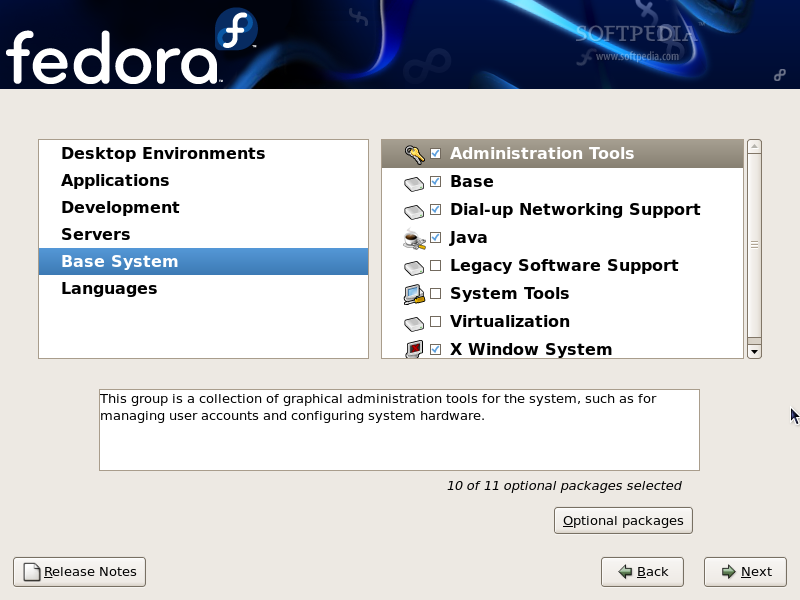
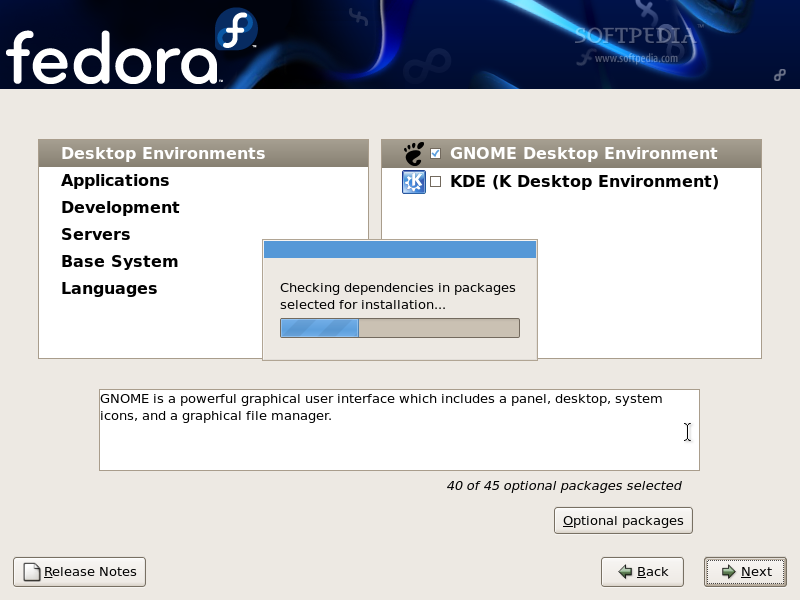
The applications are presented in 5 big categories, and each one has subcategories that contain applications which you can add or remove with the help of the "Optional packages" button, that is available only when you check the respective category. Remember that every subcategory has a brief description of what applications it contains and every application has a brief description about what it can do.
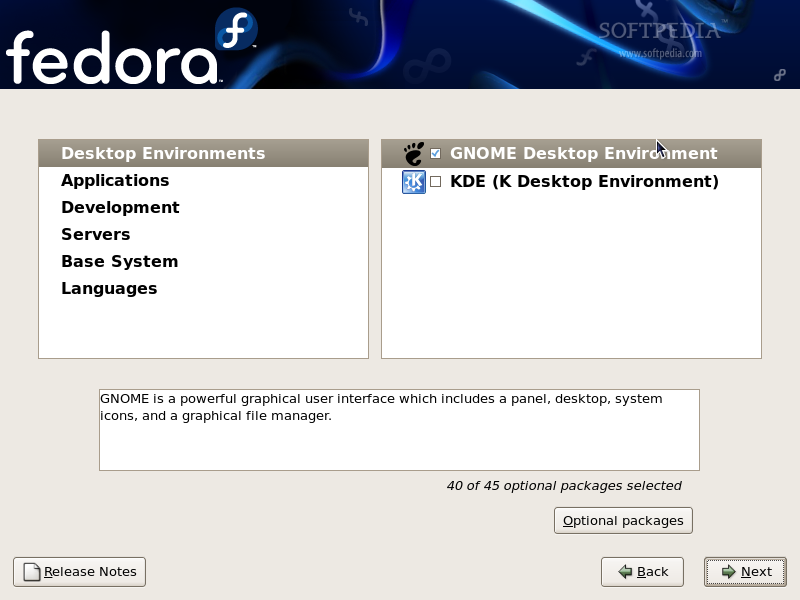
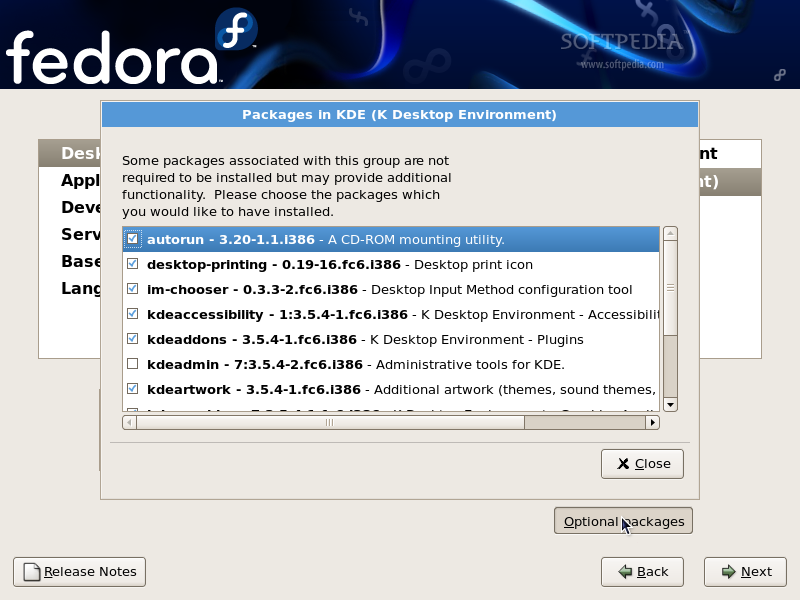
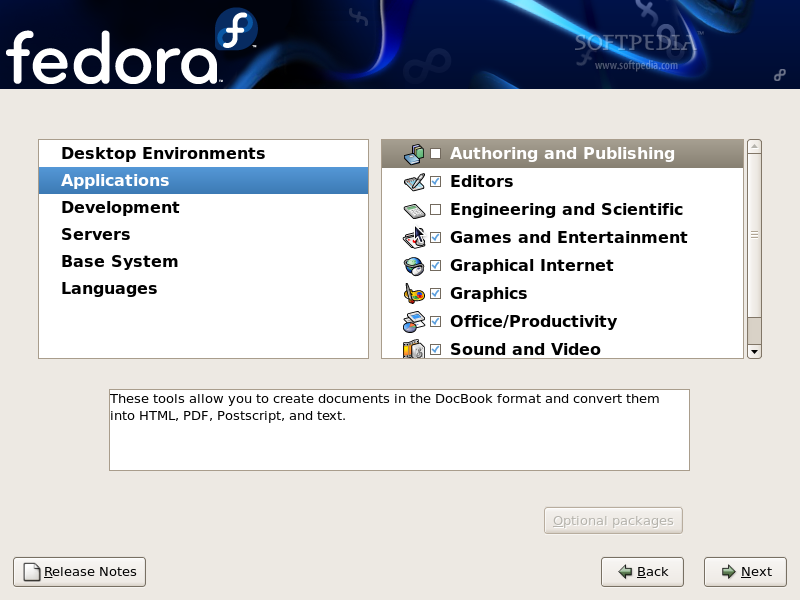
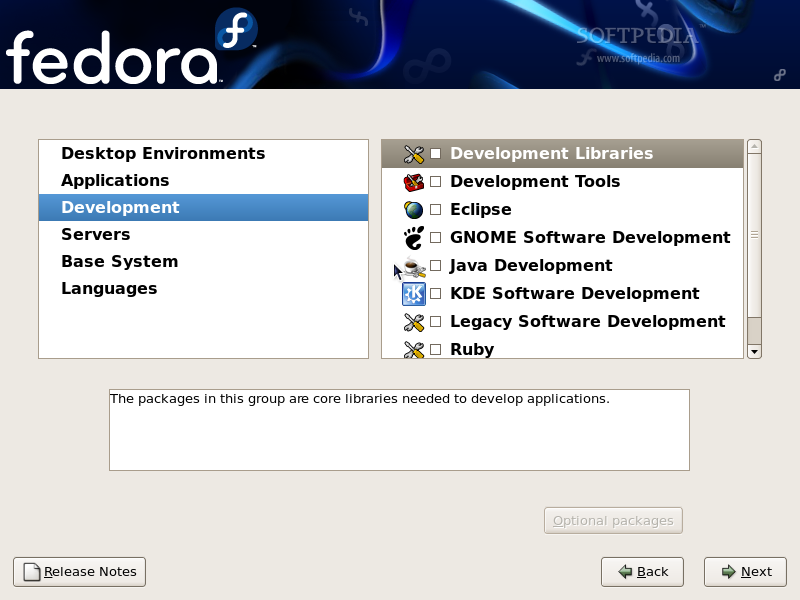
- Desktop Environments - it contains the GNOME and KDE desktop environments. GNOME is selected by default, but I suggest checking the KDE package and using it as your desktop. It is much more practical than other desktop environments. Remember to press the "Optional packages" button and check all the packages inside. - Applications - contains extra software for all your needs. I suggest exploring every subcategory here and taking a look inside to see if you need some of the existing software. - Development - Here, I strongly suggest to check all the subcategories and every software inside them; it will take some time to do that, but you will need this applications later if you want to compile and install software from the Internet. - Servers - Do not select anything in here. It's only for people who want to turn their machines into a Linux server, but this is not the purpose of this guide. - Base System - Along the selected subcategories, I suggest here to select the 'System Tools' and 'Legacy Software Support' and, of course, everything inside them, as well. - Languages - You can select another language(s) for your system. Later, you can set the system to use this language(s) as default.
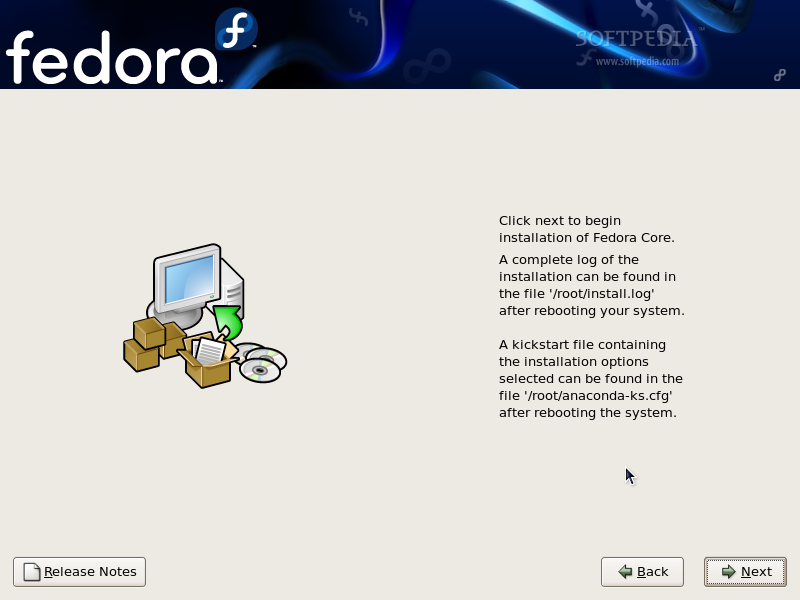
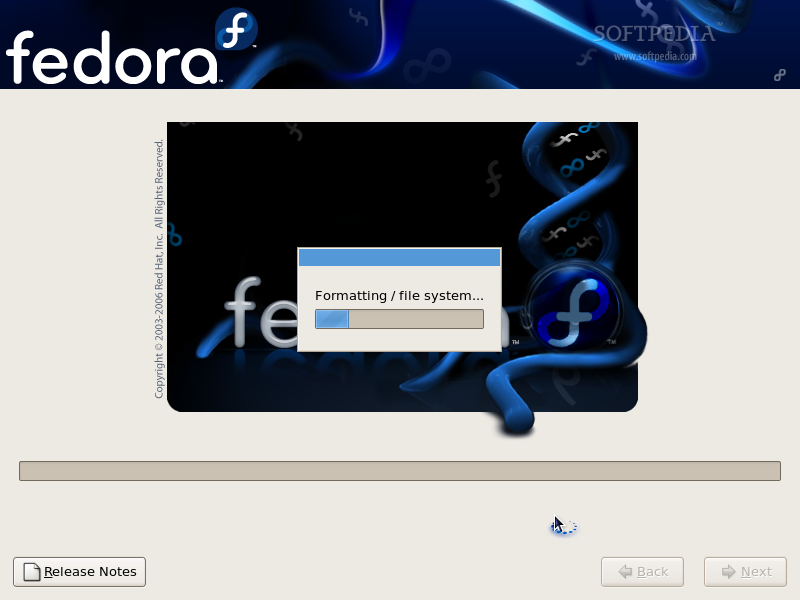
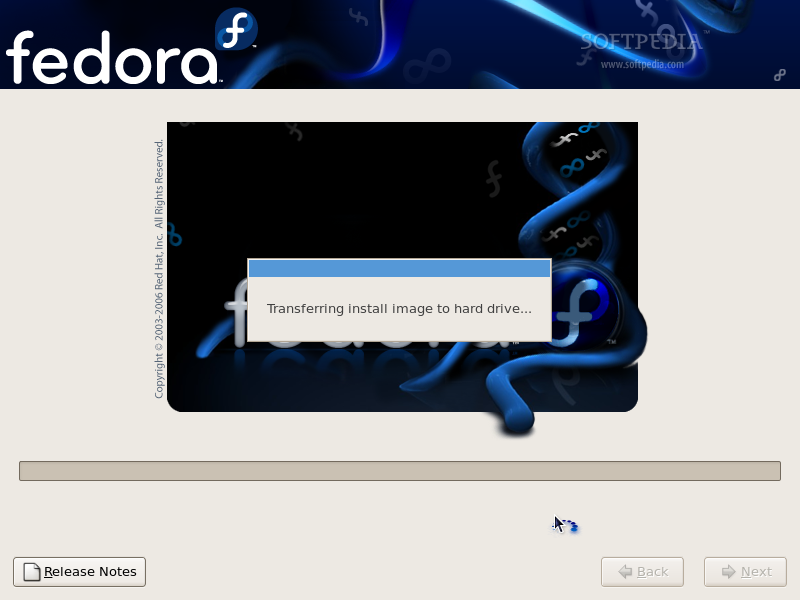
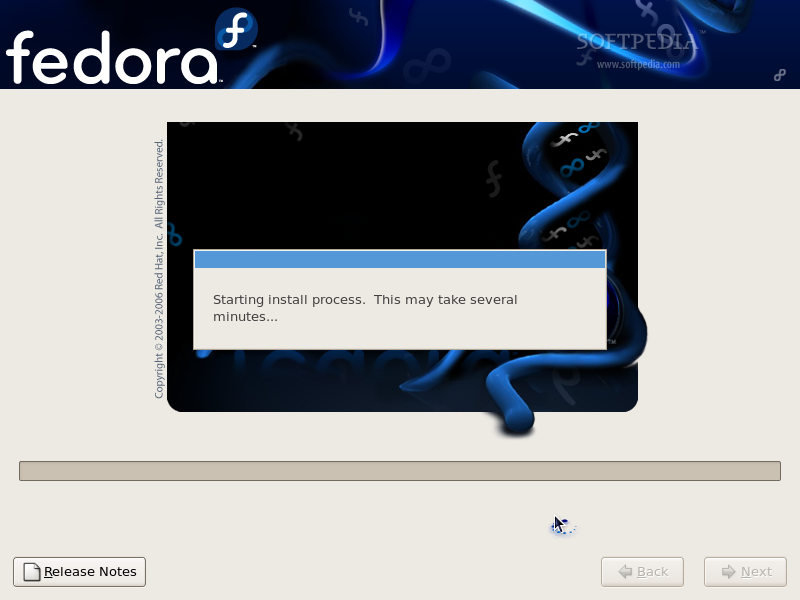
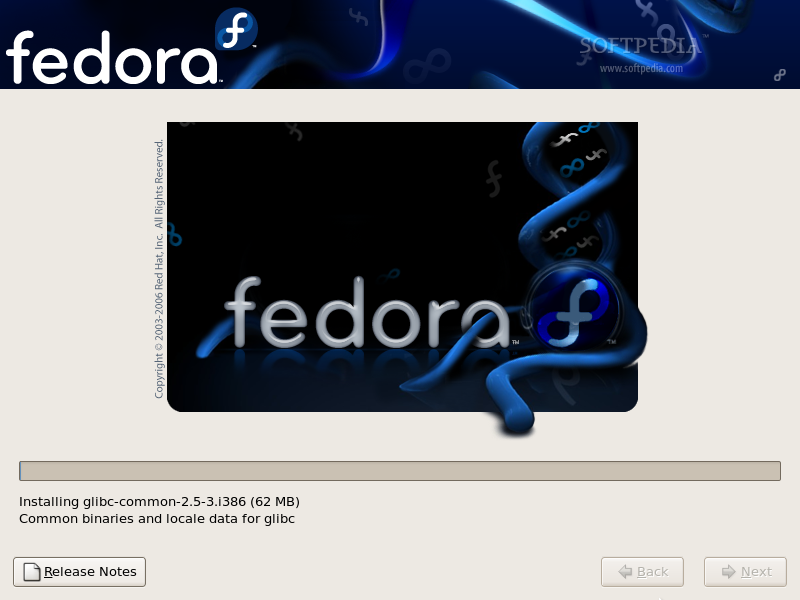
Now everything will be automatically, just seat back and watch how the partitions will be formatted and the software installation will start. I have tested it on an AMD Ahtlon 64 3000+ with 1 GB Dual-Channel DDR RAM; the process will not take more than 10 minutes.
If everything goes well, at the end there will be a final screen that lets you know you have successfully installed your new Fedora Core system, and all you have to do now is to enjoy your new Linux Workstation; don't forget to remove the DVD disc from your drive and hit the Reboot button. The machine will reboot and it will boot into your new Fedora Linux environment.