14 DAY TRIAL //
 Fedora is a very popular Linux-based operating system that includes all the bleeding-edge technologies. Fedora 7 was announced on the last day of May 2007 and it brings many new features and improvements over previous versions, which were entitled Fedora Core.
Among the new features, we can notice that Fedora has now an installable LiveCD, so everyone can now just burn the ISO and test Fedora OS directly from the CD, without installation. Together with the LiveCD, Fedora project is proud to announce a wonderful application that lets everyone create their own Fedora-based installable LiveCDs. The application is called Revisor and features a nice GUI for inexperienced users and a CLI (command-line interface) with extended configuration for advanced users. The Revisor project can build both Fedora 7 Install and Live Media.
Unfortunately, Revisor does not come installed in the KDE edition of Fedora 7 (don't know about the Fedora 7 DVD), so you must install it yourself manually. You have two choices:
1. Either you download the RPM file from Softpedia, save the file in your home folder, then open a terminal and type:
rpm -i revisor-2.0.3.9-1.fc7.noarch.rpm
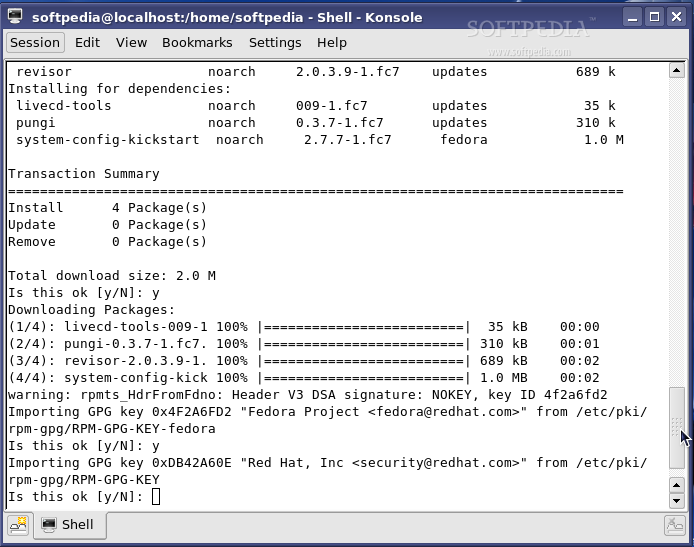
2. Or you can open a terminal, switch to root with the su command and then type:
yum -y install revisor
Now that you have successfully installed Revisor, you can find it under KMenu -> System -> Revisor.

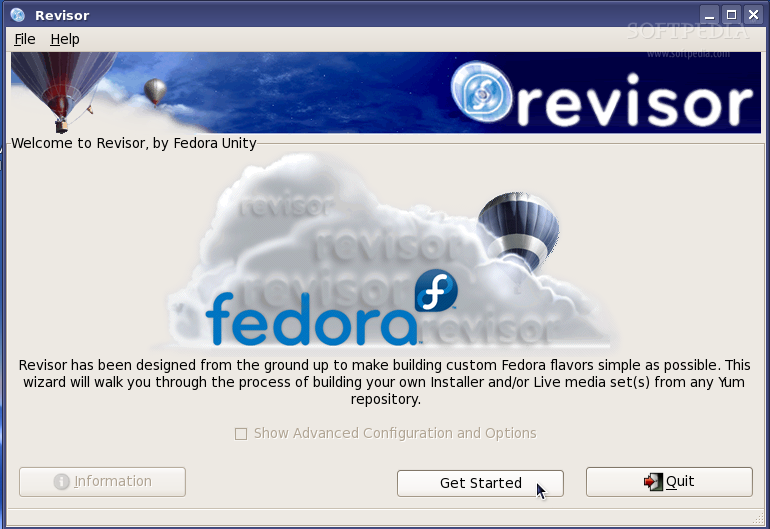
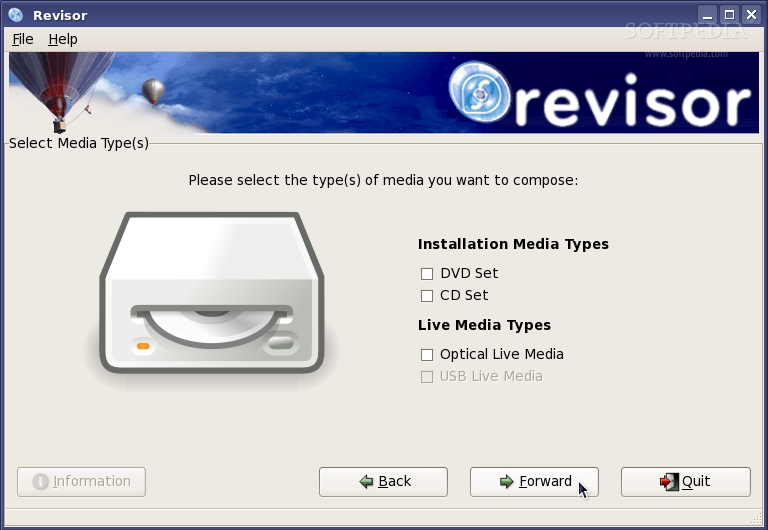
Fire up the application, push the "Get Started" button and the first step of the wizard will ask you to select the type of media you want to compose (remaster). As I said earlier, there are two types of media that Revisor can build:
1. Installation Media (DVD or CD) 2. Live Media (Optical Live Media)
For this guide, we've chosen the "Live Media" option.
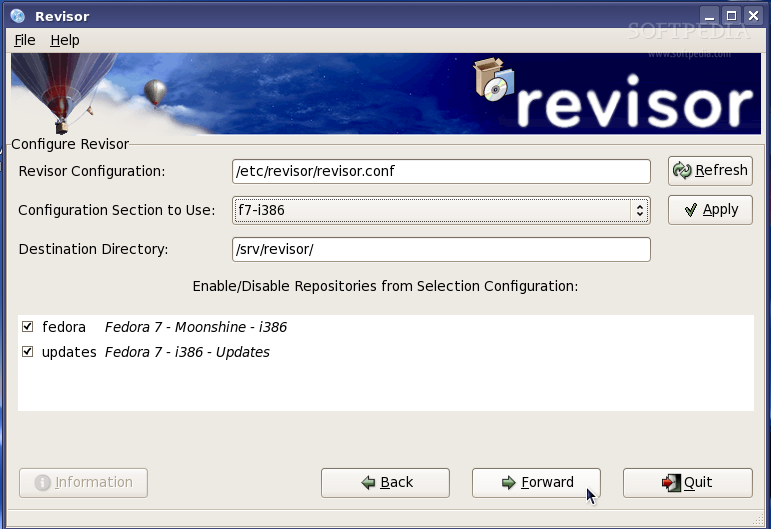
Click the 'Forward' button and, on the second step, you have the possibility to select the machine type:
■ i386 ■ PPC ■ x64_64
and you can disable or enable repositories.
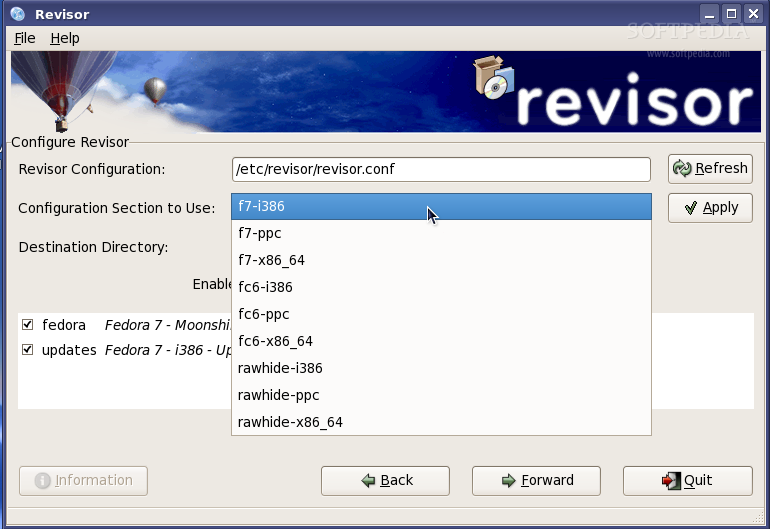
I've noticed in the "Configuration Section to Use" drop-down list that you can also use a Fedora Core 6 or a rawhide configuration to build the media.
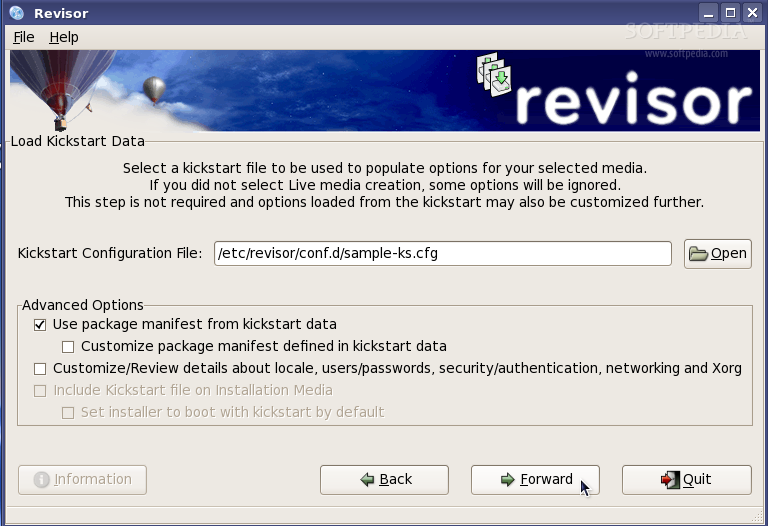
Load Kickstart Data is the name of the third step, and it allows you to select a kickstart file that will be used to populate options for your selected media. Some options are only available if you've chosen the Live Media creation. Through the advanced options that you can set at this step, there are:
1. Use package manifest from kickstart data; 2. Customize package manifest defined in kickstart data; 3. Customize/Review details about locale, users/passwords, security/authentication, networking and Xorg; 4. Include Kickstart file on Installation Media (only if you choose 'Installation Media' on the first step); 5. Set installer to boot with kickstart by default (only if you choose 'Installation Media' on the first step).
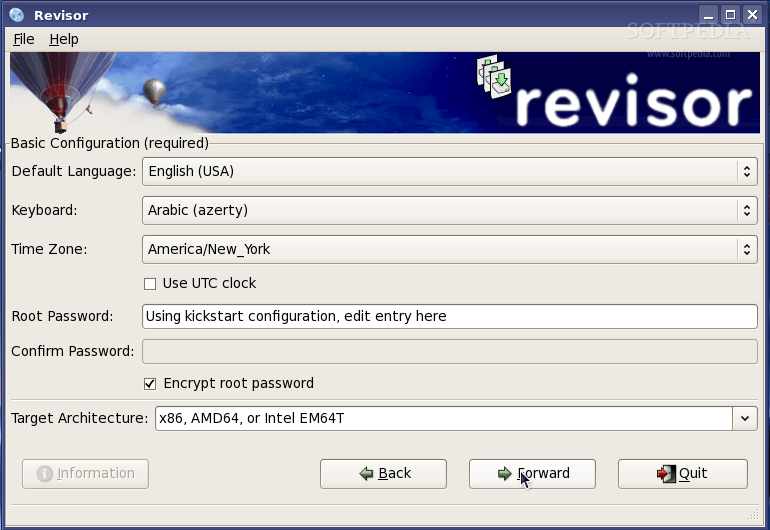
I've selected option 1 and 3 which led me to another step (not available if you select only the first option) where I was able to configure things like:
■ Default language ■ Keyboard layout ■ Time zone ■ Root password (with encryption option) ■ Target architecture
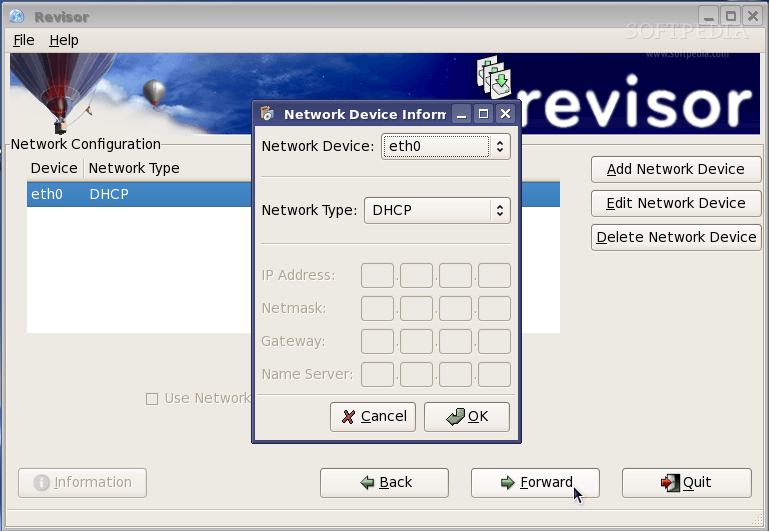
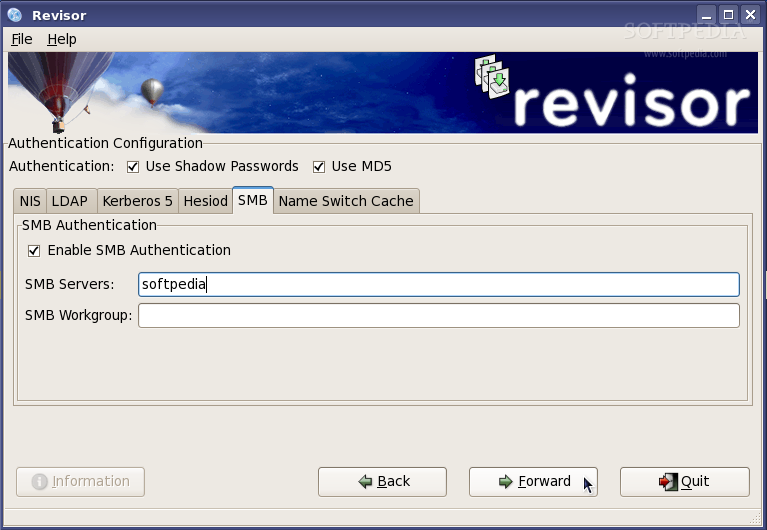
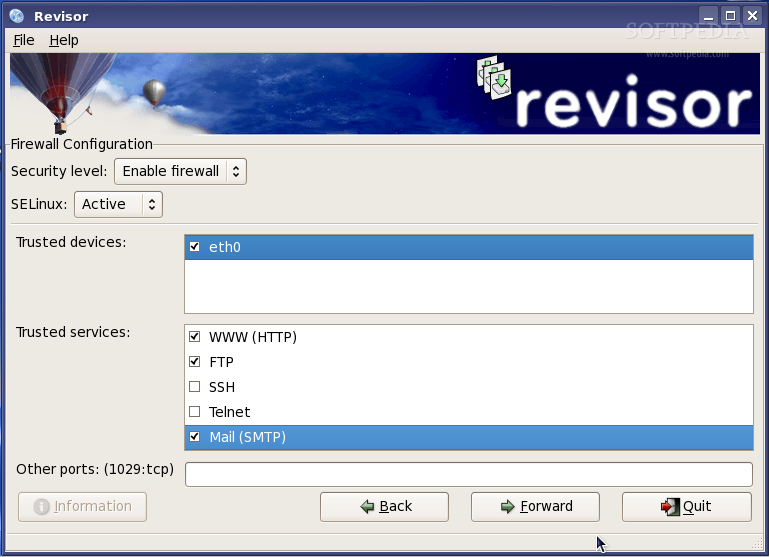
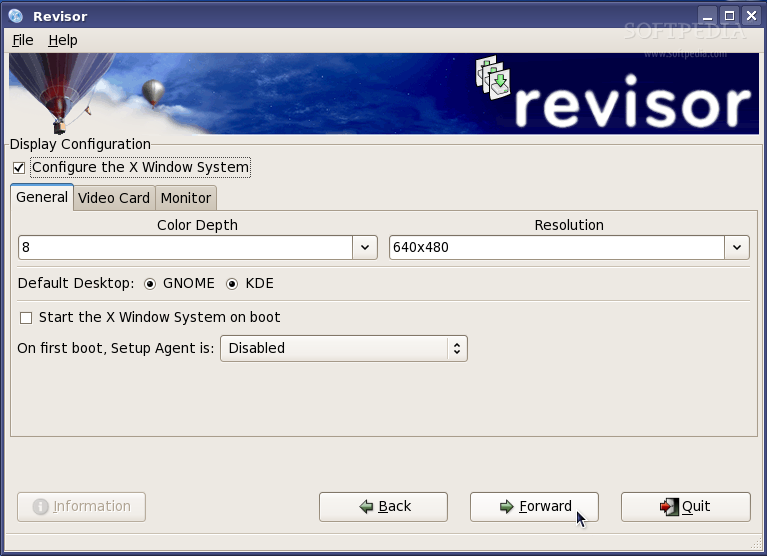
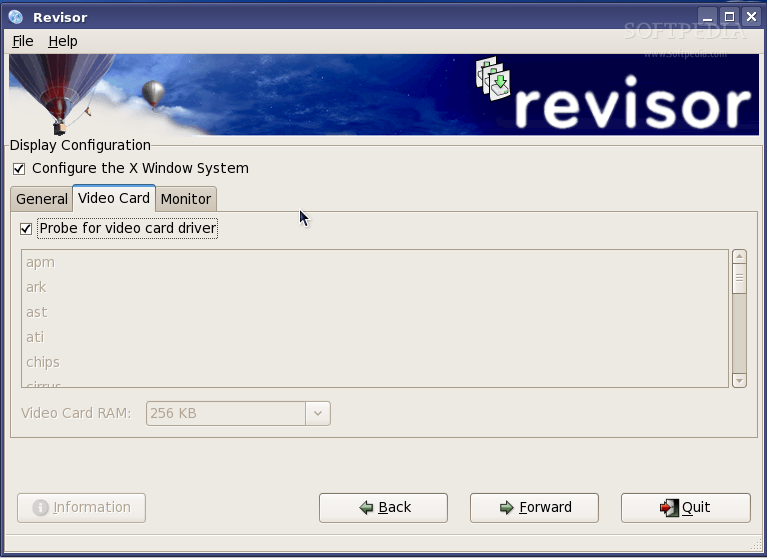
Moreover, after the above extra configurations, you will have the possibility to setup more options such as custom kernel parameters, configure network devices, configure authentication methods, setup the system's firewall, and configure Xorg parameters like:
■ Color Depth ■ Resolution ■ Default desktop (GNOME or KDE) ■ The possibility to start X11 on boot ■ Enable/Disable the Setup Agent

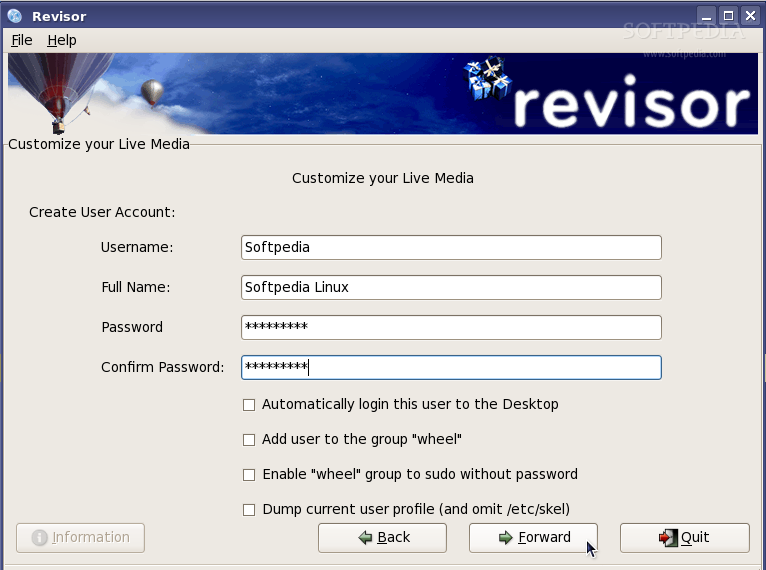
And finally, you will be able to create a user for the system, with some nice default options such as:
■ Automatically login this user to the Desktop ■ Add user to the group "wheel" ■ Enable "wheel" group to sudo without password ■ Dump current user profile (and omit /etc/skel)

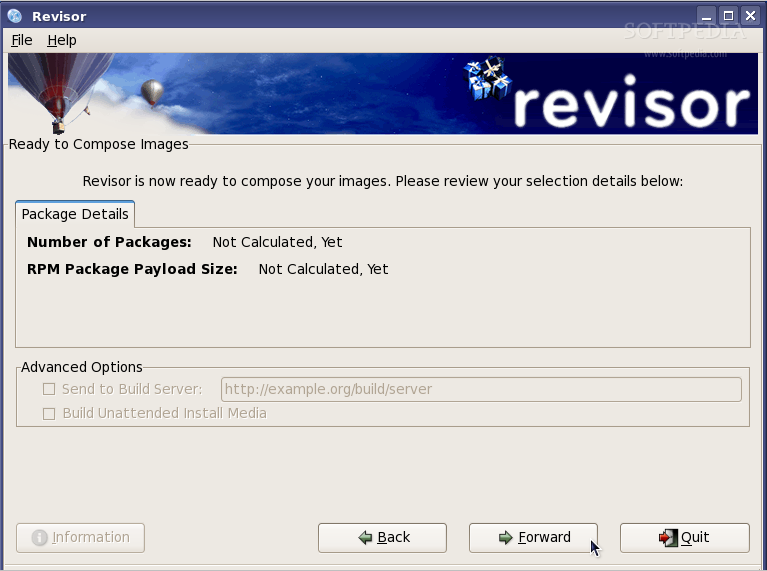
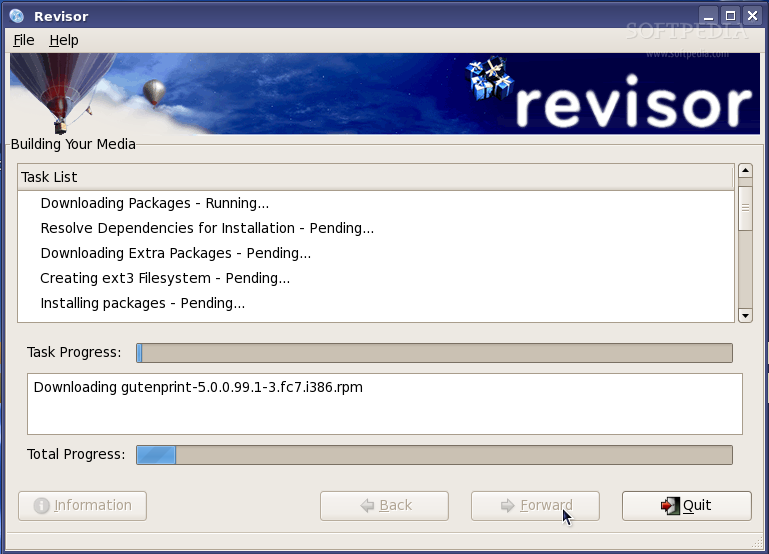
When you have finished with all the above configurations, you will get to the final step of the wizard (you can jump to this step if you don't select option 3 on the third step of the guide. See above for more details.) which will inform you about the number of packages included in the media and the payload size of the RPM packages. Click the 'Forward' button and the building process will begin. It will take some time (depending on your Internet bandwidth and your computer specs) so take a cup (or more) or coffee and come back later to check the build status. When the build process is over, you can burn the ISO image on a blank CD and start playing with it.