
 14 DAY TRIAL //
 For this task, you will need Avidemux 2.4 Preview 2. Why? Simply because it has improved support for H.264 videos, that means most of today's HR (High Resolution) movies and HDTV content. Let's say for example that you've recorded a TV show from your favorite HDTV channel and you don't have time to watch it (that's the reason why you have recorded it in the first place) and you are in a rush. What can you do? Answer: Convert it to a format that can be watched on your PSP (PlayStation Portable)! How? Read the detailed guide below on how to achieve this simple task with nothing but free software on a free platform, Ubuntu Linux.
I've used Ubuntu Gutsy Beta, the AMD64/EMT64 one, for this guide, to demonstrate to everyone that always ask me: how is Linux on a 64-bit platform? Do you have all the software you need? Well, Linux (Ubuntu, because this is what I have been using for some time now... more than a year) and the whole open source community made a lot of progress regarding the 64-bit platform and I can honestly say that... it works folks!
Installing AviDemux 2.4 from SVN
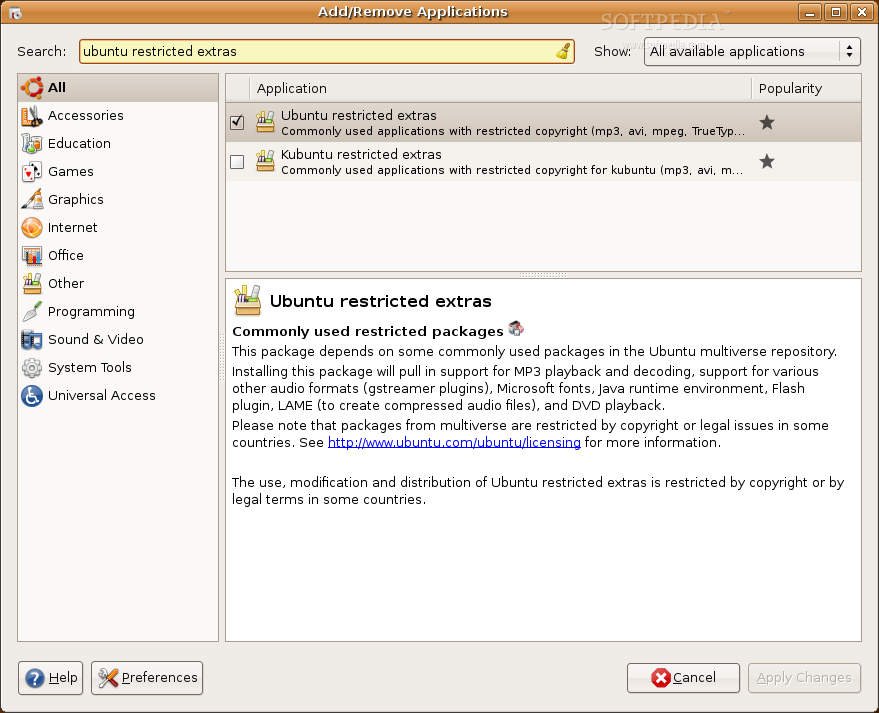
Unfortunately, you will have to open up a terminal for this task and copy/paste the following code, in order to install the dependencies for Avidemux:
Now fetch the Avidemux 2.4 files from SVN with the following command:
** Summary **
*******************
Gtk TRUE
Qt4 YES
*** Video Codec ***
X264 Yes
Xvid4 Yes
*** Audio Codec ***
LAME Yes
FAAD Yes
FAAC Yes
Vorbis Yes
Aften No
libDCA No
libAMRNB No
*** Audio Device ***
ESD Yes
OSS Yes
ARTS Yes
JACK Yes
*** Misc ***
SDL Yes
FreeType Yes
FontConfig Yes
Gettext Yes
Xvideo Yes
samplerate Yes
*******************
*******************
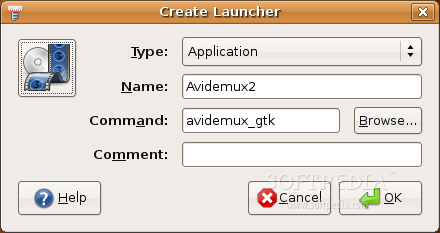
Let's create a desktop shortcut for Avidemux. Right click on your desktop, go to Create Launcher and in the new window that appears enter in the Name: field, Avidemux2 and in the Command: field, avidemux_gtk, choose an icon by clicking on the icon button and when you're done, click OK and the shortcut will be created on your desktop. Double click it and Avidemux will open.
Convert a movie to PSP specific format
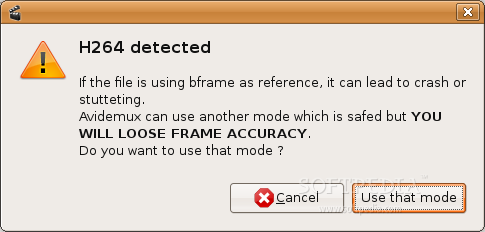
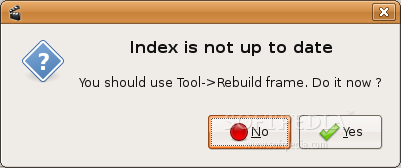
For this example I have used an MKV file, encoded with H.264 video codec and an AC3 5.1 audio codec. Click "Open", search for the video file that you want to convert and double click it. Now, let the application read the file, or index it if it's necessary, and if the codec is supported it will open. If you have an H.264 file, like me, Avidemux will ask you if you want to use an implemented mode for this kind of file, but you will click "Cancel" and then you'll need to rebuild the frames of the file, so click "Yes" when asked. Take a look at the example below:
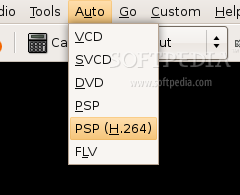
Go to "Auto" menu and select "PSP (H.264)":
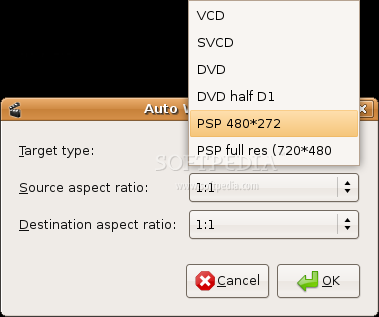
In the new window that will appear, select at 'Target type', PSP 480*272:
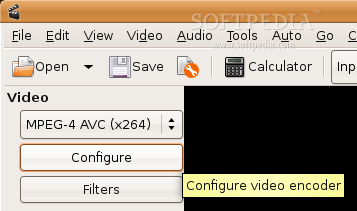
Click the 'Configure' button so we can configure the x264 video codec:
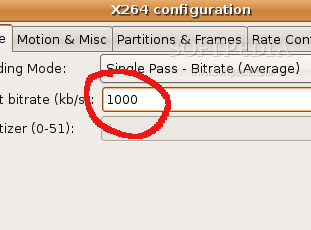
Type 1000 on the 'Target bitrate' field:
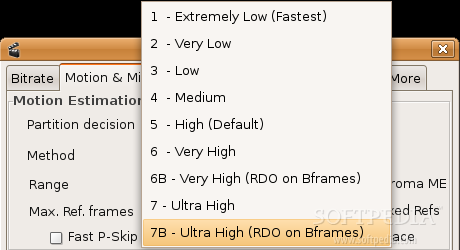
Then move to second tab (Motion & Misc) and at 'Partition decision' select last option, 7B - Ultra High (RDO on Bframes):
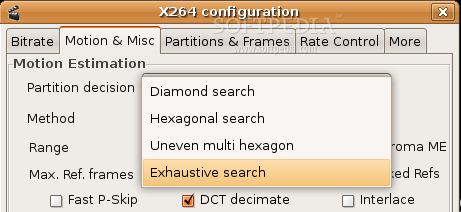
And on the 'Method' section, select "Exhaustive search":
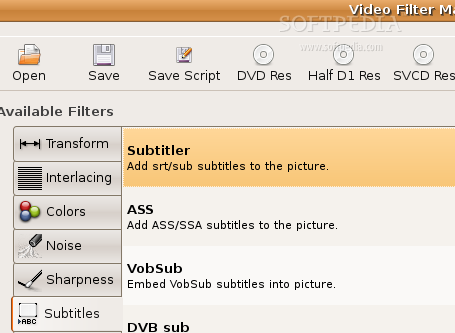
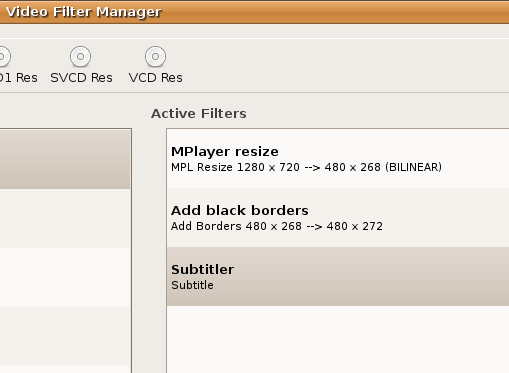
Now that the x264 codec is configured, click the 'Filters' button to add a SRT or SUB subtitle (optional) on your movie. On the Filters window, select the 'Subtitles' left tab and double click the first filter called "Subtitler":
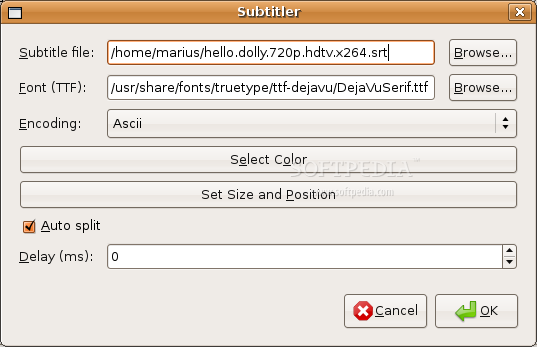
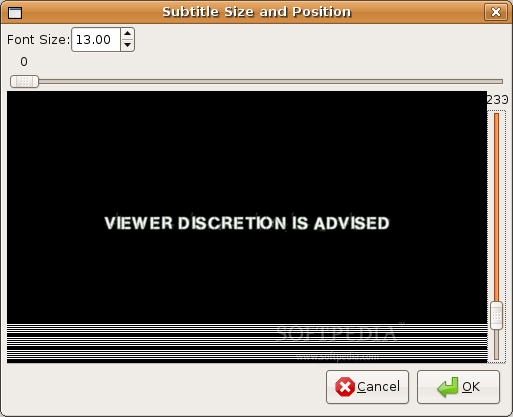
Now, choose the subtitle, choose a preferred font, choose the encoding type (I've used Ascii). Select a color for the subtitle and remember to click on the "Set Size and Position" button so you can adjust the size of the subtitle and where it will appear on the movie. Optionally, you can check the 'Auto split' option or set a delay (in milliseconds).
Click OK when you're done with the subtitle configuration and you should see the 'Subtitler' filter added to the 'Active Filters' list.
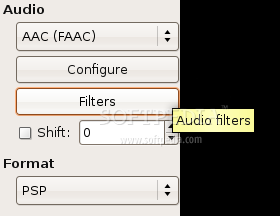
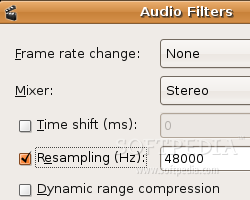
And select on the 'Mixer' section, Stereo; and on the 'Resampling (Hz)' section, choose 48000 (just check the option and it will be activated):
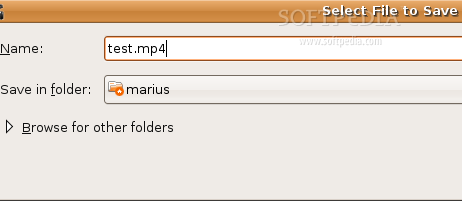
Click the 'Save' button and type a desired name and select the location were you want to save the file. Remember to add the .mp4 extension to the name of the file, because Avidemux doesn't auto-complete the file's extension.
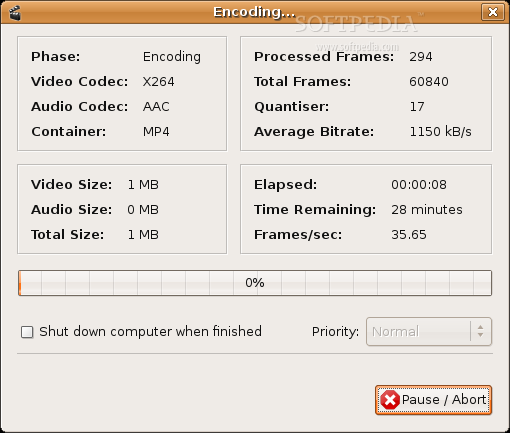
Encoding will start and, depending on your computer specs and the length of the file, it can take between 2-3 hours or a couple of minutes. Our clip was 43 minutes long and it took about 26 minutes to finish, on an Intel Core Duo with 1 GB of RAM machine.
When the encoding is over, connect your PSP to the computer via USB and upload the .mp4 file in the 'Video' folder. Disconnect the PSP, navigate to Video menu and enjoy your movies (with subtitles).