14 DAY TRIAL //
 Starting the past week, Microsoft made available for download the first public beta of Internet Explorer 8 (download here). The MIX08 release was preceded by a private Beta of the next iteration of Internet Explorer, and while Microsoft did emphasize that Beta 1 is a build aimed at developers, access is in no way restricted. Sure enough, there are features such as Activities and WebSlices offered with the browser, which do deliver a tad of a preview of what's coming down the IE8 pipe for the end users. But even those are aimed at getting developers to tailor their web content on IE8.
The developers' focus on IE8 Beta 1 is evident with Microsoft's move to permit access to the OpenService Format and the WebSlice Format specifications Microsoft Open Specification Promise, with the first via the Creative Commons Attribution-Share Alike license and the latter through the Creative Commons Public Domain Dedication. As far as WebSlices are concerned, Microsoft indeed brings something new to the table.
The Redmond company's take on WebSlices is enabling the users to connect with just a portion of the content within a webpage. At the same time, developers have the possibility of permitting users to subscribe to just a limited area of a webpage and to focus on specific data. Rather than having to digest large quantities of materials just to filter down to the items that present interest, visitors can now streamline access to information via WebSlices.
Essentially, the feature comes to the table with the same familiar behavior as feed readers. Just like a feed reader can subscribe to a website and deliver content, updates and notifications, so will Internet Explorer 8 subscribe to an area of a website and let the end user know every time the data is updated. Once WebSlices have been added to a page, they can be easily identified in the browsing process and subscribed to. The WebSlice will subsequently appear in the Favorites bar, delivering immediate access to previews of the content without the user having to visit the website.
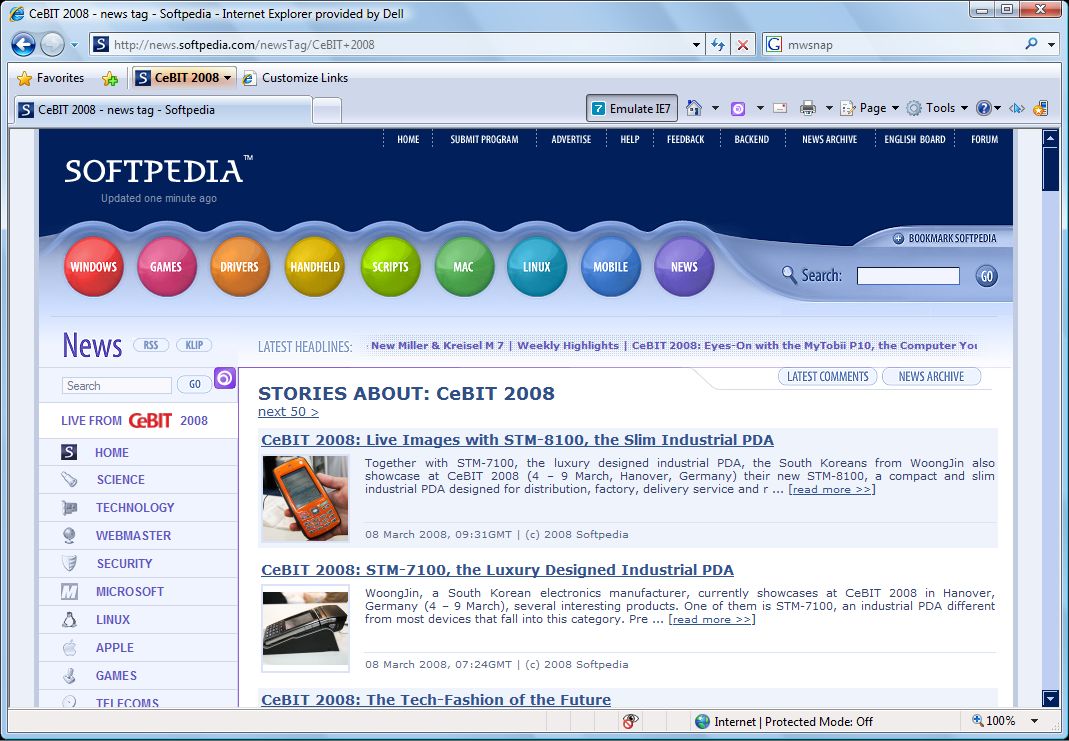
Those of you already running Internet Explorer 8 Beta 1 can see that WebSlices have been added to Softpedia. From a visitor's point of view, the process of subscribing to a new WebSlice involves simply clicking the subscription button in the top left hand side corner. From a developer's perspective, actually adding a WebSlice to a page is a straightforward process detailed bellow by our own Sorin Brabete, Technical Advisor.
Introduction - To add WebSlice support to a web page, developers should define one or more zones (slices) by using special HTML mark-up for specifying the WebSlice contents and parameters.
Webslices are defined using a slightly modified version of the hAtom microformat which, in turn, is itself a subset of the Atom standard. What this means is that a developer rarely needs to make significant changes to existing HTML code or even add new tags at all. In most cases, adding a few "class" attributes does the trick.
Webslice components
The components of a webslice are the webslice container itself (mandatory), the entry title (mandatory, possibly more than one) and the entry content (optional, possibly more than one). There are also several parameters a developer can set when creating a webslice.
The most important is arguably time to live (TTL), which specifies how often Internet Explorer 8 should check for updates for the webslice. For slices containing information with time-limited relevance, developers can use the end time parameter to point out the expiration time. IE8 will signal this by making the webslice's associated button glow 5 minutes before the expiration time and grayed-out afterwards.
If the web page containing your webslice is rather large and has quite a lot of webslice-unrelated data, you may choose to instruct IE8 to access another content source when checking for updates, such as an RSS feed.
Marking-up a webslice and its components
Webslice container: add class="hslice" id="x" to the (HTML-wise) element containing the webslice data. For example:
Entry title: add class="entry-title" to the element containing the data you'd like to display as a title for your webslice. For example:
[CODE=0]My Webslice Title
Entry content: add class="entry-content" to the element containing the main data for your webslice. Remember, you may specify multiple such entries. For example:
Time to live: add class="ttl" to the element containing the minimum interval (in minutes) for checking for updates to the webslice data source (the original web page or alternate feed). If you do not wish to display the interval in your webpage, simply place the TTL into a span or div and make it invisible. For example:
End time: use the abbr-design-pattern to specify the date and time the webslice's content expires. This element may be also hidden, if you do not wish to have it displayed on the web page. For example:
Defining a main webslice - If a given webpage contains several webslices, they are all added to the Discovery button menu in the order in which they are discovered. Clicking on the Discovery button prompts the user to subscribe to the first webslice in the list. However, developers may specify the main webslice, to be displayed first in the discovery menu regardless of its position in the parent web page. To do so, simply add a rel tag to the page's HTML code, inside the head section:
Turning off in-page webslice notifications
By default, Internet Explorer 8 will display a small icon whenever the user hovers the mouse pointer over a zone defined as a webslice. To disable this feature, add this code to the head section of the web page:
[CODE=0]
For more information, please see the Webslice specification and white-paper.